Annual Birthday Bash Hop!
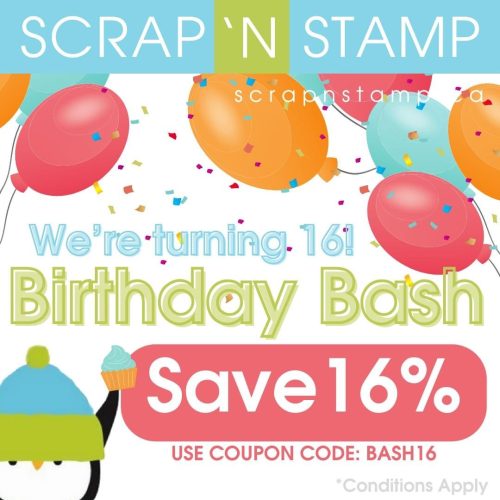
It’s Scrap ‘N Stamps 16th Birthday Bash Hop! Tim to WIN, SAVE ‘N be INSPIRED!
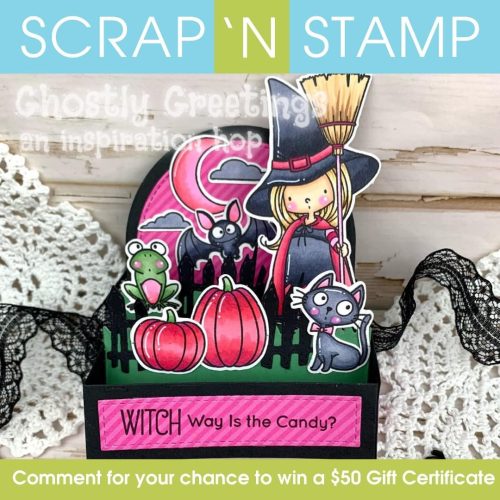
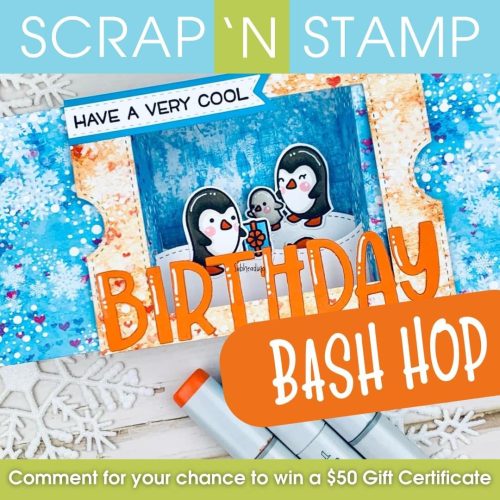
First WIN – A random winner chosen for the comments and they will receive a $50 gift certificate from us! So make sure to wish all our designers a Happy Birthday! Winners are announced the last Tuesday of every month on the Scrap’n Stamp blog
Second SAVE – Save 16% off your order with the coupon code BASH16
Next – INSPIRED. Seven talented Canadian designers are sharing with you the cards they have created birthday for our birthday bash! Time to make a birthday cake with Jess!
Honey Bee Stamps A2 Birthday Cake Card Base
Honey Bee Stamps Make A Wish Stamp Set
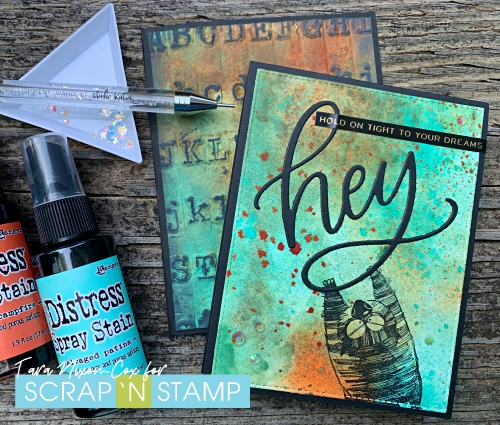
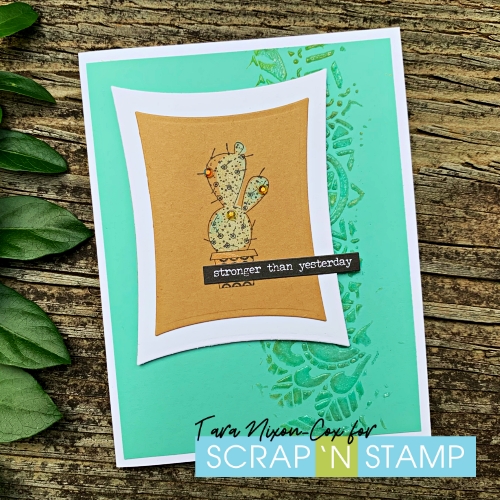
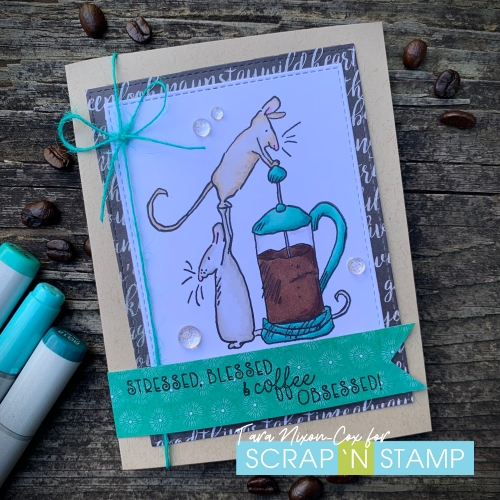
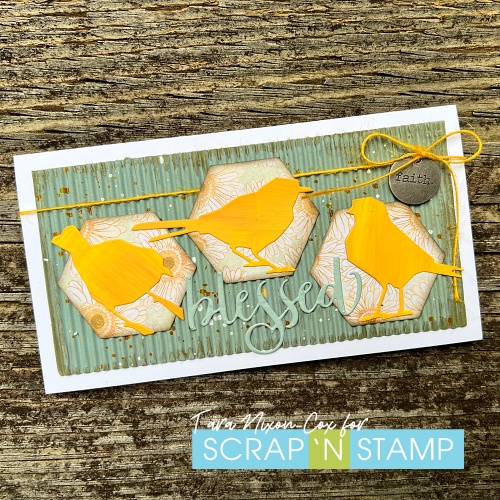
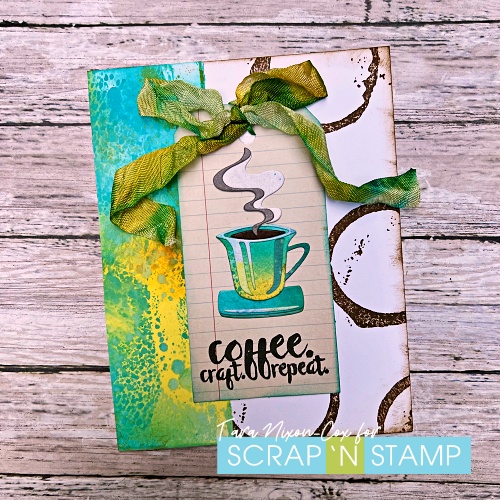
The next stop for our birthday bash is Tara!
Make sure to wish us a Happy Birthday in the comments for your chance to win a $50 gift certificate!
Annual Birthday Bash Hop! Read More »