Scratch-N-Stamp
Search

Checkout

Keep up with Sales, New Products and other events at Scrap `n Stamp. Sign up for our newsletter now!

What's New

Hot Deals


Colorables

Designer Showcase – Paper Plums Digital Stamp or Colorable – Lola

Hi everyone!

Today I am very pleased to be bringing you the first post in our new Designer Showcase series. Since we launched our new line of Digital Stamps and Colorables I have had lots of emails asking me what markers were used to color the images and what products we used for the samples. So I thought that our Designer Showcase was the perfect place to put all this information so that it was easy for you to find when you need it later.

It will be super easy to find all the posts – just click on the ‘Designer Showcase’ button on our blog and you will see a list of all the posts that have been done. I’m going to be adding posts regularly so that I can get caught up with everything since we launched our Paper Plums Digital Stamps & Colorables so you may want to check back every couple of days to see what’s new. I hope you find these new posts helpful and inspiring.

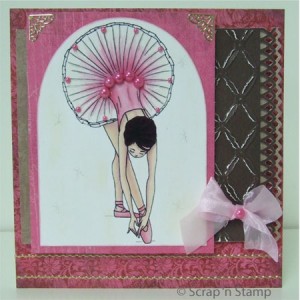
And now I’d like to tell you all about the fabulous card that Kim made with the Paper Plums Digital Stamp – Lola (4511M). This image is also available as a Colorable (4511M – colorable) that you could use to create this card if you aren’t comfortable with the whole digi thing.

Isn’t she gorgeous? And she fit perfectly into the Sizzix Framelits Rounded Tags die.

I love the tutu and the way that Kim put the pearls at the waist and along the edge. If you click on the picture to enlarge it you will see a little shimmer along each of the lines in the tutu that Kim created with a Stardust Gelly Roll pen. These pens are great for adding a touch of very subtle shimmer. Kim also made little star shapes with the pen on the background. Again, a very subtle bit of shimmer.

To tone down the stark white of the paper that Lola was printed on Kim very lightly added some Tim Holtz Antique Linen onto the paper with an inking/distressing pad and then added Tim Holtz Worn Lipstick all around the edge.

Kim used papers from the new Basic Grey Kissing Booth paper pad in pink and brown and then added the tan paper from the DCWV Luxury Stack as an accent. The brown paper was embossed with a Couture Creations embossing folder called Tied Together. This is a limited edition folder and there are only a few left when this post is going up so I wouldn’t wait if you want one. The Basic Grey patterned paper cracked when it was embossed and the white core shows through a little which gives that layer more texture and dimension.

The tan and brown papers were both punched along one edge with a Martha Stewart Arch Lattice border punch (which will be back in stock shortly) and offset slightly so you see the detail on both layers.

Hot Tip:

Here’s a little tip for you when you are using Letraset ProMarkers on your project. If you want embellishments that are the same color or a similar shade (like the pearls) then use your markers to color white or cream colored ones. You may have to do a few coats and let the markers dry thoroughly in between but it’s a great way to get everything matching. And…you can use your markers on most synthetic ribbons too! So as long as you have white or cream you can always use your markers to make it any color you need. Cool eh?!

Speaking of markers, here are the Letraset ProMarkers that Mara used to color Lola…

Colorless Blender : Blush : Dusky Pink : Baby Pink : Blossom : Cocktail Pink : Cinnamon : Cool Grey 4 : Shale : Slate

A little ribbon and some Peel Off corners and borders were the finishing touches on a lovely card.

Well, that’s it for today. I have more cards to share with you that Kim created this week with our new Digi Stamps. These new images are so cute!!

Thanks for stopping by. I hope you have a fabulous day!

Designer Showcase – Paper Plums Digital Stamp or Colorable – Lola Read More »

And the winner is…

Hi everyone! I’m back to announce the winner of our Digital Stamp & Colorable Blog Party draw.

The lucky winner is…

Julie

Congratulations Julie! You have won a Paper Plums Digital Stamp or Colorable of your choice.

To collect your prize please email me here and put Blog Party Winner in the subject line. Just let me know which digital stamp or colorable you would like and I’ll have it on it’s way to you pronto.

A big ‘Thank You’ to everyone that participated. We loved seeing your comments and can hardly wait to show you Mara and Christine’s newest creations.

The next release will be on February 12th so be sure to mark your calendar.

And the winner is… Read More »

Digi Stamp & Colorables Blog Party – Day 2 – Introducing Taryn

Hi everyone! I’m back again with another Paper Plums Digi Stamp design to share with you.

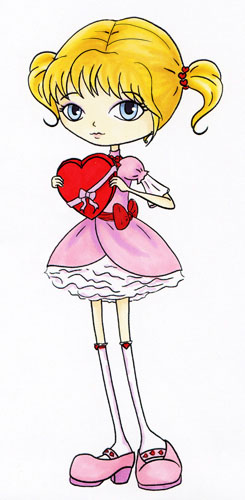
Today I would like to introduce you to Taryn.

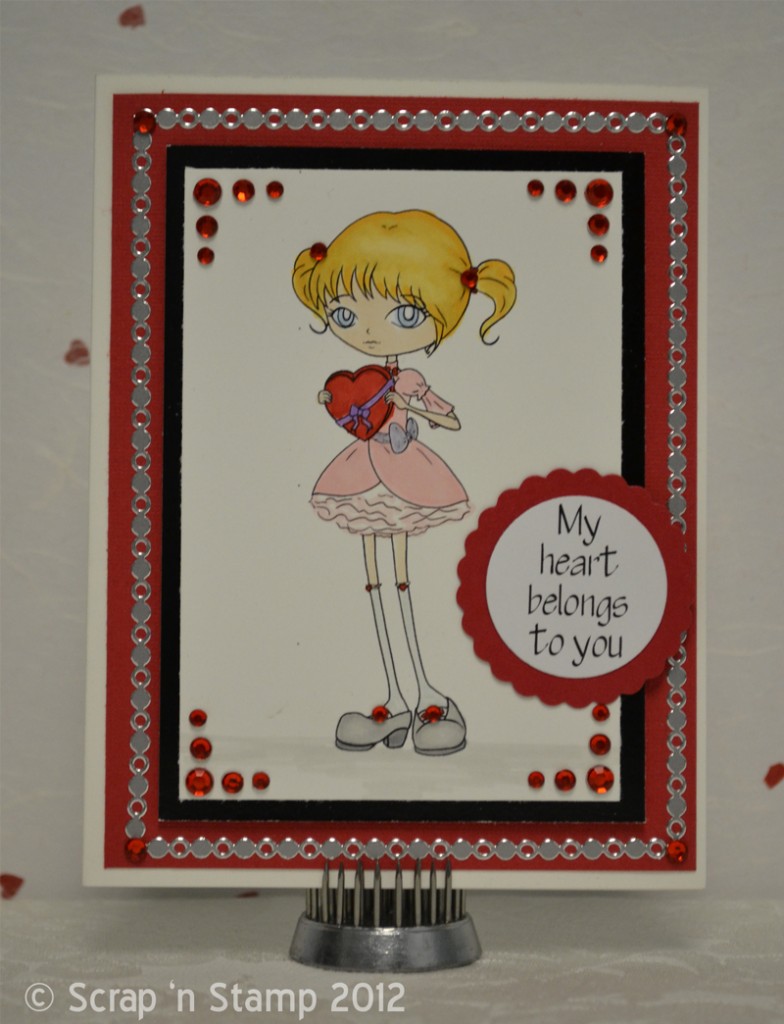
Isn’t she a cutie and she’s all ready for Valentine’s Day.

I used the digi stamp (4509M – Taryn) and printed her  on Bazzill Simply Smooth cardstock so she was 3 3/4″ tall. I made the card 4 1/4″ x 5 1/2″ (A2) so I needed her to be printed smaller so that I would have room for mats and some accents. I used a laser printer but you could use an inkjet printer (which is what most people have). All you have to do when you use an inkjet printer let the ink dry really, really well before you color your image or the outline will bleed into your colors. I would recommend leaving your image overnight or longer before you start coloring and avoid going over the black lines whenever possible.

If you would like to get the image already printed so you don’t have to worry about sizing or printing check out the Taryn Colorable image (4509M – colorable). You get four in a package and the image is already sized to fit on an A2 card. Nice and easy and you can get right down to the fun stuff – the coloring.

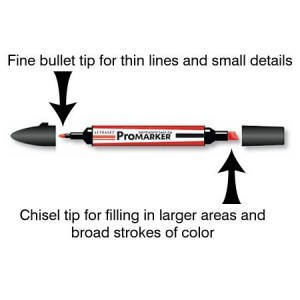
I had so much fun coloring her with my Letraset ProMarkers. The small bullet tip made it easy to color in even the small details and I just love how easy they are to blend so that you don’t get streaky lines. I have to admit that doing her hair was a challenge for me as it was the first time that I had tried it. Tomorrow Mara is doing a tutorial showing how to color Tori from start to finish and I learned so much watching her color the hair. I think my next attempt will turn out better for sure.

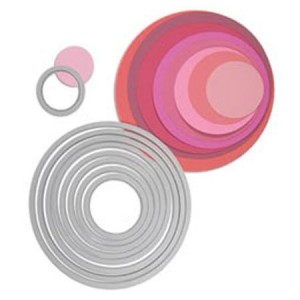
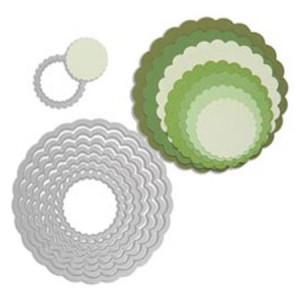
The sentiment I used is from the digi set and I sized it to fit the Sizzix Framelits Circles (1 1/4″) and then matted it with a Framelits Scalloped Circle (1 5/8″). Cutting out sentiments with the Framelits dies is so easy because they cut right along the inner edge of the die so what you see it what you cut. I love Spellbinders dies but I can’t tell you the number of times I’ve cut off part of a letter because the words are partly covered by the die so you can’t see exactly where you are cutting.  The Framelits definitely cut down on the frustration and wasted paper.

Sizzix
Sizzix Framelits Scalloped Circles

I really wanted Taryn to be the focus on the card so I kept the other elements pretty simple and only added some rhinestones (if you look closely at her pig tails and shoes there’s bling there too) and Peel Off Decorative Lines. Since this little girl is named after my grandaughter Taryn who just happens to have blonde hair that often is put in pig tails I think this card is perfect for her for Valentine’s. She loves getting cards from Grandma so I can’t wait to see her reaction.

Here are Mara’s Marker Tips for today…

When you are just learning to use markers the most important thing to remember is that the more you practice the better you will get! Don’t give up the first time markers go outside the lines or you don’t get the effect that you wanted. Practice makes perfect and there are sometimes fixes. Don’t panic! Play with your markers and have fun!

Tip #1:

Store your alcohol markers laying flat so that neither tip will dry out. You want to keep them away from direct heat and sunlight and of course make sure that all the caps are on properly when you are finished working with them. If the caps are not on tight the alcohol will evaporate and your marker will dry out.

Tip #2:

To prevent streaky lines and create soft shadows or blending work one small area at a time. If you are coloring a person for example you would want to do one arm at a time and finish that one before moving to the next spot where you are using the same tones. If for example you color all the flesh tone areas (face, arms, legs etc) with the base color and then go back to add another layer or shading you will find that the color has dried too much and you will get more defined lines. By adding all the layers of color to a small area at a time you will achieve better blending and less streaking.

Tip #3:

It’s good to start coloring with your lightest colors first. Generally this will be the skin tones on a person. Once that color is dry the rest of the colors you put around it will bleed less into the area than if there was nothing there.

And now here is Mara’s version of Taryn that she colored for the website. (There are more lines in the hair than on my image. These were added after I had colored Taryn for my card and they are in the digi file and Colorable.)

And here is a list of Letraset ProMarkers that she used:

Ivory : Blush : Orchid : Buttercup : Tulip Yellow : Mustard : Powder Blue : Cornflower : Slate : Baby Pink : Pink Carnation : Blossom : Poppy : Berry Red

Well…that is it for Day 2 or our Digital Stamp & Colorables Blog Party. Thanks for dropping by. I hope you can join us again tomorrow for a fabulous Tuesday Tutorial featuring Tori. Mara is going to show you step by step how to color her and of course she will have more Marker Tips for you.

PS We’d love to hear what you think about the new digis & colorables so leave a comment for us and we’ll enter your name in a draw to win the digi or colorable of your choice. Let us know what your favorites are or just leave some love for the designers – either way you might be the lucky entry and win a freebie.

Digi Stamp & Colorables Blog Party – Day 2 – Introducing Taryn Read More »

Free Shipping Anywhere In Canada