Tuesday with Tara {take 437} Easter Wreath
Happy Tuesday! Easter is just around the corner so I thought I’d use my new Vault Funky Floral Wreath die set by Tim Holtz to create an Easter card! It’s a pretty simple card, just die cuts & bling on a Kraft A2 card base, but the variety of colors & shapes definitely keeps it interesting!
I used a mix of scraps of papers I’d previously inked up using a variety of Distress Inks & sprays for all the pieces you see, except for the bow & lettering cut from glittery card stock! It was a lot of fun to mix and match the dies in this set in some softer, springy shades.
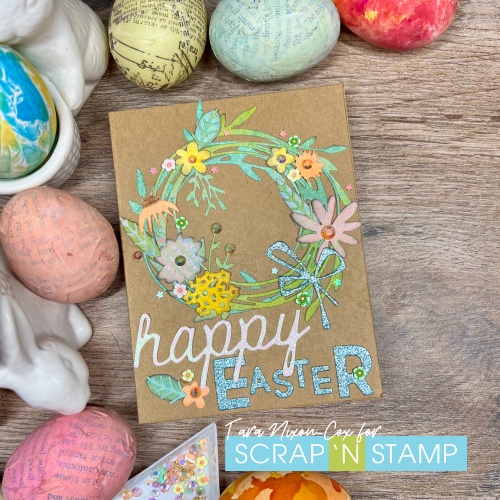
I didn’t have a die cut sentiment for Easter, so I decided to have some fun & do some mixing & matching! I’ve paired a script “happy” from Shadow Script #2 (which I’m kinda surprised is still available in the SNS online store as I type! It’s an oldie, but a goodie!) together with assorted letters from one of the sentiments in Bold Text #1 set (Best Day Ever). I love how together it makes a whimsical greeting that really suits the mix of florals on the wreath!
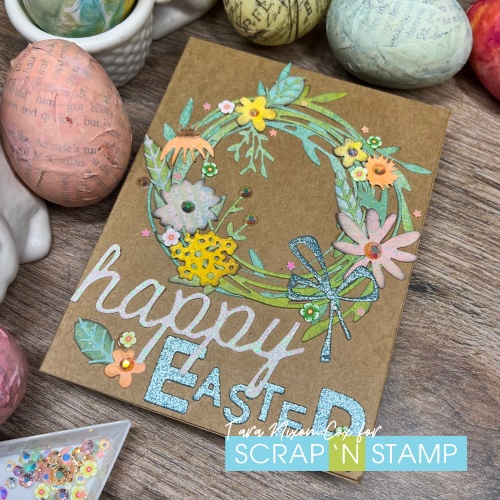
The finishing touch on the card is more bling from the Spring Florals Mix Ups set by Buttons & Galore. I love this mix for spring and suggest you snag some while you can. LOL
FYI- if the Easter eggs in the background of the card photos caught your eye, you can check out my posts how I made them HERE (Coffee Filter Tie Dyed Eggs) & HERE (Distress Collaged Eggs). Both are fun techniques to give you some pretty eggs to decorate with year after year!
Inky hugs,
Tara
Tuesday with Tara {take 437} Easter Wreath Read More »


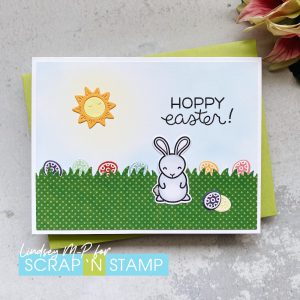
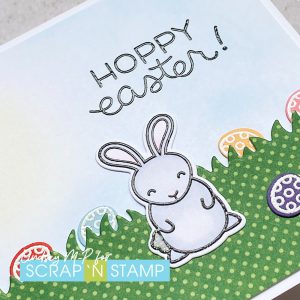
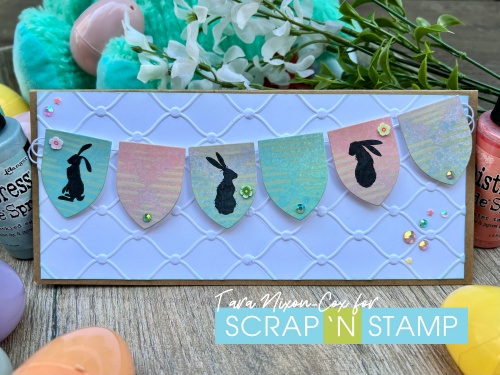 I find slimline cards to be a bit of a struggle to photograph, so I decided to grab some spring decorations for my little photo shoot for this card. I hope it captures all the whimsy!