Scratch-N-Stamp
Search

Checkout

Keep up with Sales, New Products and other events at Scrap `n Stamp. Sign up for our newsletter now!

What's New

Hot Deals


Tuesday with Tara

Tuesday with Tara {take 19}

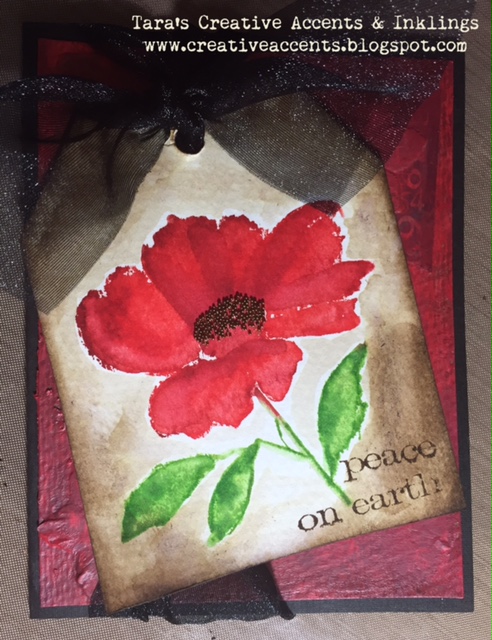
It’s Tuesday again and I’ve got a card that works for Remembrance Day or Christmas.  I kept it simple, with a stamp & Distress Ink on watercolor paper as the focal point of the card.

My card background is a mixed media piece that was on my work station… I’d tried a bunch of things I didn’t like and just painted over it all with red paint.  Turns out that what started as my piece of ugly works pretty great as a background here!

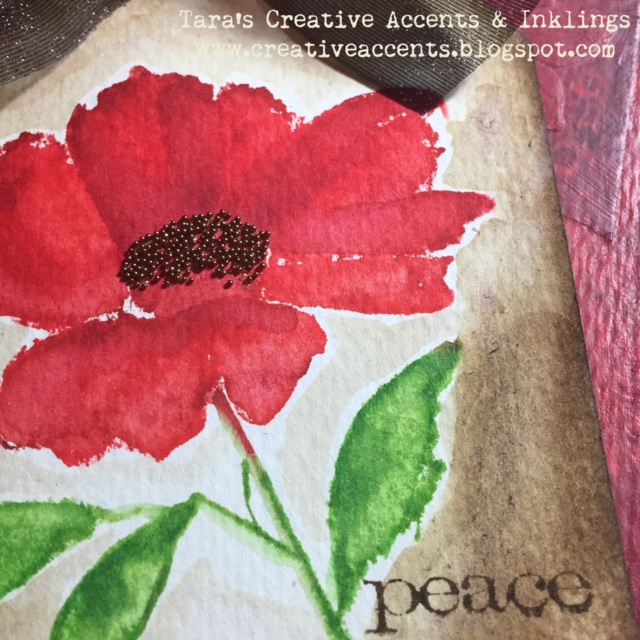
The stamp is by Hero Arts, it’s a shaded solid image that I inked with multiple shades of Distress Ink and then painted with a water brush, using a bit of extra ink for shading.  More ink around the edges (Ground Espresso is my new fave brown Distress Ink!), a simple sentiment by Tim Holtz, micro bead “poppy seeds” and a big knot of ribbon finishes it off.

Hope you have a creative week and a peaceful day of Remembrance tomorrow!

Inky hugs,

Tara

Tuesday with Tara {take 19} Read More »

Tuesday with Tara {take 15}

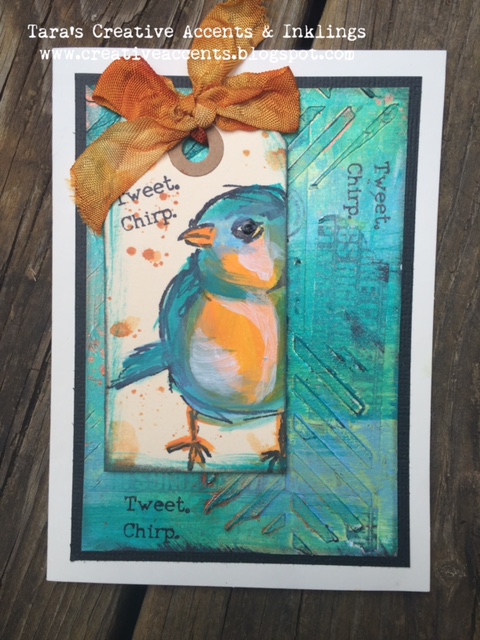
Happy Tuesday!  Today I want to share with you one card in two colours.  The techniques, materials and layout are essentially the same for both cards, but I’ve played with two different colour schemes and they can be adjusted to your liking!

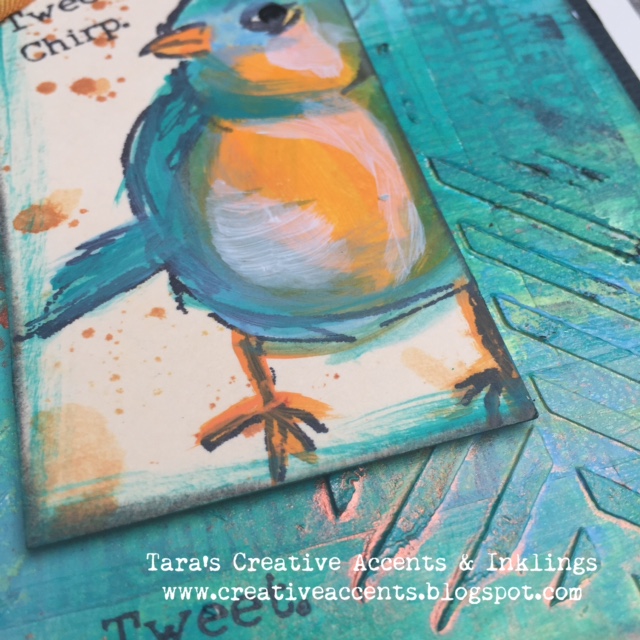
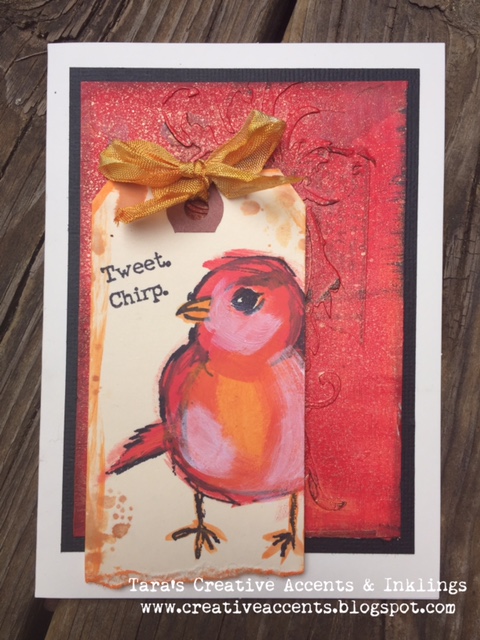
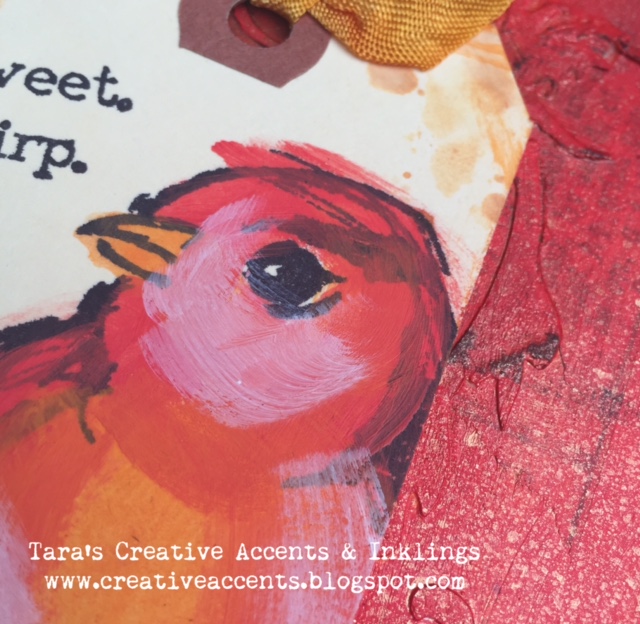
I chose the colours for my cards because I thought both would work with the bird stamps by Dina Wakely 🙂  The tags are simply the birds stamped in black and colored in with acrylic paints which were watered down slightly.  The splotches you see on the tags were created by dabbing the tag on the ink remaining on my craft sheet after inking up crinkle ribbon.

The background was created from a larger piece of cardstock (I used a half sheet of regular cardstock) which I layered some crinkled tissue paper, torn paper, tissue/washi tape, and texture paste applied through stencils.  Once that was dry, I painted over it with several shades of acrylic paint, thin enough so that some of the texture could be seen through it.  I highlighted the textures by rubbing black ink over the dried piece and spraying metallic sprays onto it (like Rangers Perfect Pearl Mist and some from Lindy’s Stamp Gang).  Once everything was dry, I cut it up into assorted sizes and created cards!

Here’s the second colour scheme I used:

I hope you like the two different takes on these techniques and this card- it’s a lot of fun (and you can make several cards from the background collage sheet that you create.  Perhaps I’ll share with you some of the others I made on another future post… 😉

Hope you have a creative week!  I’d love to see what you come up with if you decide to make something inspired by these cards!

Inky hugs,

Tara

Tuesday with Tara {take 15} Read More »

Tuesday with Tara {take 14}

Happy Tuesday!   And Happy upcoming Thanksgiving weekend!  I’ll be celebrating the Canadian holiday here in the US this weekend, though I’m not sure what we’ll be eating since there is a national turkey shortage… there will be something related to pumpkin pie though, for sure 🙂

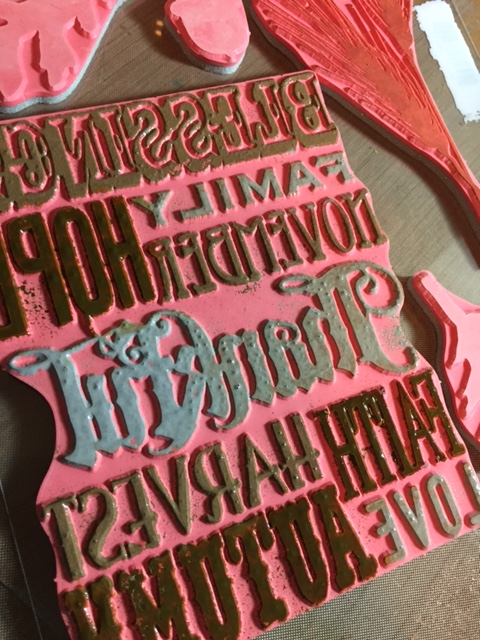
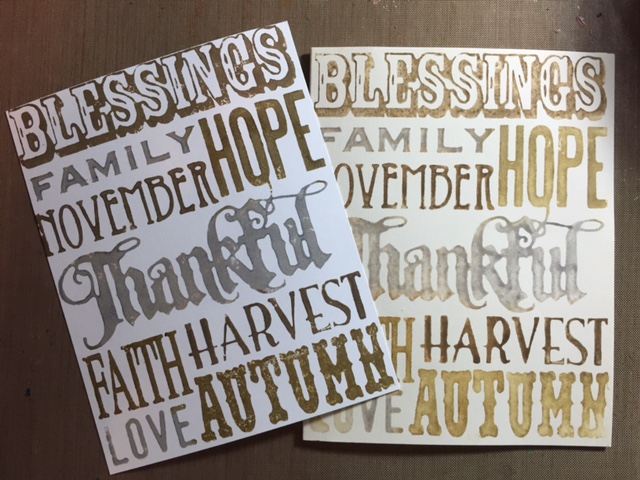
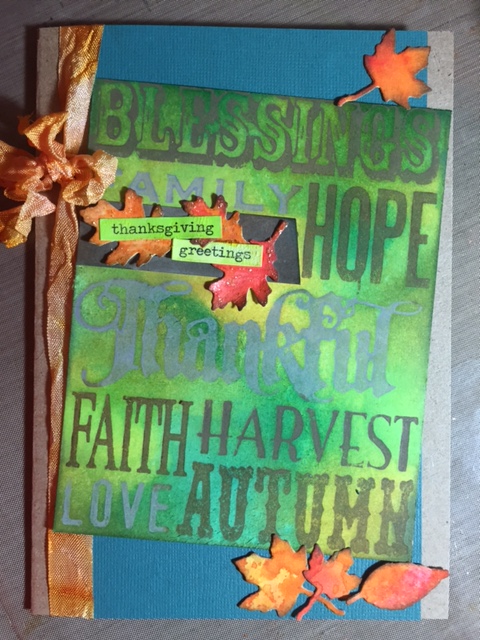
I wanted to share with you a fairly simple card for Thanksgiving that features a Distress Paint RESIST technique.  Distress Dabbers are great for this because they are water resistant once they are dry, and the format makes it fabulous for spotlighting specific areas on a stamp.  In this first photo you can see how I’ve used a few neutral colors to paint up the background stamp:Here’s how the stamping turned out- I misted the stamp lightly after the first impression to get two great stampings!

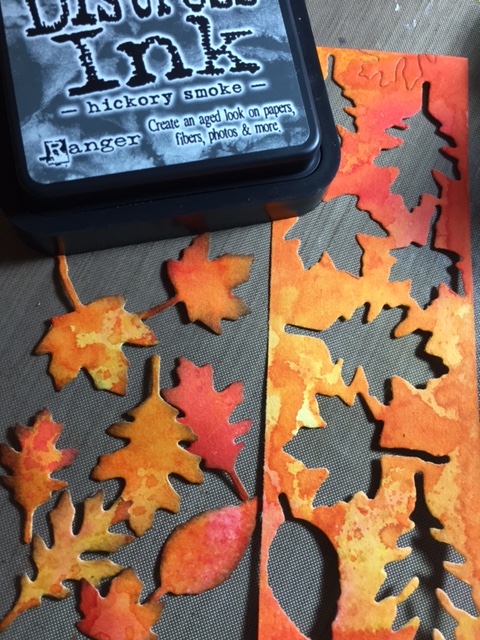
Once the paint is dry it is set and ready to resist your water based Distress Ink!  You can use whatever inking technique you desire, then mist a cloth or paper towel and lightly rub over the painted image to reveal the resist.  The inks will appear as if they are behind the paint 🙂  Another thing I did on this card was use Distress Inks to color some cardstock before die cutting Autumn leaves to add to the card.  I inked the edges of my leaves with new Hickory Smoke Distress Ink 🙂

… and here’s my finished card!  Of course I added some Stickles Glitter Glue, Crackle Paint & Crinkle Ribbon to finish it all off!

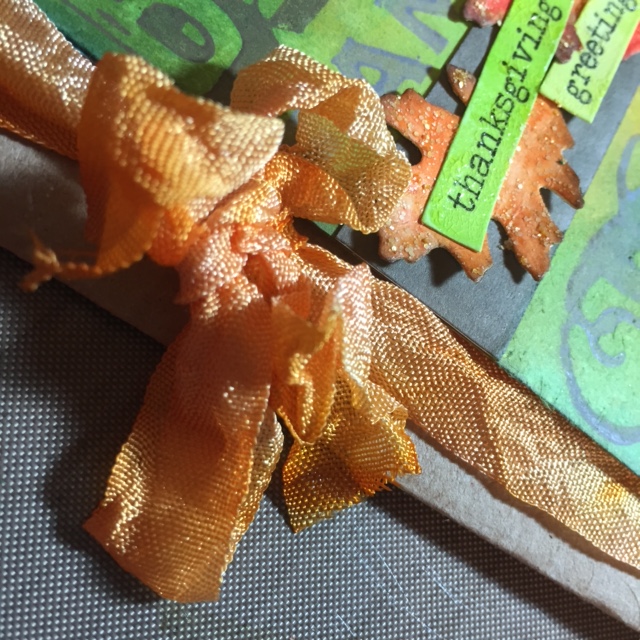
Here’s a close up for you of the Crinkle ribbon & leaves 🙂

I hope you got a bit of autumn inspiration and can create something festive this week!  Happy Thanksgiving!

Inky hugs,

Tara

Tuesday with Tara {take 14} Read More »

Free Shipping Anywhere In Canada