Scratch-N-Stamp
Search

Checkout

Keep up with Sales, New Products and other events at Scrap `n Stamp. Sign up for our newsletter now!

What's New

Hot Deals


Author name: Tara

Hi! I'm Tara and I've been creating and teaching classes in the paper crafting industry for 15 years in Western Canada. I closed my rubber stamp & scrapbook store in 2013 to get married & move to North Carolina, but my passion is still getting inky and sharing the love of this hobby wherever I can! I started out as a card maker, but over the years I have done it all- from cards & mini books, to scrapbooking & mixed media projects. I'm certified by both Ranger & Copic and I look forward to sharing some creative fun and maybe getting inky with you in one of my classes soon!

Tuesday with Tara {take 14}

Happy Tuesday!   And Happy upcoming Thanksgiving weekend!  I’ll be celebrating the Canadian holiday here in the US this weekend, though I’m not sure what we’ll be eating since there is a national turkey shortage… there will be something related to pumpkin pie though, for sure 🙂

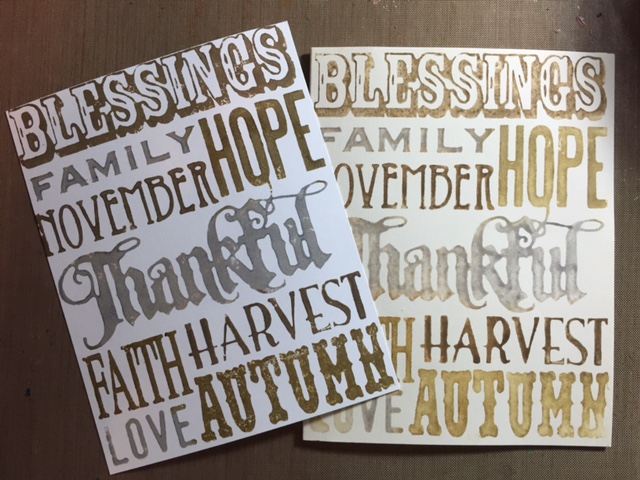
I wanted to share with you a fairly simple card for Thanksgiving that features a Distress Paint RESIST technique.  Distress Dabbers are great for this because they are water resistant once they are dry, and the format makes it fabulous for spotlighting specific areas on a stamp.  In this first photo you can see how I’ve used a few neutral colors to paint up the background stamp:Here’s how the stamping turned out- I misted the stamp lightly after the first impression to get two great stampings!
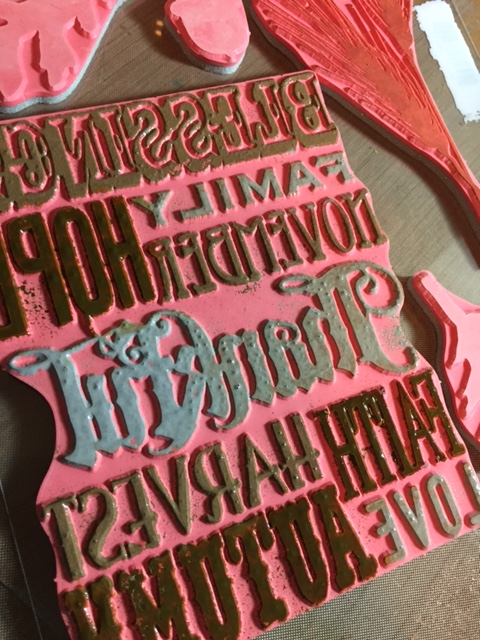
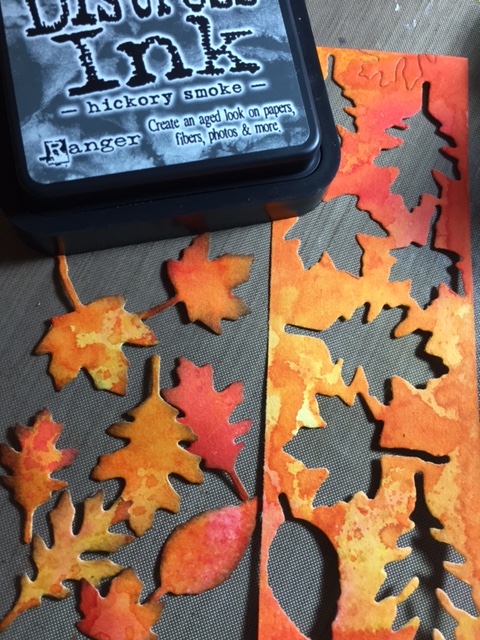
Once the paint is dry it is set and ready to resist your water based Distress Ink!  You can use whatever inking technique you desire, then mist a cloth or paper towel and lightly rub over the painted image to reveal the resist.  The inks will appear as if they are behind the paint 🙂  Another thing I did on this card was use Distress Inks to color some cardstock before die cutting Autumn leaves to add to the card.  I inked the edges of my leaves with new Hickory Smoke Distress Ink 🙂

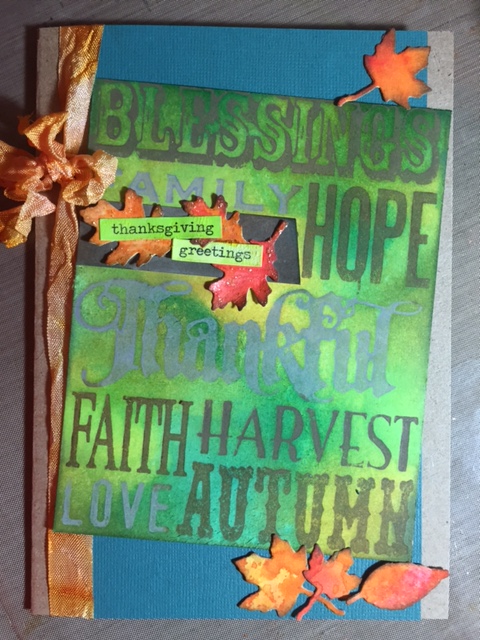
… and here’s my finished card!  Of course I added some Stickles Glitter Glue, Crackle Paint & Crinkle Ribbon to finish it all off!

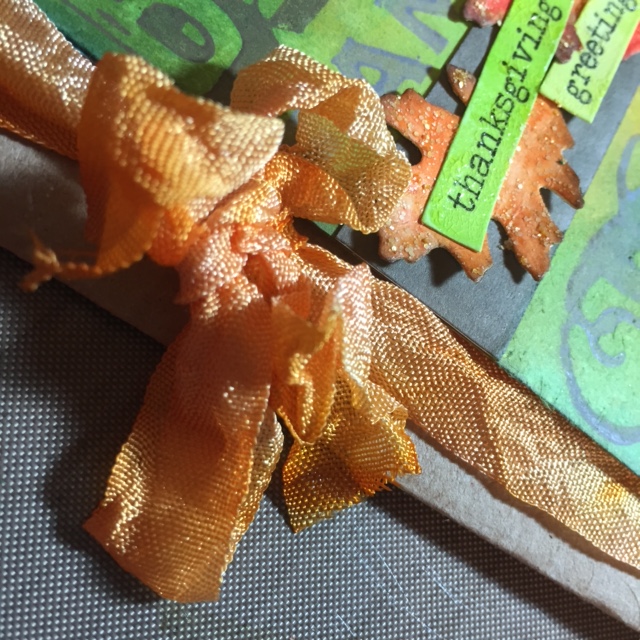
Here’s a close up for you of the Crinkle ribbon & leaves 🙂

I hope you got a bit of autumn inspiration and can create something festive this week!  Happy Thanksgiving!

Inky hugs,

Tara

Tuesday with Tara {take 14} Read More »

Tuesday with Tara {take 13}

Happy Tuesday!  Today I thought I’d share with you one of my favourite things to do with my ink, sprays & stains… CRINKLE RIBBON!

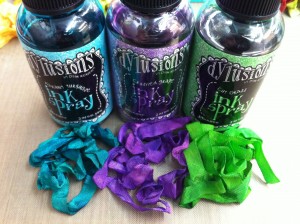
A variety of  ribbons are great to ink up with your sprays & stains, but Tim Holtz sells packages of ribbon he calls “crinkle ribbon” (also known as seam binding tape!) that take the ink beautifully.  All you need is some ribbon, some ink (sprays and stains of all varieties are a faster way to get your desired color) water and a heat tool if you’re impatient 🙂


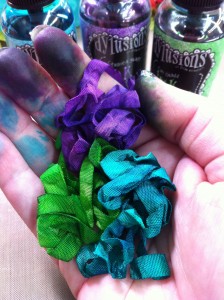
I personally love getting my hands all inky, so I generally will cut a length of ribbon, lay it down on my craft sheet and spray some color on it.  (You can get similar results with Distress Ink Pads as you can with sprays or stains, just rub the ink pad or dab the stain onto your ribbon!) Spritz some water on with the ink (more if you are using an ink pad, less if you are using a spray) to get more variations of color, then crinkle it up with your hands and leave it crumpled in a pile on the craft sheet.  You can set it aside, or zap it with your heat tool to speed things up.  Leaving it in a crinkled pile gives really beautiful variations of color when the ribbon dries, and it can be used crinkled (stretched out on your project) or you can smooth it out if that’s more your style.  I love making up crinkle ribbon whenever I need ribbon to match my project or whenever I have new ink and really clean hands!

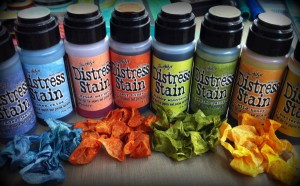
Here’s some examples of crinkle ribbon batches I’ve made with sprays and stains… keep your eyes out and you’ll notice it on many of my finished projects (like this one and this one) 🙂


Inky hugs,

Tara

p.s.

Check out the assortment of sprays & stains available in the online store by checking out the link here 🙂

Tuesday with Tara {take 13} Read More »

Tuesday with Tara {take 12}

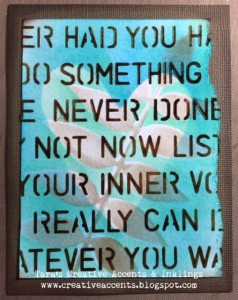
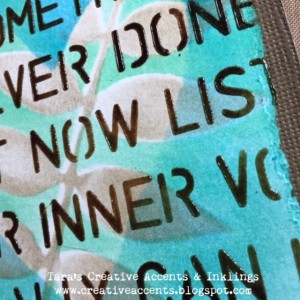
Happy Tuesday!  Today is all about inky play… I sat down with my new Brewed Espresso Distress Ink (plus some of the other new colors of 2015 that haven’t moved from my work space yet) and some Dina Wakley stencils/masks that needed some play time (Affirmations & Leaves.  Pretty sure the heart is from another set, that’s maybe discontinued?) and I started laying down some color over the masks.  Once I’d mixed greens and blues (my happy colours!) I decided to deepen things up with some deep brown… this Espresso Distress Ink really is lovely!  I applied Distress Ink through the affirmations stencil, but did not move the stencil immediately.  I put some translucent embossing paste right over the brown ink with my palette knife… I love how shiny and intense the color is once it dried!  Yum!  It reminds me a bit of hard candy 🙂

Part of me is undecided if this is a finished card front or not… but I wasn’t happy with anything I tried to add, so for now I will call it complete!  I think I may have to purchase some new dies to finish it off the way I imagine it… 😉

Hope you’re inspired to try some inky play this week!  Take something new or just under-used, and use it to get some ink on paper.  Allow yourself to combine products and colours and see where it takes you!  Have some inky fun!

Inky hugs,

Tara

Tuesday with Tara {take 12} Read More »

Free Shipping Anywhere In Canada