Scratch-N-Stamp
Search

Checkout

Keep up with Sales, New Products and other events at Scrap `n Stamp. Sign up for our newsletter now!

What's New

Hot Deals


Author name: Tara

Hi! I'm Tara and I've been creating and teaching classes in the paper crafting industry for 15 years in Western Canada. I closed my rubber stamp & scrapbook store in 2013 to get married & move to North Carolina, but my passion is still getting inky and sharing the love of this hobby wherever I can! I started out as a card maker, but over the years I have done it all- from cards & mini books, to scrapbooking & mixed media projects. I'm certified by both Ranger & Copic and I look forward to sharing some creative fun and maybe getting inky with you in one of my classes soon!

Tuesday with Tara {take 8}

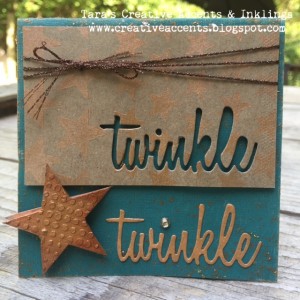
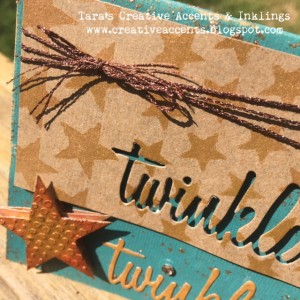
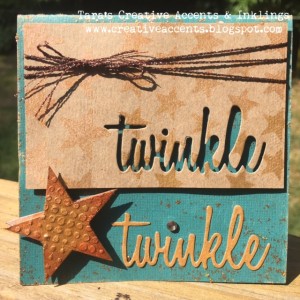
Twinkle Twinkle and happy Tuesday!  This is a simple & small card that would make a fun non-traditional baby card.  I wanted to show you a fun way to create your own embellishments with some basic supplies and stamps or dies that provide the shape you are looking for, so here it is in pictures…


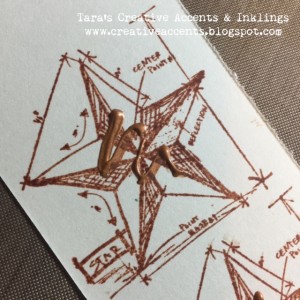
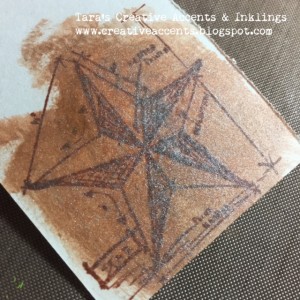
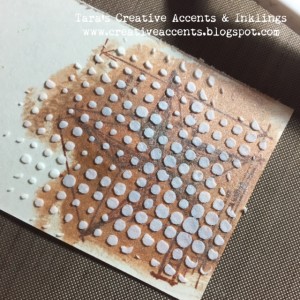
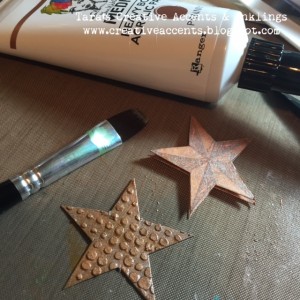
I stamped this mini blueprint image 3 times because I wanted to get some dimension.  A die cut shape would have been great if I had a star the size I wanted, but you can use what you have to fit your project!  Each stamped image was painted with Penny metallic paint by Dina Wakely.    yum!

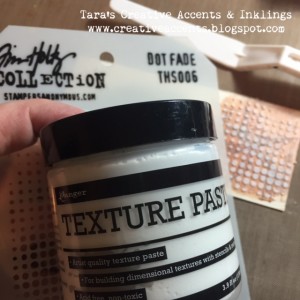
My top layer was treated to something extra with Texture Paste through a small detail stencil.

It was *almost* dry when I added another layer of Penny paint over it… sometimes I’m not so good at waiting for things to dry 🙂  I used tiny foam squares to layer my pieces together, and added some paint on the white squares so they wouldn’t stand out on my project.

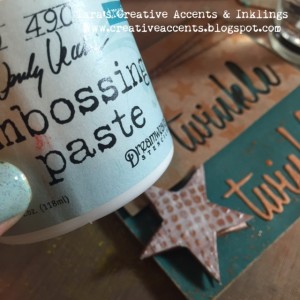
I used a sepia Archival Ink to add some depth around the edges of my star.  It was applied with a foam inking tool.  I wanted just a bit more shine and thought I should try something besides the crackle paint I seem to always use lately… so I grabbed some transluscent texture paste and wiped it over my star.  I had to walk away this time… dry time is a bit longer, but once it’s clear it’s ready to go!

Yeah… that added some nice shine to it!  I think I’d try an even thicker layer next time!

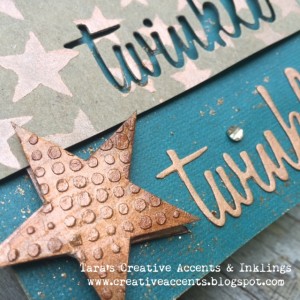
The same Penny paint was applied with an inking tool, through a star stencil, onto my craft cardstock before I diecut the ‘twinkle’ word from it.  I then painted a couple layers of it onto the cut out shape before gluing to my card with Matte Medium.  Extra copper touches were added to finish off my card… a generous smear of Distress Stickles to the card base had already dried before I assembled everything.  Copper Thread (from We R Memory Keepers Sew Easy collection) tied around the kraft added another metallic touch.

It’s a simple card with lots of fun metallic touches that really do add some twinkle!  This card is just 4×4, so it’s a perfect size to send a quick note or attach to a gift!

Hope you have a creative Tuesday!

Inky hugs,

Tara

Tuesday with Tara {take 8} Read More »

Tuesday with Tara {take 7}

Hi!  Welcome back to Tuesday with Tara!

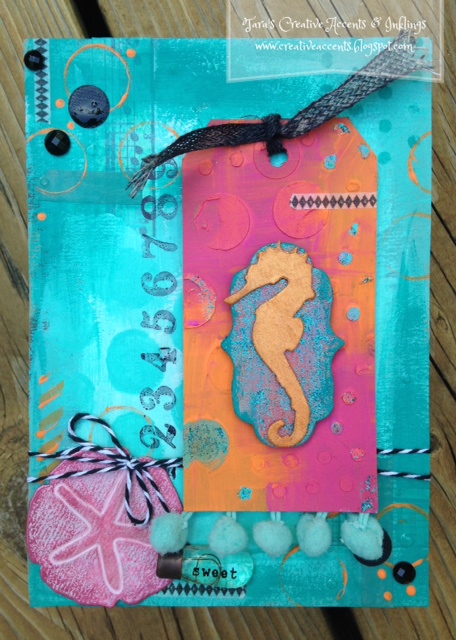
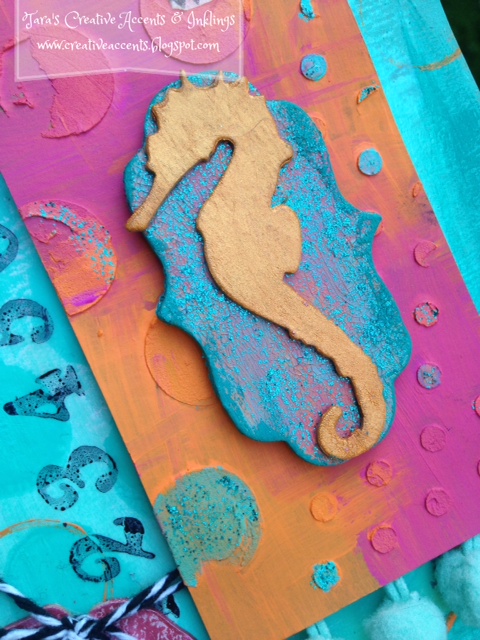
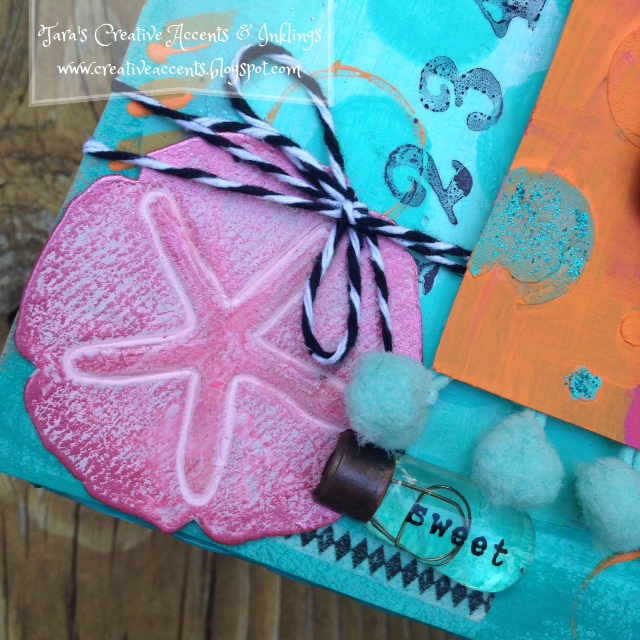
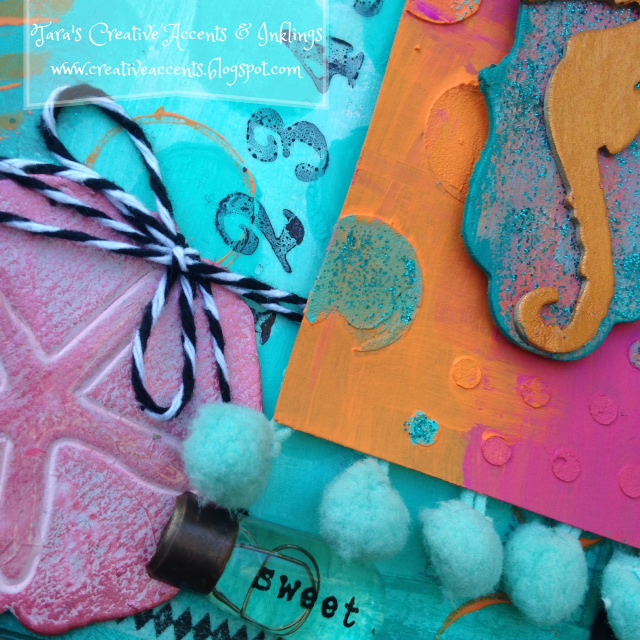
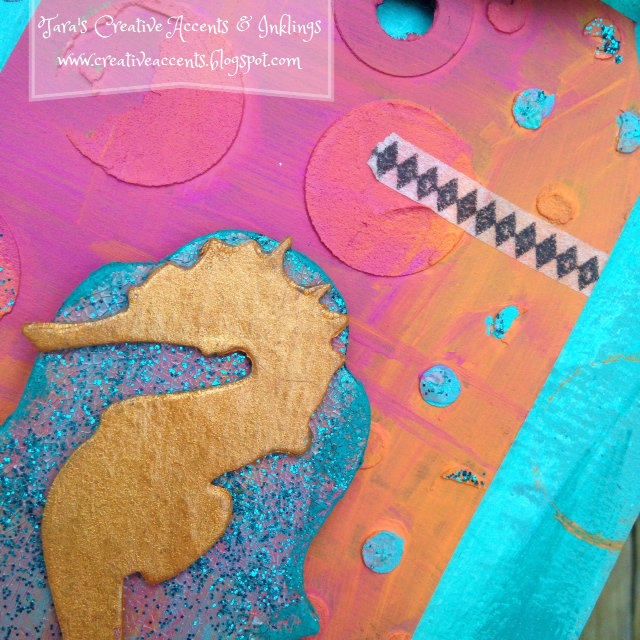
Today I’ve got a fun mixed media/altered project to share with you featuring some BRIGHT and fun Ranger products by Tim Holtz & Dina Wakley.   I was going for a summer celebration with this piece, and all the colors and textures bring a smile when I look at it!  I hope it brings a smile your way too…

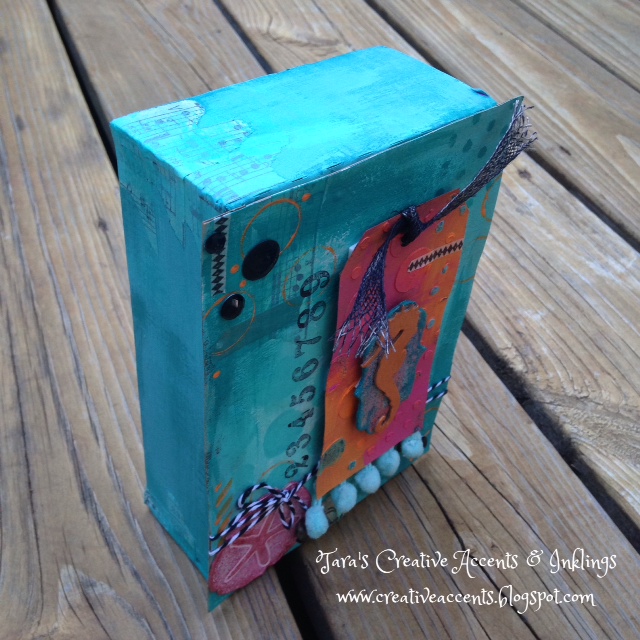
This project started as a tag, but once I finished it I decided to keep going, playing with more paints, texture paste, stencils and such on a 5×7 piece of cardstock.  I enjoyed just playing without a goal in mind as far as finished project, and it definitely got me experimenting with products (even some glitter, which is not the norm for me!  I mixed it with Rock Candy Crackle Paint… kinda fun!).  When I was done with this, I had a ‘thing’ that I wasn’t sure what to do with…  but I noticed a small, sturdy box that was just slightly smaller than 5×7.  I painted it up to match the front, which I reinforced a bit and adhered to the box.

Because this was such an organic project, I don’t have any step by step details to share- but I have lots of pictures of the details and I can tell you that I used paints by Dina Wakley, Sizzix dies by Tim Holtz (mini labels and mini sand & sea) assorted stamps & stencils and Ranger’s Texture Paste.  The metallic shimmer you see on the dies is from Viva Decor.


 Hope you liked my summer brights piece, and I hope it inspires you to take some time to just PLAY and experiment with colors & textures in your stash 🙂 You just might end up creating something you love!
Have a fantastic, creative Tuesday!
Inky Hugs,
Tara

Tuesday with Tara {take 7} Read More »

Tuesday with Tara {take 6}

Happy Tuesday!  It’s a rainy day for me here in North Carolina, so I’m hoping to squeeze in a bit of time in my creative studio getting inky & playing with my new Big Shot machine!  I’ve got some dies that need playing with… and I’m looking forward to sharing with you what I create in the near future 🙂

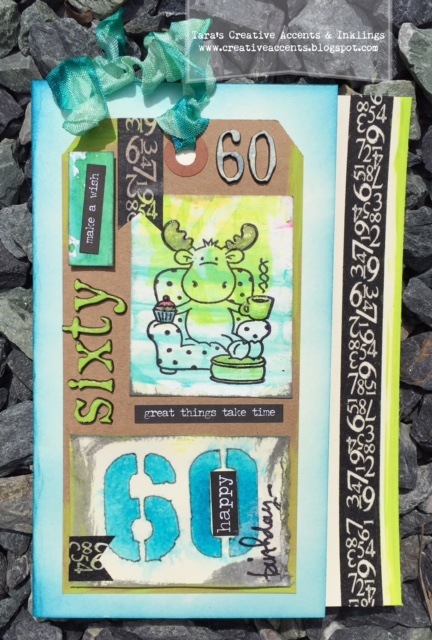
Today I want to share with you an answer to one of the questions I’ve gotten asked most often when I demo or teach TAG projects- what do you DO with them?  One thing I like to use tags for (besides being a great way to experiment with techniques and just hang on to as inspiration pieces!) is to use them as a focal point on a card.  The card today features what I consider a ‘standard’ #8 tag on a 5×7 card.  Add some ink and some washi tape and you’ve got an easy way to transform a tag into a great card!

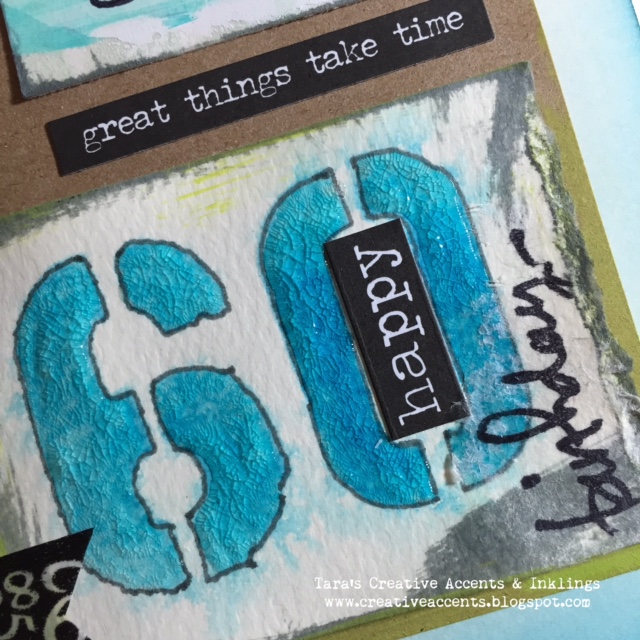
My tag was created using a mix of scraps, stencils, embellishments & stamps that I combined to celebrate my Dad’s recent 60th birthday!  I won’t go into a lot of details about the tag, but I hope it shows you a fun way to take some bits & pieces and turn them into a cohesive piece!  The big number was stenciled, outlined and then Clear Distress Crackle Paint was painted over it for texture (you probably noticed by now that I love adding crackle to my projects!).  The idea-ology numbers were painted with a bit of Distress Paint to make them pop and add more color to the tag.  I used black & white elements like the stickers & washi tape in several spots to bring it all together!


To create the perfect card for my tag, I took my base card, which was white, and cut a 1″ strip from the front open edge.  This made my card front a perfect size for a tag to be centered on it!  I used an inking tool to apply Distress Ink around the edges of the card front (lay the card flat on your craft sheet to get good coverage on the open end of the card without getting ink on the inside of your card).  Because I had worked with a mix of Distress Ink & Paint on my tag, I chose to apply Distress Paint along the inside edge of the card, this is the part that shows since I cut that 1″ strip.  Once that was dry I applied a strip of washi tape beside it.  You can make your card look like a perfectly coordinated project by using colors and elements that are the same on the tag and the card base.

supplies used:

kraft #8 tag

crinkle ribbon, inked to match project

5×7 white card

paper trimmer

tim Holtz idea-ology alpha parts, newsprint

distress paint- twisted citron & antique linen

distress crackle paint

tim Holtz idea-ology big chat stickers & small talk stickers

tim Holtz numbers stencil ths020

hickory smoke distress ink & distress marker

mermaid lagoon distress ink

ink applicator tool

washi tape- black with white numbers

assorted scraps of paper from previous projects 🙂

riley the moose stamp


Hope this gives you a bit of inspiration!  If you’ve got a stash of tags you’ve made, why not pull them out and transform them into some quick cards!  Have a creative day!
Inky hugs,
Tara

Tuesday with Tara {take 6} Read More »

Free Shipping Anywhere In Canada