Scratch-N-Stamp
Search

Checkout

Keep up with Sales, New Products and other events at Scrap `n Stamp. Sign up for our newsletter now!

What's New

Hot Deals


Distress Inks

Tuesday with Tara {take 430} Yappy Pyramid Card

Happy Tuesday!
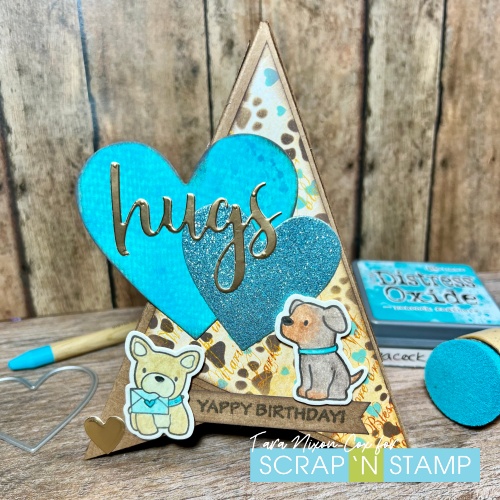
If today’s card looks familiar to you, it’s probably because you saw it in another color palette during our Dimensional Designs Inspiration Hop last month!  I never did give directions for the assembly of the pyramid, or photos of it laying flat, so I thought I’d share some of that with you today!
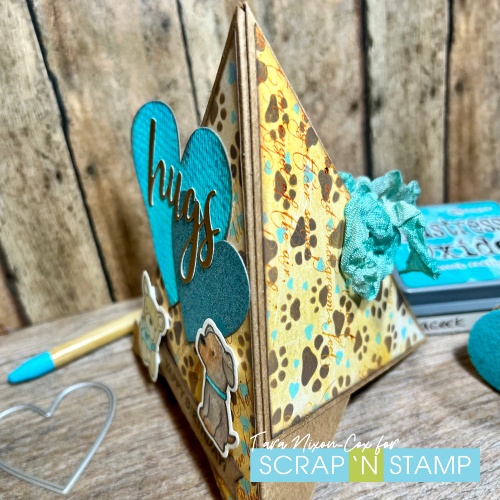
Here’s another angle of the pyramid card, showing how it ties closed at the back.

My card was formed from 3 squares (mine are 4 1/4″) which are scored diagonally.  The decorative pieces are cut from 4″ squares and I’m using 3 triangles on this card.  You also need two pieces of ribbon to tie it shut, but you could also use magnets or velcro or some other kind of closure!

Here is a photo the flat lay of the card- start with the square on the left and layer a second square against the score line, then repeat with the third square as shown.  From here I suggest folding the card into a pyramid and marking where you will need to adhere your ribbon so it matches to tie together.  You’ll want to adhere the ribbon underneath the decorative panels, so start with the ribbon then decorate!  (You can catch the live tutorial of the pyramid card on the Scrap ‘N Stamp Facebook page!)
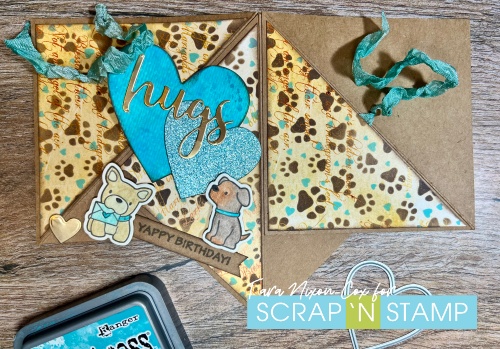
Simply fold the card in half to mail it- this size fits in a 5×7 envelope.  I’m still experimenting with sizes to figure out what fits perfectly in an A2 envelope!
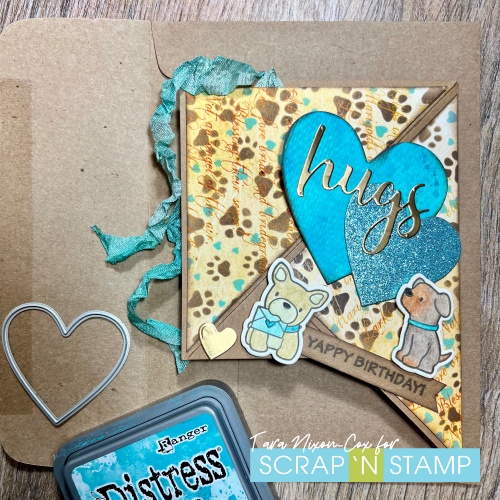
Here’s the details & links from how I decorated both cards:

I kept the decorating pretty simple on this one because I didn’t want to distract from the design and I also didn’t want to cover up the paper I stenciled!  I started with a vintage letter print from the new 6×6 pad by IO and layered on the Puppy Love Layering Stencil by Taylored Expressions.  I chose to use Distress Oxide Inks because the patterned paper has a slightly glossy coating on it that I knew regular Distress Ink would not work on.
I’ve used Puppy Play stamp & die set, coloring the pups simply with Distress Watercolor Pencil Crayons and stamped the sentiment on a strip of Kraft cardstock, to match my pyramid card base.
I die cut some of the Prism Nesting Hearts from scraps I had on my workspace.  The card still seemed to be missing something, and bling was not doing the trick for me this time (so weird, it is almost always the right finishing choice!) so I die cut the word ‘hugs’ from some brushed gold foil cardstock, and a tiny heart as well for my finishing touches!
Hope you like the card and this little tutorial was helpful!  It’s really quite simple to assemble and very fun to decorate!
Inky hugs,
Tara

Tuesday with Tara {take 430} Yappy Pyramid Card Read More »

Tuesday with Tara {take 425} Peace, joy & peach fuzz!

Happy Tuesday & Happy New Year 2024!

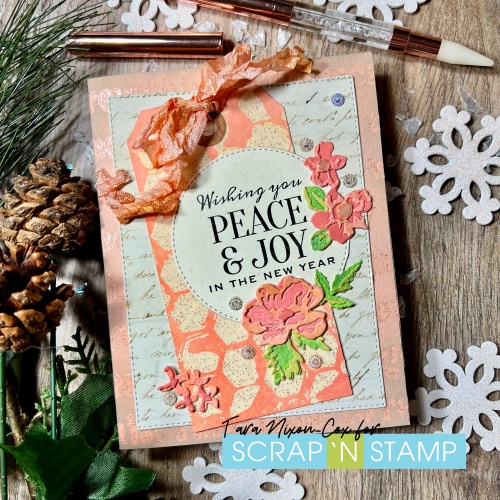
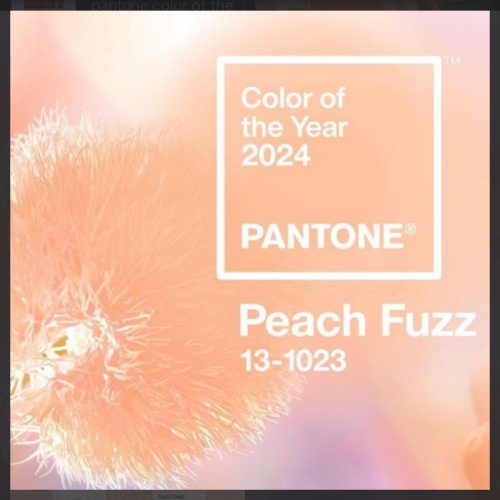
For the past several years, I’ve enjoyed challenging myself to make a card featuring the new Pantone Color of the Year.  This year it’s called “Peach Fuzz” and it was a bit of an extra challenge for me… but this is what I came up with!

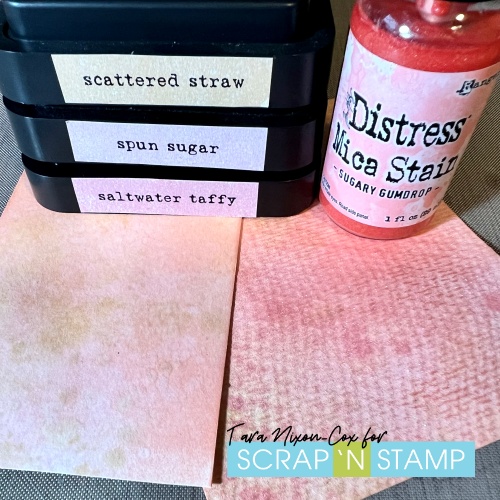
The hardest part of this challenge for me can be finding the perfect color to use.  Since Distress Ink is a favorite of mine, it’s usually where I start.  I was thinking that Dried Marigold would be a great place to start, but it seems that’s one of the many items I still have packed away somewhere (definitely going to resolve to get my studio unpacked & organized this year!).  So, I started grabbing inks to see what I could blend together to get the right color.  Here’s what I need up going with:

I used a combination of Scattered Straw, Spun Sugar & Saltwater Taffy with some Sugary Gumdrop Mica Stain on top of the blend on some watercolor paper.  I also had some coral cardstock which I used as my third piece for variety. I selected a few of the mini brushstroke flowers  and cut them from each of the 3 papers so I would have some extra variety when layering the pieces together.

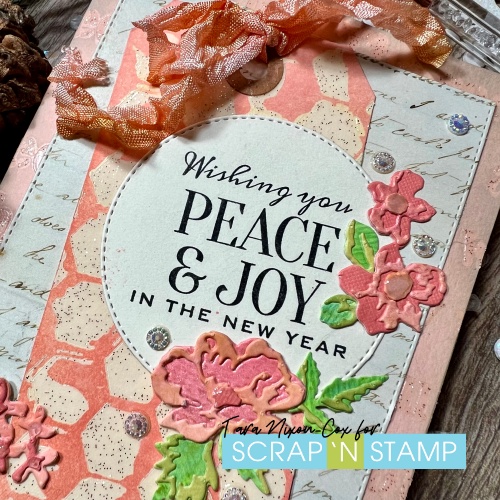
I paired the flowers with a sentiment is from an older Christmas stamp set by Tim Holtz called Festive Overlay– it has a great variety of smaller images & sentiments.  I always love when there is a good New Years sentiment since I’m so bad at actually sending Christmas cards in the mail…

I stamped on an ivory cardstock which I die cut with Prism Nesting Stitched Circles.  It’s layered onto a tag which I inked up using the same colors over a stenciled design I did with some sparkle paste.  Under that is a die cut piece of patterned paper cut with Prism Nesting Rectangles.  This paper is from an awesome new 6×6 pad called Vintage Letters and its got 12 different beautiful neutral papers.  The card base is a peachy piece from my stash which I used the same sparkle paste to stencil onto.

For finishing touches, I added some crinkle ribbon (which I inked up using a mix of Saltwater Taffy & Scattered Straw) and some sparkly fallback bling which came in a “Polar Wind” embellishment mix.

I had fun making this peach fuzz card – and it’s not the only one I made.  Visit my blog or instagram page to see another!

Wishing you many creative days in 2024!

Inky hugs,

Tara

Tuesday with Tara {take 425} Peace, joy & peach fuzz! Read More »

Tuesday with Tara {take 422} Christmas Sweater

Happy Tuesday!

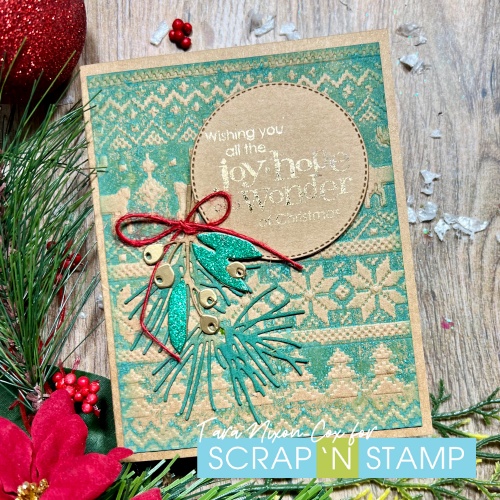
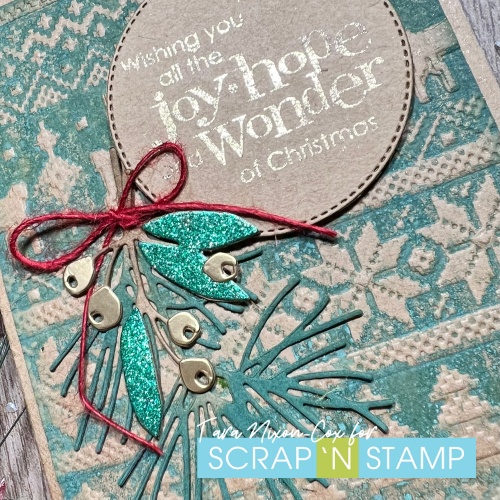
I’ve been having fun creating backgrounds with the new Holiday Knit Texture Fade by Tim Holtz.  I inked the front of the embossing folder with some Distress Oxide Ink (for this card I’ve used Rustic Wilderness) and didn’t do much else besides add a bit of ink to the edges!  I embossed a panel I had pre-cut to give me an even border around the card front.

For this card, I paired my background with some greenery from the Festive Gatherings die set and added touches of glitter & gold.  I’ve once again used a foiled sentiment using the new Stick & Shine Xmas Classics sentiments Metallic foil by Penny Black!  I think I’ll be using these on quite a few of my cards this year (yes, I’m one of those people who is still making them…). Don’t you love the shimmering touches and the texture on the background?  I’ve also used one of the Nesting Stitched Circle dies by Prism Studio- there’s so many sizes they are perfect for almost everything, and the stitched edge gives a nice nod to the sweater pattern!

For a bit of contrast I tied my greenery with a small bit of red jute string.  It’s a nice finishing touch, I think!

Inky hugs,

Tara

Tuesday with Tara {take 422} Christmas Sweater Read More »

Free Shipping Anywhere In Canada