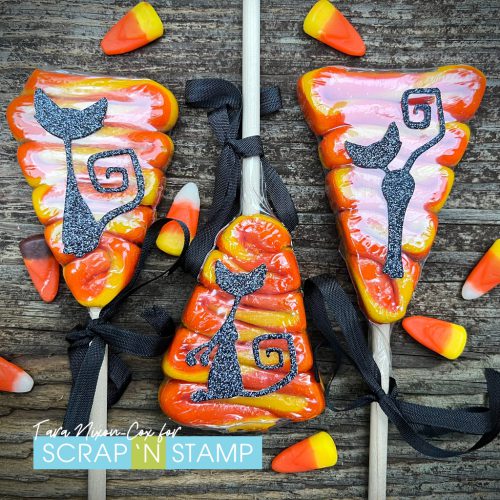
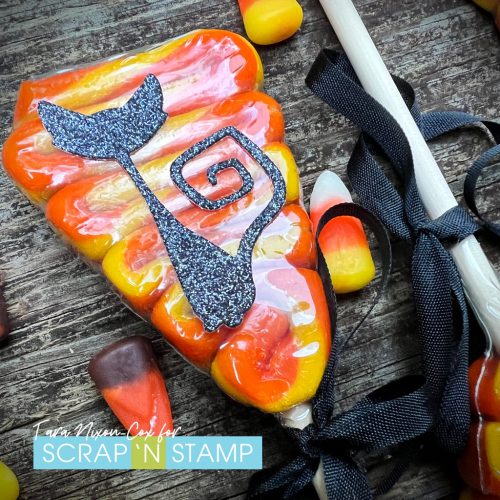
Tuesday with Tara {take 415} Sweet Treat Bags!
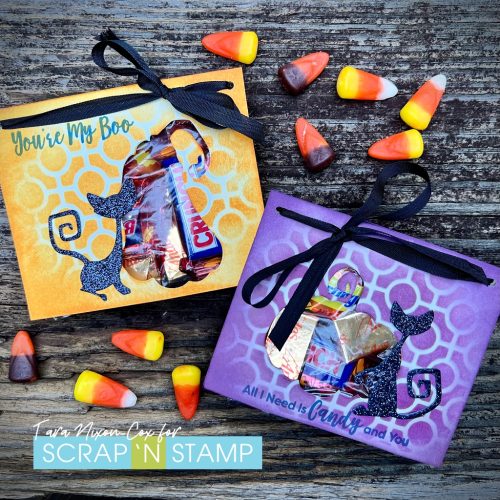
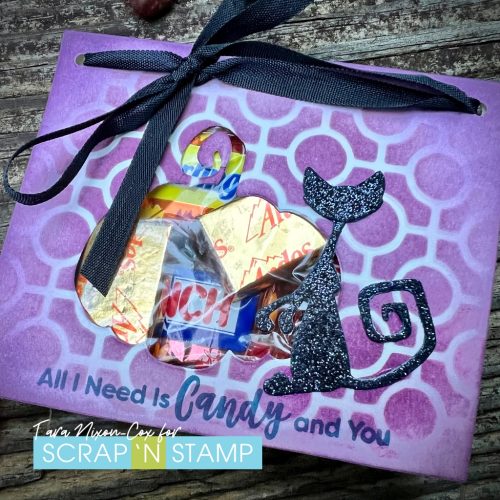
For the background I trimmed and scored the panel to the size I wanted (slightly larger than the plastic treat bag I filled with candy & tucked inside). I used a blending tool to ink around the edges to start, then added more color over the entire panel through the linked circle stencil. The fun finishing touch on these is the Sassy Spooktacular Sentiments by MFT- there’s so many fun ones in this set, I really wish I had more Halloween images to work with (who knew I’d grow to enjoy Halloween makes?)!
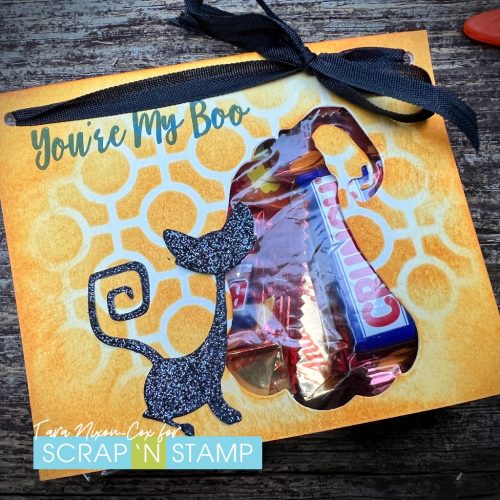
I used small treat bags to fill with candy, then put them in place with adhesive tape before folding over the Cardstock and punching holes for my ribbon. I forgot to take a photo of the back of these, but it’s really nothing fancy- just a rectangle of cardstock folded over a bag. You could definitely make it a bit fancier by creating a triangular pouch with scores at the bottom so it stood up, but these are super simple and perfect to go in my little treat bucket!
 These little goodie bags went together pretty quick & easy and are such a fun way to add a handmade touch to your Halloween Treats! We don’t get many trick-or-treaters at our house, so it was no problem making enough to go around 🙂
Hope you have a sweet day!
Inky hugs,
Tara
Tuesday with Tara {take 415} Sweet Treat Bags! Read More »