Scratch-N-Stamp
Search

Checkout

Keep up with Sales, New Products and other events at Scrap `n Stamp. Sign up for our newsletter now!

What's New

Hot Deals


tag

Tuesday with Tara {take 41}

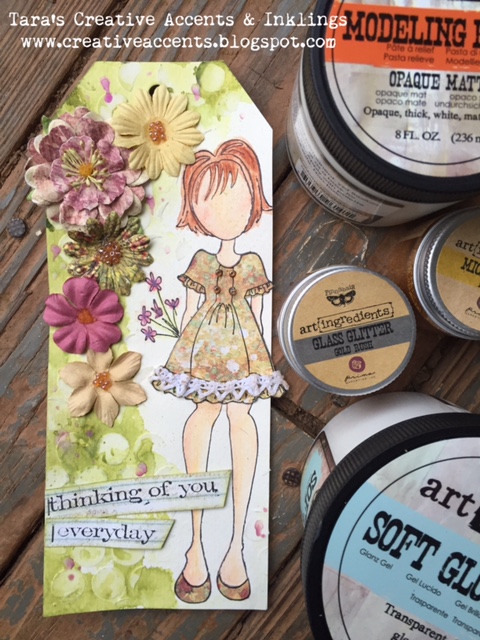
Happy Tuesday!  I hope your week has been off to a creative start… and if not, Monday’s don’t really count anyways, so it’s not too late 🙂  I brought home some new Distress Crayons recently and took a little time to do some playing… here’s what came out of my first bit of creative play with them!  I’ve had butterflies in my yard already this spring and their vibrant yellow wings got me started on this project…

crayon tag (2)

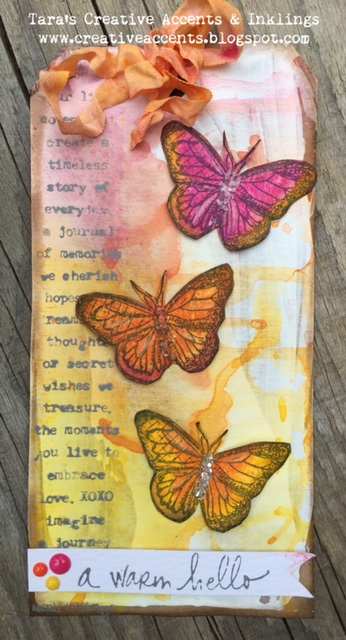
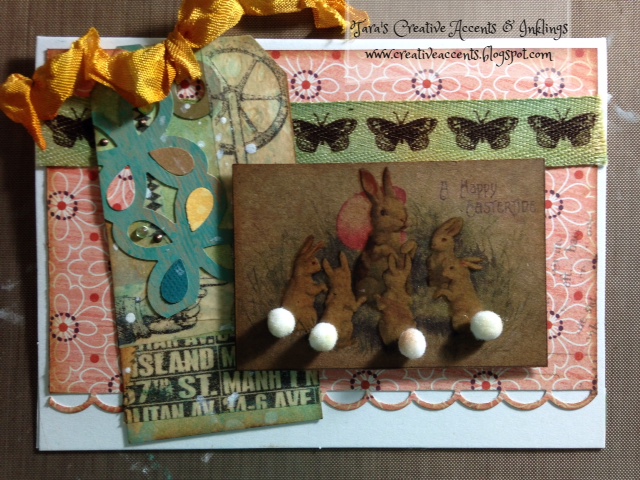
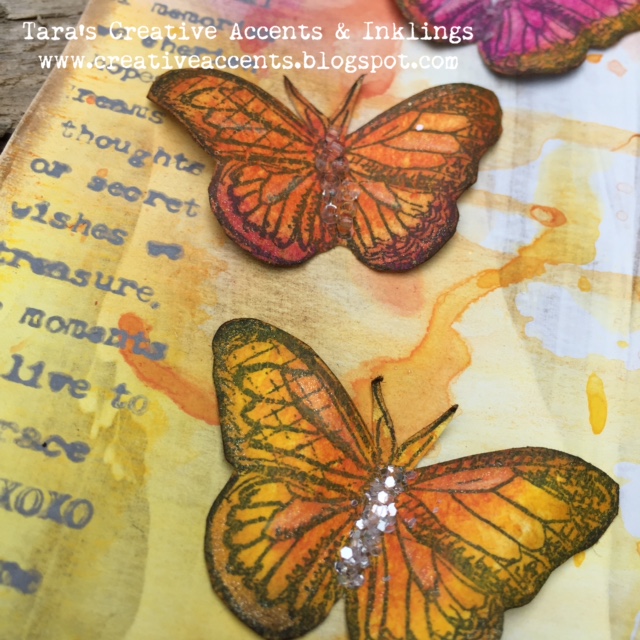
I started with some butterflies (mini blueprint stamp by Tim Holtz) stamped onto watercolor paper.  I pretty much scribbled Distress Crayon onto them, using just 2 colors on each, and blended it out with a wet paintbrush.  It was interesting to see how fluid they were and how easily they were watered down.  The color spread across my image nicely, but it still retained some of that crayon like texture.  I added a bit of highlights with the secondary color, layering it in some places to increase intensity.  It’s a pretty quick way to color up an image!

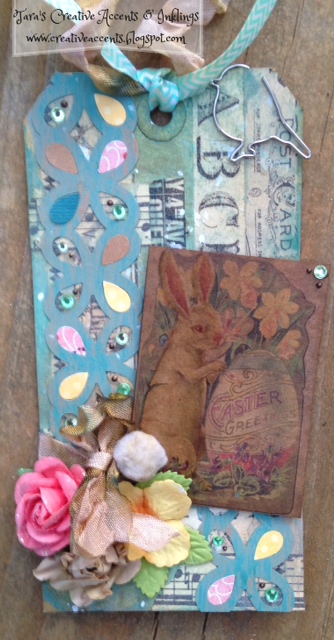
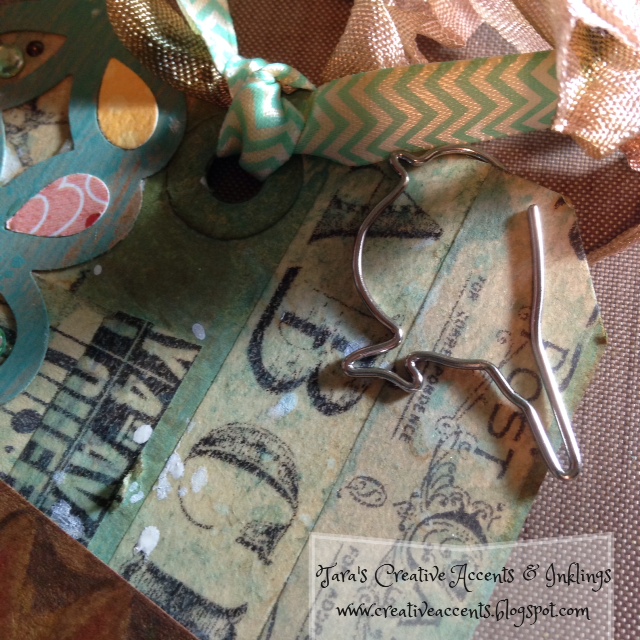
My background was also made with Distress Crayons- I started with a kraft tag I had prepped by painting with white gesso.  I like this look and I’m glad I did up several of these, they will be fun to play with!  I scribbled the same three colors of Distress Crayon quite heavily across the left side of the tag, about an inch thick, moving from pink at the top to yellow on the bottom of my tag.  I then spritzed with water and smeared the color with my fingers to get it moving.  Distress Crayons won’t start moving on their own, so they need a little help!  Once they started to mix with the water I sprayed more water and lifted the tag so colors dripped across it.  While there were still puddles, I took my heat gun to it so I could keep it those drippy lines!  I really like how this turned out and will be playing with other color combinations for sure!  I took some skinny crinkle ribbon and used it to mop up the color that was on my craft sheet, then crinkled it up and set it aside to dry.

crayon tag (5)

crayon tag (3)

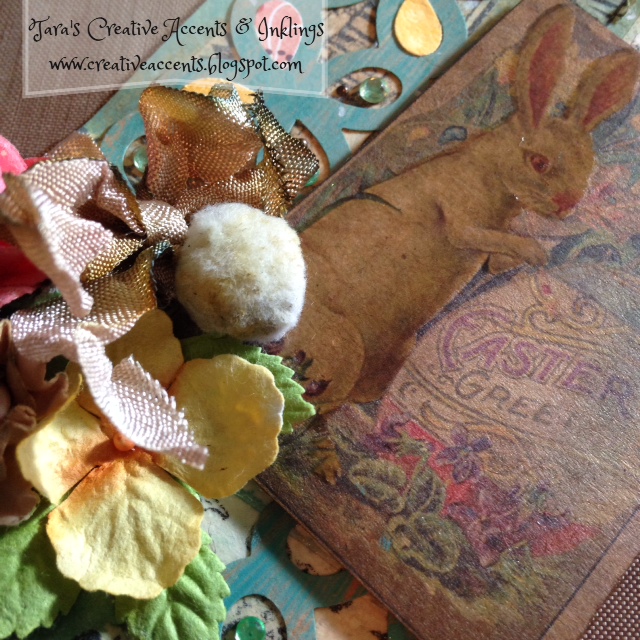
I used Distress paint on my sentiment/background stamp along the side of the tag, as well as on the ‘warm hello’ sentiment flag I added to the bottom of the tag.  I decided to use three different glitters/beads on my butterflies as well as adding a bit of detail with a white pencil crayon and a clear glitter pen.

crayon tag (1)

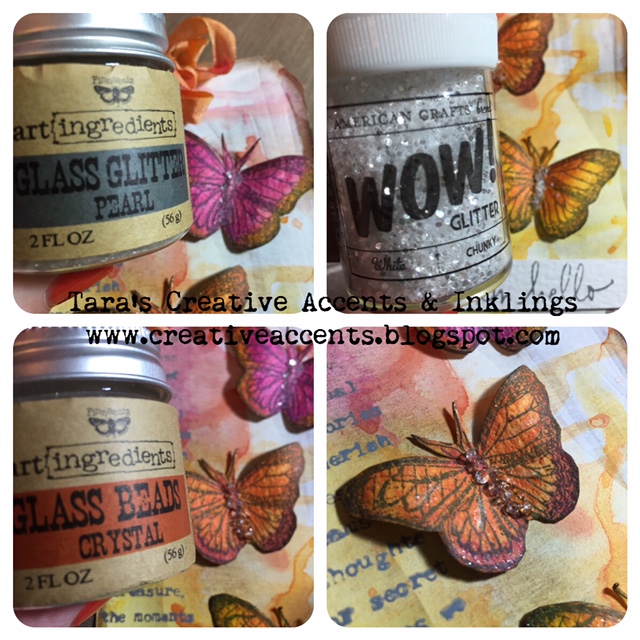
The butterflies were curled with my fingers before adhering to the tag- I put some foam adhesive under the wings and used Glossy Accents on the body so it would lay flat and increase the dimension of the wings.  Glossy Accents was also my adhesive for the glitters!

crayon tag (4)

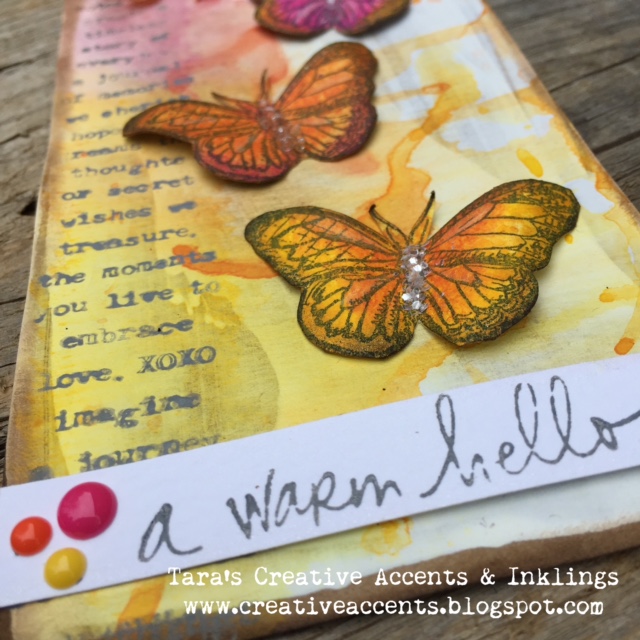
The sentiment is an old one by Hero Arts (I still love some of their wooden sentiment sets!) and the enamel dots are also from my stash.  Hope you like my tag, it was fun to experiment with Distress Crayons and create something pretty 🙂

Materials used:

Distress Crayons– vibrant set 🙂

kraft tag

white gesso

mini blueprints 2 Tim Holtz stamp set (or any butterfly stamp!)

stuff to say Tim Holtz stamp set

watercolor paper & paintbrush

Black Archival Ink

Assorted beads/glitter/bling

Distress Paint, Hickory Smoke


Thanks for stopping by!  Leave me a comment and you could win a pretty butterfly stamp to inspire your creativity 🙂  Have you tried creating with Distress Crayons yet?


Tuesday with Tara {take 41} Read More »

Tuesday with Tara {take 38}

prima doll tag (1)
Have you heard the news? Prima is in the house! There are a ton of fabulous new products listed in the online store, and it’s heavy with fabulous Finnabair goodness!   The tag I’m sharing with you this week has a few of those new items used on it,  plus several other great Prima products, but there are so many others that I would love to have in my hands to play with!

Two of my favorite products to use as flower centers are the art ingredients micro beads in “pollen” and glass beads in “plum” both of them look amazing when you dab a bit of soft gloss or matte gel in the center of a flower and place a few beads in it.

prima doll tag (5)

prima doll tag (4)

Seed beads make fun little accents like buttons on dresses!

prima doll tag (3)

The background of my tag was created with the Art Basics Modeling Paste through a stencil, applied along one side of a watercolor tag beside the Julie Nutting doll I had stamped on the other side of the tag.  I like to stamp first when I’m doing something like this so I can apply paste around it, though if you are mass producing you can get a feel for where the paste fits best and do it first 🙂  Once the paste was dry I used Prima’s watercolor brushes to blend out some color I added directly from a Distress Ink Pad (Peeled Paint).  I like the brushes ability to give as much or as little water as you want, and I wanted to take advantage of the drippy look you can get on watercolor paper!  (You can get a similar effect if you try out any of the new resist papers or canvas pieces that are new in the shop… so many awesome ones!)

The doll was colored with watercolor pencils and the dress paper pieced from patterned paper (6×6 pads and smaller are great for this because the patterns tend to be on a smaller scale) and a bit of lace trim was added to finish it off.

Here’s another look at the whole tag:

prima doll tag (2)

And I’ve got another giveaway, ending Sunday March 27.  Simply comment on this blog post or on our pinned facebook page post for a chance to win.  Please leave any comment you like, as simple as YES you want some new Prima goodies too 😉Prima prize 1Here’s the prize you could win this week!   Some Ephemera and a clear stamp 🙂
Good luck!  Please tell your friends about the giveaway and be sure to check back to see if you won!

Inky hugs,

Tara

Tuesday with Tara {take 38} Read More »

Tuesday with Tara {take 36}

Happy Tuesday!  It’s becoming clear to me that Easter is early this year… so I thought I’d share a bit of Easter inspiration with you today!  This is a tag I made inspired by techniques by Tim Holtz, I’ve always loved his ’12 tags’ series and taking the techniques to create my own unique tag using the materials that I have on hand.  I’ve been a bit slack keeping up with them… but as I look at projects from previous years, it inspires me to continue!  And I have to say I love his ‘remix’ theme this year, giving a fresh take to older tags!

AprilEasterTag

Here’s the tag that inspired mine- as you can see I made a few changes, including adding an Easter image, which is an image from one of Tim’s seasonal paper pads.  I did follow the background technique (using tissue tape, Distress Paint & Distress Ink), so you can check that out on his blog since he’s already given excellent instructions 🙂  I used a paper punch that had a similar design to the die and assorted Prima flowers instead of creating my own.  Of course I added some Crinkle Ribbon into the mix!  Here’s a couple close ups for you:

AprilEasterTag2

AprilEasterTag1

And here’s a bonus card I created with extra supplies from my tag:

AprilEasterMini

I love using those extra bits to create a mini tag, and then turning it into a card 🙂

This week I’ve got another giveaway… a little something to help inspire your spring creativity!  But first, here’s who won last week’s giveaway:

Heather!

You are this week’s random winner of some Distress Watercolor Cardstock 🙂  Contact us with your mailing address and we’ll send it your way!

How about a chance to win a Memory Box die?  Just comment and let me know your favourite spring flower and you could win this little cutie:

mbx-99-360_1053_detail

As we’ve been doing the last few weeks, you can get an extra entry on our facebook page as well!  Look for the question on the current pinned post!

Have a creative week,

Inky hugs,

Tara

Tuesday with Tara {take 36} Read More »

Free Shipping Anywhere In Canada