Scratch-N-Stamp
Search

Checkout

Keep up with Sales, New Products and other events at Scrap `n Stamp. Sign up for our newsletter now!

What's New

Hot Deals


Author name: Kia Gibson-Clapper

My Neighbourhood

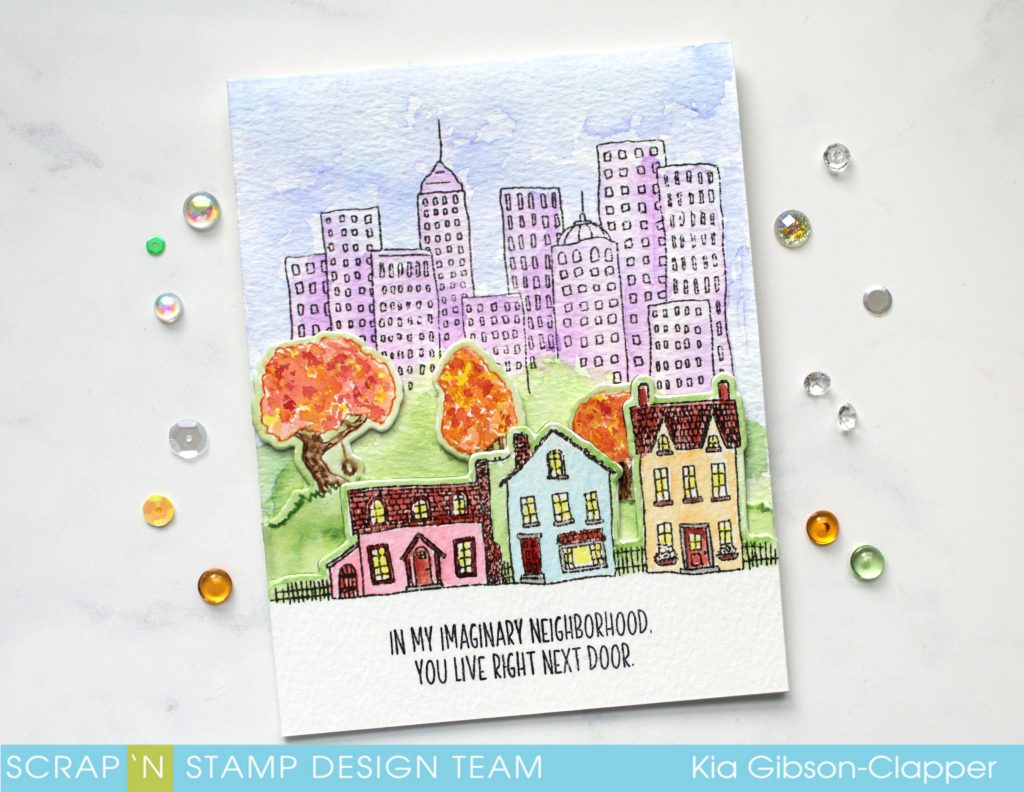
Hello. Kia here with you today to share this card I made using stamps and dies from Concord & 9th called City Stacks.

My inspiration for my card comes from my neighbourhood.  I am an apartment dweller, who fortunately overlooks a beautiful old street that has homes which were built in the 20’s and 30’s. They are huge homes with beautiful old trees and wonderful landscaping. And, fortunately, we do not have any other apartment buildings that block the views. And, as you can imagine, autumn is stunning in my neck of the woods.

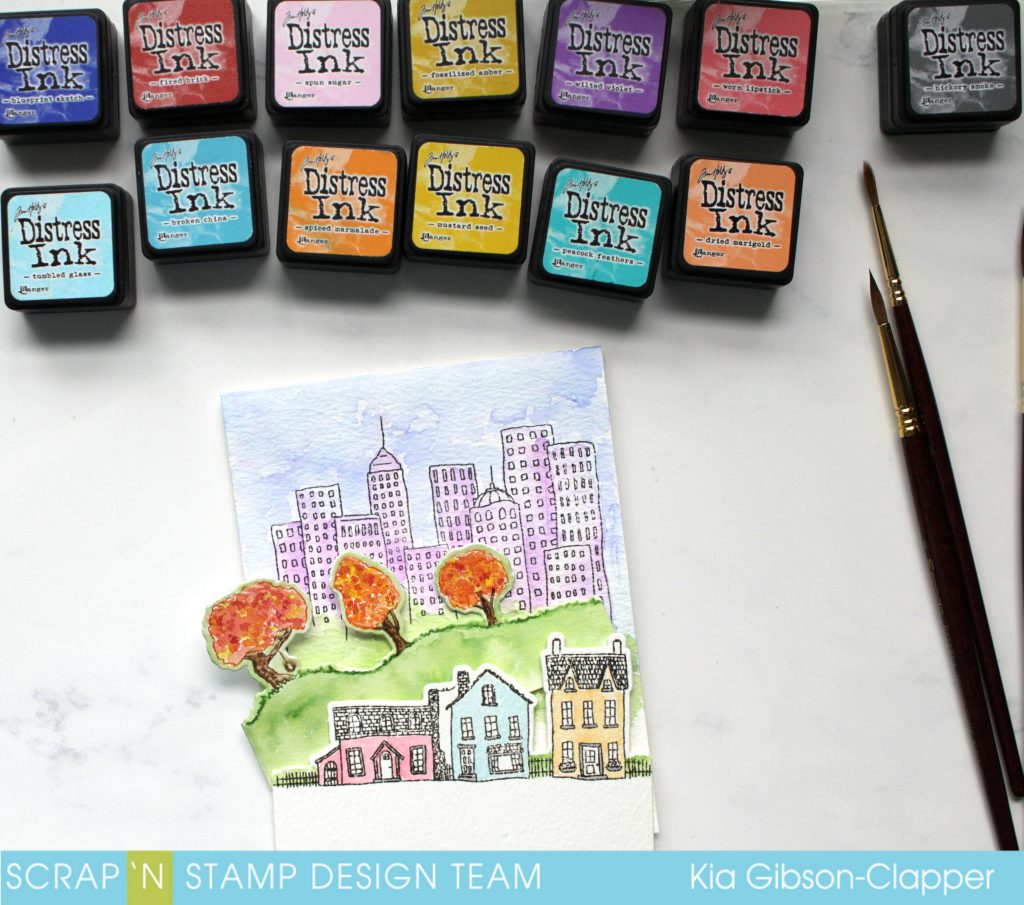
I am using Arches cold press watercolour paper for my card today, but any watercolour paper can be used. I am also using distress inks for this card. I have both the markers and mini cubes, and if I am missing a colour in one, I will have it in the other.

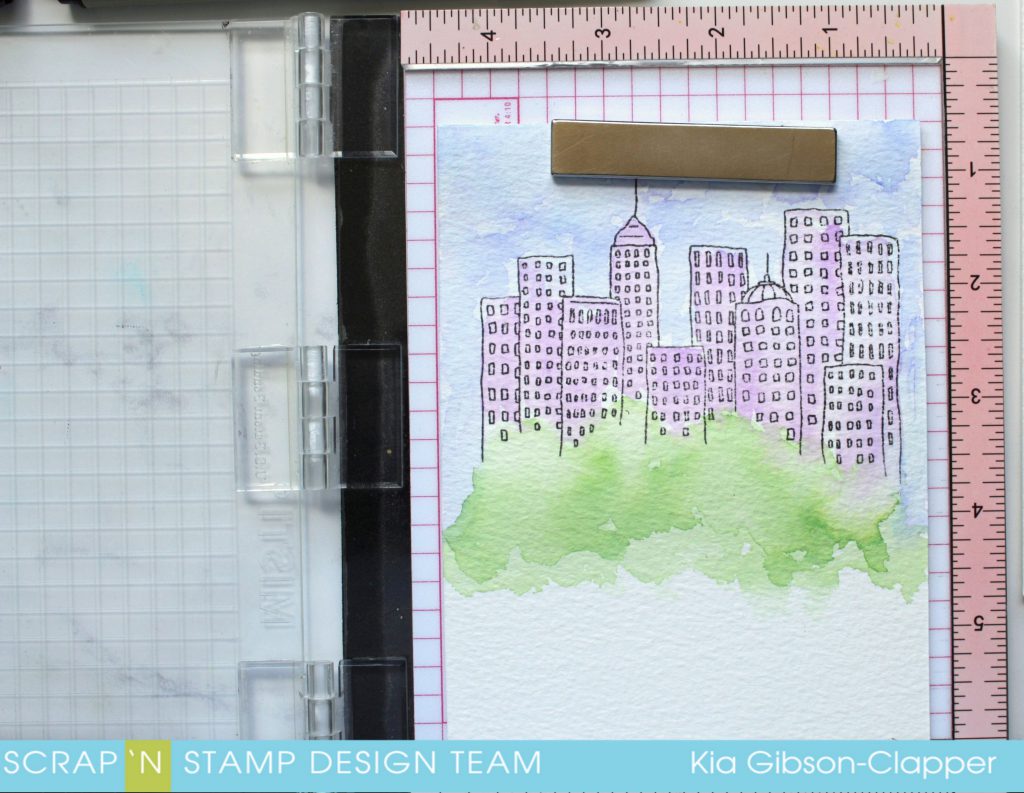
I started by stamping the building using jet black ink, then painted the sky using tumbled glass and blueprint sketch. I then did the building using wilted violet. The green is the background that will show when I attach the tree stack, so I have painted it using mowed lawn.

I then stamped and die cut the tree line stack, keeping in mind that this stack will be behind the row of house, so I cut my paper accordingly. As I do not want a lot of bulk here, I go along the bottom of my cut piece with my bone folder, which flattens it somewhat, therefore not adding extra bulk. I then watercoloured the grass with the mowed lawn, and the trees I did using dried marigold, fozzilized amber, spiced marmalade and a bit of candied apple.  I also went around the trees with the mowed lawn as I did not want any of the white showing.

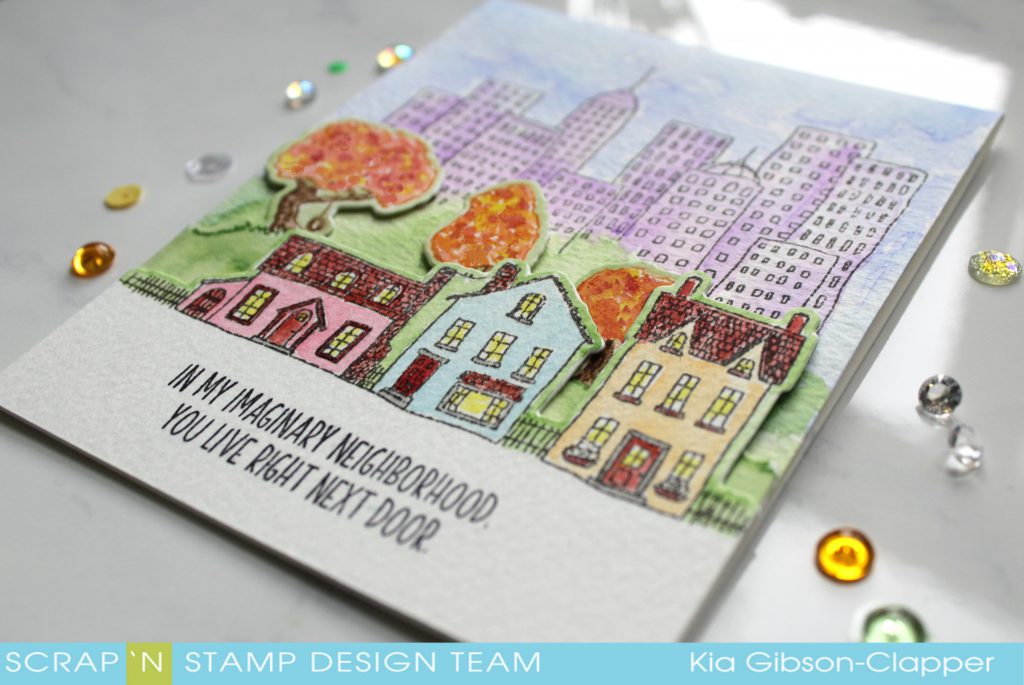
I then moved on to the house, stamping and die cutting the piece to allow for my sentiment. I painted the houses in worn lipstick, tumbled glass, dried marigold and used fired brick for the doors and roofs. I added squeezed lemonade in the windows for light. I have some hickory smoke on the window ledges and steps. And, it is while I am typing this and looking at the card below that I realize I did not paint the flowers in the window boxes. Well, the flowers were pulled to make way for the coming autumn. 🙂

I finished my card by stamping one of the sentiments from the set in jet black ink. So, in the end this is a three layer card, yet it does not feel like it has that many layers.

I hope you have enjoyed this card today and thank you for visiting. The products used today can be found in the store, I have also listed them for you below.


My Neighbourhood Read More »

Sending you love

Happy Sunday everyone.

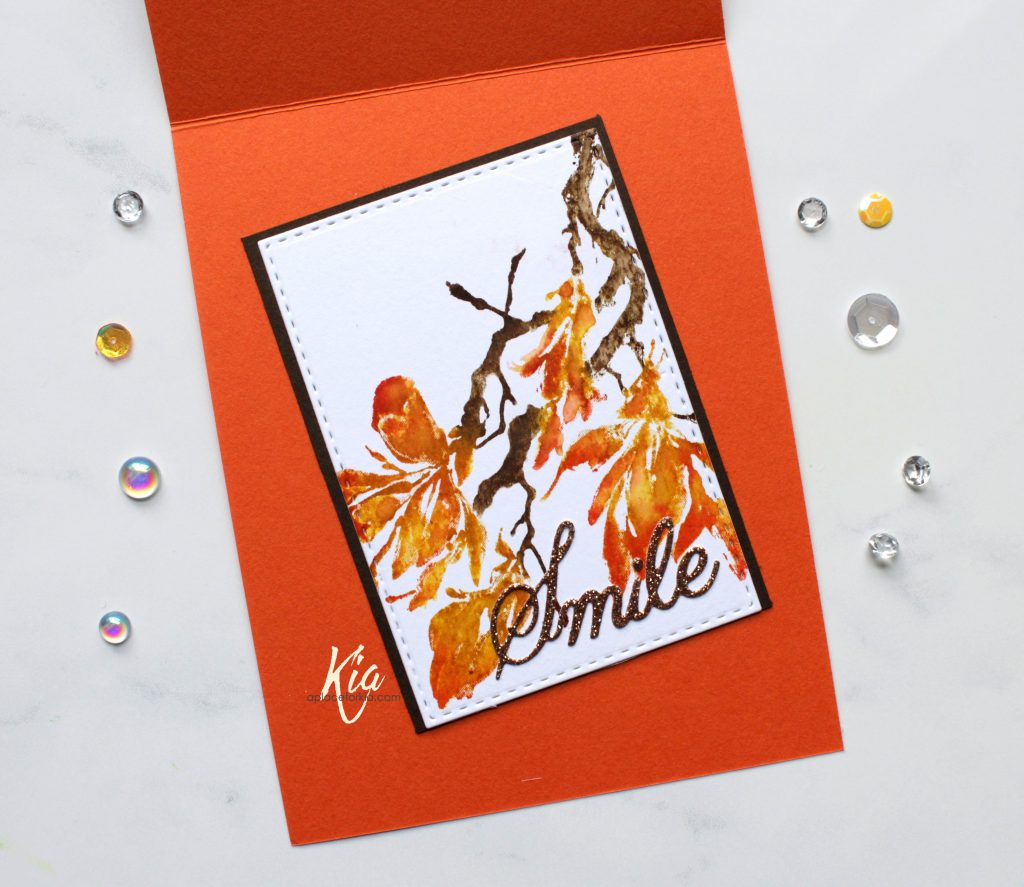
Kia here with you today to share this card I did using a Penny Black Stamp called Effulgent. The word Effulgent means “brilliant, shining brightly, radiant”, so I thought I would use colors that are brilliant and radiant to me.

This stamp is a Penny Black Brushstroke stamp, meaning the image is carved so the flower is a full image and can be coloured with markers before stamping. A stamp positioner is a must, in my humble opinion, for this type of stamping. I used my Misti to do this card.

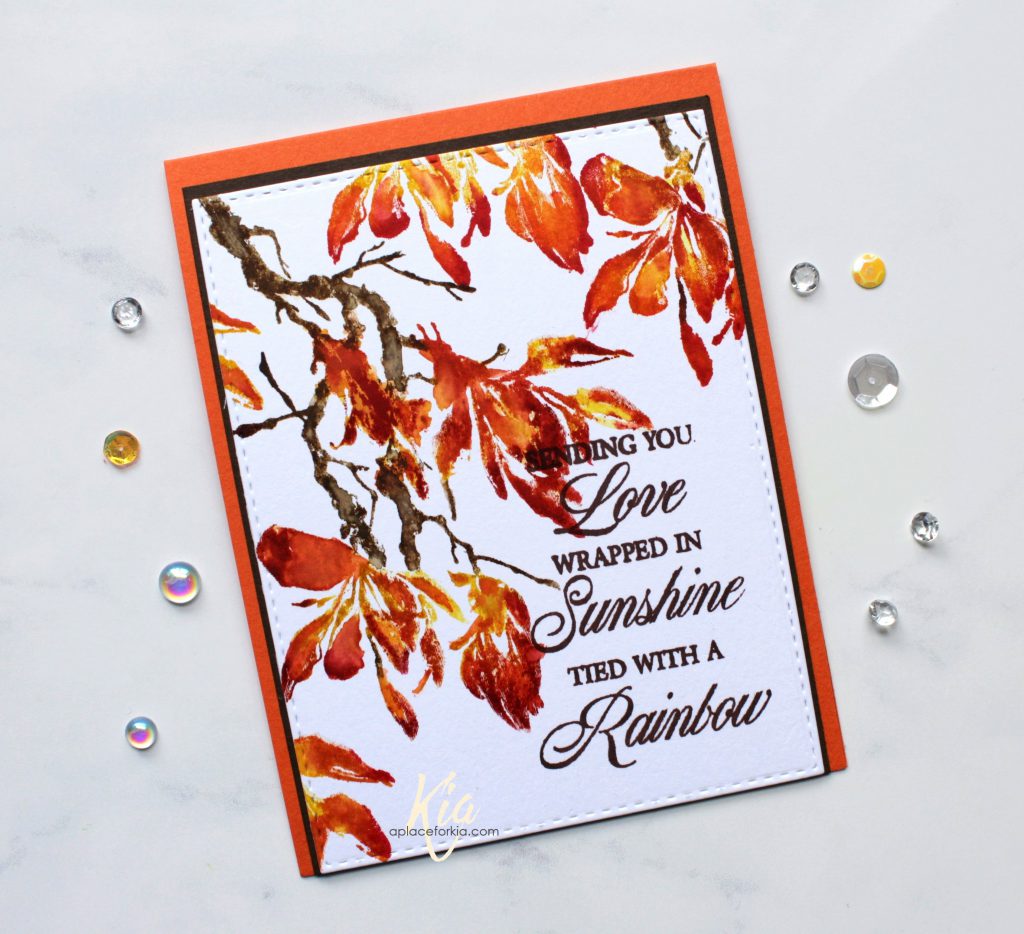
On the backside of Ranger Distress watercolour paper I first stamped the image coming from the left top corner downwards. I used Tim Holtz Distress Markers to do my colouring, and started with Mustard Seed. I coloured all the areas with the flowers and spritzed lightly, just once, before stamping. I then went in with my paint brush to smooth the stamped impression. I then coloured with Ripe Persimmon, doing the same thing as I did with the Mustard Seed. And finally I finished the flower portions with Festive Berries, which I added to the tips and around some of the edges. Then on to the branches I used Gathered Twigs and Forest Moss.

I then positioned my stamp to have flowers coming from the top of the card, and also added a few coming in from the left of the card, doing these the same way I did the others. Once I finished this panel, I did a smaller panel for the inside of my card.

Again, colouring the stamp and spritzing lightly before stamping. I did not add the festive berries to this image, preferring to have the yellow and orange only. Once stamped, I again went over the image with my damp paint brush to smooth the paint out.

To complete my card I stamped my sentiment on the front panel using Ranger Archival Sepia ink and framed the panel in a dark brown cardstock and using a medium orange colour for my base. I die cut the smile sentiment from copper glitter paper to finish the inside of my card.

I hope you have enjoyed this card and would like to thank you for visiting the Scap N Stamp blog today.


Sending you love Read More »

Have A Beautiful Day

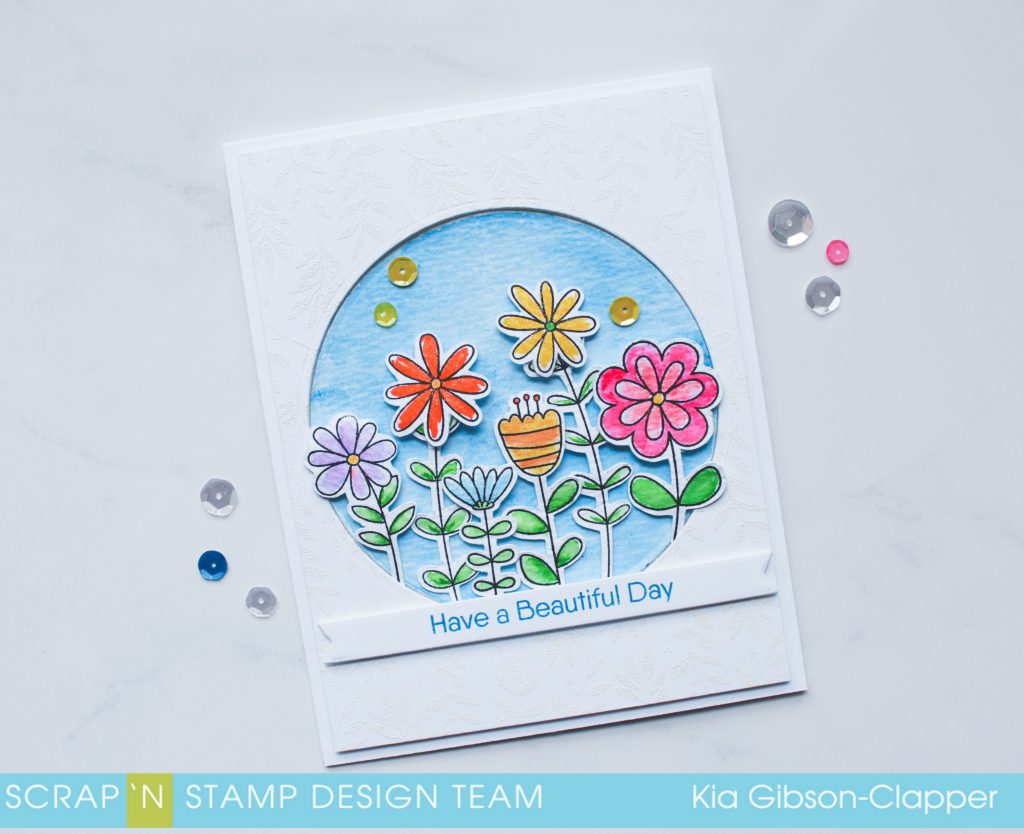
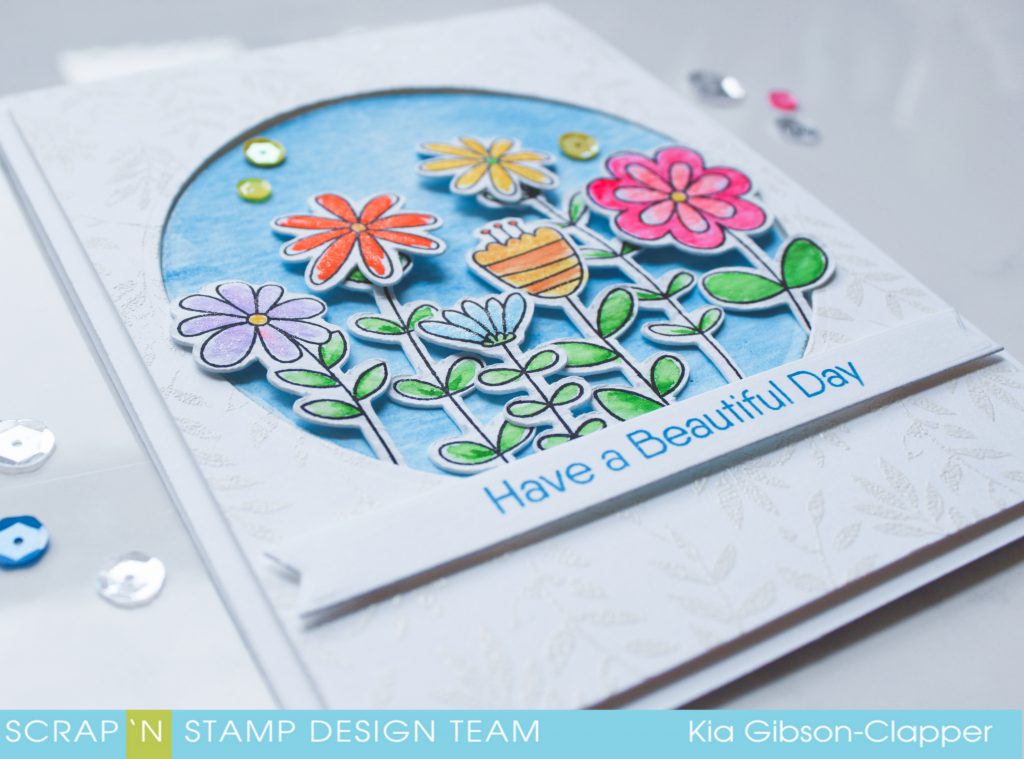
Hello! Kia here today to bring you some flowers from My Favorite Things Love Buds Stamp Set, and Love Buds Die Set.

I started by water colouring the flowers using Zig Clean Color Real Brushes, and once dry went over the flowers with Clear Wink of Stella.

I then moved on to my front panel, die cutting the circle in the panel with my  Spellbinders Circle Die, Large. I wanted to add texture to the front panel, but I did not want it to be distracting, so I stamped my panel using a Hero Arts background stamp called Foliage Bold Prints and heat embossed with Nuvo White Embossing Powder. Scrap’n Stamp doesn’t have this background stamp presently, but most background stamps would work for this. I also die cut a piece of Ranger Distress Watercolour Paper with the circle die and watercoloured in the blue to use for my flower background. I attached the front panel to my card base using fun foam, then dropped the blue circle inside the die cut circle. I styled and attached the flowers using foam dots, then added the sentiment stamped with Ranger’s Manganese Blue on a Lawn Fawn Label Die and finished with a few sequins.

I hope you enjoy this card today, and wish to thank you for visiting.

Have A Beautiful Day Read More »

Free Shipping Anywhere In Canada