Word Prompt Challenge for Fun
Hi creative friend! It’s Deb here, for the Design Team. Today I’m here for the word prompt challenge for “FUN”. Yes, it’s fun, but the word is actually ‘fun’!
BIRTHDAY WISHING
Now, everyone has different ideas of what is fun. It can be an activity, or reading your favourite book, maybe going to a movie. Or, just sitting with friends. I decided to turn fun into a verb, instead of an adjective – with this fun, interactive card!
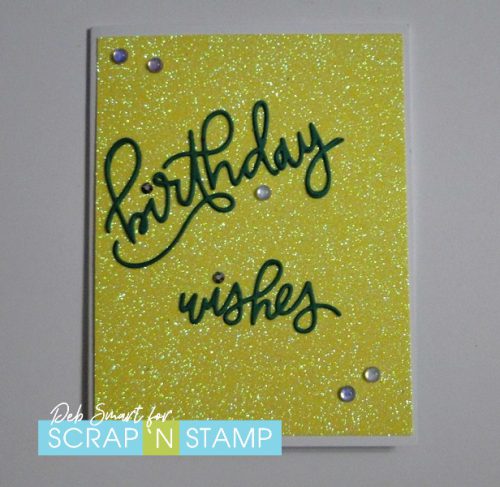
Okay, so the front of the card doesn’t give too much away. The glitter cardstock and embellishments hint at something, though. To create the card front, simply die cut the MFT Birthday Wishes Die-Namics from green cardstock. Glue it onto a piece of Memory Box Glitter cardstock (the pack I have is retired, but there’s new packs in store!). Add some Memory Box Fairy Gemstones (Winter Fantasy), and then attach this panel to your card front.
CARD DETAILS
As I explained, I’ve hurt my back, so I had to figure out a card that would be fairly quick to make. The Photo Play Pop Up Card Kit is a life (or back) saver! This pack includes everything you need to create 6 pop up cards. All you need to add is your creativity, some paper and stamps.
Before following the simple directions to attach the pop up piece, add your coloured cardstock to the inside of the card base. On the left side, I stamped 2 sentiments from the Colorado Craft Company Birthday Wishing stamp set in a dark green ink. Next, stamp the balloon holding bunny from the same set in Nocturne ink, onto a piece of white cardstock. Use your favourite markers to colour him and the balloon – I used my Copic markers.
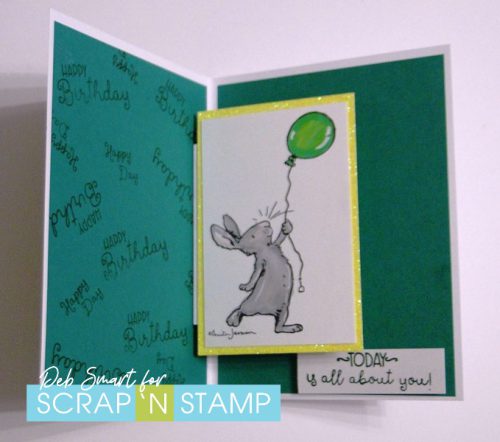
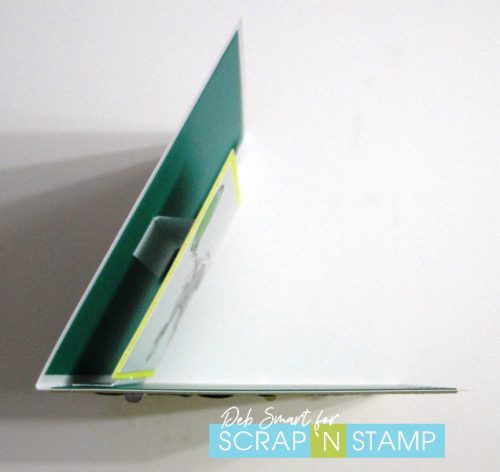
Now you can attach the pop up mechanism to the inside of the card. Next, attach a slightly larger piece of the same glitter paper, behind the bunny, and then attach both to the top of the pop up piece. Stamp another sentiment onto white cardstock, trim, and attach it to the bottom right, below the bunny. The photo below shows how the pop up mechanism looks like, from above.
JOIN THE CHALLENGE
I hope that you’ve enjoyed my card for the word prompt challenge of ‘fun’! And, I hope that you’ll join in on the fun, too. Simply join the Scrap ‘N Stamp Challenge Facebook Group, HERE. Pinned to the top of the page, you’ll find the list of word prompts; there’s a new one for each day of the month. Create and then share a photo of your project to the group, using the hashtag #snschallenge. At the end of the month, one lucky participant is randomly chosen to WIN a $50 GIFT CARD to Scrap ‘N Stamp! It’s just that easy.
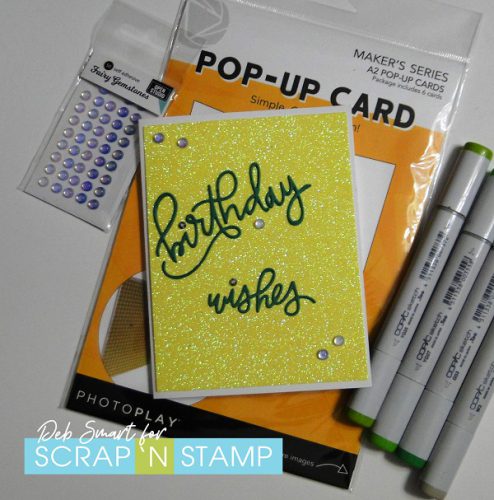
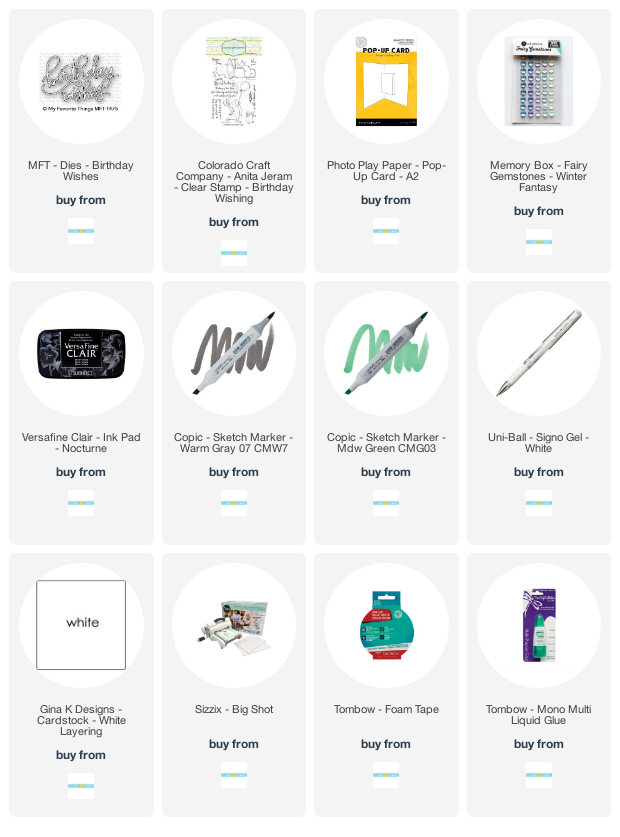
To recreate my card, you’ll find the list of supplies below. When you shop at Scrap ‘N Stamp, be sure to use my Discount Code 10DEB, and enjoy 10% OFF your total order (regular priced items).
Word Prompt Challenge for Fun Read More »


