Tuesday with Tara {take 44}
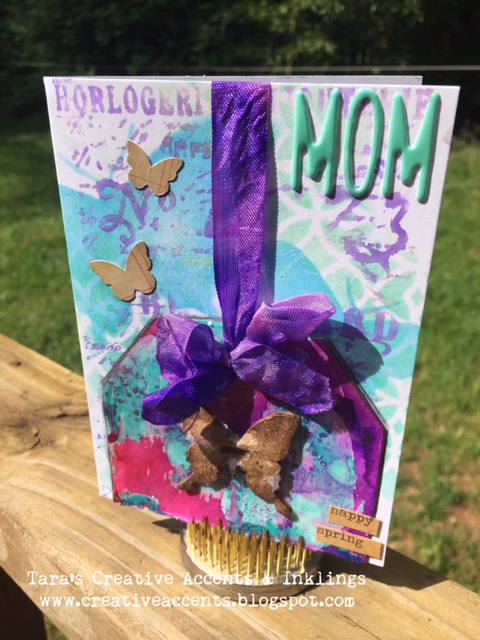
Happy Tuesday! And happy May… and in case it slipped your mind, happy early Mother’s Day! (You’ve still got time to make your mom a card!) My mom is amazing and she’s my biggest fan… yet I’ve neglected mailing a card this year, so here it is online, Mom. I love you- I can’t wait to deliver it in person in a couple weeks!!!

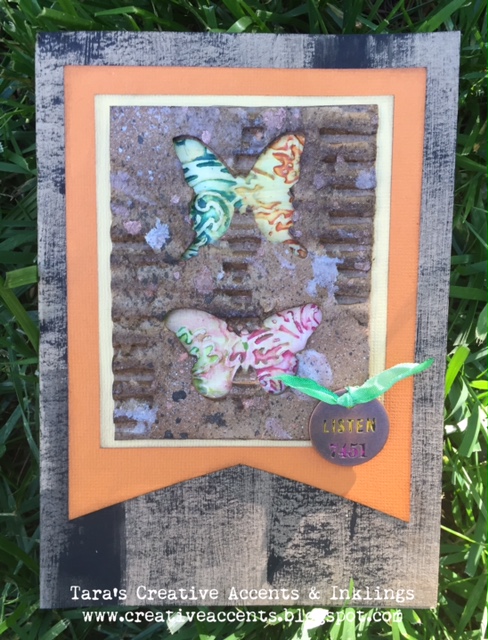
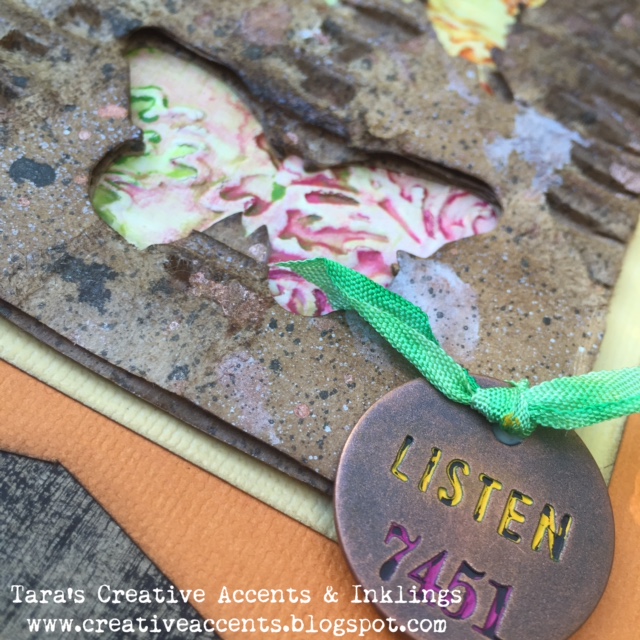
So I’ve been showing you a few things lately that use bits and pieces leftover from previous projects, and today’s card is no exception! You’ll notice a cut out butterfly from last week’s card here, and the tag top started out with some of the leftover glaze from this card. I had simply swiped the glaze onto a watercolor tag and set it aside. Then later on I was playing with Color Burst and added some pink & purple to the background (I then used the purple to ink up some crinkle ribbon!). All this got set aside to be picked up and put together into today’s card! I have a little basket on my work space that (in an ideal world- ha!) I keep all these fun little bits in. Sometimes they inspire a new card or are the perfect addition to one I’m working on. Every now and then I decide they are really ugly and they get tossed out LOL but most of the time I find a way to put them to use eventually! Once I brought together the tag top, butterfly and ribbon I knew I had a great focal point for a card.
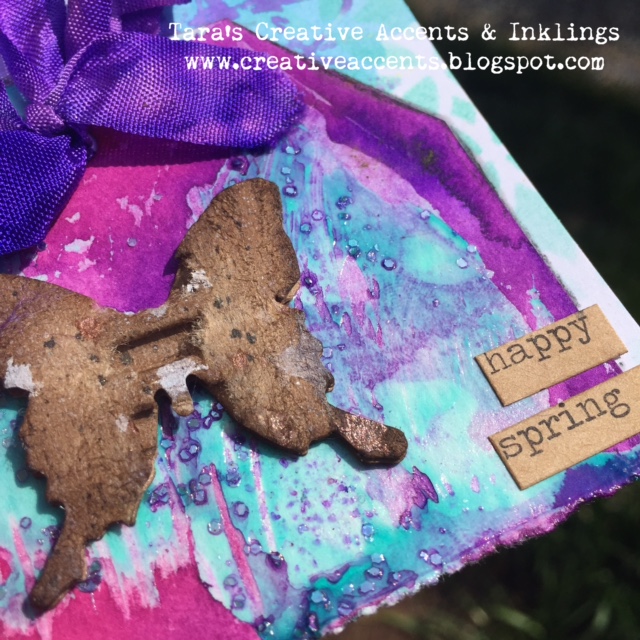
I tried a few different background colors and decided this needed something more, so I pulled out a few shades of Distress Ink, a background stamp (by Tim Holtz) and some stencils (by Tim & Dina). The butterfly mask/stencil by Dina Wakley hadn’t met ink yet, so it became the starting point! My stamp was only partially inked and misted generously with water to give a soft watercolor feel to the background.
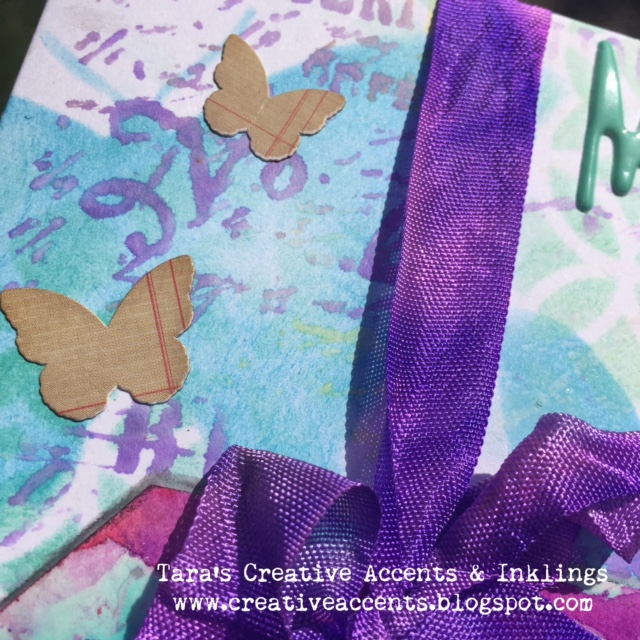
I don’t often use stickers, but you wouldn’t know that from this card! I’ve actually embellished with three different kinds of stickers here. The little butterflies just seemed like a fun addition (I found them on my way to grab a small butterfly die…) and of course, the thickers letters stickers add to the shine and texture on the card.
I hope this cheery little card gives you some ideas for using those little bits you hang on to at the end of a project- you never know what they might inspire you to create next! And don’t be afraid to use non-traditional items (like stickers!) on your cards, sometimes they add just the right touch, and they’re faster to work with than a die cut 🙂 Have a creative day!
Since I used lots of little bits on this card, How about winning some Prima ephemera to add to your stash? Just comment on this post or our facebook page post linking here. Pick a number between 1-100 for your chance to win!
Inky hugs,
Tara
Tuesday with Tara {take 44} Read More »