Scratch-N-Stamp
Search

Checkout

Keep up with Sales, New Products and other events at Scrap `n Stamp. Sign up for our newsletter now!

What's New

Hot Deals


alcohol ink

Alcohol Ink Valentines

Hi Everyone!  My name is Nancy (I’ll be Nancy E on the blog as there are two of us) and I am super excited to be joining to design team here at Scrap ‘n Stamp!  I live in Calgary AB, am a Mom of two grown boys who still live at home and have been married to Bruce since 1991.  My Mom introduced me to stamping in 1996.  My Mom was the queen of crafts… she did everything from sewing to knitting to crocheting to needlepoint to ceramics to paper toile to beading to jewelry making…. I think she tried it all!  So when she told me about this new craft she had found, I admit I rolled my eyes and though “oh no, not another one”.  She showed me heat embossing and I was hooked!  Over the years my style has changed and the amount of time I have to spend on my creativity has ebbed and flowed.  I am very fortunate that a turn of events in 2017/18 led me to find that my creative side was something I wanted to nurture regularly instead of once in a while and I have been creating like crazy since then.


My style is mostly clean and simple… and I hope you’ll find a little inspiration from what I do that might challenge you a little in your creative space!


I don’t often make Valentine’s cards, but I thought that since my first post here was getting close to the big day that I would play a little with some heart shapes.

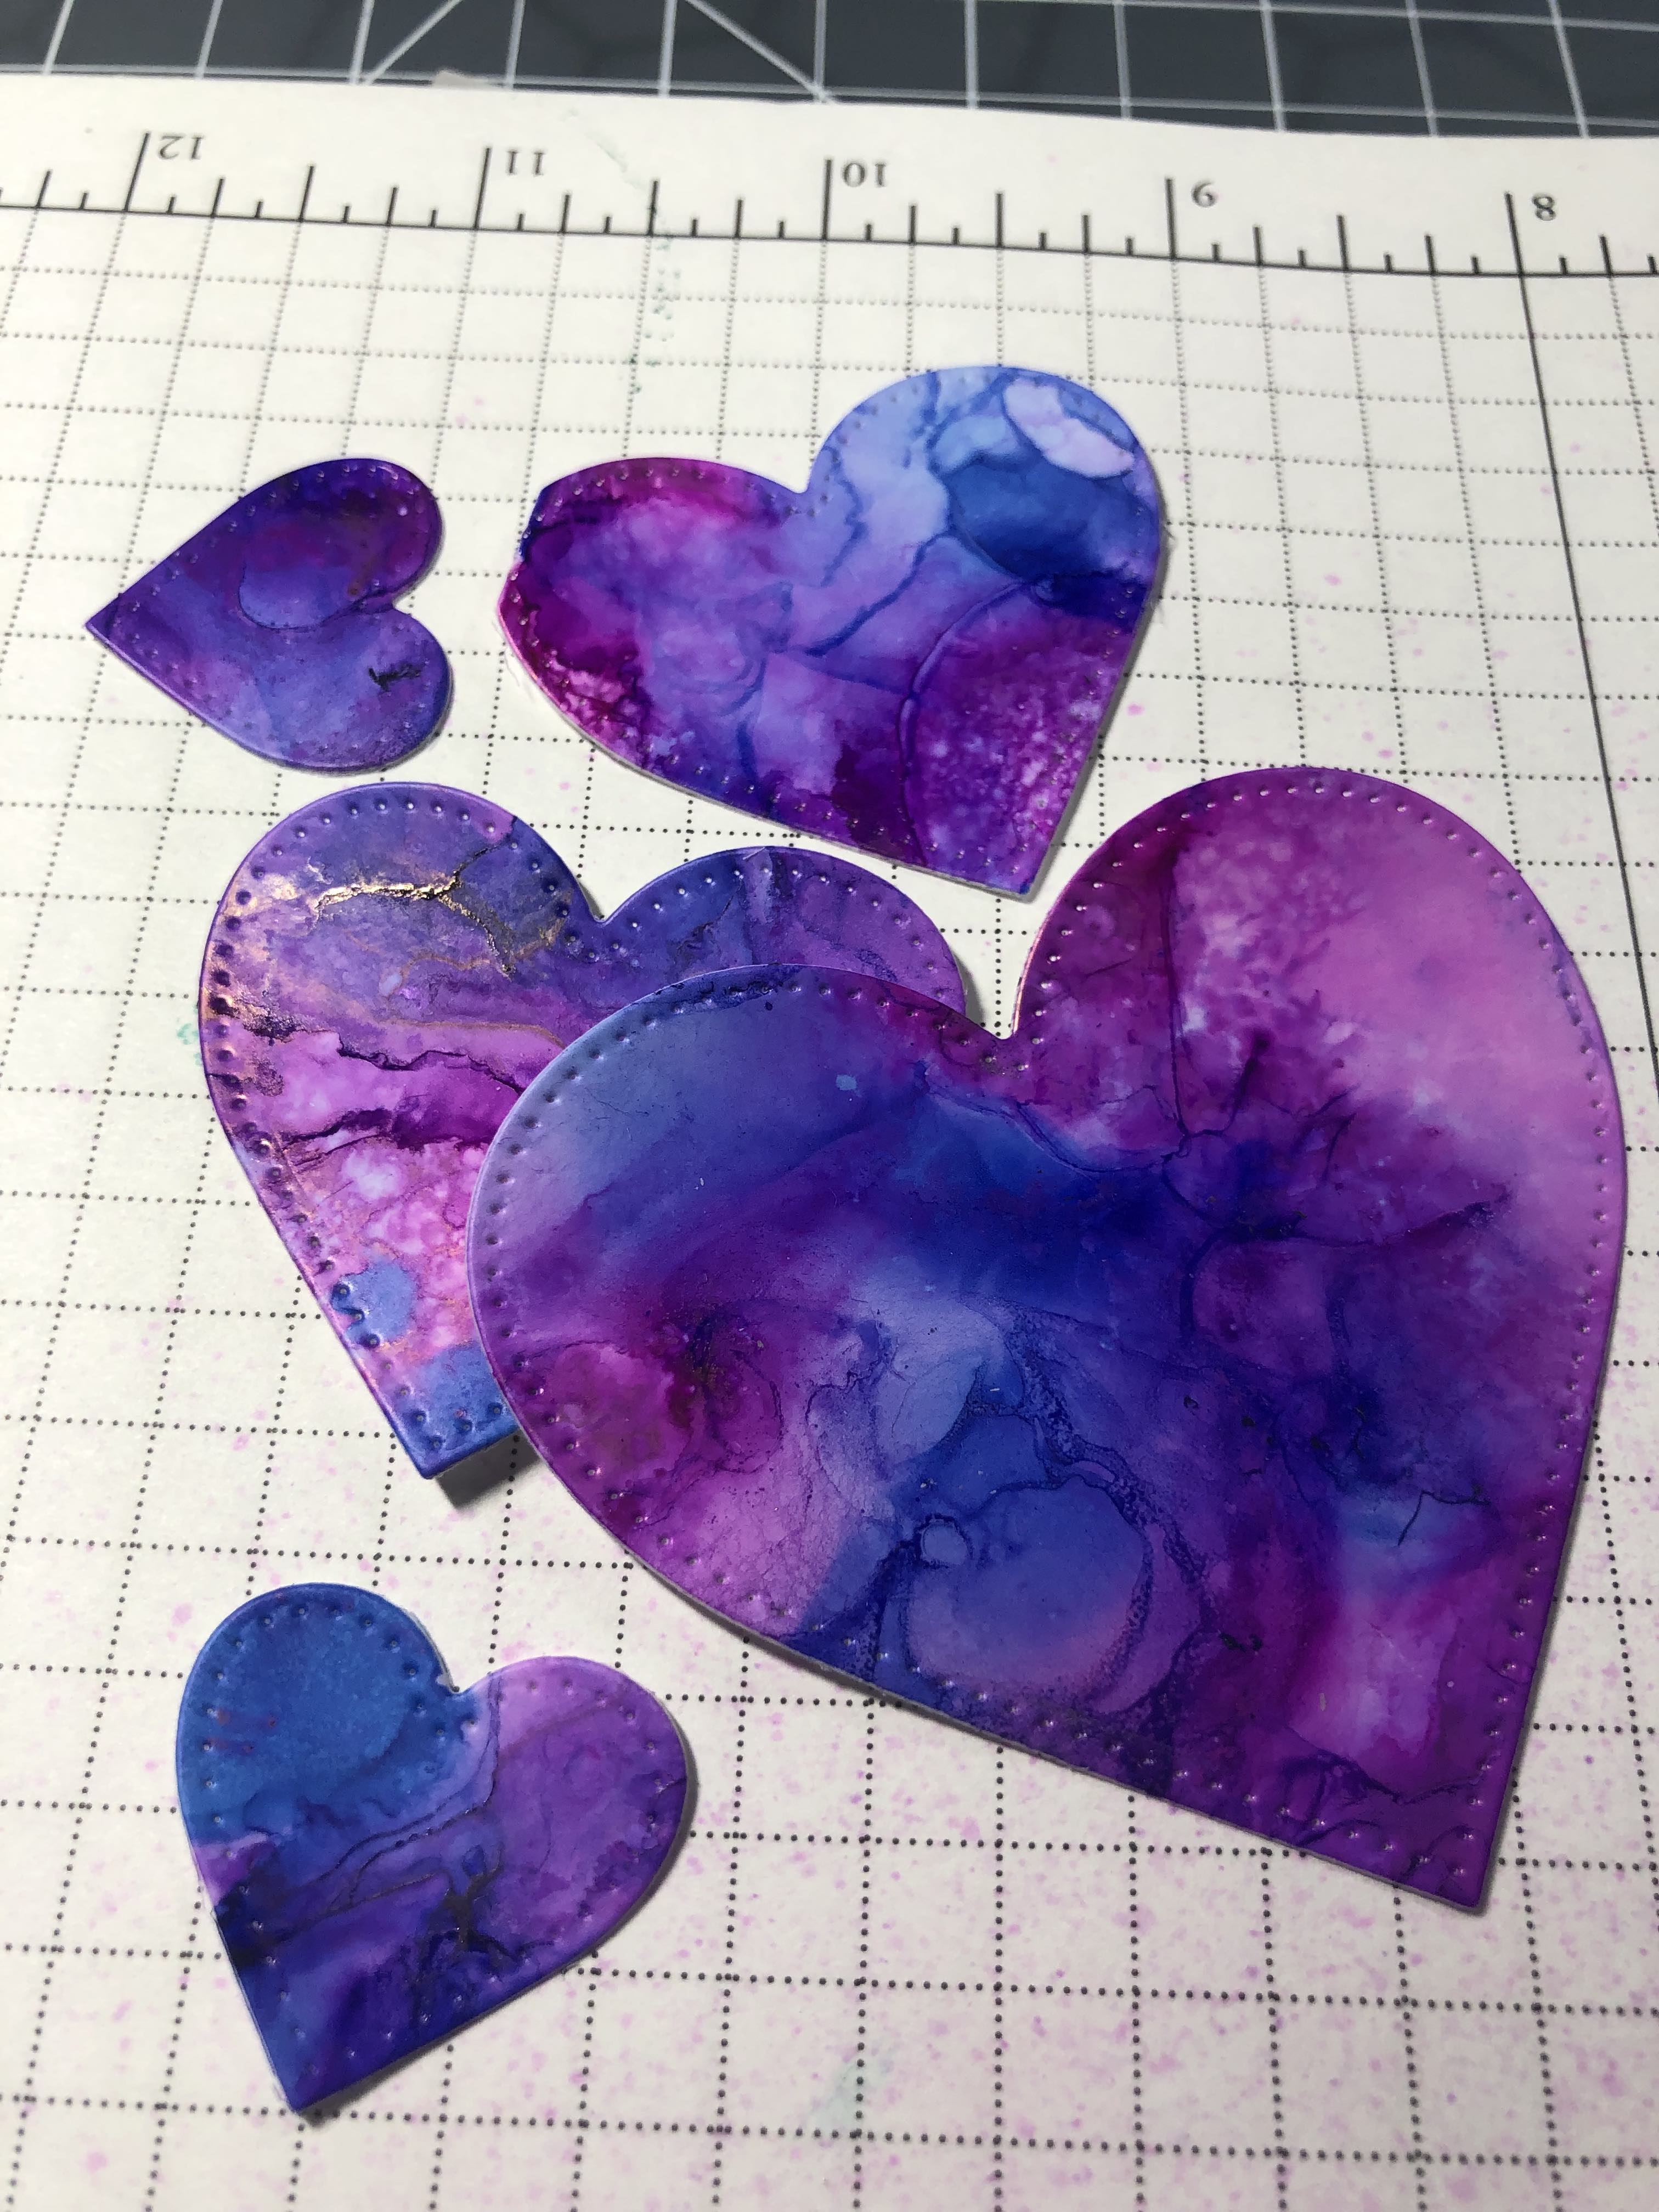
I started out with a piece of Yupo Paper and some Alcohol Inks in Sailboat Blue, Raspberry and Pink Sherbet.  I don’t have a large stash of these inks so I used a couple of shades of red/pink and a blue so I could get some purple in there.  I spritzed and played around with colours, alcohol and my heat tool until I got a look I was happy with. I cut out some heart shapes (these are from My Favorite Things but you could use any dies or punches, or even free hand them if you’re talented with scissors!) and then let it all sit for a little bit while I decided what I should do next.

I didn’t have any of the metallic mixatives to add, but I wanted these hearts to have some more dimension so I used my Versamark ink pad to create some stickiness on the hearts and then I lightly brushed on some gold Perfect Pearls and let them sit and dry while I went off to work.

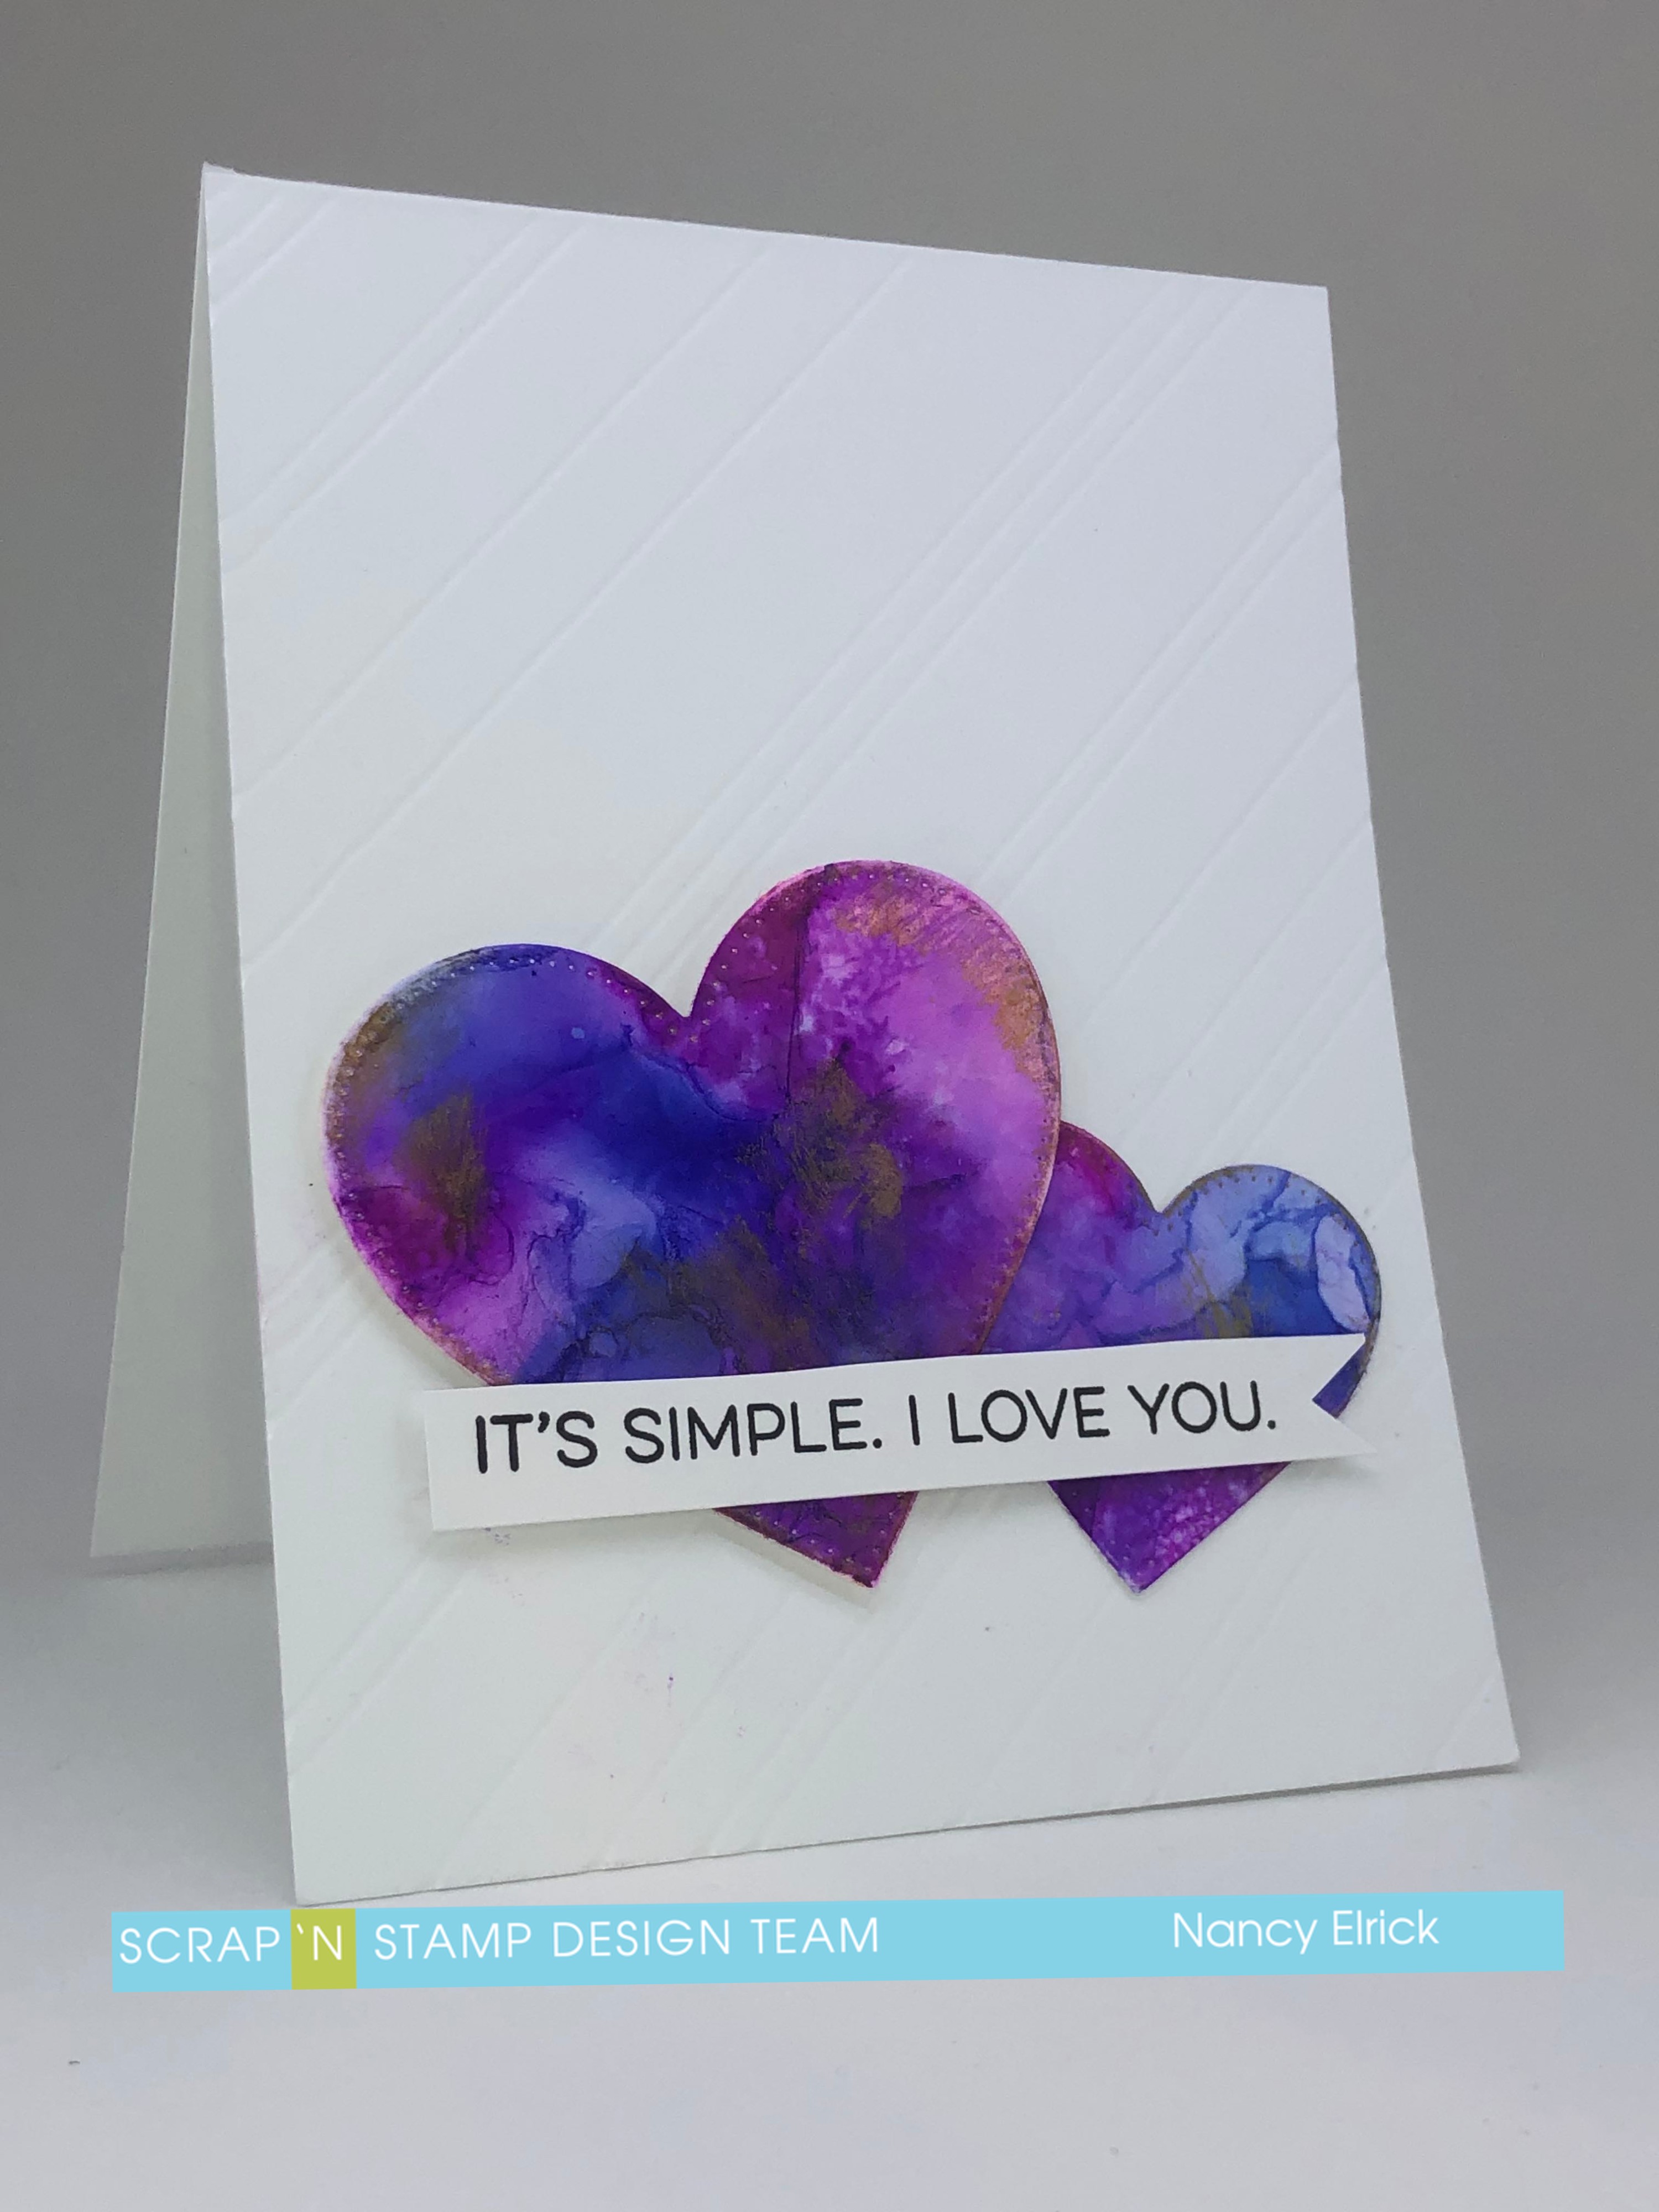
As you can see, I didn’t use all of the hearts I had cut…  I added some random lines to my card front with my ScorPal and then finished it off with a My Favorite Things sentiment from Essential Sentiments stamped in black VersaFine ink.

I hope you’ll find a little inspiration to make a valentine for someone you love this year!

Alcohol Ink Valentines Read More »

Tuesday with Tara {take 93}

  • Happy Tuesday friends!

Today I wanted to share with you a bit of fun I’ve been having decorating Easter 🐣 Eggs with Alcohol Inks!

I saw a video online with a cute idea for tie dye egg decorating and decided to give it a bit of a twist, tweaking pretty much all the suggested ingredients and making it my own… here’s how it all came together!

I found some plastic eggs that looked and felt very similar to real eggs and decided to use them for this experiment. Alcohol Ink is not food safe and I figured these would be more forgiving than real eggs if I wasn’t 100% gentle with them.  The tie dye technique starts with wrapping the eggs- I used coffee filters that don’t fit my current coffee maker (they are great for crafting!) and tied them with a bit of twine.  The unbleached filters will hide some of the colors while the eggs are wrapped… but won’t affect the final result!

IMG_9449

Next, I dropped Alcohol Ink in several spots around the egg, allowing colors to overlap and blend. I then lightly squeezed the egg so the wrapper (and the still wet ink) made contact with the egg, then I set it aside to dry!

IMG_9451

This first egg has a mix of green, blue & yellow inks.  The next features almost primary colors from the Alcohol Ink Starter Kit– an awesome set if you’re new to these products, as it includes everything you need to start creating! (It doesn’t hurt that it’s on SALE right now, too!)

IMG_9450

I decided to take the same color combos and drop inks directly onto eggs as well, just to see how the results vary using the same color and different techniques. For these I dropped the colors around the egg and rolled them around in a coffee filter and my very inky hands… I then crumpled the filter around it to give some extra texture to the egg. Here’s a look at how the two techniques came out:

IMG_9466
IMG_9467
Here’s a couple more tie dyed eggs with different color combos- these ones did not have quite so much ink on them, so were unwrapped after only an hour or so drying time.  Each had one or two paler shades in the mix as well, so the overall effect is less vibrant.
IMG_9468
My verdict… tie dye eggs are fun & easy! I plan to play around with more color combinations, and I plan to use my fabulous tie dyed coffee filter wrappers on a card or art journal page!

IMG_9465
IMG_9469
Have a happy, blessed & creative Easter!
IMG_9470

Inky hugs,

Tara

Colors I used:

Kits are designed with colors that look fabulous together, any of them would be awesome for this technique but here’s a couple I would love to try…

Spring break & Beach Deco


Tuesday with Tara {take 93} Read More »

Free Shipping Anywhere In Canada