Scratch-N-Stamp
Search

Checkout

Keep up with Sales, New Products and other events at Scrap `n Stamp. Sign up for our newsletter now!

What's New

Hot Deals


Author name: Tara

Hi! I'm Tara and I've been creating and teaching classes in the paper crafting industry for 15 years in Western Canada. I closed my rubber stamp & scrapbook store in 2013 to get married & move to North Carolina, but my passion is still getting inky and sharing the love of this hobby wherever I can! I started out as a card maker, but over the years I have done it all- from cards & mini books, to scrapbooking & mixed media projects. I'm certified by both Ranger & Copic and I look forward to sharing some creative fun and maybe getting inky with you in one of my classes soon!

Tuesday with Tara {take 5}


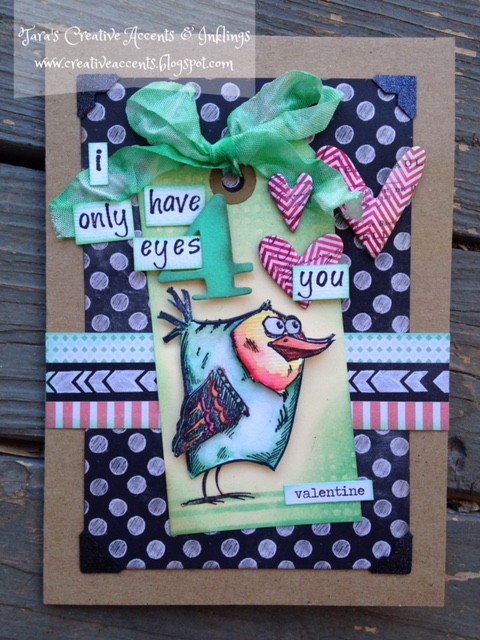
Hey!  Happy Tuesday!  Since I hear things have gotten a little BIRD CRAZY in the store, I thought I’d share a card I made with those awesome stamps… this one was made for my husband (we just celebrated our 2nd wedding anniversary yesterday!) for Valentine’s day, but it’s just a fun take on the stamps that I hope you’ll enjoy!

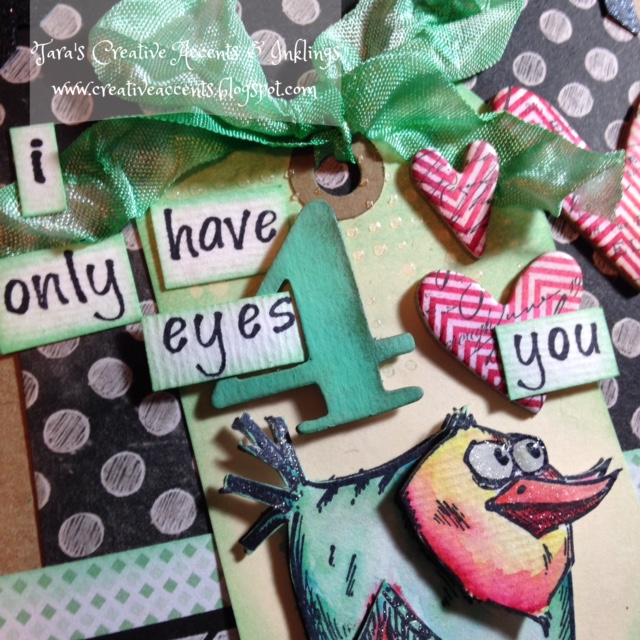
My crazy bird was stamped twice in black on watercolor paper and colored up with Distress Markers & a water pen.  If you’re lucky enough to purchase the new dies as well as the stamps, you’ll be able to easily cut out some pieces (like the wings) to layer 3d over the base image.  I used some fine tip scissors and foam squares to add some dimension 🙂  All of this was layered over a bird stamped on a small tag, so I didn’t have to worry about cutting out the feet or smaller details like that!  A bit of clear texture paste was applied to my tag through a small detail stencil to act as a resist under some Distress Ink which I did around the edges and corners.

I used some vintage (aka really old ones that I’m not sure are still available!) alphabet stamps from Hero Arts to stamp my sentiment and the big 4 is from a Tim Holtz BIGZ alphabet die.  The hearts & patterned paper were also from my stash, but you can totally mix things up with whatever is in YOUR stash to create something similar yourself 🙂


I used a clear Wink of Stella glitter pen to add some shimmer and some Glossy Accents on the eyes to make them pop a bit as well.  These crazy birds have been CRAZY popular and I think even Tim Holtz was surprised by it, so it’s fun to see the new additions to the collection that you can use with these stamps to really get some mileage out of them!  They’re really a ton of fun to play with, and if they make you smile I hope you’ll pick up a set and get to work/play with them 🙂
Have a very happy Tuesday and a creative week!
Inky hugs,
Tara

Tuesday with Tara {take 5} Read More »

Tuesday with Tara {take 4}


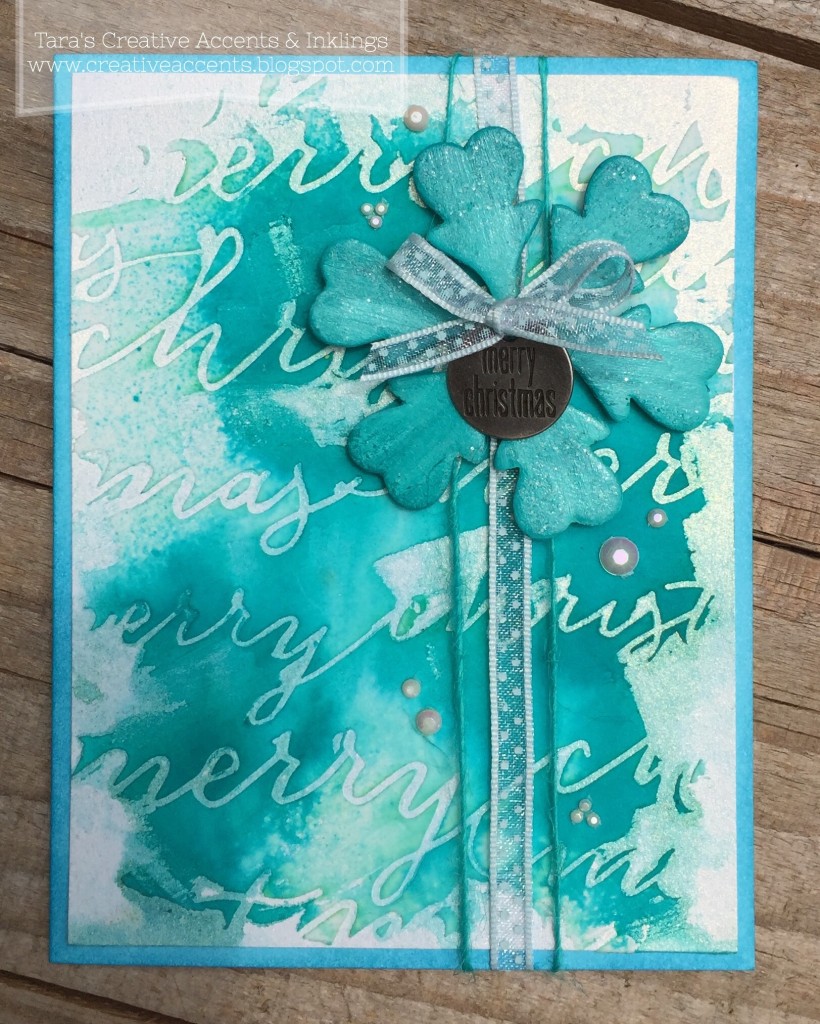
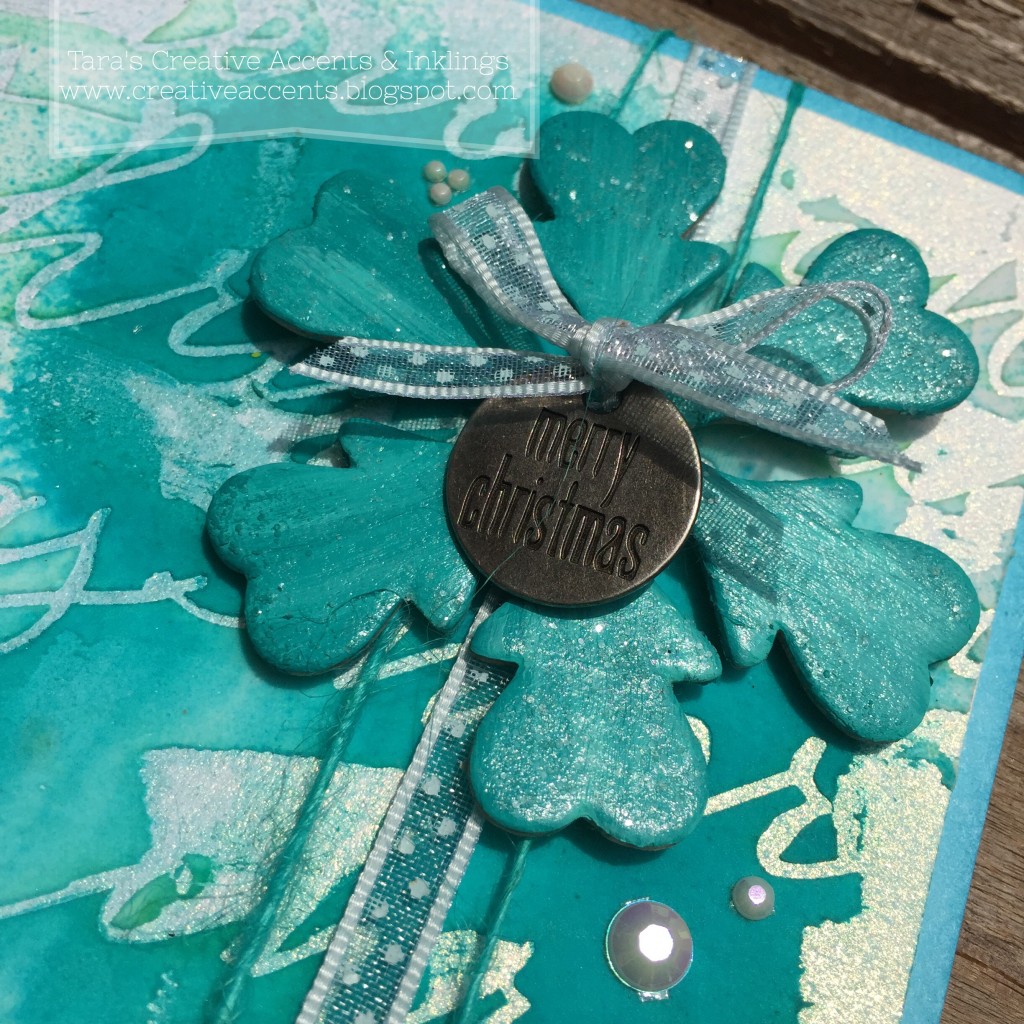
Happy Tuesday! Today I’ve got a blue “Christmas in July” card to share with ya’ll! I don’t know about you, but I always plan to start my Christmas cards in the summer (when all those Christmas in July sales start happening 😉 and when people start sharing how many weeks until Christmas countdowns on facebook…), but never really get around to making actual progress! Maybe this will be my year? LOL

Anyways, I have learned over all my years of card making that if I actually want to send out cards to people, I need to keep them simple! My favorite way to do this is to stick with a simple layout but find fun ways to add texture and bits of bling (it’s for the holidays, after all!) so today’s card showcases a fun way to keep it simple, but definitely not boring!

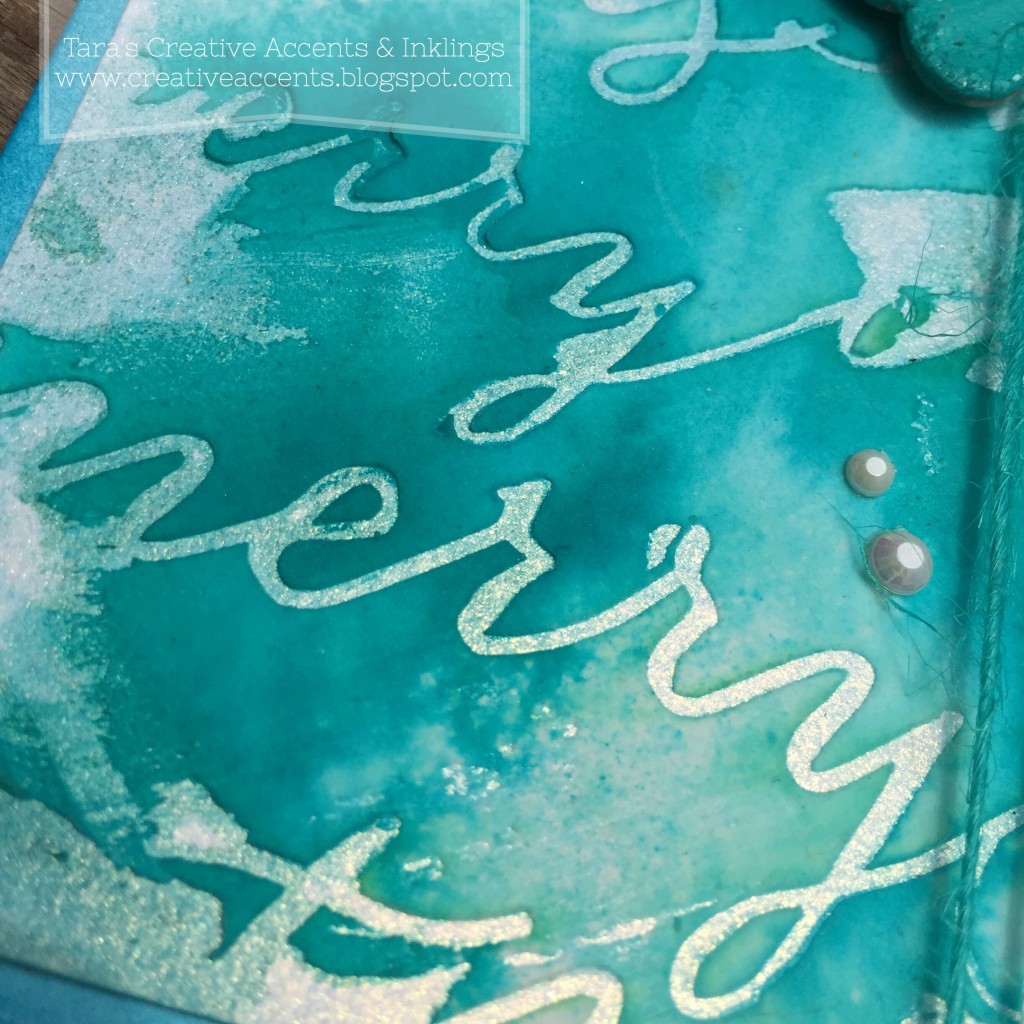
I created some fabulous texture for my card by applying texture paste through a background stencil (isn’t this one by Memory Box gorgeous?!) onto a shimmery cardstock.  I could have used plain white cardstock, but was really curious how the Distress Stains Spray I planned on using would react to both the cardstock and the texture paste… I think it came out pretty neat!  I’ve used Peacock Feathers, which is such a happy shade that really works in ALL seasons!  I did deliberately rough edges with my texture paste, to keep the background really interesting.


I’m in the middle of a crisis with my Vagabond machine, so I opted to embellish the card with a chipboard snowflake from my stash instead of a die cut chipboard shape as I was intending to do.  This was painted with two shades of teal/turquoise paint and then topped with some Rock Candy Distress Stickles for some shimmer.

Once everything was dry, I tied on some ribbon and twine and attached it all to the card, tying on a pewter Christmas charm to add some pop.  A bit of bling scattered across the card finishes everything off!


supplies used:

a2 card in blue

pearl white card stock (4×5.25″)

merry christmas stencil by Memory Box

ranger texture paste

distress spray stain in peacock feathers

snowflake chipboard shape by Maya Road (or cut your own!)

merry christmas “tidings tokens” by Tim Holtz idea-ology

turquoise paint by Dina Wakley

classic teal paint by Claidine Hellmuth Studio

clear rock Candy Distress Stickles

ribbon & twine

bling (Hero Arts?)

Tuesday with Tara {take 4} Read More »

Tuesday with Tara {take 3}

Happy Tuesday!  I’m back with another tag to share with you today, featuring some fab products & techniques by Tim Holtz.

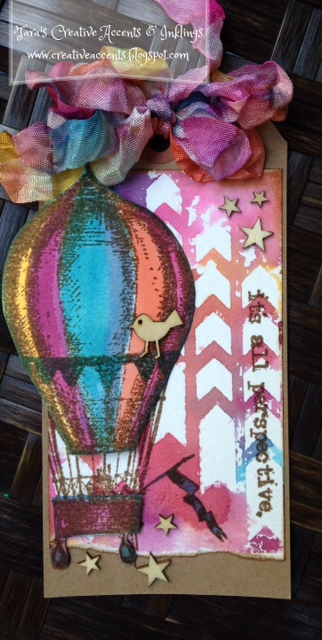
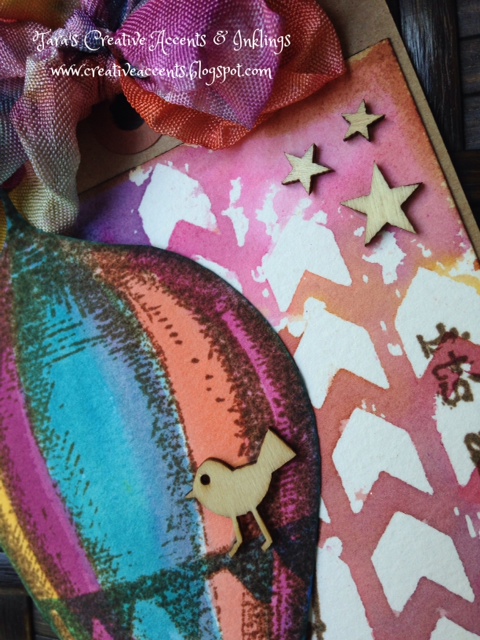
This tag highlights a fun watercolor background technique done by printing/stamping with Distress Inks on a stencil.  Simply wipe a selection of Distress Ink onto a stencil (I find lots of solid space works best!), spritz with water and then press your stencil ink side down onto some watercolor paper.  Use a rag or paper towel to add pressure and make an even impression, then lift your stencil and check out your watercolor background!  It can take some practice playing with the correct amounts of ink & water, but you’ll have pretty backgrounds regardless 🙂

I finished off my tag with some yummy crinkle ribbon in the same colors as my background and a hot air balloon stamp colored with Distress Markers in the same colors.

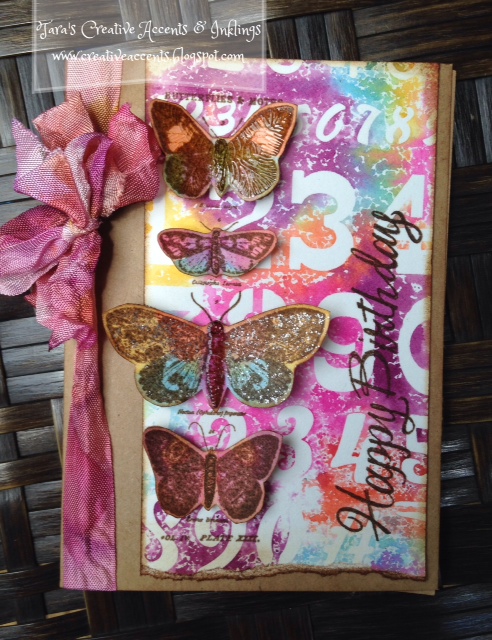
Here’s a card I made featuring the same technique, but this time I layered some butterflies over the background:

If the stencil you’re using for your background has a ‘right’ side, be sure to ink it up on the OTHER side so it’s going the right direction when you print it 🙂

Hope you have a fabulous Tuesday and find some time to get creative today!


Tuesday with Tara {take 3} Read More »

Free Shipping Anywhere In Canada