Tuesday with Tara {take 442} “Aall” the thanks!
Happy Tuesday!
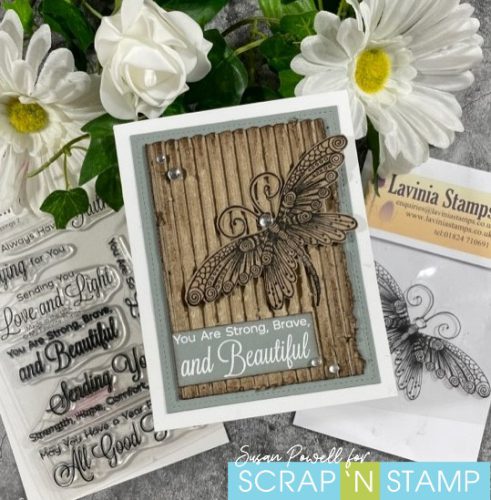
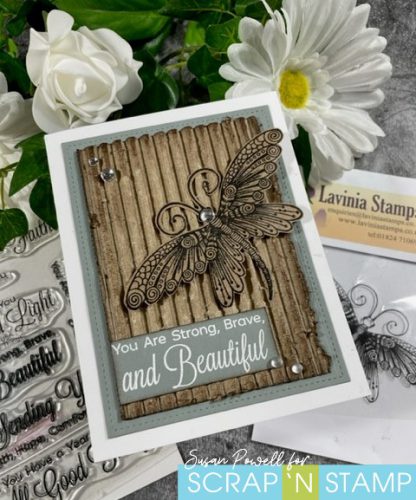
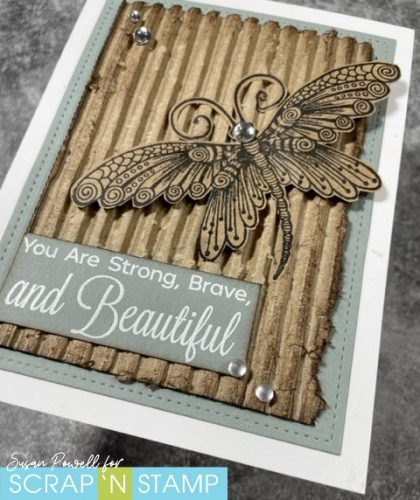
Today’s card is a little something different for me, I’ve made it with my colorful take on “La Dolce Vita” by Aall & Create!
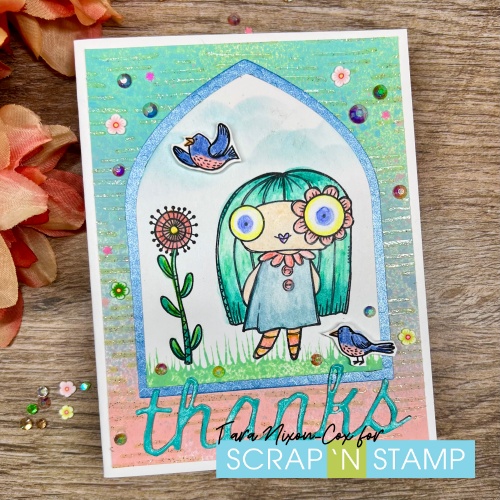
I stamped & colored the images on white card stock, using Distress Watercolor Pencil Crayons for some fun colors that would match the background I’d made previously (similar to the one I used on this card, except I added some Sparkle Texture Paste stenciled, this one is by Altenew, over it)
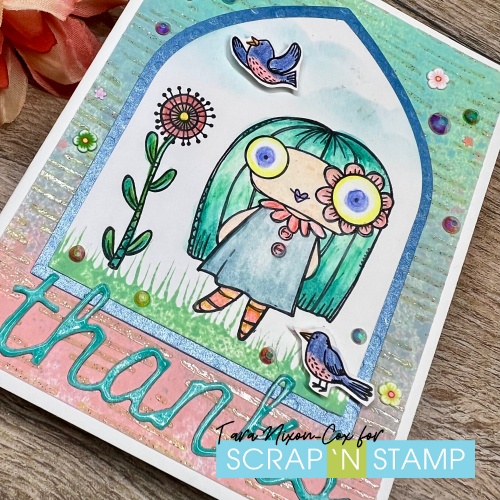
I cut my main image & a solid, pearly layer slightly larger from Hero Arts Pointed Arches Nesting Dies. Since it was straight at the bottom, I stamped some grass along the bottom edge. They are a fun change from the typical rectangles or circles I tend to default to using! I trimmed the birds loosely and added them with 3D foam squares, then finished the card using one of the sentiments I demonstrated the enamel technique with on my Facebook Live last week- love how shiny it is! Finally, I added a scattering of the spring floral mix-ups. They are super pretty and match so well with this card, I couldn’t resist!
Hope this bit of whimsy makes you smile!
Inky hugs,
Tara
Tuesday with Tara {take 442} “Aall” the thanks! Read More »


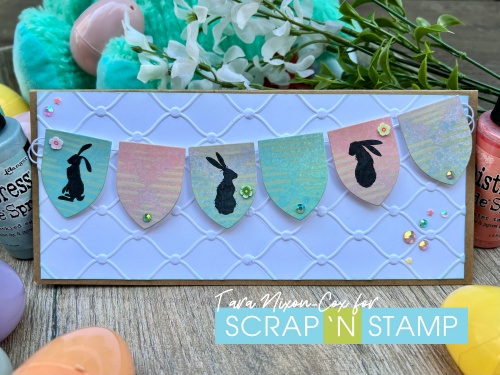 I find slimline cards to be a bit of a struggle to photograph, so I decided to grab some spring decorations for my little photo shoot for this card. I hope it captures all the whimsy!