Tuesday with Tara {take 398} Colorful Life
Happy Tuesday!
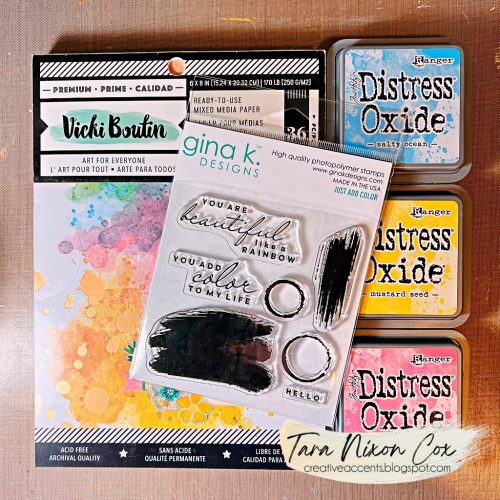
I did a LIVE demo on Facebook last Thursday featuring Vicki Boutin’s Ready-to-use Mixed Media Paper pad & ‘Just Add Color’ stamps by Gina K Designs. I worked with a few coordinating colors of Distress Inks & a black ink pad. The goal was to make some quick & simple cards with these gorgeous papers.
I shared one card on my Instagram yesterday, and it’s on my personal blog as well- please stop by one of those places to check it out 😉
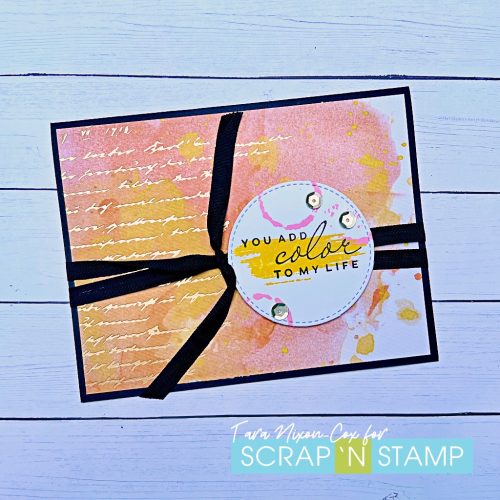
This pretty card features on of the designed papers with gold foil accents- with the splashes of yellow it just screamed summertime for me, and I hope you like it too! I die cut a few white pieces for the sentiments prior to the live, and this circle was a nice fit for the smaller paint swatch and some circles. These background designs are a really fun way to add color quickly & easily! I chose to tie it all together with a black card base & some black ribbon. I think those dark elements really add nice contrast to the bright shades of yellow & pink!
Here’s a peek at the supplies I used (black ribbon & sequins aren’t pictured)!
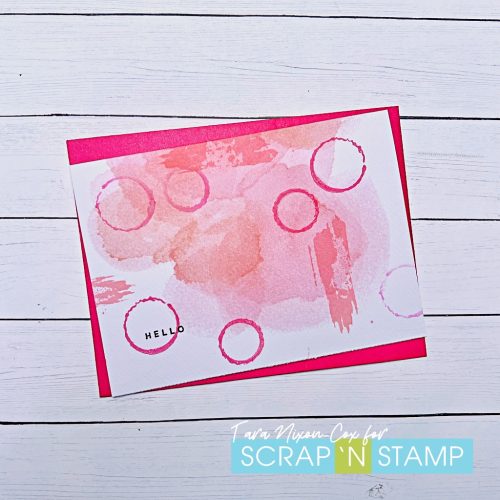
This is a simple one layer ‘bonus’ card I made using one of the mixed media papers folded in half, with 1/2″ trimmed off so it will fit in an A2 envelope (like the pink one I set it on for this photo). The design was in shades of pink, so I added to it a bit with more pink Distress Ink using the circles and small brushstroke stamp. I finished it off with the small ‘hello’ stamped in black.
There’s so much potential in this paper pad, I think I’ll have fun creating with it!
Inky hugs,
Tara
Tuesday with Tara {take 398} Colorful Life Read More »