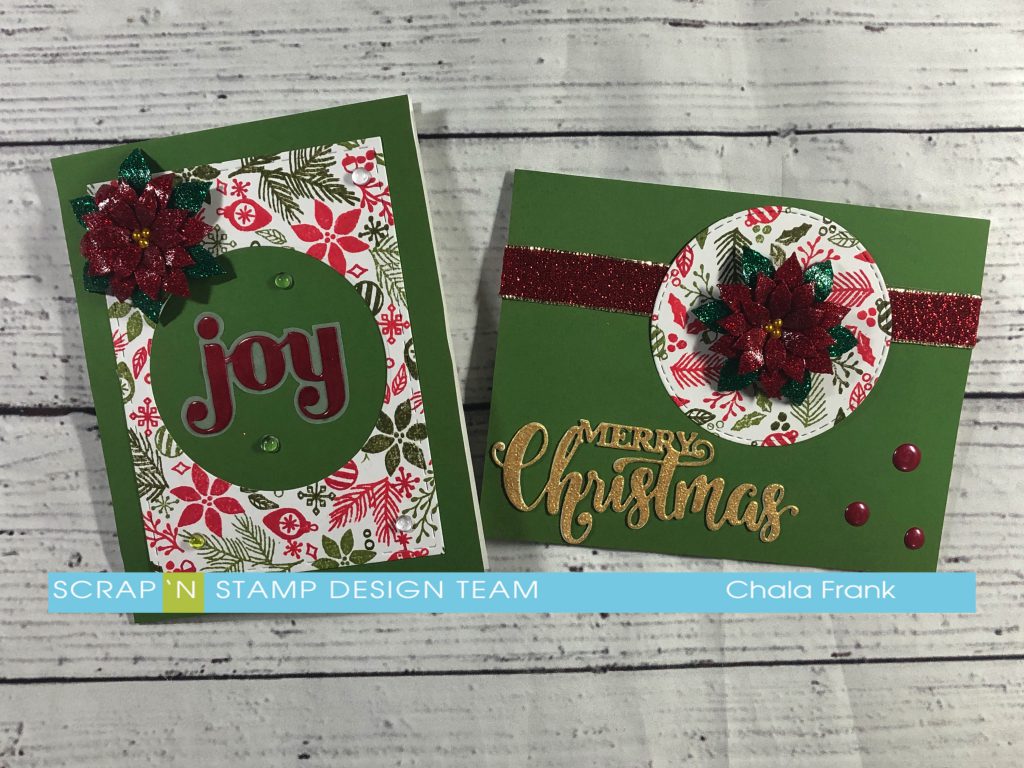
Concord & 9th Uplifting Thoughts
Hello, Friday! It’s Deb here for the Scrap ‘N Stamp Design Team. I hope your week has been a good one, and you’re looking forward to enjoying your weekend. I’ve got some new stamps, dies and inks to play with, so you know I’m happy! Today I’m sharing one of those new sets with you. We always want to get the most out of our stamps, right? Sometimes you feel like you’re turning into MacGyver, figuring out different ways to use them! Well, the beauty of this Bundle is that it’s done for us! Concord & 9TH’s Uplifting Thoughts stamp set and dies work beautifully together – with both large images in the stamp set!
AUTUMN LEAVES
It’s almost that time of year – leaves will soon be turning those gorgeous fall colours! This first card uses the leaves image in the Uplifting Thoughts stamp set.
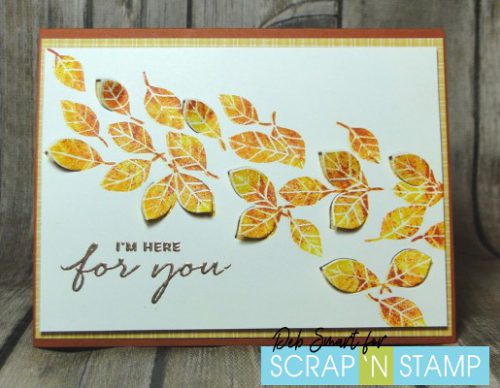
Can you see what the die does?! It partially cuts some of the leaves, so that you can lift them up, for extra dimension and movement! I love that effect!
CARD DETAILS
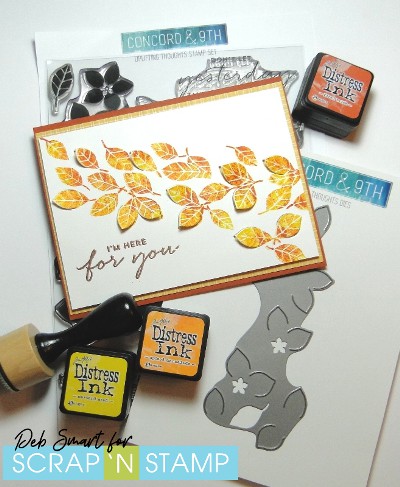
To use multiple colours for the leaves like I did, set up your stamp and white cardstock in your stamp platform. This makes your life so easy! First, cover the entire leaves stamp with Mustard Seed Distress ink, and stamp. Next, randomly add Spiced Marmalade on the leaves, not covering the whole leaves, and stamp again. Finally, add Fired Brick to just the ends of the leaves, and stamp again. No need to even clean your stamp in between colours! DESIGNER TIP: for smooth colour application, I find it best to apply the Distress inks to the stamp using the Blending Tool. That way, it goes on evenly, without any harsh lines.
Now, clean and remove the leaves stamp from your platform. Line up the sentiment stamp, also from the Uplifting Thoughts set, and stamp it in Versamark ink. Remove the cardstock from the platform and cover the sentiment in Copper embossing powder. Set with a heat tool.
Now you’re ready to die cut your leaves. Using the easy reference marks on the die, line the die on top of the image, and run it through your die cutting machine. Use your fingers to gently lift the leaves up, away from the panel. Take a minute to admire how awesome this looks! 🙂 Now, prepare your card base. Attach a piece of patterned paper from the Lawn Fawn Perfectly Plaid pad to a rust coloured card base. Now attach your die cut panel with foam tape or foam squares, for more dimension.
PURPLE FLOWERS
The other large image in this Uplifting Thoughts stamp set is of flowers. I just had to make a second card, to show you how the die, which cuts leaves also works with the flowers! Have a look below!
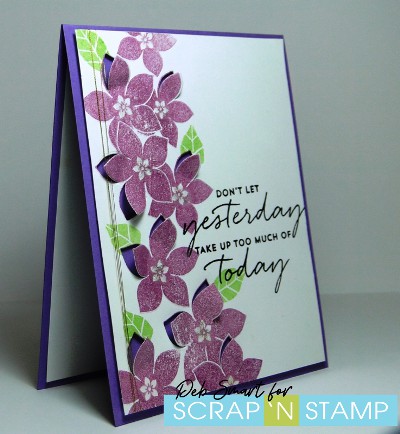
See – I wasn’t pulling your leg! The die has easy to line up openings so you can see the middle of 2 flowers, to line it up properly. Then, die cutting lifts some of the flower petals. Genius, right?! Like I said – Concord & 9TH have come through for us in the ‘get the most bang for your buck’ department!
For this card, I used Seedless Preserves Distress ink for the flowers. After die cutting, I went back and added the small individual leaves (also in the stamp set) in Mowed Lawn. The sentiment is stamped in Nocturne ink, covered in clear embossing powder, and heat set. Before attaching the panel to a purple card base, I wound some gold thread 3 times around the left side, holding in place on the back with some tape. To add some more gold to the front, I used a Nuvo Aqua Shimmer pen in Midas Touch, to add gold to the middle of each flower. It’s a bit hard to see in the picture above, but it’s there!
GET INSPIRED – GET CREATIVE!
I hope you’ve been inspired by my Concord & 9TH Uplifting Thoughts cards. I really think that getting this Bundle (though they are available separately) is worth the investment. Flowers & leaves are multi purpose, and can be used year-round. Just change up the colours for different seasons and occasions! I always have trouble finding suitable sympathy/thinking of you sentiments, but I know I’ll be using these ones for a long time.
If you’ve been inspired, I’ve included links below to the Scrap ‘N Stamp store for the products used in creating these cards.
ANOTHER REASON TO SHOP TODAY!
In case you need another reason to shop – besides my gorgeous cards! – Scrap ‘N Stamp is having a FRIDAY THE 13th SALE! That’s right – TODAY ONLY you can get $13 OFF Selected items! Just click the graphic below to start your shopping now! (don’t worry – the cat is friendly!)
Affiliate links are used, at no extra cost to you!

Concord & 9th Uplifting Thoughts Read More »