Tuesday with Tara {take 390} irRESIST-able
Happy Tuesday! Today I’m sharing a fun resist technique with a CAS-ish feel- I hope you like it!
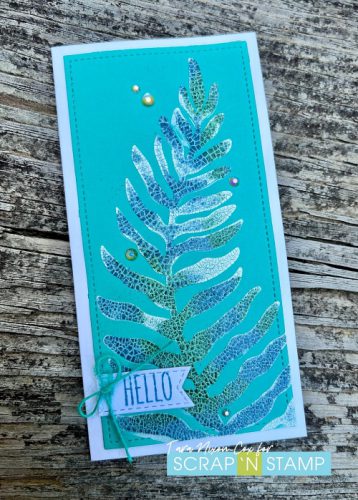
I’ve got two cards featuring Uncharted Mariner Distress products- the first card shows the Distress Spray Stain and the second shows Distress Oxide Ink. I also took a photo of my backgrounds side by side so you can see how the two inks compare with each other.
For this technique, I’ve started with a glossy translucent texture paste applied through a stencil. If you don’t have any, this texture paste is perfect! I applied it on some pre-cut stitched rectangle panels as I planned to have a CAS-ish white on white base for my card. Once the paste was dry, I selected some Distress mediums to use! I also had pre stamped and cut a variety of sentiment strips from Tim Holtz’s Tiny Text stamp set– I arranged and stamped several at the same time then cut them into strips so I had a variety ready to use.
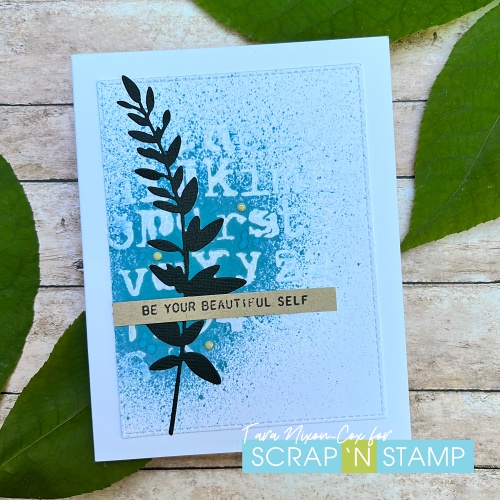
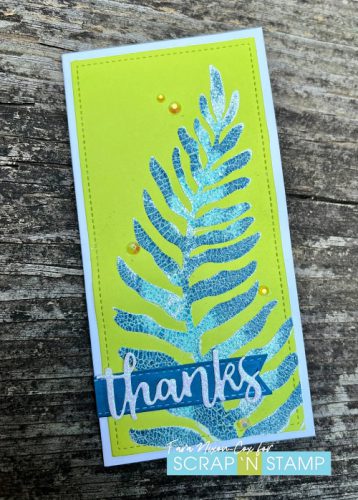
For this first card, my stencil is a fun “typo” alphabet. I’ve misted over it with Distress Spray Stain in Uncharted Mariner. Love those splatters! This leafy sprig is from a die set that is a few years old, but still a favorite of mine- Wildflower Stems #1.
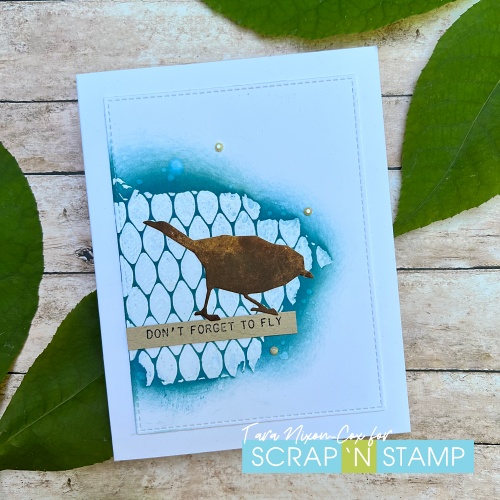
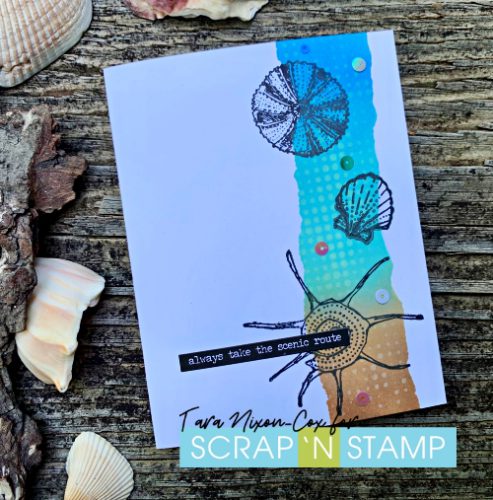
This card features Distress Oxide ink, also in Uncharted Mariner. I blended it with a foam ink blending tool and splattered a bit of water over it for extra dimension. The stencil is a fun mesh design & I love the addition of an inky bird silhouette.
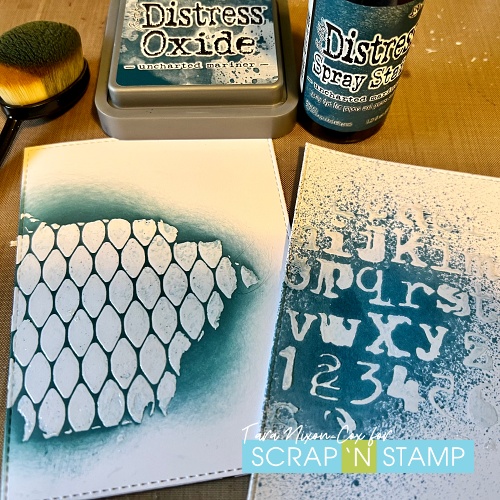
As you can see in this last photo, there are slight variations in the colors & appearance of the Distress products even though they are the same color. I love experimenting to see how different products will present & react using a similar technique! If you’d be interested in seeing more products compared in real time, drop me a comment and we can work on having a live demo for you on Facebook!
Hope you have a beautiful Tuesday!
Inky hugs,
Tara
Tuesday with Tara {take 390} irRESIST-able Read More »