Scratch-N-Stamp
Search

Checkout

Keep up with Sales, New Products and other events at Scrap `n Stamp. Sign up for our newsletter now!

What's New

Hot Deals


watercolouring

Stuck on You!!

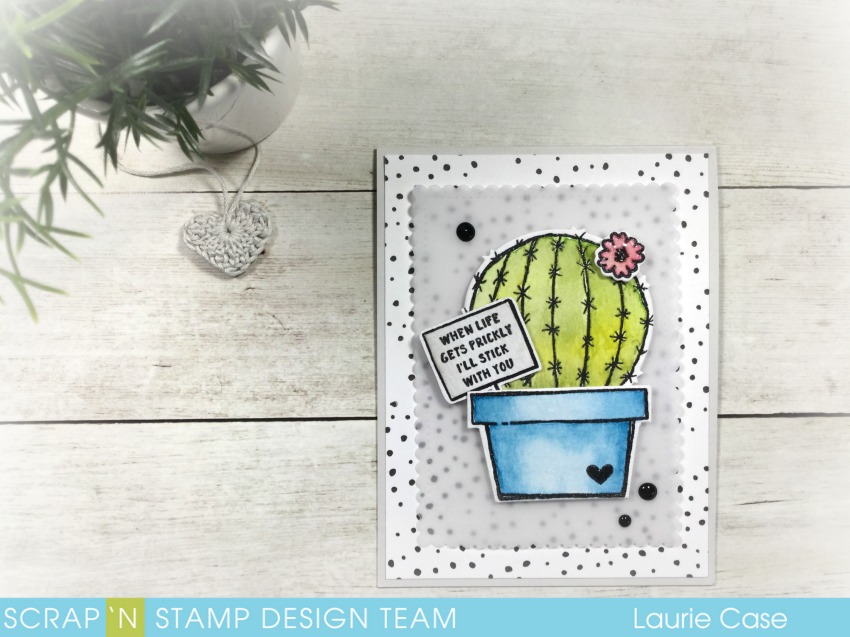
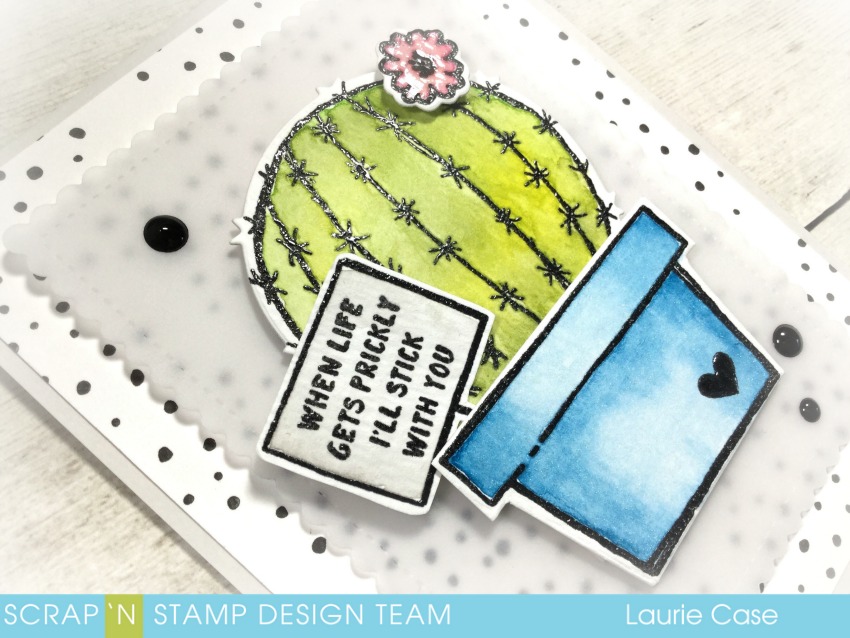
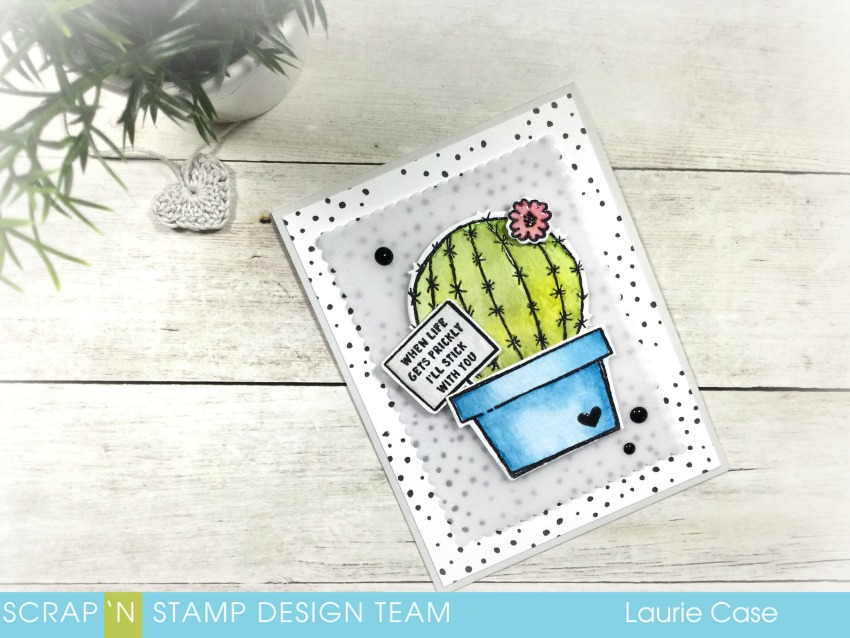
Hello crafty peeps and welcome back to the SNS Blog!! It’s Laurie here today to share a card made using one of my favourite brands…Concord and 9th!!  I love their innovative designs. A lot of their stamp sets are large which make filling a card front very easy!  I love cacti, especially in illustration form, haha, so naturally I used the Stuck on You Stamp Set and its co-ordinating dies.

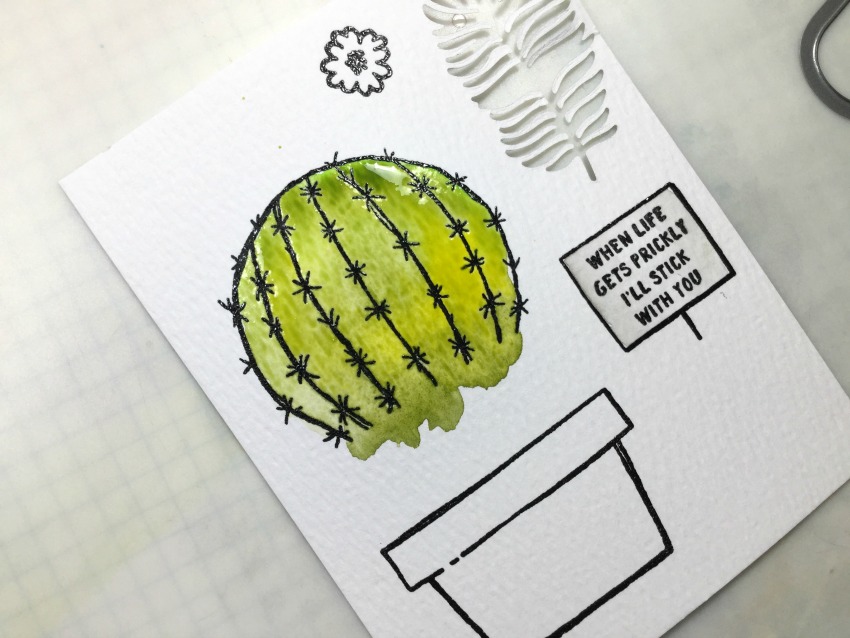
I started by stamping all the images I wanted to use onto some Tim Holtz Watercolour Cardstock.  I used Versafine Clair Ink in the colour Neptune and clear embossing powder because I wanted to do some quick and easy watercolour.

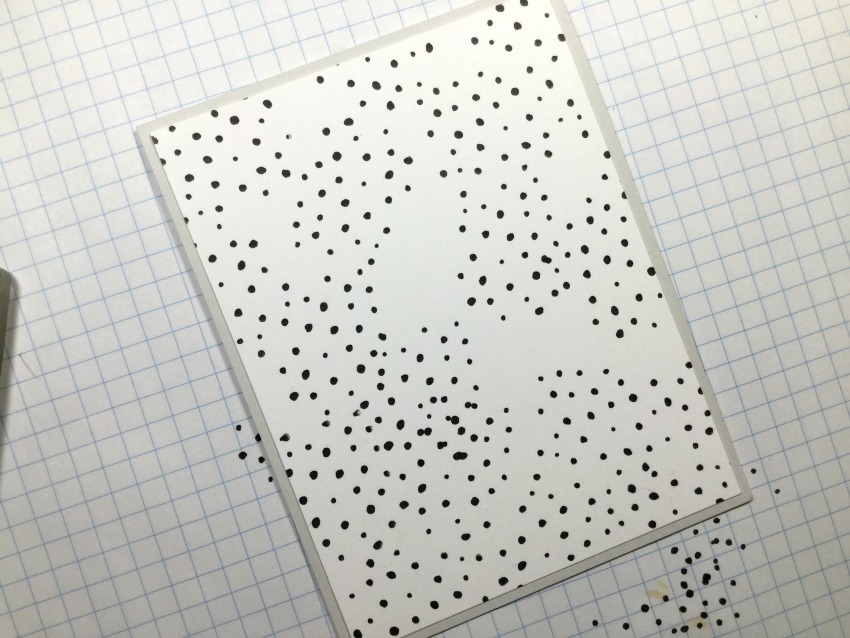
While my watercolour was drying, I chose another stamp from the same set and created a polka dot background on a piece of white cardstock that was cut to 4 X 5.25 inches.

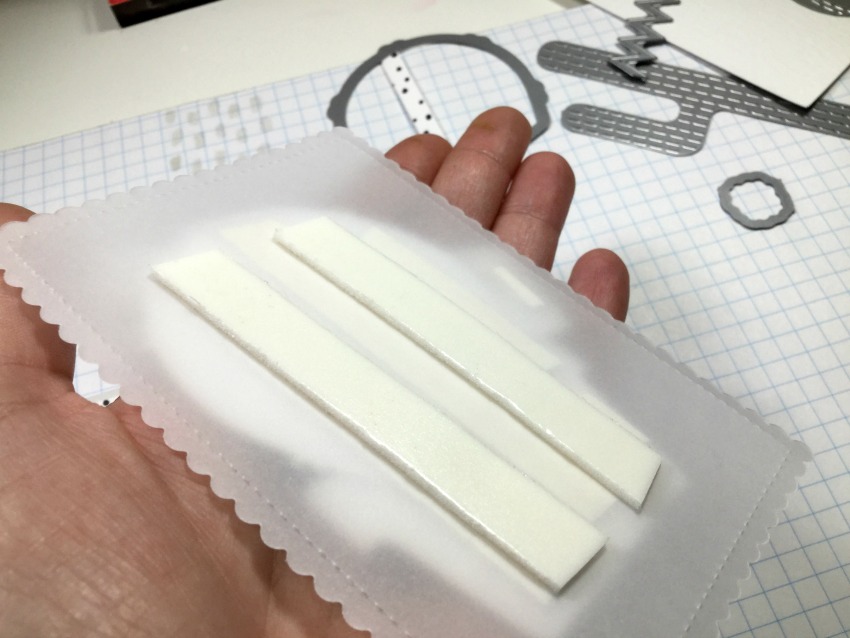
It looks random and kind of splotchy but the large cactus image will cover the double stamped areas.  I die cut all the images, except for the little sign. There is no co-ordinating die for this. But it’s a square and very easy to fussy cut!  I adhered each piece together with Nuvo Deluxe Adhesive then added foam adhesive to the back.

Because the background stamping was quite stark, I decided to cut a piece of vellum with an older die from MFT and put my cactus on top.  I hid the foam tape behind the image!

I just love how large that cactus is!! And I actually used the smaller of the two!!  I did add some shine with Nuvo Crystal Glaze to the flower and the heart on the flower pot.

For a little extra something, I added 3 drops of NuvoCrystal Drops in Ebony Black.


Thank you for stopping in today!!  I hope you enjoyed todays card!!

See you soon!

Laurie


Stuck on You!! Read More »

Tuesday Tutorial – Wet Paper Water Colouring by Shellie

Hi Everybody, Shellie here with a great tutorial for you!  If you are like me you LOVE the look of water colouring, I will admit thought that I like quick techniques, and sometimes I find that water colouring just takes a bit to long for me (when you only have an hour while baby naps to have a shower, eat, and craft you start to simplify EVERYTHING!!!)

I have here two quick water colouring techniques that are sure to please, even when you are in a hurry!

1. Start by wetting your water colour paper, you want to make sure the entire paper is covered with water, and that there is an even shine on your paper.

wwc1

2. Once your paper is wet, ink up your stamps (solid images work better then outline images for this technique) and stamp directly on the wet paper.

wwc3

3. You will notice that your ink will bleed and spread over your paper giving it it`s water colour look.  Allow your paper to dry and then use it on your project.

wwc4

4. If you are like me and need to speed up the drying process, you can use your heat tool to dry your paper.

wwc5

5. When the paper is completely dry I like to re-ink my stamp and stamp the image on top of the water colouring again, this adds a little dimension back into the image.

wwc6

Here is the card I made using my water coloured image!

wwc7

For my card I used: Stamps by Inkadinkado, Core`Dinations Cardstock, Watercolour Paper, and Kaiser Craft Rhinestones, CuttleBug Embossing folders Snowflakes & Textile Textures and Spellbinders Nestabilities Labels 2.

________________________________________________________________________

Here is a second technique for you to try!

1. Ink up your stamp and spritz with your mister bottle

wwc8

2. Stamp your image directly onto your water colour paper.

wwc3

3. You will notice a small amount of ‘bleeding’ but not as much as the last technique.  Like with the last technique you can heat set the image to help it dry faster.

wwc9

Here is the card I made:

wwc10

For this card I used: Stamps by Inkadinkado, Core`Dinations Cardstock, Watercolour Paper, and Kaiser Craft Rhinestones, CuttleBug Embossing folders Snowflakes & Textile Textures and Spellbinders Nestabilities Octagons & Labels

Before I go here is a side by side comparison of the two different techniques.  I also stamped the snowflake without adding any water so you could see how it usually looks!

wwc11

Until Next Time, Happy Crafting!

Shellie

Tuesday Tutorial – Wet Paper Water Colouring by Shellie Read More »

Tuesday Tutorial – Watercolouring With Memento Markers by Shellie

Hi Everyone, Shellie here with this week’s Tuesday Tutorial.

My favourite way to colour my stamped images is to watercolour them!  I find it so quick and easy and very versatile!  Below I will show you two ways to use your Memento Markers to watercolour your favourite stamps.

1

Start by Stamping your images (I used Inkadinkado’s Doodle Flowers) on watercolour paper, I use StazOn to ensure that my images do not bleed.

2

Scribble onto a painter’s pallet using your Memento Markers.  Your markers will not dry on your pallet making it the perfect ‘paint’ tray for your inks.

3

Using a wet watercolour paint brush dip your brush tip into your ‘paint’ or scribbled Memento Marker.

4

Starting with your lightest colour start colouring your images.  It is important to start with your lightest colour first so that you can layer your colours giving your image depth.

5

I layered a few of the colours to create this look.  My fave part of watercolouring is the fact that you do not have to worry about staying in the lines, in fact if you look at the famous watercolour artists they colour outside of the lines all the time!!

6

I cropped my artwork down to a more desirable side for the size of my project!

7a

Here is the finished project!  I made a frame for my watercoloured collage using the Inverted Scalloped Squares Nestability Die from Spellbinders and papers from the Crate Paper paper pack Baby Bee.  I added a few layers, some May Arts Ribbon and some Kaiser Craft Pearls to finish my card!

_____________________________________________________________________

8

Another way to watercolour using your Memento Markers is by using the direct to stamp colouring technique and a spray bottle.

9

Starting with your lightest colours first colour your image ( I used the Asian By Design  stamp set from Inkadinkado).  I layered a dark pink over a light pink to create a more realistic cherry blossom.  I am not sure if you can see in the picture but the flower is light pink with dark pink only detailing the center of the flower.

10

Sprtiz your coloured image a few times with a mister spray bottle.  I sprayed my image 3 times while holding the spray bottle approx 6 inches away from the stamp, but it all depends on your spray bottle and how close you hold it as to how many times you will have to spray.  I recommend you do a test run to see how your spray bottle wets your ink.

11

Once you have misted your stamp, stamp your image onto watercolour paper.  Your image will look like the one above.

12

To watercolour the edges of your project, first colour your Memento Marker onto a sponge ( I use grouting sponges from Home Depot cut into small squares)

13

Sprtiz your sponge a few times using your misting spray bottle.

14

Scrape your sponge over the edge of your watercolour paper leaving a soft edge of ink.

15

Your finished artwork will look like this.

16

Here is my finished card.  I used the Crate Paper line Avenue for my background paper.  I added some gold accents from the Peel Offs package Decorative Lines to both my Bazzill cardstock mat and my May Arts ribbon.  I mounted the card front on a piece of Core’dinations cardstock that matched the pink watercolouring perfectly!  The card is simple yet very pretty!!

Well I hope this inspires you to try some watercolouring of your own!  I would love to see what you come up with!  upload your cards to our Members Gallery for everyone to see!

Until Next Time,

Happy Crafting,

Shellie

Tuesday Tutorial – Watercolouring With Memento Markers by Shellie Read More »

Free Shipping Anywhere In Canada