Scratch-N-Stamp
Search

Checkout

Keep up with Sales, New Products and other events at Scrap `n Stamp. Sign up for our newsletter now!

What's New

Hot Deals


DT Laurie

Simple & Quick Black and White Card

Hello and welcome back! Laurie with you today to share a very quick card. Black and White is today’s theme on the SNS Facebook Page…you should check it out if haven’t already.

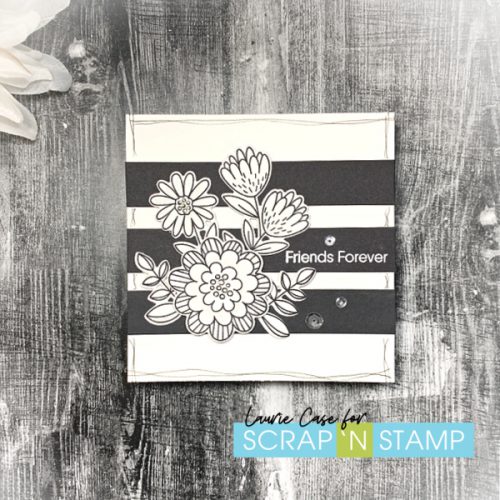
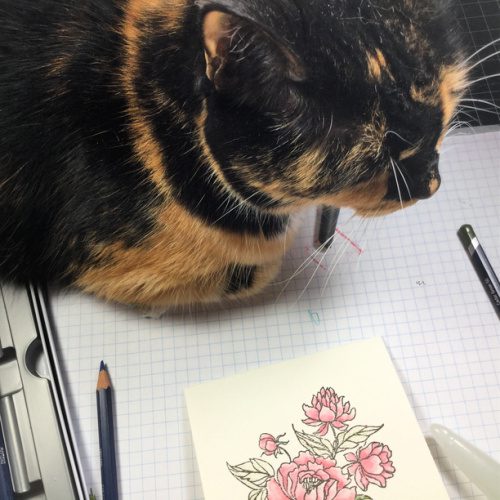
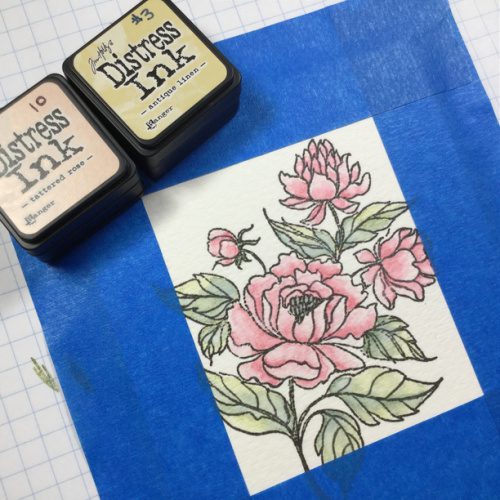
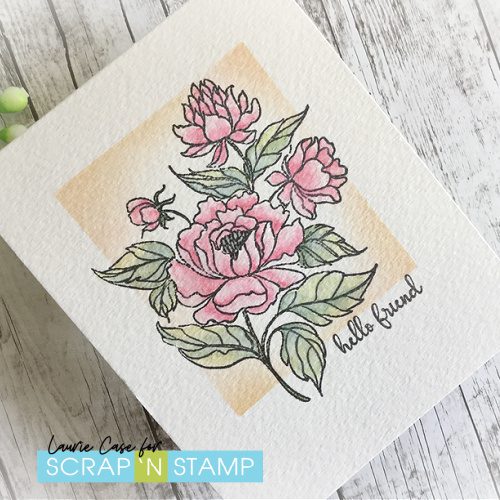
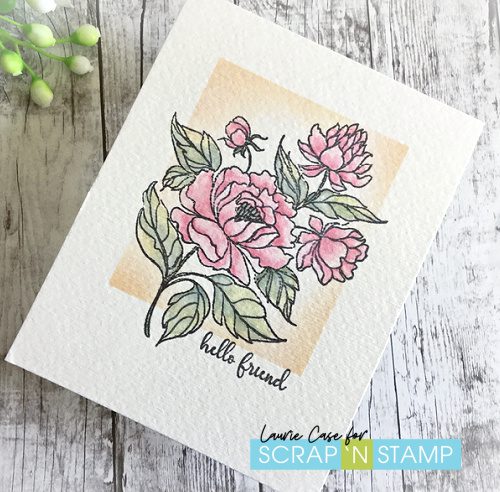
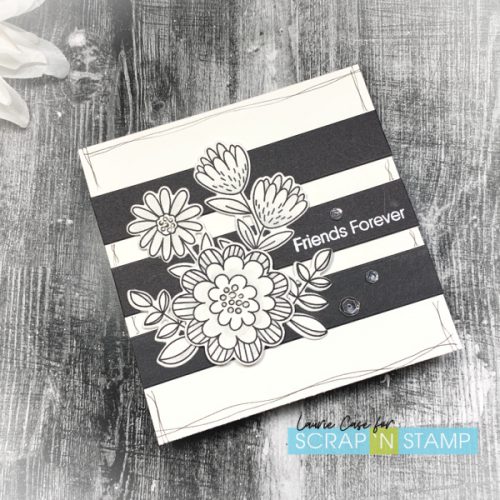
I started by creating a 4.25X4.25 inch card base. I had some scrap, black cardstock that I decided to cut into strips. They measure 3/4″. I ended up cutting 2 of each strip and gluing them together to give a little dimension. The florals come from the Fun Flowers Stamps and Dies from MFT. This is a simple and, like the name says, fun little floral set.

Now because the theme is black and white, I didn’t colour the images. I did add a little grey shading though. Before adhering the black strips to the base, I white heat embossed a sentiment from the Love Bugs Stamp Set. I thought it fit the card perfectly.

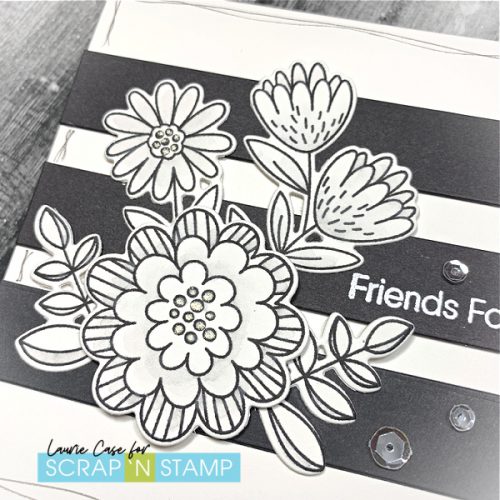
I adhered the flowers to the card using a combination of liquid glue and foam tape. I added a bit of shine to the flower centres with a glitter pen as well as a few clear sequins.

As an afterthought, I took a black pen and added a sketchy line around the perimeter.

And that’s the finished card! This came together very quickly as there was no colouring involved. This would actually be a great card to mass produce!

Thanks for stopping by! Be sure to enter your creations on the FB page!!

Laurie

Simple & Quick Black and White Card Read More »

Simple Watercolour with Lawn Fawn!

Hello and welcome back! Today I’m sharing a card with very simple watercolouring featuring stamps from Lawn Fawn!

I started by tracing around a simple heart die with pencil onto a piece of mixed media paper. My paints of choice today were the Kuretake Gansai Tambi palette. I haven’t used these in ages and forgot how lovely they were!

Start by adding clean water to the inside of the heart shape, make sure not to go over the pencil lines! I dropped in some colour which moved around easily on the wet paper. When the first layer was dry, I added a bit more water then dropped more colour in. This provides some “hard edges” in the paint which I love! When your painted heart is dry, erase the pencil lines.

I used the Happy Village Stamps and dies to create my little scene. The images are tiny so I decided to white heat emboss them to keep the watercolour contained. I used the same palette. After cutting out the images with the co-ordinating dies, I used foam adhesive and liquid glue to adhere everything to the centre of the heart.

For a pop of black, I white heat embossed the sentiment on a black strip of paper and foam mounted that as well.

I layered the panel onto a piece of Rainbow Plaid paper (also from Lawn Fawn) then stuck everything to a top fold, A2 card base.  For a bit of added interest, I used a white gel pen to add a few details to the stamped images.

Thanks for dropping by and I hope you were inspired in some little way!

See you soon!

Laurie

Simple Watercolour with Lawn Fawn! Read More »

One Layer Wonder Card!

Hello friends and welcome! Today’s cue word for the monthly challenge in “One Layer”. And I did just that!  This is difficult for me. I always love to add dimension to my cards whether that be with layers of cardstock or using foam adhesive. But honestly, I think I nailed it with this card!


I started by making a card base out of watercolour paper. I’ve never done this before as I think it’s a waste of valuable paper, haha. But in the end, I think it’s awesome and the only way to achieve an actual one layer card. I used the You Make Me Smile stamp set from Gina K Designs as my focal image. I used Versafine Smokey Grey Ink as I wanted to go for a more vintage look rather than stark black.

For the colouring, I used a set of Derwent water-colour pencils. I also had some help from my cat, Francis!!  After the colouring was done, I used some masking tape to mask around the image.

You can see I’ve chosen Tattered Rose and Antique Linen Distress Inks. I used these to add colour around the image. After removing the tape, it leaves a gorgeous frame/border.

I stamped the sentiment from the same set in the same Smokey Grey ink. And that’s when I called it done! No other embellishments added…which is also difficult for me!

I love how this turned out and hope you do too!!

Thanks for stopping by! Remember to share your projects using the keywords on the SNS Facebook Challenge Page!!

Laurie

One Layer Wonder Card! Read More »

Free Shipping Anywhere In Canada