Scratch-N-Stamp
Search

Checkout

Keep up with Sales, New Products and other events at Scrap `n Stamp. Sign up for our newsletter now!

What's New

Hot Deals


Impression Obsession

Its Winter

Hello all, Kia back with you today to share my card for Day 20 of the Random Act of Cardness challenges.

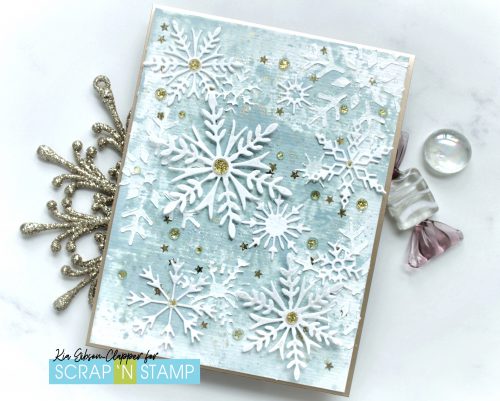
The challenge for today is “SNOW”. I have done a card full of snowflakes to celebrate snow. I love the winter time finding it such a refreshing time of year, especially when it snows. I tried to replicate that in this card.

I finally used my Speckled Egg Distress Oxide ink, and it took this card to do it. Sorry to say, it is not exactly one of my favourite colours, but for this kind of card I find it perfect, its cold! I started this card by laying down some colour on my work surface and spritzing with water, then pounced my piece of Tonic watercolour card stock in the puddle I made, drying after each layer. I did several layers this way, then for the final layer I spritzed with a mixture of Perfect Pearls and water, applying a shimmering look to the card.

Once dry with my fingers I added Stickles Glitter Gel over the card front. If you look closely you will see the gold stars throughout. I used my finger for this as I find when using a palette knife the stars end up close together for some reason. With my finger I can get them to spread out.
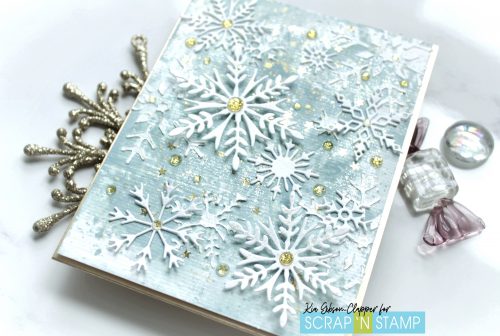
While waiting for the card to dry I die cut some snowflakes from a sheet of the Tonic watercolour card. Using the left over negative pieces from the die cutting card I applied texture paste with my fingers, which I used as I did not want to curl any of the delicate parts of the flake with a palette knife.

Once the paste was dry, using foam tape I attached my card panel to a mirror gold card base. It is gold on the front and white inside. I did this now as I would be using gems and foam dots from this point on.

I glued the die cut snowflakes in place around the card except for two which I attached with foam squares. I then painted the the two snowflakes with Nuvo Shimmering Pen in Midas Touch, then put some of the liquid on my work surface and splattered a lot all over the card with a paint brush. It is so beautiful in real life.
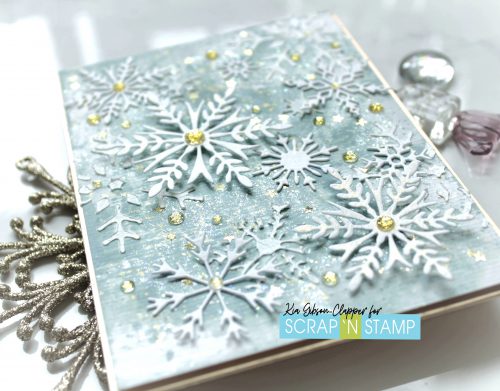
I finished by adding gold gems to a few of the snowflakes as well as randomly around the card. I did not really want a sentiment on the front, I have a nice one for the inside instead.

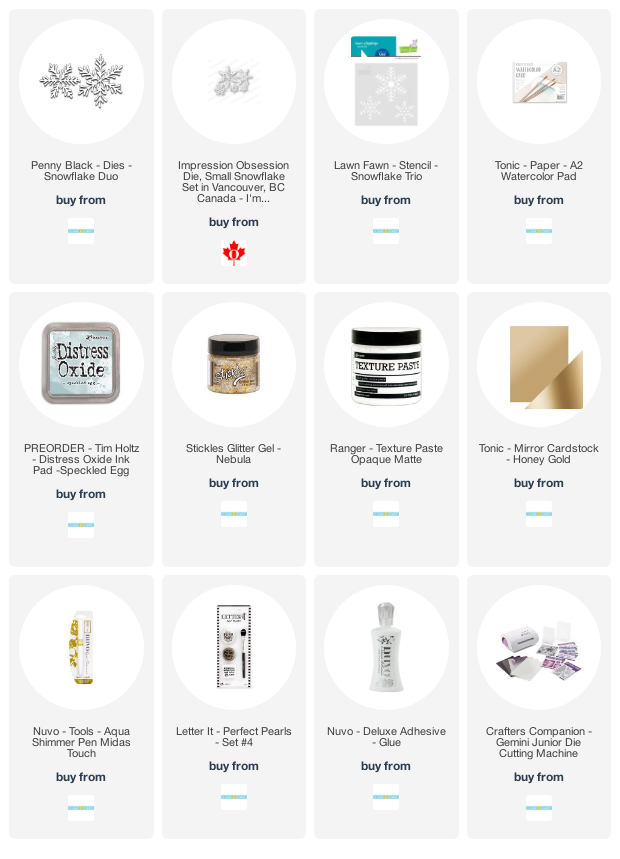
I really enjoyed making this card, and I hope you enjoy it as well. Following are Affiliate links to the store for the products that I have used for this card today, at no extra cost to you.

Its Winter Read More »

Tuesday with Tara {take 270} Coffee Throwback

Happy Tuesday!  Today I’m sharing a Coffee themed throwback card from a couple years ago… but the bonus is that the main stamp & die elements I used are still awesome AND still in stock in the SNS online store!  I love it when that happens!  Hope you like it 🙂

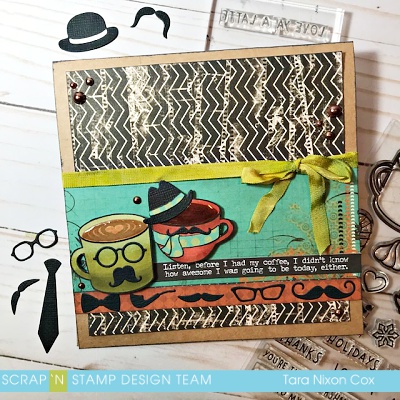
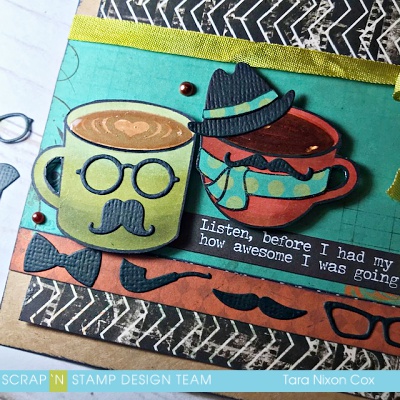
For my card, I’ve paired  the Retro Masculine Dies with mugs from the ‘Thanks a Latte’ set by Lawn Fawn.  I die cut the entire set and played around with placement of them to add some fun character to the mugs, which I colored with Copic Markers.  I pulled a 6×6 pad out from my stash (perhaps you recognize this old fave, Mamarazzi, by BoBunny.  It’s probably 7 years old!) and chose papers using inspiration from a recent card sketch I found online.  I’ve switched things up a bit, but you can probably still see the design 😉  One of Tim’s SNARKY small talk sentiment stickers was a perfect fit to help me with my design… After a bit of playing around, I added some ribbon and moved a third mug to the inside of the card, then added a fun border of die cut shapes at the bottom of the card.

I love the personality the die cuts add to my mugs!  As you can see, I added some Glossy Accents to the coffee.  yum.

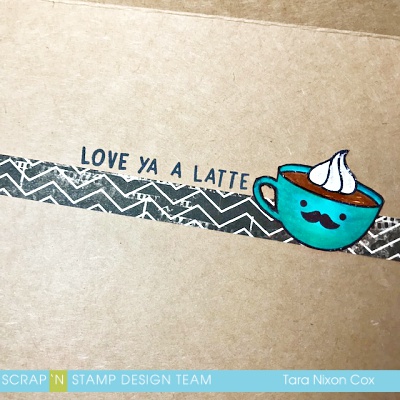
Inside the card, I added a strip of patterned paper & the smaller mug, which is from the mini Pumpkin Spice stamp set, also by Lawn Fawn.  I can see the three mugs being used together to represent a family (with a mustache on just one, of course!).  The sentiment is from the Thanks a Latte set.  I love that there are so many options to mix & match between the two sets!

I had fun creating this card and making a card that is whimsical, snarky & masculine!

Inky hugs,

Tara

Tuesday with Tara {take 270} Coffee Throwback Read More »

Wishes

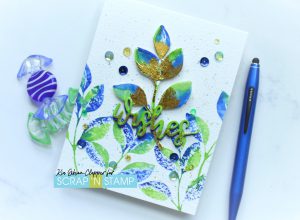
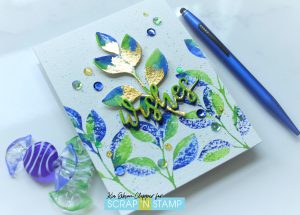
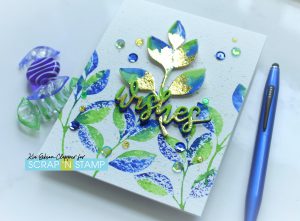
Hello all. Kia here with you today to share my card made for the 30 Day Random Acts of Cardness challenge. Today it is day 18, time for foil.

Brush Stroke Foiling is the full name. There are several ways to do this technique, but for my card I used my fingers, no machines destroyed in the making this card!

I am using Arches watercolour paper for my project today, along with a die from Impression Obsession which I happen to have the coordinating stamp for. You don’t need to have the stamp to do this card, having the die works just fine, as you can see from the die cut I have done.

I started by colouring the stamp with the Nuvo Aqua Flow Pens in Fresh Green and Azure Blue, and spritzing with water before stamping. When doing the die leaves, I spritzed with more water to get the colours to blend.

I then die cut two of the sentiments dies from the Arches paper and painted one with the Fresh Green, setting it aside to dry along with the leaves die.

In the meantime using the Gansai Tambi Pearl watercolour set I did splatters with the green, blue and gold paints on my card base.

Using an old paint brush I applied the Mono glue to the leaves die working from the bottom up and making sure I was making lines with the glue. I then laid the deco foil gold side up over the die and rubbed where I had the glue with my forefinger, then peeling the foil away from the leaves. I did the same with the wishes die, except I used my finger to apply the glue in random areas, then burnished.

I cut up some foam squares and added them to the back of the leaves to attach to the card base, doing the same with the sentiment die. I then added some gems to finish my card.

I hope you have enjoyed today’s card and wish to thank you for visiting us here at Scrap’n Stamp.

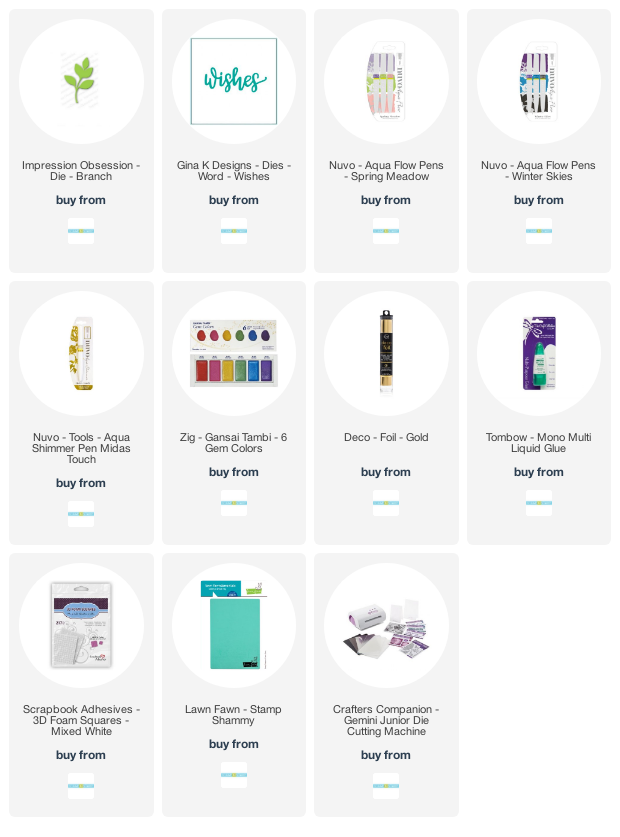
Following are Affiliate links for the products that I have used for this card, at no extra cost to you.


Wishes Read More »

Free Shipping Anywhere In Canada