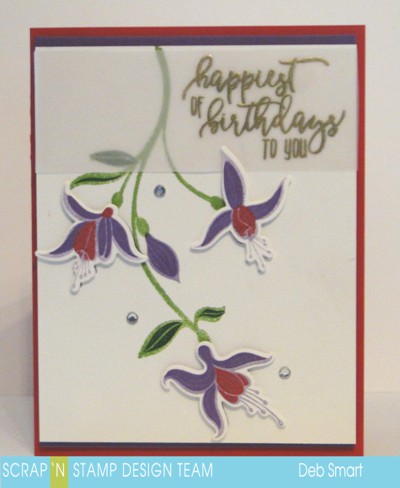
Color Layering Fuchsia
COLOR LAYERING FUCHSIA
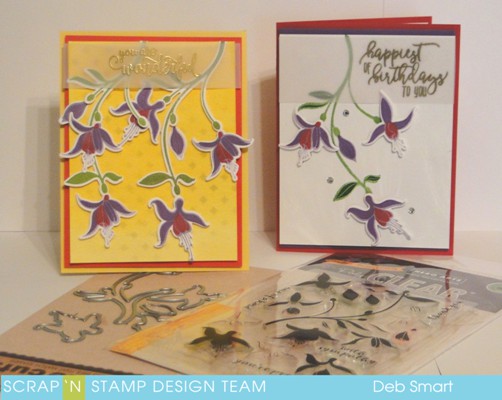
Hello stamping friend! It’s Deb here, for the Scrap ‘N Stamp blog! I hope you’re looking forward to a great week. We in the Design Team have some great projects to share with you. I’m happy to be here to start your Monday off right. I hope that you were able to take advantage of the recent ‘Bundle Up & Save’ sale on select stamp & dies bundles, at Scrap ‘N Stamp. I sure did! Today I have a couple of cards to share with you that I made from one of the bundles I purchased, called Color Layering Fuchsia by Hero Arts.
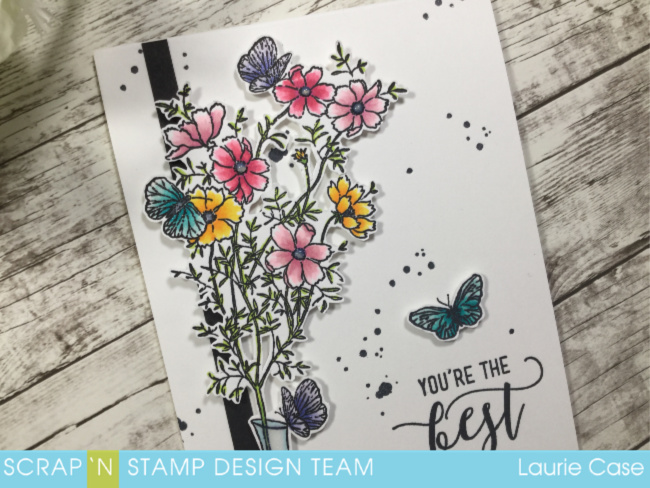
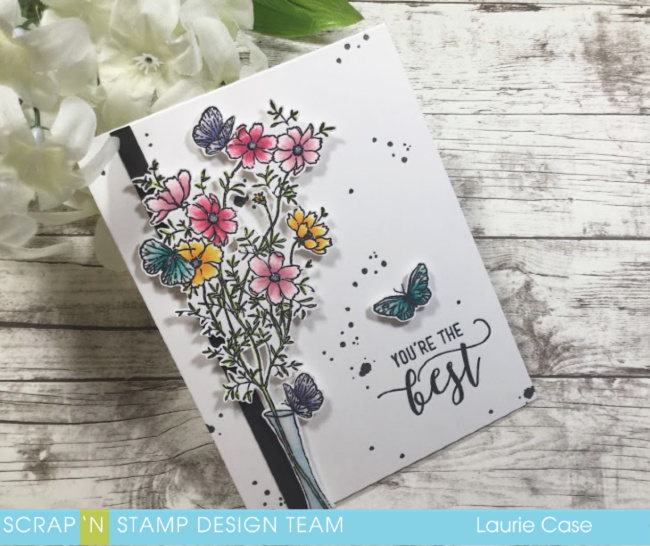
CLEAN AND SIMPLE
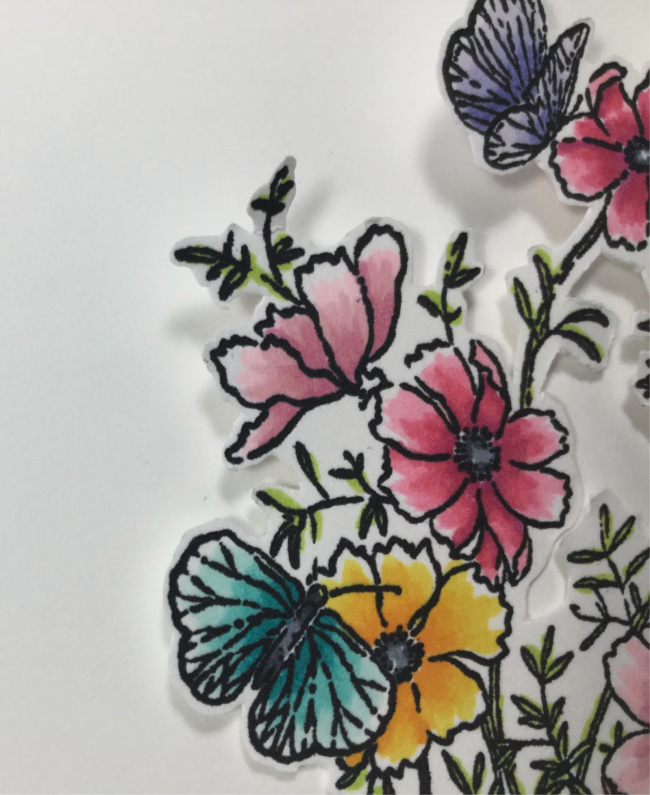
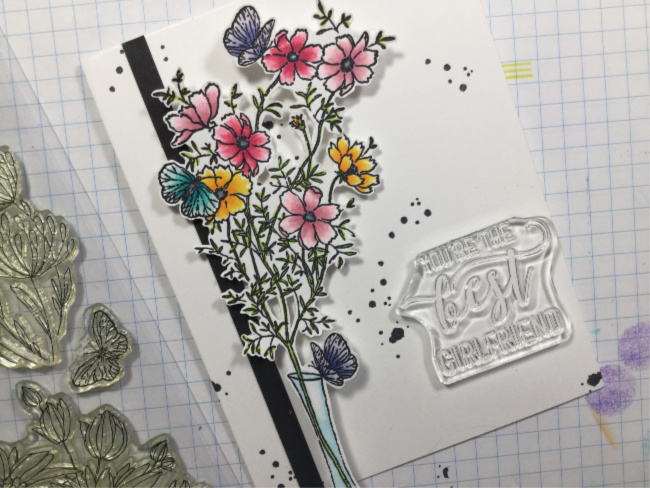
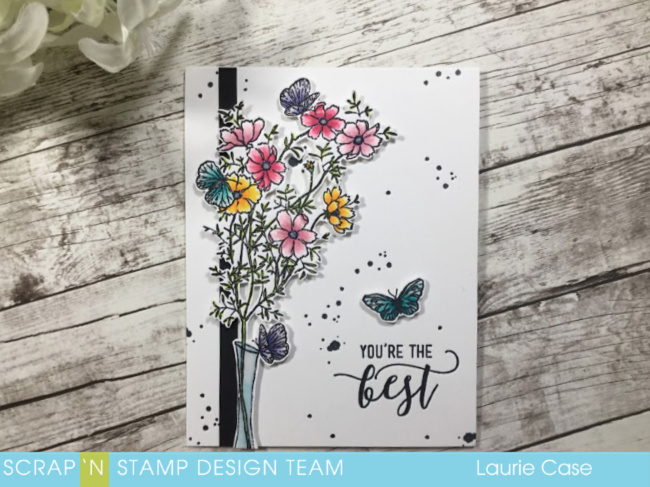
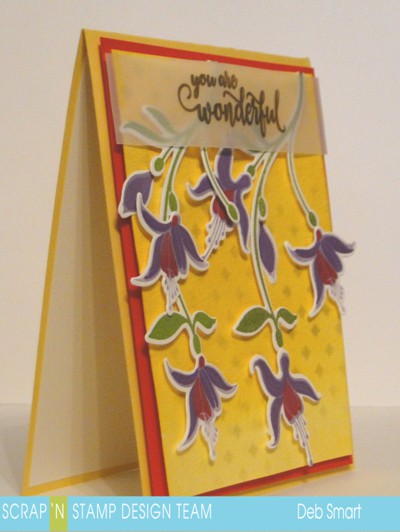
For my first card, I kept it fairly clean and simple. A nice bright white background, and one stem of the fuchsia flowing down the middle.
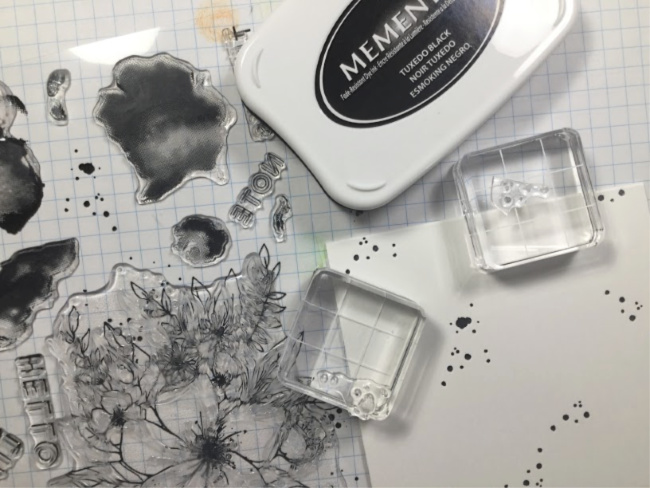
This stamp set is incredible! When they say ‘color layering’ they mean it! Each flower has at least 4 layers to it, and there are extra layers that you can add to the leaves on the long stem. Because these are photopolymer stamps, it’s easy to see exactly where to layer the next colour. However, if you’re a little timid, you can set up the stamps in your stamp platform, and that stamp that way. I’m still working on adding to my ink collection, so I used ink from my stash on hand.
CARD FRONT DETAILS
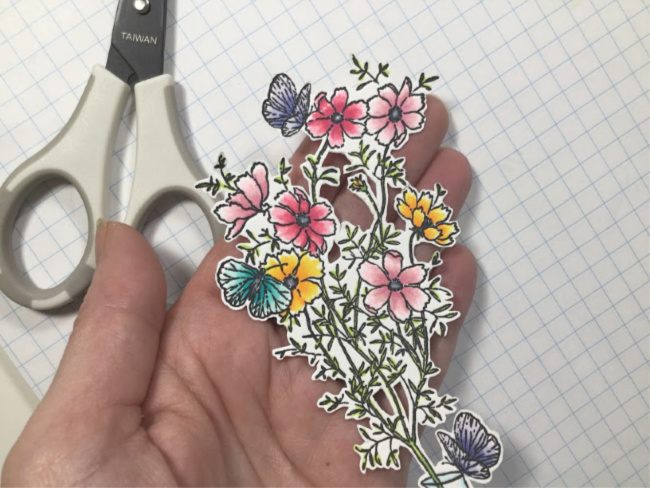
First, stamp the long stem directly onto the panel of white cardstock. I used Mowed Lawn Distress ink. Add in the shading to the leaves in a darker green. Stamp the layers for the small bud directly onto the cardstock, as shown. For the other flowers, stamp them onto separate white cardstock. I stayed pretty true to real fuchsia colours, using light and dark purple, and a dark pink.
After stamping the flowers, use your die cutting machine and the coordinating dies, to die cut the flowers. Attach them onto the panel, using foam squares.
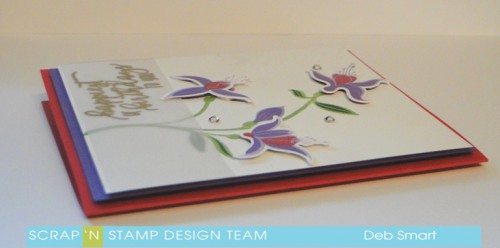
Chose a sentiment that you want – I happened to grab one from my stash, that is old – and stamp it in Versamark ink onto vellum cardstock. Cover the ink with Gold embossing powder, and then set it with a heat tool. I chose to stamp onto vellum so that the pretty flowers wouldn’t be covered up by the sentiment.
Finally, I layered the front panel onto a dark purple cardstock, and then onto a dark pink card base. Then I added a few rhinestones from my stash, for a little bit of bling.
MORE FLOWERS TO ENJOY!
For this next card, I added a second stem of fuchsias, and created a background with ink and a stencil.
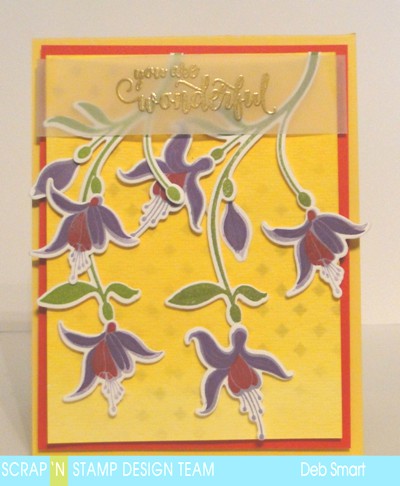
I may have gotten carried away with the number of flowers – but they’re so pretty! I love to have a real basket of fuchsia at my front door, during the spring & summer.
CREATING THE BACKGROUND
I originally started with a patterned paper background, but decided that it was too busy; it competed with the flowers. So, I put some ink onto one of my clear blocks, and created a wash background with a wet paintbrush on white cardstock. I kept the yellow darker at the top of the panel, and lighter at the bottom.
After the panel had dried, I took a stencil from my stash (I really need to add new stencils to my arsenal!) that is a trellis pattern. I held it in place over the watercoloured panel with purple tape, and applied a medium gray ink. I applied the ink randomly; I didn’t want a solid background.
I repeated stamping the sentiment onto vellum cardstock & embossing it in gold, as I did on the first card. This sentiment is from the Sentiment Collection by Penny Black.
PUT IT TOGETHER
For this card, all of the flowers as well as the long stems were stamped separately, and die cut. Attach them to the front panel with foam squares, and add the vellum sentiment with liquid glue (it won’t show when it’s dry).
Attach the front panel to a layer of bright pink cardstock, and then onto a yellow card base. I used foam tape to attach the layers together.
THANKS FOR VISITING!
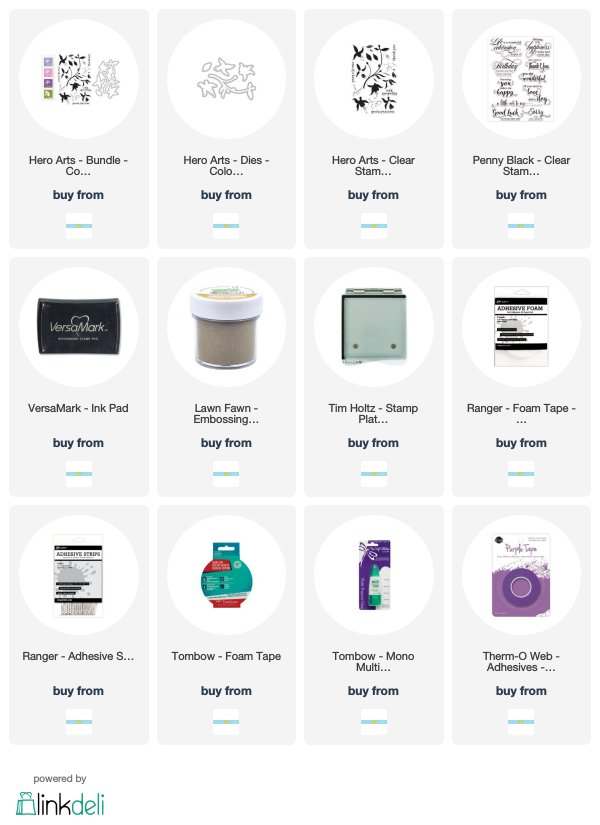
I hope you’ve enjoyed seeing my projects today! Please leave a comment, and let me know what you think. The supplies available from the Scrap ‘N Stamp online store are listed below for your convenience. The Color Layering Fuchsia set is available as a Bundle (both the stamps & dies together), as well as separately. Have fun shopping, and creating!
Compensated affiliate links are used where possible, at no cost to you. All products used are personally purchased, unless otherwise noted.
Color Layering Fuchsia Read More »