Scratch-N-Stamp
Search

Checkout

Keep up with Sales, New Products and other events at Scrap `n Stamp. Sign up for our newsletter now!

What's New

Hot Deals


Shari – Ain’t that …

TBT – With a Song in your Heart

  Our Creative Corner has a Fabulous April challenge – With a Song in Your Heart – Create something inspired by a song title or lyrics.  Oh Boy!!  This is going to be a fun one!!

DSC02249

Let me take you (on a trip..) back to my youth in the 80’s when the “New Wave” genre of music hit the States.  I instantly fell in L-O-V-E with Depeche Mode!!  I’ve been a lifetime fan (I said fan–not fanatic!) ever since.  Even as an adult, they are my–Final Answer–Favorite Band of ALL TIME!  I instantly thought of this song for this challenge!!

DSC02248

World in My Eyes–Track 1 from their 1990 album Violator.  (click on this link and you’ll be taken to the video)

Here’s a story–When I was a young, 21 year old navy wife (ahem-that was hubby #1) in San Diego, Depeche Mode played 2 sold-out shows at the Sports Arena for this album.  I didn’t get to go to either of the sold out shows–but, as a sad, alone (because hubby was out to sea), DM fan, I forlornly drove past the Sports Arena both nights, just so I could hear the thrum of the music and the screams of the crowd!  Martin Gore would have appreciated that!

I did make up for it later though, by pretty much going to every Depeche Mode concert they played in Seattle, between the years of 1991-2005!!  And let me say this–that spin that Dave Gahan does….It’s Spectacular when you get to see it on stage in person!!! 🙂

DSC02177

OK–back to what I’m here for!  I started with a piece of Paper Stash Kraft Resist and rubbed Salty Ocean DS over the entire front.

DSC02178

The distress stain really brings out that coated design on the paper.  You can see the beads of stain sit on top of the resist.

DSC02180

I dried the surface with my heat tool and wiped away the excess stain from the resist areas. I also inked the edges with SU Night of Navy and a sponge applicator–This is going to be my card base.

 I made my own perfect pearls mist by taking a little bit of Pewter Perfect Pearls and spooning inside a mini-mister, then filling with water and placing a small bead inside to shake.  This is how I achieved this sparkly, water spot effect.

DSC02176

For my ‘world’, I’m using the globe image from the Travel Blueprint set.  I stamped with Staz-On ink in Jet Black on three different surfaces, because I just wasn’t sure what I was going to do at this point.

DSC02190

I’m going to color my globe on vellum with my water brush and Distress Markers in Faded Jeans, Broken China, Shabby Shutters, Peeled Paint, Brushed Corduroy & Antique Linen

DSC02195

…but on the reverse side!  I figured out what I’m going to do with my stamped globe images and I can’t have water-reactive inks on the front side of this vellum.

I also colored the globe image I stamped on the white card stock with the same DM’s and my water brush.

I ran the white cardstock globe through my Xyron adhesive machine, positioned so the colored side of the globe will get the adhesive, then I layered the piece of vellum right on top with ‘perfect’ alignment.  I really rubbed the vellum onto the white cardstock to make sure the adhesive layer stuck, then fussy cut the globe.

DSC02209

This is why I couldn’t have ink on the front side of the globe image–I’m layering it with a coat of dimensional magic and I didn’t want the colors to wick away.  This was set aside to air dry to reduce any air bubbles that could form if I used my heat tool to dry.

DSC02211

DSC02210

I’m very happy with how this turned out!  Even though the vellum lifted in a few places, it lends a fun texture to my glossy globe.  I mounted this globe on a piece of black cardstock for rigidity and inked the edges and surface with Sepia & Jet Black Archival Inks.  Very cool effect on those raised portions of vellum.

DSC02202

I’m trying to incorporate acetate in more of my designs….

DSC02203

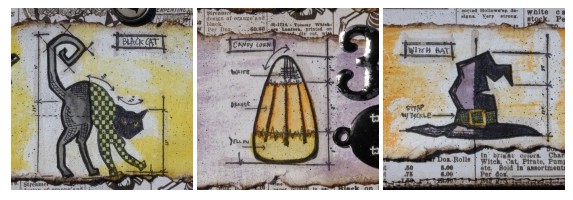
…so I stamped the ‘eye’ image from the Oddities set a couple of times with Jet Black Staz-On ink….

DSC02204

…then die-cut the eyes into mini-tags.

I also stamped the song title onto acetate with Jet Black Staz-On then fussy cut into little word bands.

DSC02214

Now time for assembly! I gathered some metal embellishments from Tim Holtz and Prima Embellishments, silver and brown threads and everyone’s crafting BFF, multi-medium!!

DSC02219

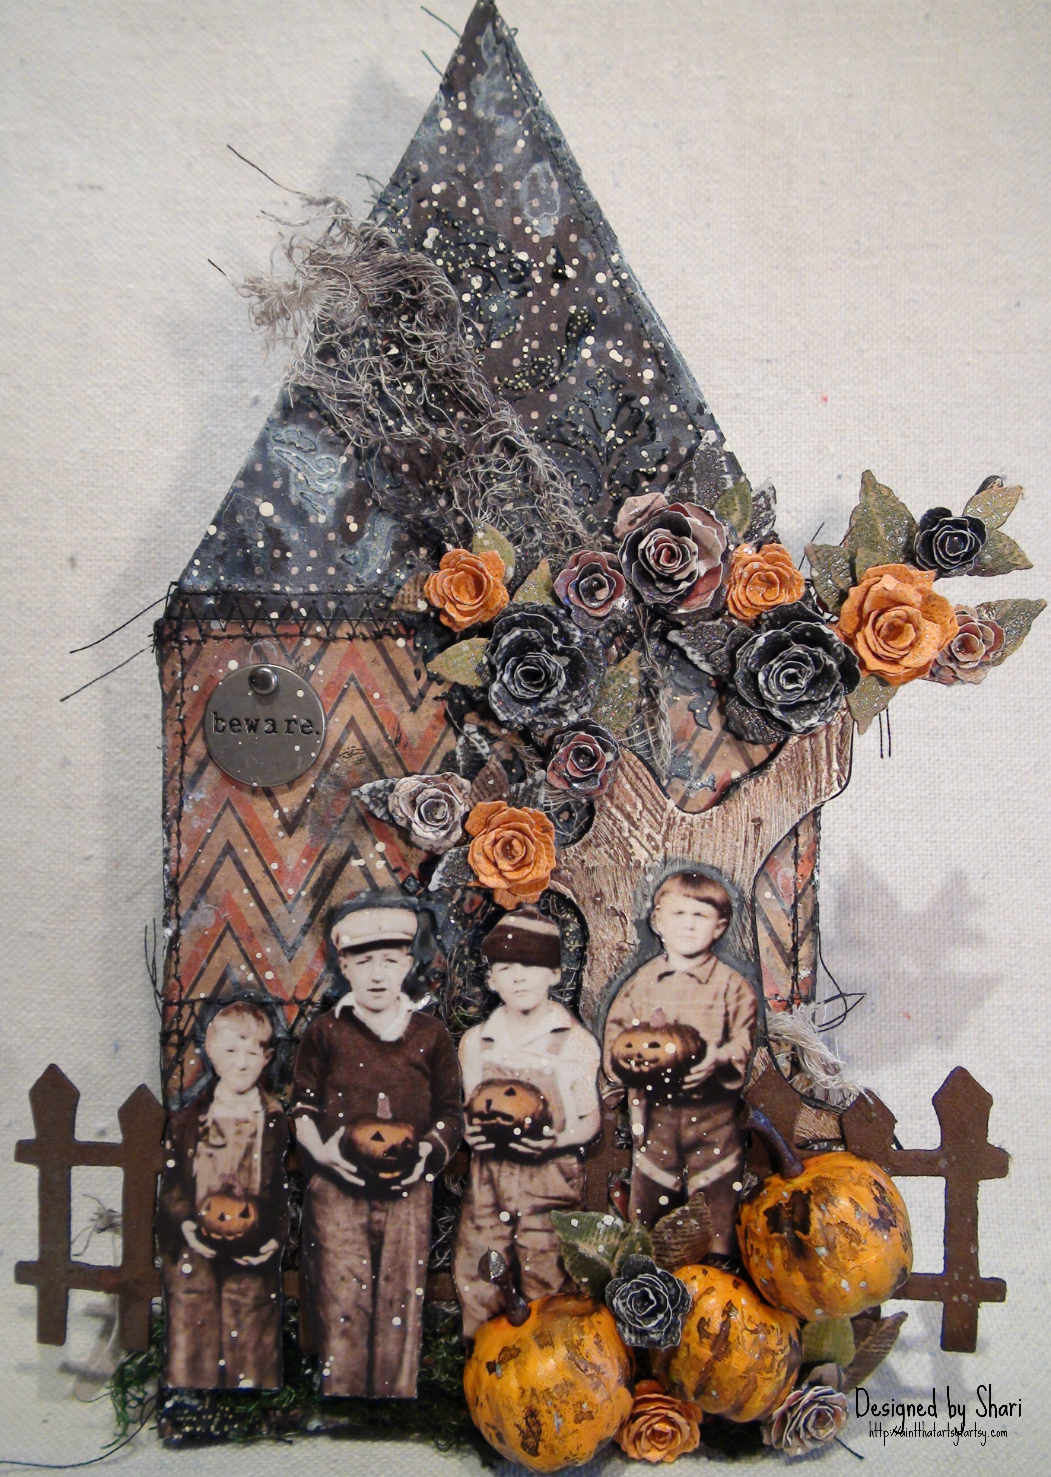
And here’s how it turned out (ignore that red dot on the eyebrow…it’s from my camera)….

I ended up layering the eye over the world with vellum because it got lost on the transparent acetate when I first positioned it and I ended up using only the silver thread–the brown thread was just too thick.

I used foam dots to pop the world off of my card front and multi-medium to glue down the metal pieces.  I actually used double-back tape to adhere the acetate words down with because the matte multi-medium left a dull coating on the acetate when I experimented with it earlier.  I wonder if I used glossy multi-medium, would it have left a dull film on the acetate?  Hmmm…I’ll be experimenting with that…

DSC02255

And there you have it–My first challenge card for Our Creative Corner and a brief look into my musical preferences!  I hold the music of my ‘youth’ very close and it dominates my i-pod almost exclusively…I LOVE my 80’s NEW WAVE MUSIC!!  TOTALLY!!  Thanks for coming with me as I took my trip down Depeche Mode memory lane–It was fun for me🙂

Have a Great rest of your weekend and until next time–Stay Artsy Fartsy!!  XOXO-Shari

SUPPLIES I USED:

  • Paper: Kraft Resist (Tim Holtz/Idea-ology); Acetate (SU); Teal Cardstock (inside layer); Vellum; White Cardstock; Black Cardstock
  • Stamps: Oddities & Travel Blueprint (Tim Holtz/Stampers Anonymous); Alphabet Letters (mfg unk)
  • Ink:  Distress Stain & Markers (Tim Holtz/Ranger); Staz-On (Tsukineko); Perfect Pearls (Ranger); Classic Dye Ink Pad (SU)
  • Embellishments:  Silver Thread (Coats); Small Gears, Spinner & Brad (Tim Holtz/Idea-ology); Large Metal Embellishments (Prima Embellishments)
  • Adhesives: Matte Multi-Medium (Claudine Hellmuth/Ranger); Double-Back Tape (3M); Foam Dots; Dimensional Magic (Plaid)
  • Tools:  Paint Brush; Mini-Mister; Craft Sheet; Heat Tool; Sponge Applicator (make-up triangles)
  • Big Shot Machine (Sizzix); Traditional Tags Die (Sizzix)


Original Post  date April 6 2014 on Ain’t That Arsty Fartsy.

TBT – With a Song in your Heart Read More »

My Pumpkins – Halloween Bonus Project

HAPPY HALLOWEEN!!  Hi There, It’s me Shari from Ain’t That Artsy Fartsy and I’m so happy to be here today to share a fun little décor piece I made for Halloween.  With so much Halloween inspiration out there, and with a little apropos change to a song lyric, I came up with…..

dsc00308

…wait for it……

dsc00319

While you’re all laughing and chair dancing, I’ll tell you a little bit of what I did to make this altered wooden house.

dsc00291

I cut my house out of a piece of unfinished poplar.  This house measures 9″ x 4″ x 1″ and I covered the front and back with pieces of Tim Holtz Regions Beyond Paper Stash that I had stitched together with my sewing machine.

dsc00292

I roughed up the edges with my paper distresser and inked with Black Soot DI then adhered to the front and back surfaces with matte Decou-Page.  I added smears of black gesso with my fingers and adhered a long piece of Design Tape to the outside edge.

dsc00310

I added stenciling to the front and back sides of the house with Tim’s Gothic Layering Stencil and black modeling paste.  While the paste was still wet, I sprinkled Shabby Shutters Distress Glitter over it, tapped off the excess and let air dry.  While that was drying, I spritzed pieces of cheese cloth with a combo of Hickory Smoke and Black Soot DSS and heat set.

dsc00327

The tree and fence are older Sizzix dies that I treated with crackle paint and rusting powder respectively.  When the crackle paint dried on the tree, I rubbed it with antiquing cream to accentuate all of the neat texture, then I started to adhere the pieces onto the house.

dsc00309

This little foursome of cutie-pies is from Tim’s Found Relatives-Occasions.  I fussy cut them from their card and colored their Jack ‘o Lanterns with my Pumpkin Spice DM.  I die cut a bunch of leaves and roses from the Tiny Tattered Florals die from a mixture of Kraft Core, Color Core and Regions Beyond Paper Stash.  I stained the Pumpkin Pieces with Hickory Smoke DSS and gave all of the roses and leaves a spritzing of Pewter Perfect Pearls Mist.

dsc00321

The song lyrics were printed onto white card stock and cut into bands.  I sealed with matte Decou-Page and then coated with clear crackle glaze.  When the crackle glaze was dry, I rubbed with Hickory Smoke DI and adhered onto the house with matte Decou-page.

dsc00322

I outlined the word bands with Black Soot DI and my water brush, then brushed a wash of translucent white paint around the edge of the house, spritzed with water and let the watery paint drip down.

dsc00327

To finish the house, I attached a Typed Token and applied one final splatter of off-white paint to the front and back sides of the house.

I hope you’ve enjoyed my little Halloween house today and will come back later in the week for our Throwback Thursday feature.

Until next time–Stay Artsy Fartsy!! XOXO-Shari

My Pumpkins – Halloween Bonus Project Read More »

Halloween TBT with… Shari from Ain’t that Artsy Fartsy

I am thrilled to introduce  Shari of  Ain’t That Artsy Fartsy. She has agreed to host our TBT’s (Throw Back Thursdays)!  If you can’t wait to see all her wonderful projects make sure to check out her blog.  —Raya

shari

Hello, my name is Shari and my Happy Place in blog-land is called,

Ain’t That Artsy Fartsy.

I’ve been a crafter, in one way or another, since about 1998 after helping someone make  their own, home-made, hand-stamped, wedding invitations – I was hooked and have been creating cards ever since!  I don’t subscribe to any one particular style – I Love It All!  As you peruse my work, you’ll find examples of Clean & Simple, Grungy, Vintage…I’m all over the place and I love to experiment with new techniques.

I am married to my hubbie Don, and we have 3 dogs and 2 cats all nestled together on 12 acres of land located on the gorgeous Pend Oreille River – a place that we call Heaven on Earth.

I hope you come back often and find your own Artsy Fartsy inspiration in the creations that I share! So, it being Halloween we thought that this would be a good place to start…..

We all know what Tim’s Tag looks like–

TAG-MAIN

Perfectly patriotic for our July 4th holiday earlier this month here in the U.S.!  I don’t have any of those fun images, but I do have some other seasonal Mini-Blueprints stamps, so I did a 3 month fast forward to Halloween instead🙂

DSC07906

We had Fall-like weather this weekend with stormy skies, thunder & lightning and sporadic downpours of rain–It was fun and put me in the mood for Halloween!

I gathered up some of my supplies to make this month’s tag.

DSC07879

I’m using a jumbo tag for my version that I covered with a piece of this seasonal collage paper stash.

DSC07876

These Halloween images are in the Mini Blueprints #7 set and just like Tim, I stamped them onto Distress WC paper with Jet Black Archival.  These images are a bit tall, so that’s why I’m using a jumbo tag.  I did a quickie placement of the stamps onto a #8 manila tag and realized they wouldn’t all fit.

DSC07878

I water colored my images with Distress Markers, then rubbed the Distress Micro Glaze over the images and buffed away.  I used Ripe Persimmon, Mustard Seed & Dusty Concord as my background colors.

DSC07881

I inked the ripped edges of the images with Walnut Stain DI and adhered onto the tag.  I then snipped off any extra paper and ran through my sewing machine to add that rough stitched border.  I distressed the edges with my paper distresser and inked the edges with more Walnut Stain DI and my ink blending tool.

DSC07882

I’m using Spiced Marmalade & Dusty Concord DMs to ink my seam binding.  This is a great technique for creating a two-toned ribbon!  I LOVE this technique!!

DSC07900

I don’t have the vial labels that Tim used on his tag, but I improvised with one of his enameled tags that I painted with Black Soot DP.  Now, I also ran out of my sheet of black remnant rubs from the Apothecary set and only have the sheet of white rubs left–That’s why I painted the tag black.  Otherwise, you wouldn’t be able to see the words on the white background

DSC07911

I had to get a close-up of this mirrored star.  I love the matte areas where the Black Soot DP settled.

DSC07903

I topped my tag with my colored seam binding, which blended wonderfully when spritzed with water and heat set.  I also stained some cheesecloth with Black Soot DSS and ran that through with the seam binding.  I added a type charm with the letter ‘H’ for Halloween.

DSC07896

I’m headed over to Tim’s blog right now and get this entered, before the clock strikes midnight on the 31st!  Hey–that’s still 3 days away!! I’m ‘early’ for once, not sliding in right under the wire!  WHEW, that feels good!!

Thanks so much for coming by today!  I have a plan to be back before the end of the week with one last July challenge project (due on the 31st), so I hope you come back for that!  Gosh, I hope I can make that!!🙂

Until next time–Stay Artsy Fartsy!!

DSC04507

SUPPLIES I USED:

  • PAPER: Jumbo Manila Tag ; Distress Watercolor Paper (Tim Holtz/Ranger); Seasonal Collage Paper Stash 8×8 (Tim Holtz/Idea-ology)
  • MEDIUMS: Distress Inks, Markers, Paint, Micro Glaze, Spray Stain (Tim Holtz/Ranger); Archival Ink (Ranger)
  • EMBELLISHMENTS: Mirrored Star, Type Charm, Enameled Tag & Mini Numerals (Tim Holtz/Idea-ology); Seam Binding ; Cheesecloth
  • TOOLS: Craft Sheet (Ranger); Heat Tool; Sewing Machine (Kenmore); Craft Scissors; Glue Stick; Air Art Tool (Artworx)

Halloween TBT with… Shari from Ain’t that Artsy Fartsy Read More »

Free Shipping Anywhere In Canada