Scratch-N-Stamp
Search

Checkout

Keep up with Sales, New Products and other events at Scrap `n Stamp. Sign up for our newsletter now!

What's New

Hot Deals


Chala

Lawn Fawn Swish & Pop with a Twist

Good Day, Crafty Friends!
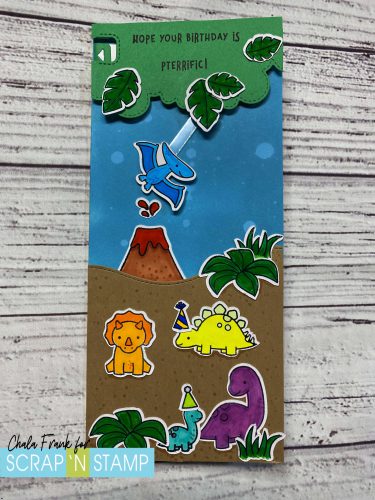
 

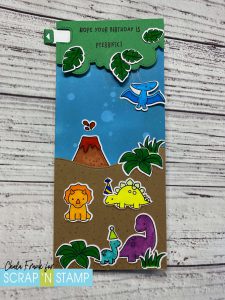
I hope this blog post finds you well!  Today I want to share with you my Lawn Fawn Swish & Pop with a Twist card.

I love this new interactive Swish & Pop die from Lawn Fawn and wanted to see how I could use it with some older stamp sets.  As I was flipping through my Lawn Fawn stash I came across the Rawrsome stamp set.  I thought these cute little dinos would make an awesome card for a special boy’s birthday that we are celebrating this weekend.

As there are several steps (although they are easy) you may want to watch the video here:

I started by creating a background piece by ink blending on an A2 size card panel with Broken China Distress Oxide Ink and an ink blending brush.  I like to do the blending on my Waffle Flower Mini Media Mat as it helps keep my project in place.  I then added some water droplets to reactivate the ink and give the background a bit of interest.

Next, I die cut the slider portion from some 120lb cardstock and the interactive arm with some clear acetate.  I will then use the “L” shape die. Instead of using this by lining it up in the traditional way on the bottom of the card I will turn it upside down and line it up with the upper left-hand side of the card panel.  Once the panel is cut there should be four small holes in your card panel.

I will turn the interactive arm so that the tall portion is on the left and the portion with the two holes is on the right.  I will place a brad through the hole in the slider portion and then through the bottom hole of the interactive slider arm and secure the back of the brad.  I will then take the second brad and place it through the top hole of the interactive arm and through the second hole in the distress-inked panel attaching the two pieces together (Again, if this all sounds confusing, I encourage you to watch the video linked above).  Now rotate the pieces so that the clear acetate arm is pointing down and the pull tab is at the top either to the left or right, whichever way you want it to pull from depending on the element you are attaching to the acetate arm.  My image is facing to the right, so I want my pull tab to be on the left-hand side.

At this point, I want to adhere the inked panel to my card base.  I decided it would be fun to do a slimline card and adhered it with a tape runner and trimmed the excess.   I will then add some foam squares as stoppers around the acetate piece so that the arm can only swing a certain distance across my card.

Now for the little critters!  I stamped out the dinosaur images from the Rawrsome stamp set and a few leaf and grass images from the Critters in the Jungle with Memento Tuxedo Black Ink and cut them out with my Brother Scan’N Cut.  I kept the colouring simple with my Copic Markers.  Next, I adhered the pterodactyl with some Glue dots and then trimmed the acetate arm.

To create the tree canopy I used the Stitched Rolling Clouds Edges from My Favorite Things I die cut a piece of green cardstock that would fit over the interactive mechanism.  I also thought that you could use the Falling from the Clouds die frame and trim it to fit.  I then used the notch piece for the pull tab and die cut that on the left-hand side of the canopy piece.  For the sand portion, I used the Slimline Stitched Hillside Borders from Lawn Fawn and die-cut some craft cardstock.

Before we begin assembling, we need to decide if we want our sentiment to be stamped on the canopy portion of the sand.  I decided I like it best on the canopy, thus giving me more room to add lots of dino critters on the bottom.  I stamped the sentiment “Hope Your Birthday is Pterrific” in VersaFine Claire Nocturne Ink.  I then add further foam squares to the back making sure I don’t add them where they can interfere with the swinging element and secure that to the card base.

It’s time to decorate!  My favourite part is creating the scene with the images.  I adhered to the sand portion with a tape runner and the rest of the images with Gina K Connect Glue.  I think the little party hats are adorable!

The last step is to die cut the little arrow for the pull tab.  I pushed the pull tab all the way into the right and trimmed it and then die cut that tab arrow in the same green cardstock and again adhered that with Gina K Connect Glue.

Now it is time to play with it!
 

I hope you enjoyed today’s card and that it helps you to look at how you can use new and old products together!

Stay crafty!

~Chala


Lawn Fawn Swish & Pop with a Twist Read More »

No Cha-Ching Bling Christmas Cards

Hey guys, I am back to share two “No Cha-Ching Bling” Christmas cards with you.

What is that you ask? Well, I wanted to share a card that had bling without you having to spend any money or break the bank if you need to . Most of the supplies I am sharing you likely already have in your stash!

For my first card I KNOW that we all have sequins in our supplies. We have all taken that fateful trip to the dollar store and purchased sequins because we knew they would make great embellishments and you bought every colour and now they are sitting there all lonely wondering when it will be there turn to be used on a card! Here is your chance to use them. Oh – I should probably let you know that the inspiration for my cards today was brought on by two other crafts – cross-stitch and diamond painting. So if you don’t like either…..well, I hope this changes your mind! Let’s start with the first card!

Pull out your sequins, find yourself a fun cross-stitch pattern for inspiration, or free-hand a design you like. My inspiration today is a Christmas Tree cross-stitch pattern I found on Pinterest. I printed the picture out and will actually use it as reference for both my cards today.

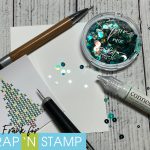
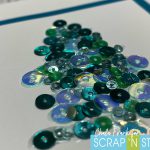
I closed my eyes stuck my hand in my sequin drawer (yes, I have an entire drawer for sequins – don’t judge me) and pulled out the Spiked Ocean Water Sequins from Picket Fence Studios.

The next step is very difficult….find your favourite clear drying glue. I say it is difficult because I actually have a few….Glossy Accents and Gina K Connect Glue are my favourite. Gina K won this time as she was the closest at hand.

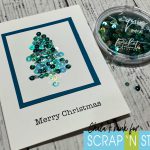
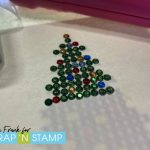
I then just added glue in the shape of the tree and began adhering the sequins keeping in mind which colours and sizes I was laying down to help it look pleasing to the eye. This is made a lot easier by using reverse tweezers, a Jewel Picker and the Tim Holtz Craft Pick. You could be even more particular and follow the cross-stitch patter and match up the colours with the sequins, but because of the ones I picked I didn’t have a large variation in colours…so mine is more monochromatic. Once I was done adhering them down I set that aside to dry very well.

When I was sure everything was dry, I used my Fiskars sure cut paper trimmer and trimmed down the image and backed it onto some coordinating cardstock and adhered to my card leaving enough room to stamp a sentiment underneath with Versafine Claire Nocturne Ink

For the sentiment you can really use any one you like that you think works well with the style of card. I am sure we all have a ton of Christmas sentiments that we can choose from! And that finishes card number one! Pretty quick and simple except for the glue part – LET IT DRY!!!

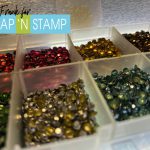
Card two!! This one is more of a diamond dot painting type card…so, it took a bit more patience but was worth it! If you are a girl from the 80s/90s I know you have some hot fix crystals somewhere! lol! Or you can even use jewel embellishments.

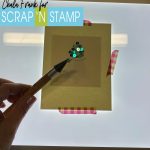
I had some hot fix crystals that I pulled out and used my hot tool to adhere them to the cardstock. This time I followed the cross-stitch pattern a little more carefully…but not 100% Again, if you are using embellishment jewels you can just adhere them with your favourite clear drying glue.

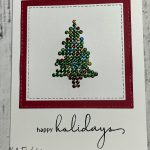
I used a two of the Small Stitched Square Stackable dies from Lawn Fawn and used the smaller of the two to die cut the hot fix crystal tree. I ran it through my Gemini Jr. and was pleasantly surprised to see that all the crystals remained in tact. I adhered that onto the large stitched square that I die cut from some red cardstock and again adhered to a card base and stamped a simple sentiment with the Versafine Claire Nocturne Ink.

I hope that you enjoyed today’s simple yet beautiful bling cards! Leave me a comment to let me know which card you liked the best the Sequin card or the Crystal Card.

Remember to play along with the Scrap’N Stamp Random Acts of Cardness Facebook Challenge for your chance to win some great prizes!!

Enjoy the rest of your weekend!

Chala xoxo

Images not showing?  Head over to my blog by clicking HERE to check them out!

No Cha-Ching Bling Christmas Cards Read More »

Digital Greetings

This image has an empty alt attribute; its file name is digital-greetings-1.jpg
Digital Greetings

Hey guys! It’s Chala here for today’s Random Acts of Cardness word “Greetings”!

It looks like we will all be celebrating Christmas a lot differently than we all wanted to. So, I decided to take today’s challenge word and bring my handmade card to life with a digital greeting. This is a unique way to send a special video greeting to my loved ones far away.

It is a really simple process actually. All you need is a smart phone and/or a computer. I incorporated my Silhouette die cut machine, but you don’t need one to create this type of card.

I started out by searching for a *free* program that could convert a video into a QR code link. The best one I could find was a site called Mevie. It allowed me to upload a video I took with my iPhone. All you need to do is register for free, which I recommend. As a registered user you can store your videos indefinitely. Otherwise, your videos would only be available for 30 days.

The process to upload and create the code was very quick and easy, even with my old and slow Mac! Watch the video below to see how I created it.

http://www.youtube.com/watch?v=5pmV36mMS0E

After the QR code is created and saved you can then print it out and add it either to the front, inside or back of your card. Just make sure you let the recipient know there is a little something extra for them by scanning the code with their phone camera.

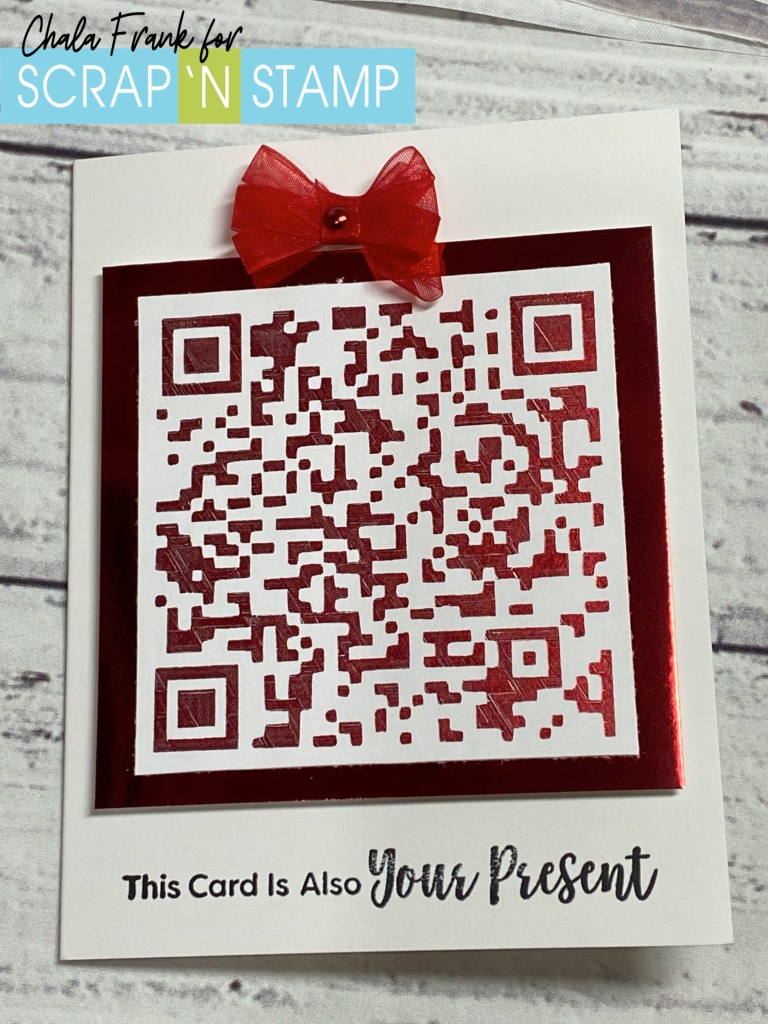
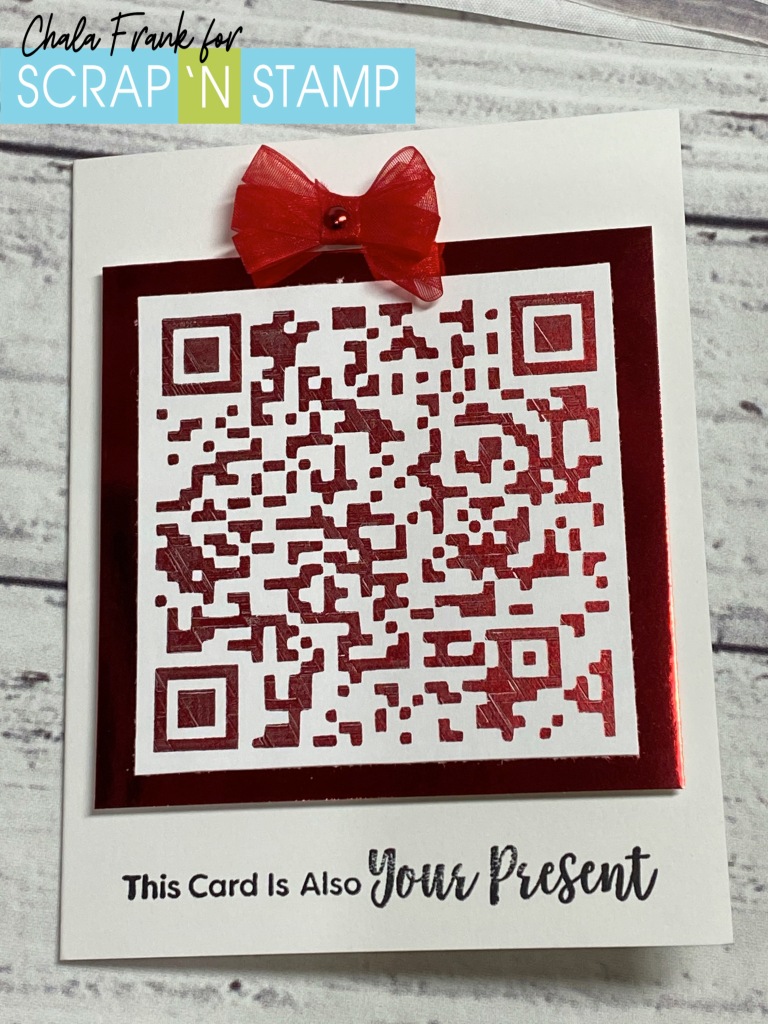
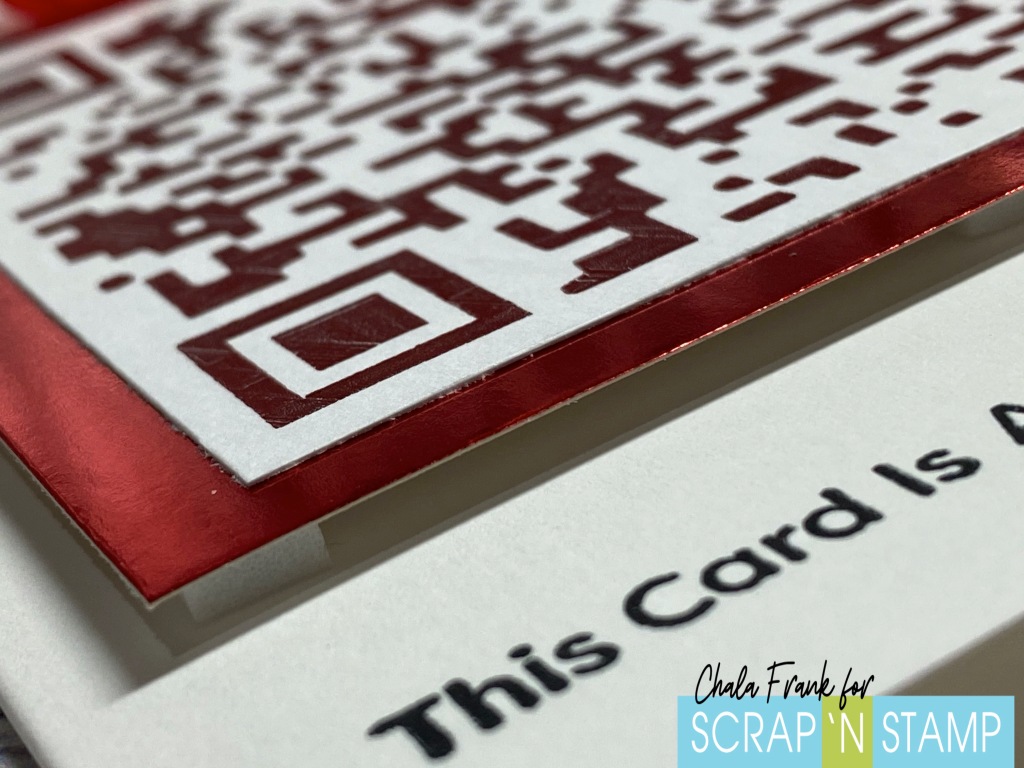
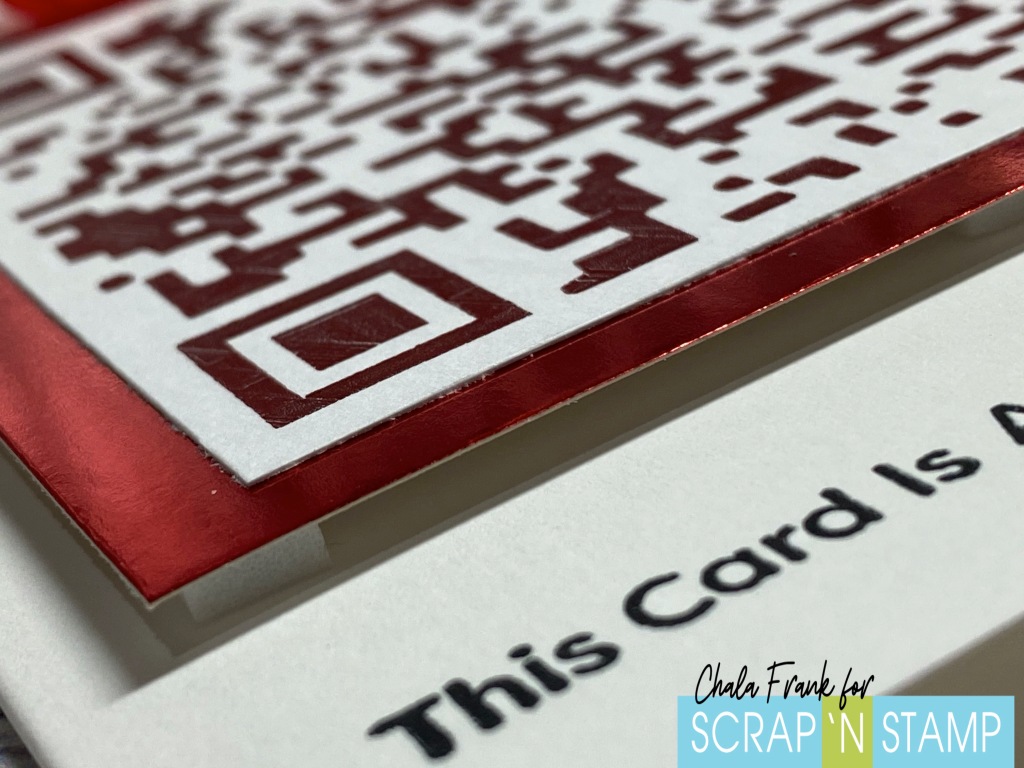
I made my code the main event of my card and wanted to make it look like it was the wrapping paper of a present. To step it up a bit, I pulled out my We R Memory Keepers All in one Foil Quill. The best part is as of the date of this posting it is part of the Black Frid’eh 50% off Sale over at Scrap’N Stamp! I won’t go into all the details of how I did the foiling as I have shown how this product works before and you can check out that video by clicking HERE. Basically, I imported the image, traced it and then instead of “cutting” I sketched the image with the Foil Quill using some Gemini Paper Craft Berry Foil and the cross hatch sketch feature ensuring that I decrease the spacing between the hatching to create a more solid sketched image.

I was a little worried about whether the QR code would work with the foiling or if the shine of it would cause issues. Luckily, it worked perfectly!! I then trimmed out the QR Code into a square for my “present”. I adhered it onto a standard A2 size folding card with some foam squares and created a ribbon bow and secured it with a brad. One very important thing to remember is to adhere the QR code the correct way up! Surprising, I got it right the first time (trust me, no one was more shocked than me! lol!). I then trimmed out the code and layered it onto a piece of red foil cardstock from the American Crafts 6×6 Holiday paper pack.

I kept the sentiment super fun and simple using the My Favorite Things Sassy Pants Holiday Too sentiment “The Card is Your Present” with VersaFine Claire Nocturne Ink in Nocturne. I thought this one was perfect! I then left the inside blank so that I could write to the recipient as well as to let them know to scan the present for a special “gift”.

I know that this card may seem really simple to look at, but if you have loved ones who would enjoy receiving a video greeting, it will be an incredibly special keepsake and something they will want to show others!

Remember, you don’t have to make it into a present, you can create your regular cards and simply print, cut out the code and adhere it on the inside or back of your card.

This image has an empty alt attribute; its file name is digital-greetings.jpg
Digital Greetings
This image has an empty alt attribute; its file name is digital-greetings-2.jpg
Digital Greetings
This image has an empty alt attribute; its file name is digital-greetings-2-1.jpg
Digital Greetings

I thank you for so much for stopping by today and I hope this has given you a way to send a special greeting to those you can’t be with.

This image has an empty alt attribute; its file name is screen-shot-2019-09-28-at-11.01.00-am.png
Crafting Through the Chaos of Life!

Digital Greetings Read More »

Free Shipping Anywhere In Canada