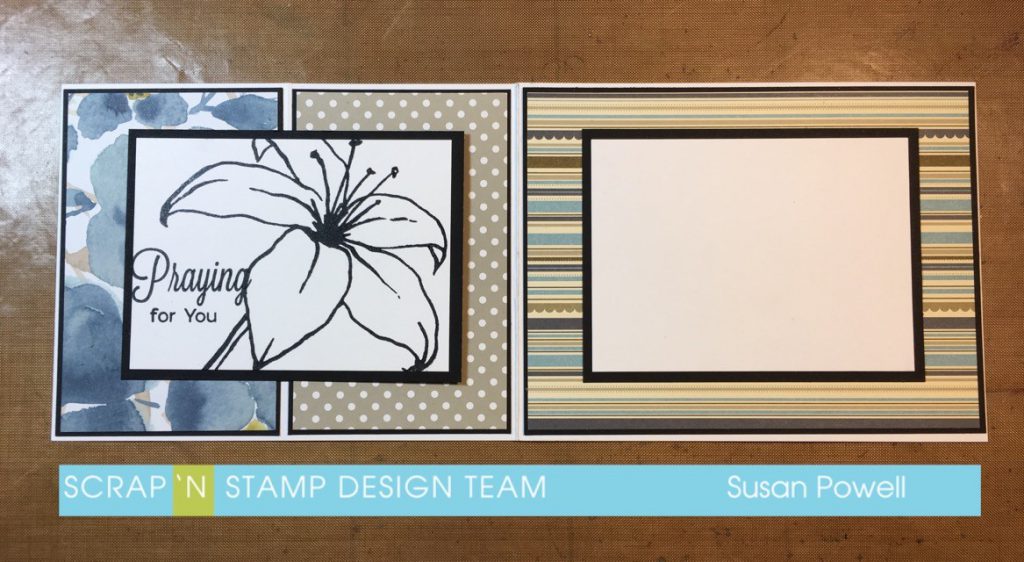
Simple Water Coloring With Zig Markers
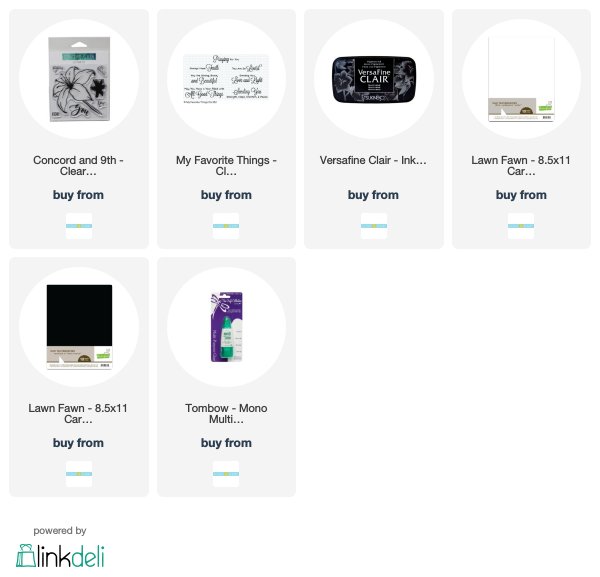
Hi Everyone, it’s Susan with a quick tutorial showing how easy water coloring can be with Zig Clean Color Real Brush Markers. These are a great marker set. They have a lot of fun colors, they have a brush tip and they are really easy to use! This is a set of 60 but you don’t have to dive in to the big pack to start because they come in 4, 6, 12, and 24 packs – lots of choices to start you off.
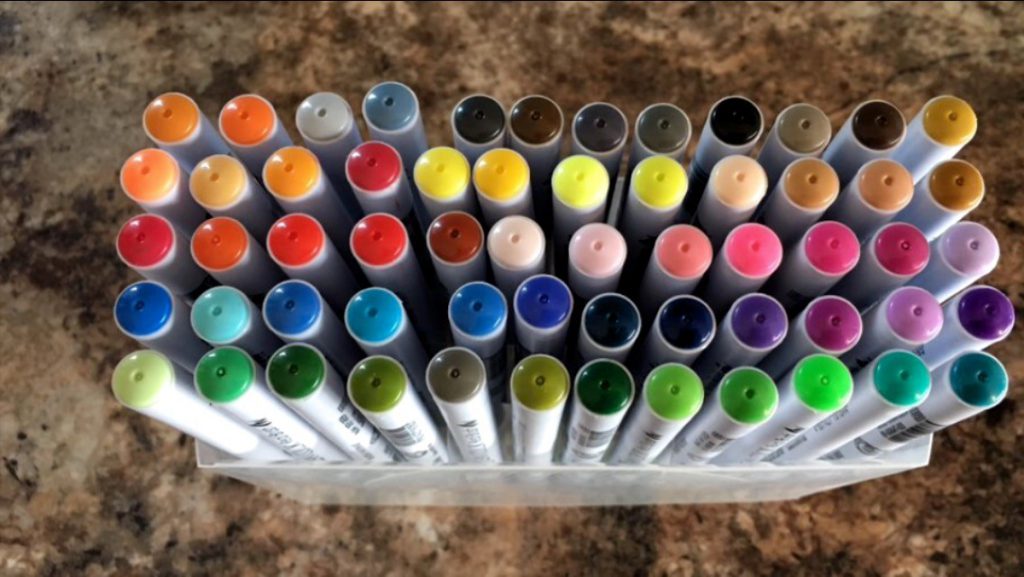
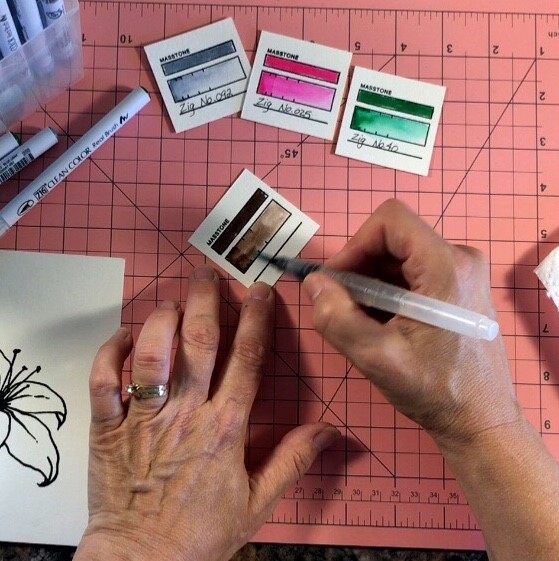
The best tip I can give you, and this tip is good for any medium that you’re working with, is to make color swatches. This is a great way to see the full potential of the inks you’re working with and actually they’re fun to make too.
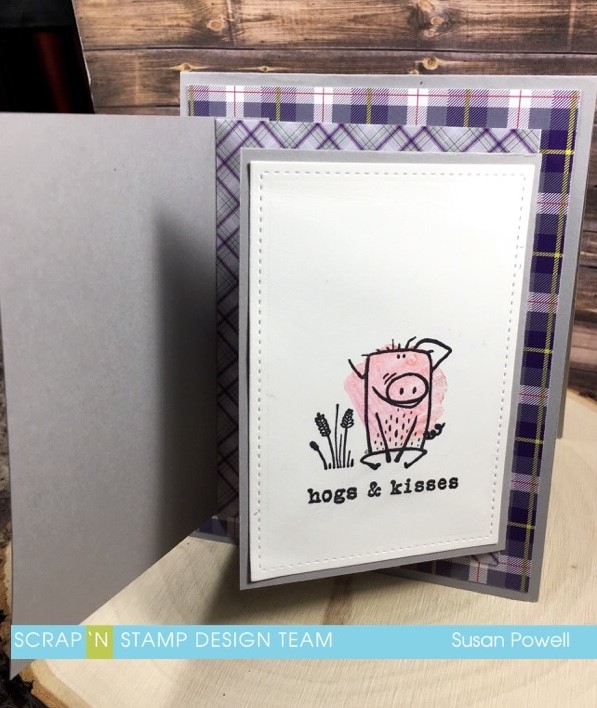
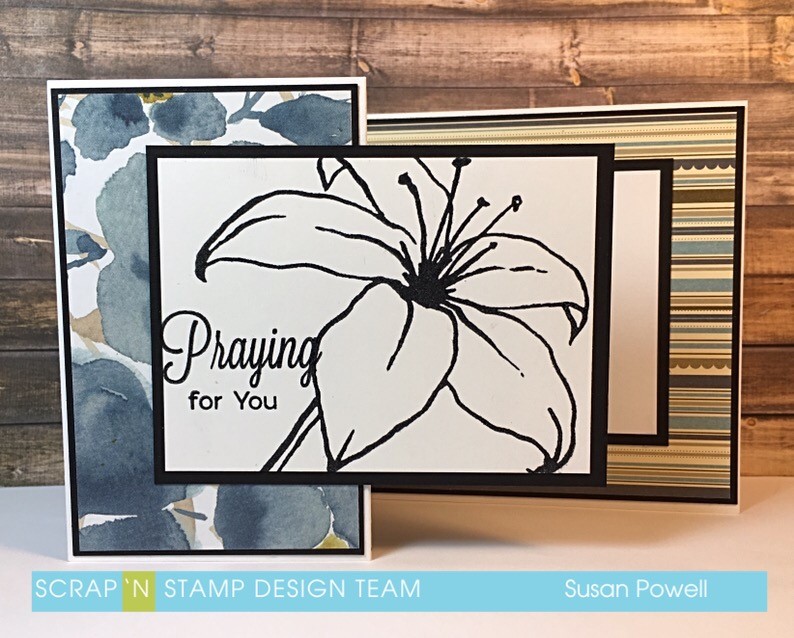
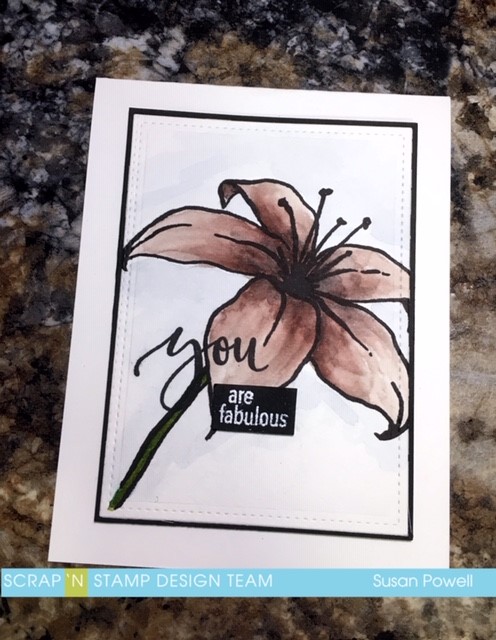
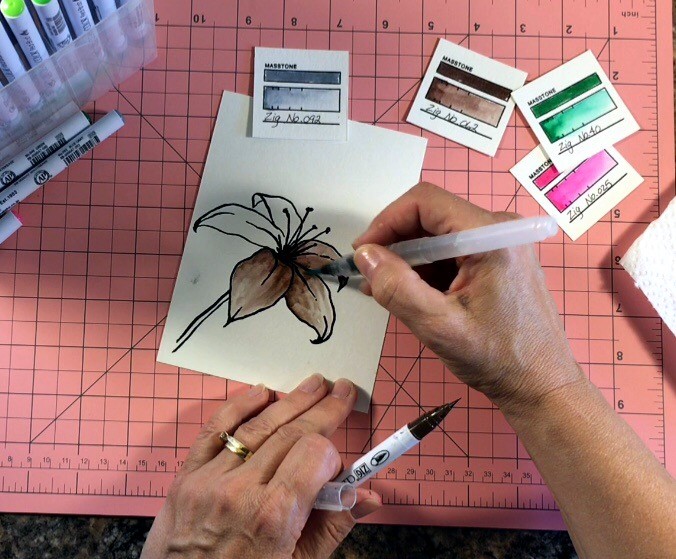
Now, some of you may think that choosing brown for the flower is a little odd, but another tip I want to give you is to not think about that. Think about what you like and go with it.
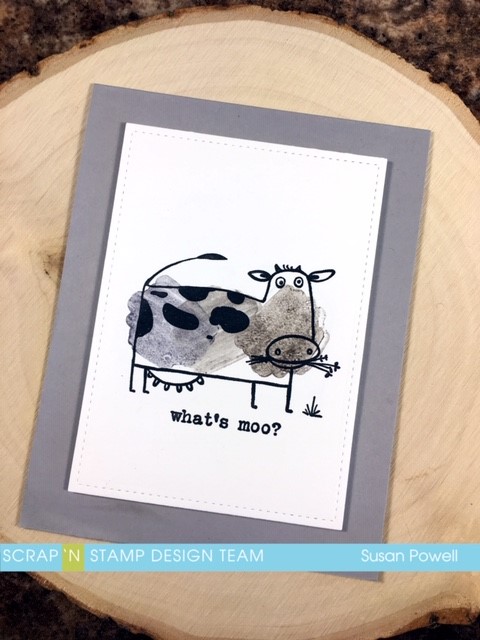
Start by adding the ink to the where you want it to be the darkest. Then, using your water brush blend the ink out to the outer edges of the petals. When this layer dried I went in with a darker gray color and adding some shading into the center of the flower.
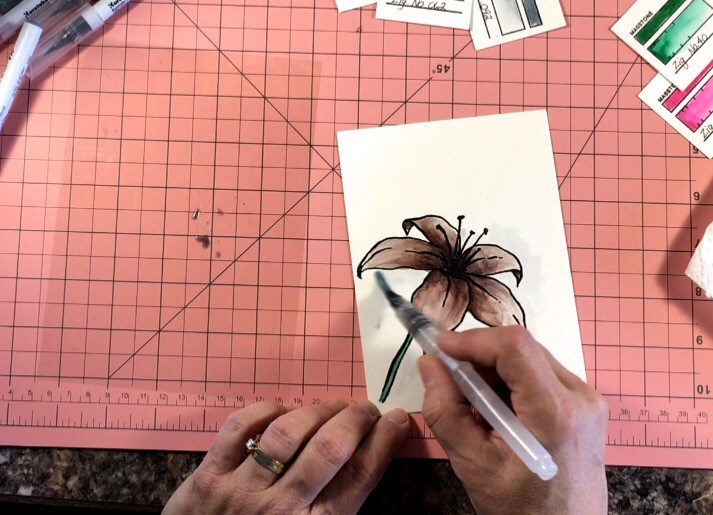
I like to finish off the water coloring by adding a wash of color around the edges of the image. To do this spread some ink onto a stamping block or a sheet of acetate, add some water and then apply it loosely around the edges.
I told you this was easy. I highly recommend these pens no matter what your skill level may be.

I did mention earlier that I made a video showing the whole process. Here it is – if you have any questions at all, please don’t hesitate to ask.
Click HERE to watch it on YouTube.
Happy Stampin’
and thanks so much for visiting
Simple Water Coloring With Zig Markers Read More »