Hi Everyone! It’s Susan.
I hope you are all keeping safe and well during this Corona outbreak.
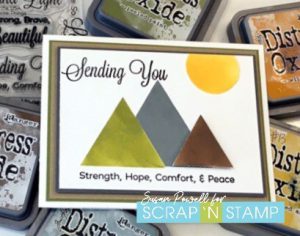
In keeping with the stencil theme from this months hop I’ve decided to use my stencils instead of stamps to create a scene on my card. Triangles for mountains and a circle for the sun – pretty basic – it reminded me of working with kids in the primary grades and making pictures using shapes. It was fun.
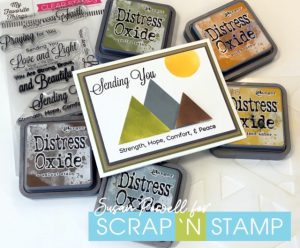
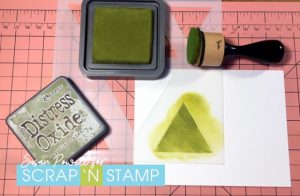
I used the MFT’s Basic Triangle Shapes stencil and some distress oxide inks to make the mountains. I started with Peeled Paint and blended the ink over one of the triangles onto a piece of white card stock.
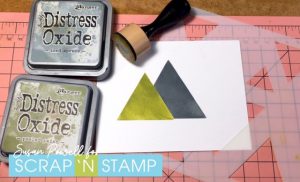
Next I made a mask to cover up the first triangle and then using Iced Spruce and a larger triangle I added another mountain. When I peeled off the mask the larger mountain is in the background.
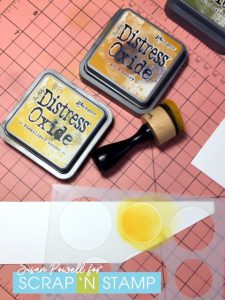
I decided I wanted a sun shining on those mountains so I used MFT’s Basic Circles Shapes Stencil with Fossilized Amber and Wild Honey Distress Oxide Inks. I did this on a scrap piece of card stock and fussy cut it out.
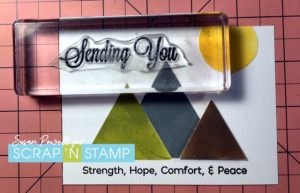
I have a little trick I want to share. You may already know this trick and I did too but sometimes I forget about it and get frustrated lining my stamps up and then I remember to do this and it’s like a new trick again. (I’m easily amused haha).
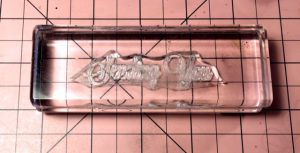
Place your sentiment on the line of a grid paper or along the edge of a ruler. This ensures that it’s straight. Pick up the sentiment with your block. If you’re block doesn’t have lines on it then line the edge of your block to the line on the grid paper just above your sentiment. Simple right, yet I often forget about it. It’s great for when you don’t have a stamp positioning tool.
Back to the card. I made another mountain on scrap paper using Walnut Stain Distress Oxide ink and a smaller triangle. I cut it out and added it the card panel with craft foam for some dimension. I adhered the sun and cut the whole panel down.
The sentiment on this card is actually one stamp. It’s from MFT as well and is I cut it apart because I wanted part of it under the mountains and part of it above them. If I want to use the sentiment as one then I can easily line them back up. It’s a great way to stretch your stamps.
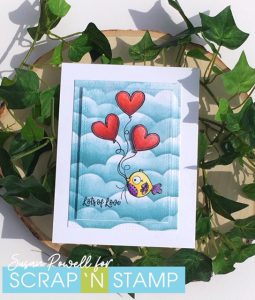
To finish the card I layered it onto grey, green and kraft card stock to coordinate with the mountains and then onto a white card base.
This was a very simple but satisfying card to make. As I’m looking at the picture above and typing this up I have the urge to doodle on those mountains. Hmmmm time to make another card 😉
Thanks so much for visiting me here today.
Stay safe and well.
Hugs,
Susan
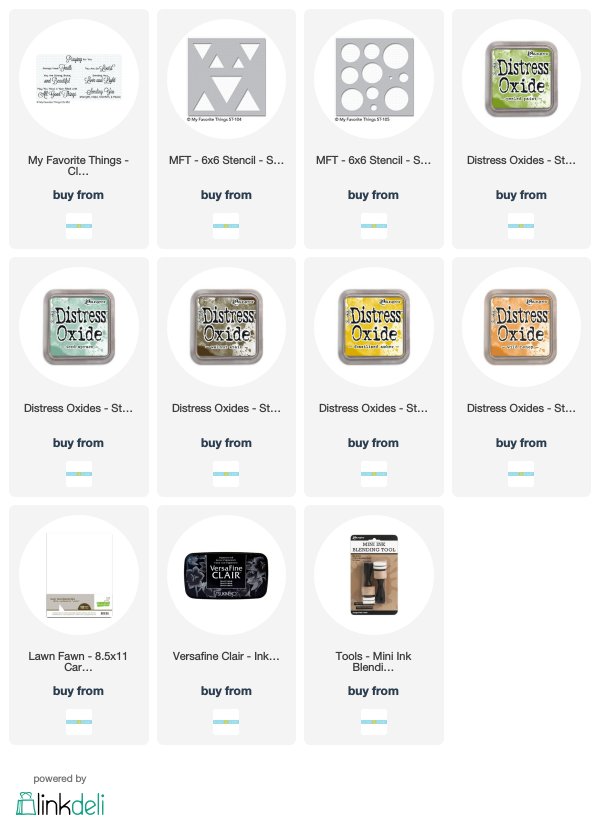
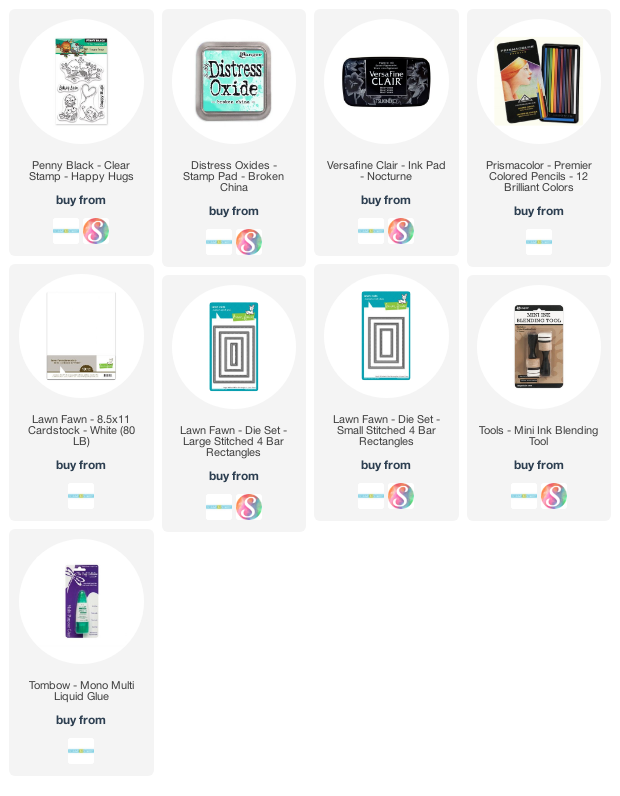
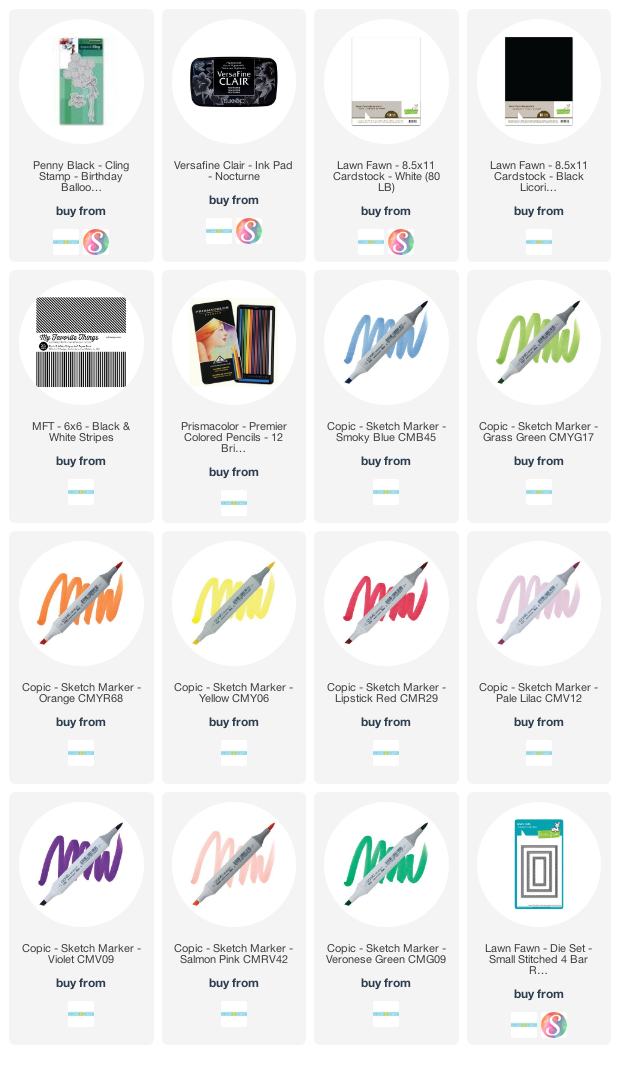
Shopping list:
Below are links to all the goodies I used, just click on the icon to be taken to where you can purchase the product. If you use my affiliate links when shopping there is no additional cost to you, I want to say thank you and that I appreciate it and you very much.