UP, UP AND AWAY!
Good Morning and HAPPY EASTER!
It’s Susan here today sharing some fun cards – you’d think since it’s Easter that I would’ve made some Easter themed or bunny cards but I didn’t. I forgot it was Easter when I made these.
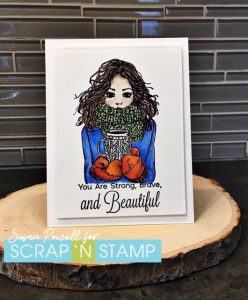
I recently received the Penny Black Birthday Balloons stamp set and I couldn’t wait to play with it. I grabbed my Copics and Prismacolor Pencils and set out to play.
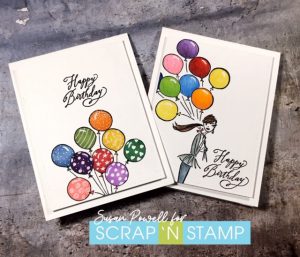
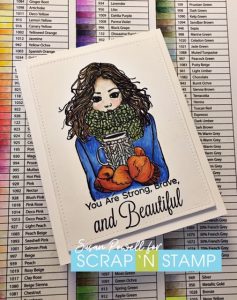
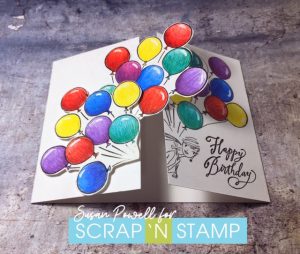
The card above on the left is colored with copics. I didn’t do anything fancy – mostly because I don’t have a lot of colors and I’m still learning how to use them. I used a white paint pen to add some fun patterns to each of them. The one on the right is colored with Prismacolor pencils. Here too I kept the coloring really simple using two shades of each color and the same white paint pen to add the highlight on each balloon. You could use a white gel pen for this as well. I chose not to color the girl in bright colors because I wanted the balloons to be the focus.
This next card is a little more detailed. I used a 4 1/4 x 11″ piece of card stock and scored it on the 4 1/4″ side 2 3/4″ in from both ends.
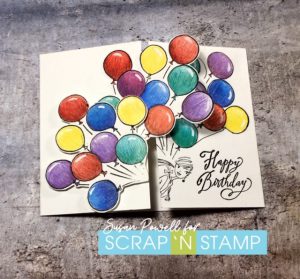
The image on the right side of the card is stamped directly onto the card base but the balloons on the left were stamped onto scrap card stock, fussy cut out and added to the left side of the card base. The balloons furthers to the left were added with some craft foam. Here again the coloring was kept really simple. I used Pismacolor Pencils – 2 shades of each color and the white paint pen for highlight.
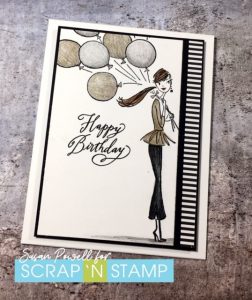
For my last card today I wanted to do something that would be considered a little more formal. Something for a 21st or 50th birthday or any special occasion. You could change out the sentiment to make it an Anniversary or Retirement card.
I used gold and silver Prismacolor Pencils for the balloons and then used a clear sparkle pen to add some shine to them. This time I colored the girl in using gold and black to coordinate with the balloons. A little fun strip of paper along the side and these cards are done.
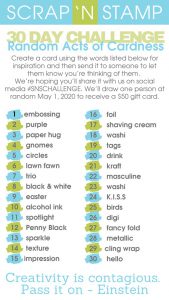
I have an idea for another card with this set. I’ll get it made and share it over on the Scrap’n Stamp Facebook Page. Have you seen the Random Acts of Cardness Challenge on the Facebook page yet? Be sure to check it out – there are all kinds of ideas to inspire you.
Happy Stampin’
and thanks so much for visiting!
Stay safe everyone!!
Susan
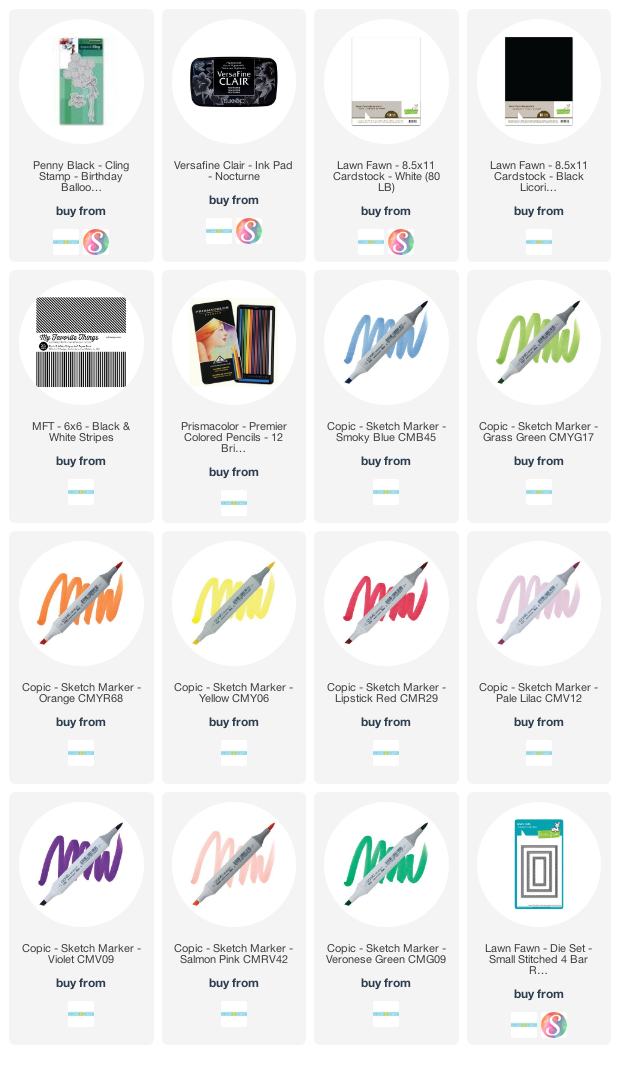
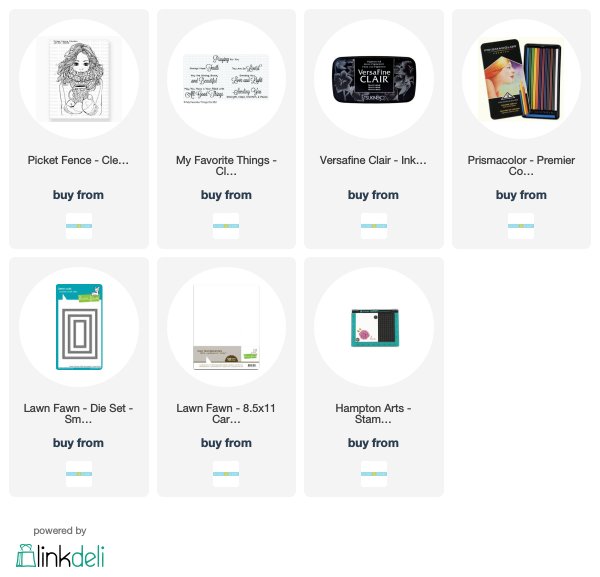
Shopping list:
Below are links to all the goodies I used, just click on the icon to be taken to where you can purchase the product. If you use my affiliate links when shopping there is no additional cost to you, I want to say thank you and that I appreciate it and you very much.