Scratch-N-Stamp
Search

Checkout

Keep up with Sales, New Products and other events at Scrap `n Stamp. Sign up for our newsletter now!

What's New

Hot Deals


Author name: Chala Frank

Bounty of Backgrounds

Hello Again!  It’s Chala and I am back to share a bounty of backgrounds with you!  I will be using two simple techniques to create 9 cards!

Since I created so many cards it may be easier for you to watch the video.  It is a bit on the longer side, running approximately 24 minutes, but you can always skip through what you don’t want to watch.  You can click HERE to watch the whole process and see all 9 cards I created.

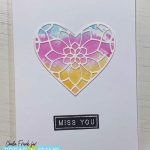
The first technique I used was the “smooshing” technique with Watercolour Markers.  You can use any watercolour markers you have on hand.  I used some cheap Artist Loft as well as Zig Real Clean Brushes.  I love this technique for the cool loose backgrounds you get.  If you don’t have watercolour markers, don’t fret!  You can also use this technique with your Distress Inks!  Just smoosh them onto some acetate, squirt water and lay your panel down.  Just keep in mind where you put your colours down to avoid making “muddy” colours when they blend.

I let the panel soak up the “smooshed ink” until the panel starts to curl up.  You can then lay it down again to cover any spots that may have been missed.

I did four panels that were “loose” and the last panel I created I tried to control the scene a bit more as I wanted a “beach” feel.

I then went through my stash and found several dies and stamps that I haven’t used in a while to layer over top.  I will provide a list below of the items I can link to.

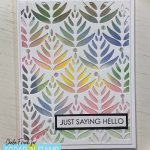
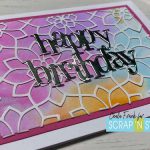
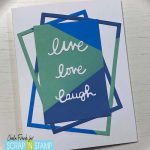
Here is a look at a few of the cards I created using this technique
The next technique I used was overlaping Distress Oxide Ink blending with some masking.  Watch the video to find out how I avoided a sticky disaster!

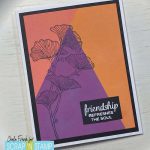
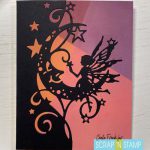
This created some beautiful and bold backgrounds and it even created some custom colours by layers two different distress oxide colours on top of each other.  These beautiful backgrounds really speak for them self, so I just added some simple stamping and/or die cuts over top.  Here is a look at three of the cards I created using this technique.
Again, I really encourage you to check out the video to see the entire process of how these cards came together.

I hope these cards have given you some inspiration to create your own bounty of backgrounds!

As promised ,here is a list of materials used with links where available.

Materials:

MFT Rectangle Stax set 2 – similar – Hero Arts Nesting Rectangle Dies

Post-it removable labelling tape

Artist Loft Watercolour Markers

Zig Real Brush Water Markers

Distress Oxide Ink in:  Spiced Marmalade, Abandoned Coral, Seedless Preserve, Cracked Pistachio, Faded Jeans, Salty Ocean

Blending Brushes

Concord & 9th – Alphabet Die set

Stencils

Birch Press Viola Die Plates

Birch Press Kinsley Heart Layer set

Elizabeth Craft Dies – Leaf Pattern Background

Creative Expressions Luna Fairy Edger Die

Lavinia Stamps Dandelions

Hero Arts – Thinking of You stamp set

Stampers Anonymous Beautifully Braided

Gems/sequins

Art Glitter Glue

White cardstock

Coloured Cardstock

Wendy Vecchi Make Art Stay-tion

Tim Holtz Glass Mat

Stay crafty my friends!

-Chala xoxox


Bounty of Backgrounds Read More »

Lawn Fawn Swish & Pop with a Twist

Good Day, Crafty Friends!


I hope this blog post finds you well!  Today I want to share with you my Lawn Fawn Swish & Pop with a Twist card.

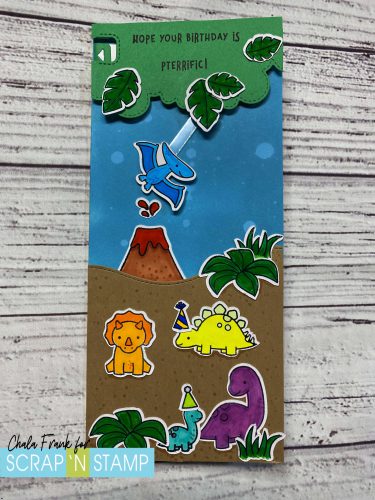
I love this new interactive Swish & Pop die from Lawn Fawn and wanted to see how I could use it with some older stamp sets.  As I was flipping through my Lawn Fawn stash I came across the Rawrsome stamp set.  I thought these cute little dinos would make an awesome card for a special boy’s birthday that we are celebrating this weekend.

As there are several steps (although they are easy) you may want to watch the video here:

I started by creating a background piece by ink blending on an A2 size card panel with Broken China Distress Oxide Ink and an ink blending brush.  I like to do the blending on my Waffle Flower Mini Media Mat as it helps keep my project in place.  I then added some water droplets to reactivate the ink and give the background a bit of interest.

Next, I die cut the slider portion from some 120lb cardstock and the interactive arm with some clear acetate.  I will then use the “L” shape die. Instead of using this by lining it up in the traditional way on the bottom of the card I will turn it upside down and line it up with the upper left-hand side of the card panel.  Once the panel is cut there should be four small holes in your card panel.

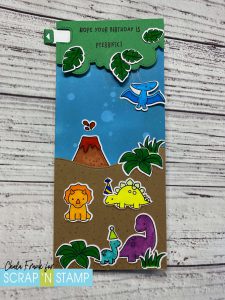
I will turn the interactive arm so that the tall portion is on the left and the portion with the two holes is on the right.  I will place a brad through the hole in the slider portion and then through the bottom hole of the interactive slider arm and secure the back of the brad.  I will then take the second brad and place it through the top hole of the interactive arm and through the second hole in the distress-inked panel attaching the two pieces together (Again, if this all sounds confusing, I encourage you to watch the video linked above).  Now rotate the pieces so that the clear acetate arm is pointing down and the pull tab is at the top either to the left or right, whichever way you want it to pull from depending on the element you are attaching to the acetate arm.  My image is facing to the right, so I want my pull tab to be on the left-hand side.

At this point, I want to adhere the inked panel to my card base.  I decided it would be fun to do a slimline card and adhered it with a tape runner and trimmed the excess.   I will then add some foam squares as stoppers around the acetate piece so that the arm can only swing a certain distance across my card.

Now for the little critters!  I stamped out the dinosaur images from the Rawrsome stamp set and a few leaf and grass images from the Critters in the Jungle with Memento Tuxedo Black Ink and cut them out with my Brother Scan’N Cut.  I kept the colouring simple with my Copic Markers.  Next, I adhered the pterodactyl with some Glue dots and then trimmed the acetate arm.

To create the tree canopy I used the Stitched Rolling Clouds Edges from My Favorite Things I die cut a piece of green cardstock that would fit over the interactive mechanism.  I also thought that you could use the Falling from the Clouds die frame and trim it to fit.  I then used the notch piece for the pull tab and die cut that on the left-hand side of the canopy piece.  For the sand portion, I used the Slimline Stitched Hillside Borders from Lawn Fawn and die-cut some craft cardstock.

Before we begin assembling, we need to decide if we want our sentiment to be stamped on the canopy portion of the sand.  I decided I like it best on the canopy, thus giving me more room to add lots of dino critters on the bottom.  I stamped the sentiment “Hope Your Birthday is Pterrific” in VersaFine Claire Nocturne Ink.  I then add further foam squares to the back making sure I don’t add them where they can interfere with the swinging element and secure that to the card base.

It’s time to decorate!  My favourite part is creating the scene with the images.  I adhered to the sand portion with a tape runner and the rest of the images with Gina K Connect Glue.  I think the little party hats are adorable!

The last step is to die cut the little arrow for the pull tab.  I pushed the pull tab all the way into the right and trimmed it and then die cut that tab arrow in the same green cardstock and again adhered that with Gina K Connect Glue.

Now it is time to play with it!


I hope you enjoyed today’s card and that it helps you to look at how you can use new and old products together!

Stay crafty!

~Chala


Lawn Fawn Swish & Pop with a Twist Read More »

Trying Out Some Texture

Happy Saturday!

Today’s Random Act of Cardness word is “texture”.  Texture is the feel, appearance or consistency of a surface or substance and whe can achieve texture in many different ways.  You can use a Gell Press, fabrics or laces, buttons, twines or thread, texture or gel pastes and even paper layering.   The possibilities are endless!  I have been playing around this week with two very different ideas to add texture to my cards.

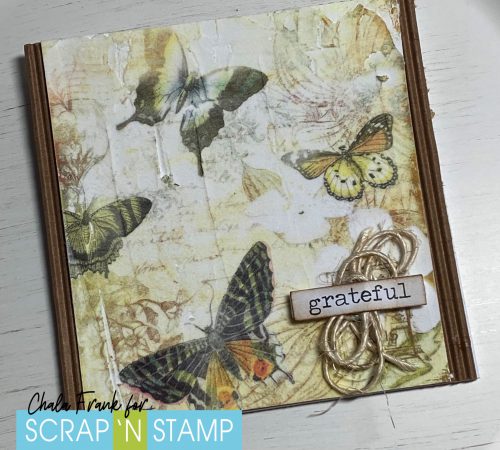
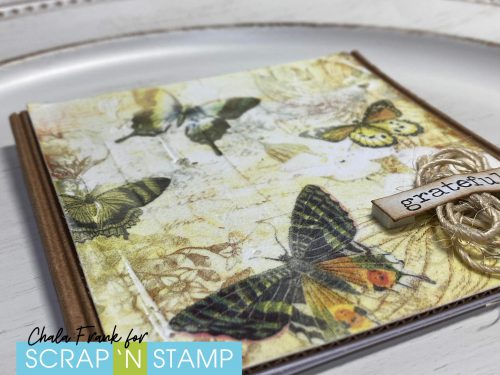
For the first card I wanted to have the feel and look of an old plaster or fresco painting.  The problem is, I am not the greatest painter…but, I have a work around.  Stick with me!  To start, I begin spreading a thin layer of Ranger Texture Paste with a palette knife onto a piece of 80lb white cardstock.  I let this dry completely.  I suggest a couple of hours or overnight to be safe.  You want to make sure that it is completely dry before the next step.   I then found an image off the internet that I like and I printed the image onto the dried texture paste with my laser printer.  It came out better than I had expected.  This did not effect my printer at all, however, this is a user beware technique and I am not responsible should something happen to yours! LOL!

The two things you want to keep in mind is the texture paste needs to be a thin layer so that it will go through your printer and it MUST be completely dry. I then trimmed the image down and added it onto a piece of corrugated cardstock and added some twine and a popped up a sentiment from the Tim Holtz Big Chat sticker book and distressed the edges with some Vintage Photo.  This card looks so cool in real life. It is light weight but has the look of plaster painting.

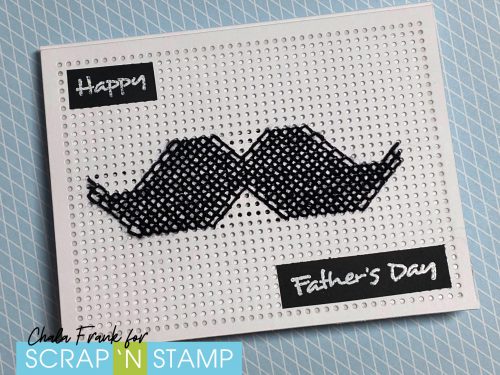
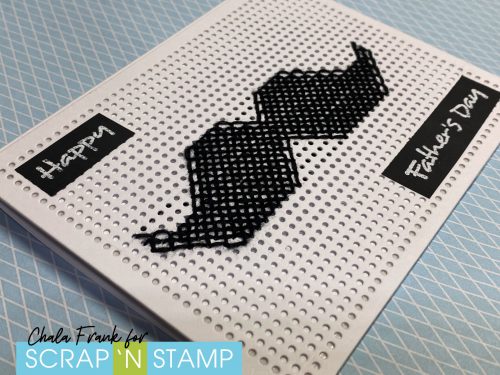
For the next card I went in a completely different direction and decided to play with the MFT Cross-Stitch Rectangle die.  I love that you can totally create your own image with stitches!  I am not the best at creating my own pattern, so I headed to the internet to find a free pattern.  Their are TONS to choose from and so many that would be great for card making!  My favourite site currently is DMC.com.

I chose a cute moustache pattern that I found at the familyforham blog as it looked easy (it’s been a while since I have cross-stitched!) and I thought it would be perfect to create a Father’s Day Card.  I used some black cross-stitch floss and followed the pattern.  The great thing about the size of this die from MFT is that the cross-stitching works up very quickly.  I then adhered the die cut onto a card panel using some Be Creative double sided adhesive tape.  I then stamped a simple Happy Father’s Day sentiment onto some black cardstock with Versamark ink and heat embossed with some white embossing powder.  This card turned out so cute and I love the texture and soft feeling of the embossing floss!

I hope these two ideas of inspired you to play around with texture on your cards!  Remember to share your creations over at the Scrap’N Stamp Facebook Challenge Page!

Enjoy the rest of your day!

~Chala

Trying Out Some Texture Read More »

Tags:
Free Shipping Anywhere In Canada