Scratch-N-Stamp
Search

Checkout

Keep up with Sales, New Products and other events at Scrap `n Stamp. Sign up for our newsletter now!

What's New

Hot Deals


Glitter

Tuesday with Tara {take 50}

grad2016cat (1)

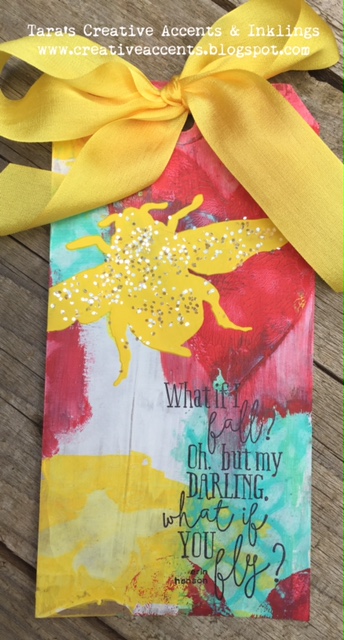
Happy Tuesday!  It’s that time of year again… graduation time!  I’m a proud step-mom who got to see her beautiful step-daughter graduate from high school last week, and this is the fun card I made just for her 🙂  I had a chance to play with a few things I don’t personally own (yet!) when I was back in BC last month, and this card features Dylusions Paints (love the thick, creamy texture and bold colors) in the background and Cat Crazy stamps & accessories for the main image.  I knew those two parts would go together, but the rest didn’t fall into place until I had time to create in my own home studio space.

grad2016cat (2)

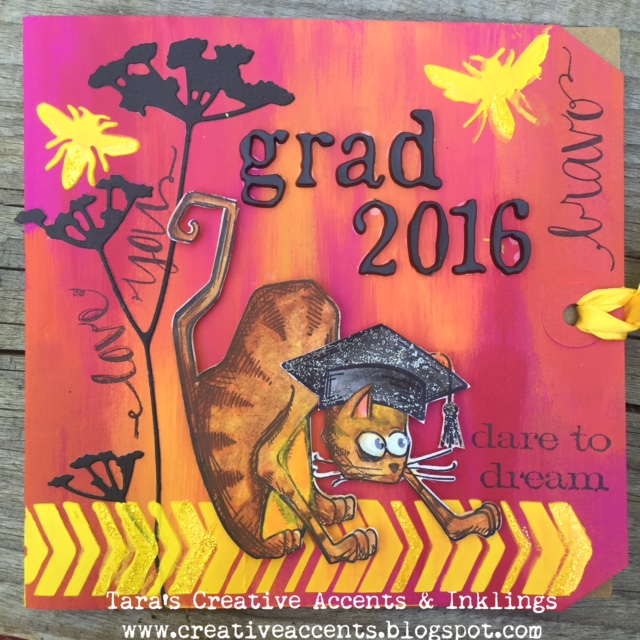
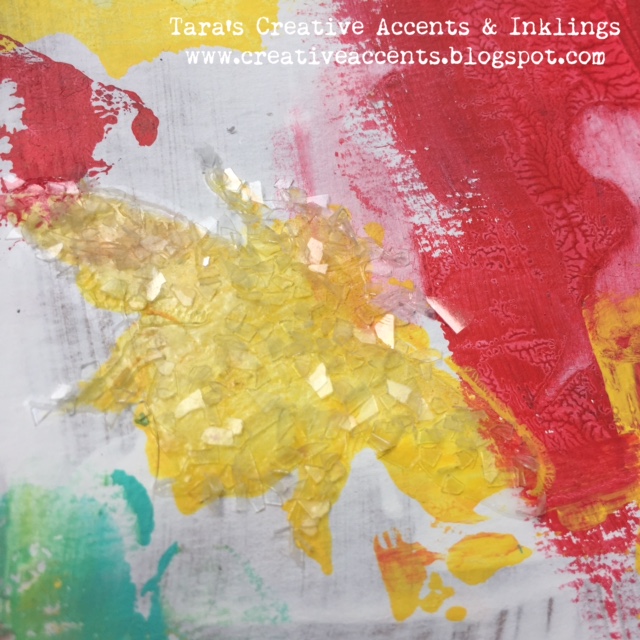
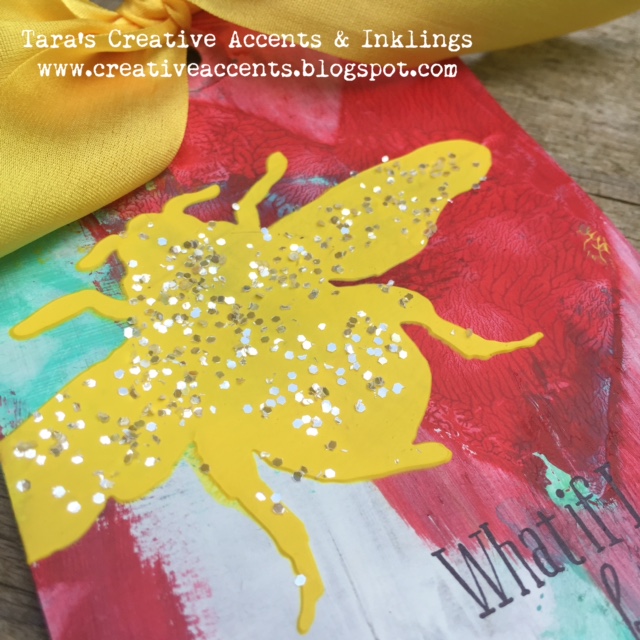
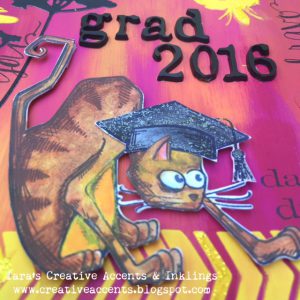
I used a giant (size 12?) tag as my card base- these turn out right around 5″ square when you fold them in half.  I used a few shades of orange & pink Dylusions Paints brushed together.  The cat was colored with a mix of colored pencils and gelatos.  Pretty simple coloring, but I added glossy accents on it’s eyes and Stickles glitter glue on the hat 🙂

grad2016cat (4)

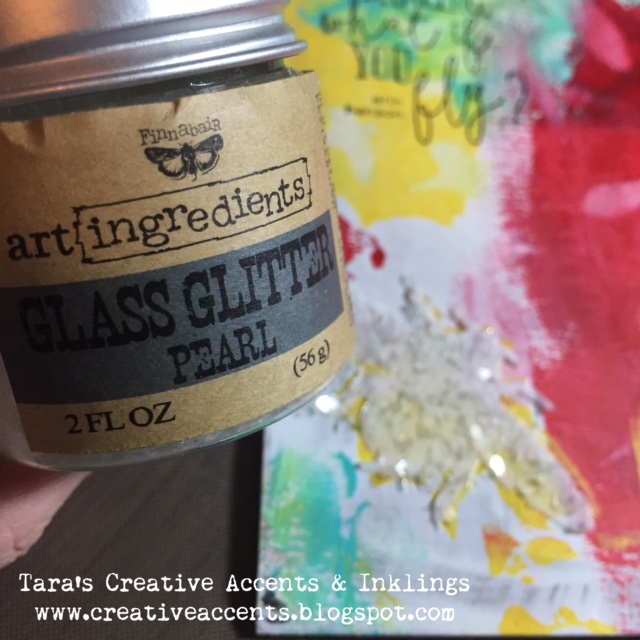
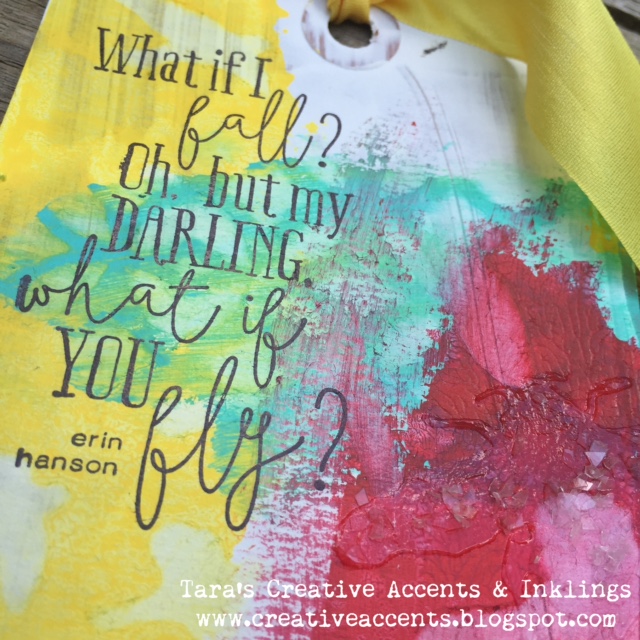
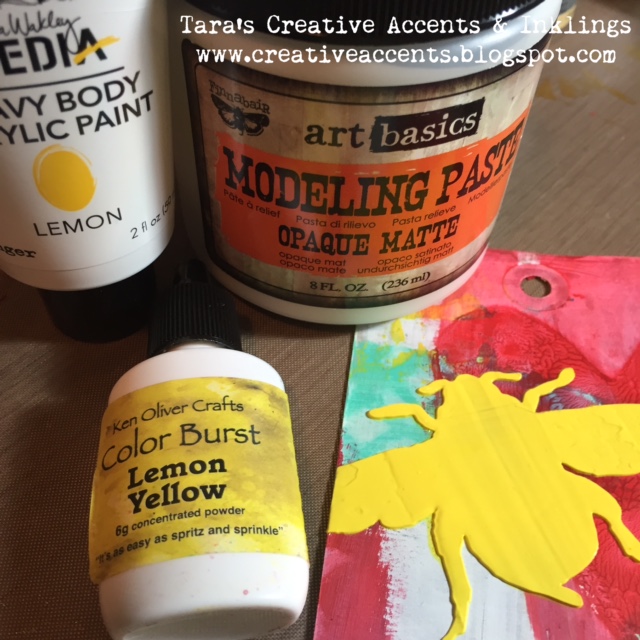
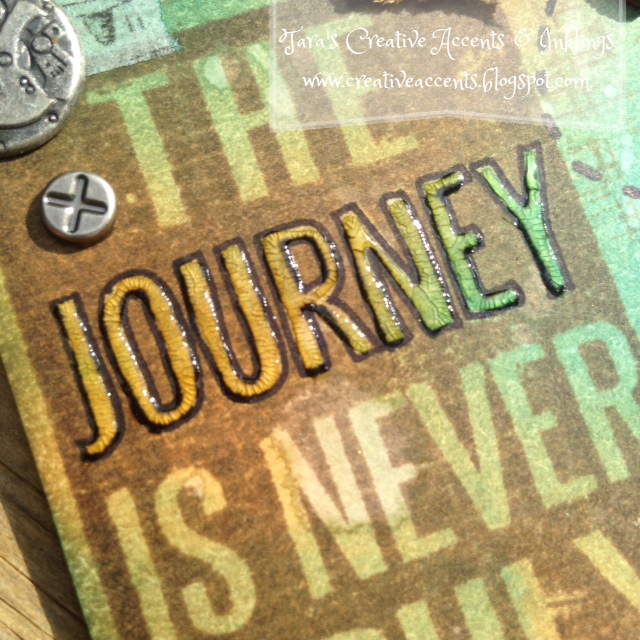
Though it’s a feminine card, there’s lots of Tim Holtz details on this card- more than I was aware of as I was making it 🙂  The flower die, arrow stencil (I used yellow texture paste and yellow stickles!) and dimensional letters, as well as the ‘dare to dream’ sentiment stamp are all Tim Holtz products!  The other sentiments are from a new one by Avery Elle I picked up in the shop- couldn’t resist that font <3 The ‘firefly’ stencils (at least that’s what I’m calling them for this card!) are by The Crafter’s Workshop.  Love them in yellow!  Lightning Bugs are one of my favourite things about living in the south 🙂

grad2016cat (3)

Hope you like my whimsical grad card… it’s an exciting time and the future looks bright, and I think this cat looks like it’s ready to chase after it’s dreams 🙂

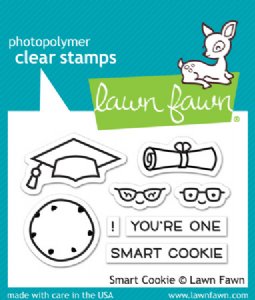
Leave me a comment this week and you could win this freakin’ cute stamp set by Lawn Fawn… seriously I may have squealed a little when I saw this (and clued in to how it worked. LOL) in the shop.  It’ll be perfect for graduates and other smart cookies you know (how cute would it on a little lunch box note on the first day of school!?)

Inky hugs,

Tara


Tuesday with Tara {take 50} Read More »

Tuesday with Tara {take 48}

Happy Tuesday!  Today I’ve got a couple tags I created, doing a bit of experimenting to see which end result I liked best 🙂 Often I share just the end result, but the process is really the fun part, so I thought I’d show both and tell you a bit about what I did to get these results.

fly tag


I started with two kraft tags, which I had primed with white gesso.  I wanted to use the baby wipe technique for my background, so decided to tape them together temporarily (washi tape on the back side) to give myself a larger work surface. This is not a new technique, but I hadn’t done it for a while!  Here’s a brief video from a few years back of Dina Wakley showing this technique, if you’re not familiar with it.  I applied paint with my fingers in smaller spots and overlapped colors as I moved across the tags.  I kept it simple working with 3 colors and stencils, and for some reason the bees really popped out for me.  Here’s the finished background.

fly tag (7)

I got to visit the store in Granville Island last week and this sentiment stamp from Impression Obsession jumped out at me, so it inspired me to finish the tags with a focus on bees.  I first stamped the sentiment on each tag so that I wouldn’t smear texture paste by stamping later.  I wanted to draw attention to the yellow bee that was on the bottom of this tag, so lined up the stencil over it and applied transluscent texture paste, then some glitter flakes over it.  I repeated this closer to the sentiment on the tag.  Here’s how it came out.

fly tag (8)

fly tag (6)

fly tag (5)

fly tag (4)

For the second tag my eye was drawn to the large red heart, so I decided to add a large yellow bee.  In mixed paste before, I’ve found they tend to lighten to pastel shades, I wanted bright so brought out the big guns and added both paint and Color Burst to a little bit of opaque white paste.  It turned out amazing!  As before, I applied paste through the stencil and added a bit of glitter after (a smaller chunky glitter this time).

fly tag (1)

fly tag (2)

fly tag (3)

*** I’m having some technical difficulties with some of my images today, so please check back later and hopefully I’ll have the sizing fixed!***

Thanks for stopping by- I hope you’ve been inspired to take the leap and experiment with your supplies!  Who knows, maybe you’ll fly…

Inky hugs,

Tara

Tuesday with Tara {take 48} Read More »

Tuesday with Tara {take 46}

Happy Tuesday!  Today I’m getting ready to hop on a plane for a much needed vacation…  I wanted to have the blog prepped and ready for while I’m away, and came across this tag I hadn’t shared here yet, which seemed very fitting!cc3c-2b

This tag uses lots of Tim Holtz products and techniques, including some yummy Distress Glitter on the large heart and airplane shapes.   Some cute brads and fabulous crackle details over all the Distress Ink finish it all off…

cc3c-2d

Couldn’t resist that cute hat brad… gives a his & hers vibe to it 🙂  The heart has Distress Metallic paint under the Clear Crackle Paint with some Archival Ink rubbed into the crackles once it was all dry.  Love it!

cc3c-2c

Some words just need to be highlighted… a black outline and Crackle Accents worked well here!  And here’s one final look, I used a fun buckle embellishment to give this tag a luggage tag feeling.

cc3c-2insta

p.s. that last pic was an instagram sneak peek back when I first did this.  I miss that Distressed frame filter 🙁

Hope you have a great week!
Inky hugs,

Tara


Tuesday with Tara {take 46} Read More »

Free Shipping Anywhere In Canada