Scratch-N-Stamp
Search

Checkout

Keep up with Sales, New Products and other events at Scrap `n Stamp. Sign up for our newsletter now!

What's New

Hot Deals


distress inks

Step Up Your Cards with Masking!

No, not the masquerade ball kind of mask – but the kind used in stamping. You can really step up your cards with the masking technique. It takes a simple image or layout, and adds to it without  adding extra layers to your project. Hi there! It’s Deb here for the Scrap ‘N Stamp Design Team, and I hope you’ll enjoy today’s technique.

BASIC MASKING

For basic masking, you’re just going to block off an area where you don’t want any ink. For the most basic, we’ll start with just masking off an straight strip on our front card panel. To create your mask, you want to use a low-tack removable adhesive – Thermo Web’s Purple Tape is perfect for this. If you’re hesitant about it tearing your paper, just rub it onto your work surface a couple of times, to remove some of the tackiness. Set up your panel onto either grid paper, or use a ruler for a straight line.  Next, use a blending tool and apply ink to the area to the left of the mask. My completed card is below, for reference.

Picket Fence Studios BFF Owl

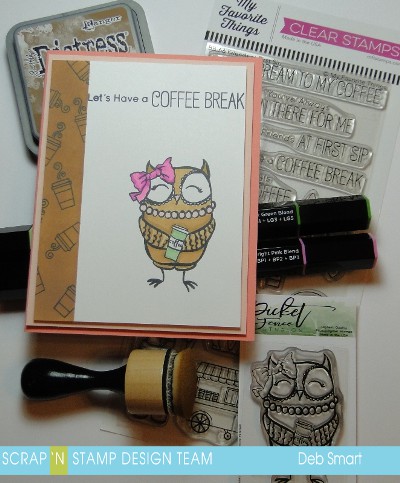
I chose Vintage Photo Distress Oxide ink for a ‘coffee’ feel, and use a Tim Holtz ink applicator for blending it on. With the mask still in place, use the MFT Friends at First Sip stamp set and repeatedly stamp the small coffee cup in the blended area, in Memento Tuxedo Black ink. Be sure to add the little swirl of steam! Once your blending & stamping in that area is complete, gently remove your tape.

CREATE YOUR IMAGE

Use the Picket Fence Studios BFF Owl image, and stamp it to the right of the blended strip, in the Tuxedo Black ink. I chose to colour the owl with my Spectrum Noir Tri-Blend Markers. These markers are great, because they take the guess work out of blending your colours! Each marker has a light, mid and dark tone of one colour. Use the Bright Pink blend for the bow, the Light Green blend for the cup, Pale Pink blend for the pearls & beak, and the Tan blend for the owl.  Now, stamp the sentiment from the MFT stamp across the top of the panel. Attach the stamped panel to a light pink panel with foam tape, and then to a card base of darker pink. There you have it! By adding the masked strip, and blending your marker colours, you’ve added extra dimension to your card, without adding more layers!

IMAGE MASKING

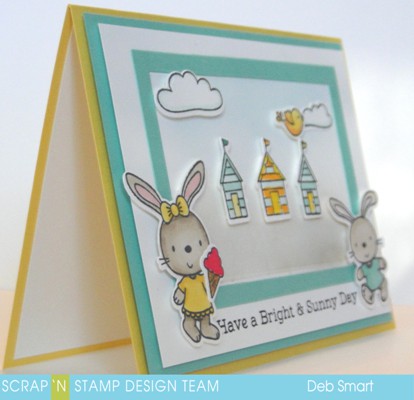
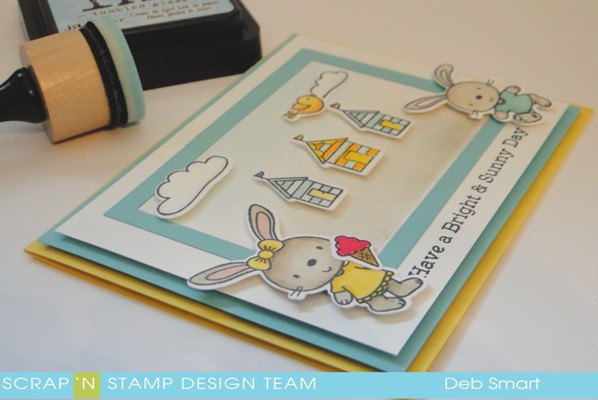
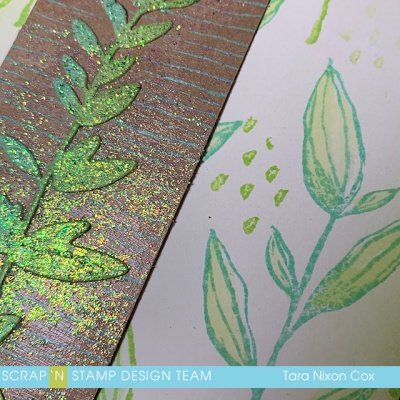
For a more detailed version of masking, first stamp your image onto your card front panel. Now, stamp the image again onto a large Post-It Note. Cut out the image on the Post-It Note, keeping as close to the edges as possible.  Place the Post-It Note image on top of your stamped image.  With your image covered, use your blending tool to apply ink to the rest of the front panel.

Picket Fence Studios Jill Girl

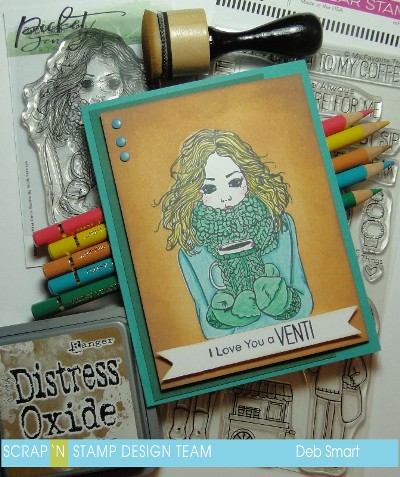
For my card, I first blend on Tea Dye Distress ink, getting lighter towards the image. Next, I add Vintage Photo Distress Oxide ink around the edges, keeping the lighter Tea Dye around the image. This adds extra depth to your card. Once you’re happy with the blending, remove the Post-It Note mask, and colour the Picket Fence Studios Jill Girl.  I chose my Faber-Castell Polychromos pencils to colour with, but of course you can use whatever pencils you have, or your markers. Just be sure that whatever you’re using is safe to use with your base image ink, and paper (i.e. if you’re using watercolours, be sure to use watercolour paper and an amalgam ink).

When finished colouring, stamp the sentiment from the MFT Friends at First Sip stamp set in Tuxedo Black ink on a strip of white cardstock. Use your blending tool and add a bit of the Vintage Photo ink to the edges of the strip, so it’s not completely white. Attach the sentiment strip with foam tape along the bottom of the image. Create a card base of teal cardstock, and attach a panel of green/blue to the left side, with liquid glue. Then attach your front panel with foam tape.  I had some enamel dots in my stash of embellishments that work with the pencil colours I chose, so I added a few of those in the top left corner.

HAVE YOURSELF A MASK BALL!

Try stepping up your next card with some masking! It’s easy to do, and can be used any time. Plus, it doesn’t require a lot of extra or special tools. I hope that I’ve inspired you to branch out a bit with your creating. Have fun! Thanks for spending some time with me – see you next time!

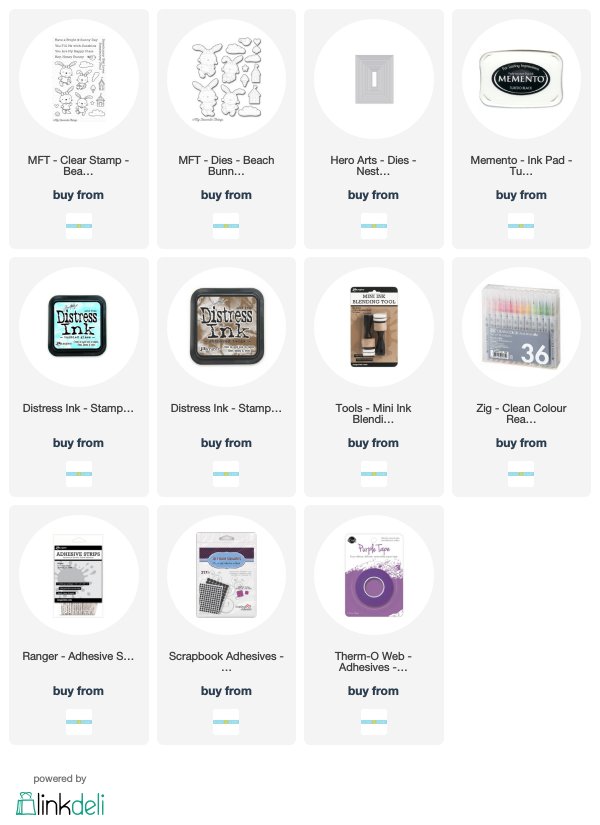
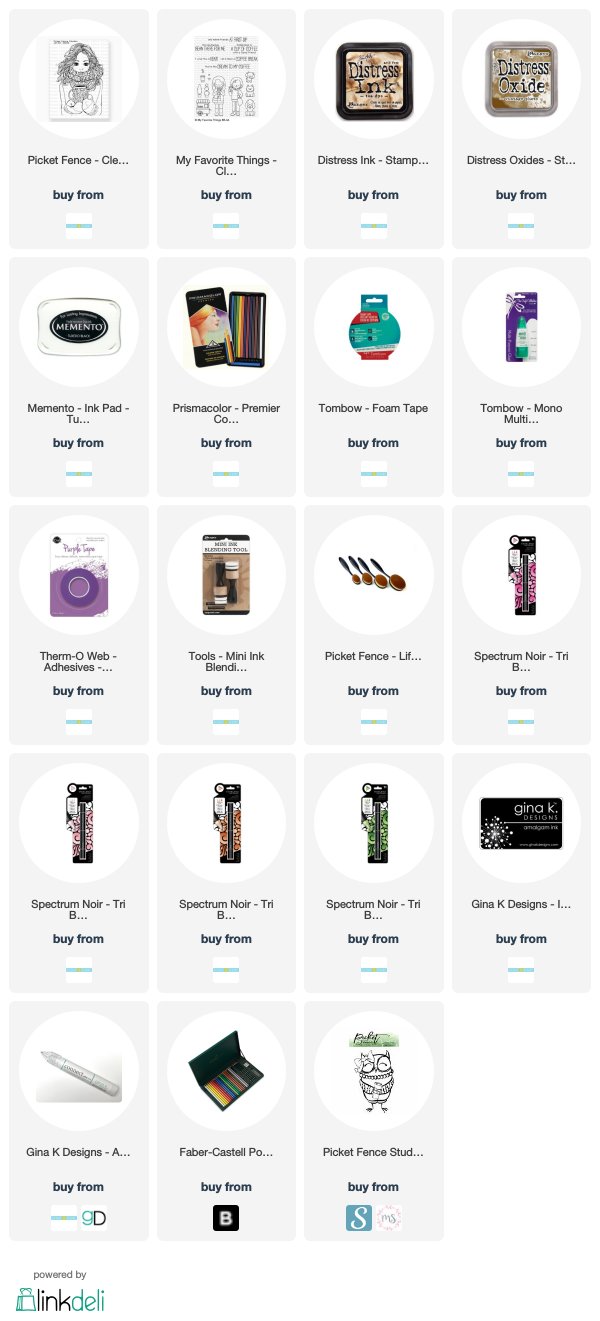
If you’d like to order some supplies for your project, I’ve included links below, for online shopping.

Compensated affiliate links are provided where available, at no cost to you. Your purchase through these links provides me with a small percentage, which helps keep my blog going,  to share with you! Thank you in advance!


Step Up Your Cards with Masking! Read More »

Have a Bright & Sunny Day!

HAVE A BRIGHT & SUNNY DAY!

Hello stamping friend! It’s Deb here, for the Scrap ‘N Stamp Design Team. I know that winter isn’t quite over yet, but we’re having beautiful sunshine & blue skies here in Vancouver! I thought I’d share some of this great weather, and hope that you have a bright & sunny day, too. The Beach Bunnies stamp set & dies from My Favorite Things are my choice for sharing today. Who can resist smiling at cute bunnies?

BEACH BUNNIES

I love creating happy little scenes with these types of sets. They have all the pieces you need, and using the matching dies makes everything come together so easily. I always recommend purchasing the dies at the same time as the stamp set. I used to fool myself, and think ‘oh, I can cut those out by hand’ – only to be sadly disappointed in ragged edges and snipped off bits. So – personal experience shared – buy the dies! 🙂

Have a Bright & Sunny Day!

Just look at those cuties, having fun – and ice cream!

CARD DETAILS

I decided to frame the beach scene, so I used my Hero Arts Nesting Rectangle Infinity Dies and some blue cardstock to create the frame.  Next, I made small pencil marks where the frame was to go, and then masked it off with my Thermo Web Purple Tape. This tape is great, because it won’t tear your cardstock when you remove it. I then used some Distress inks to blend in the sky with Tumbled Glass, and the sand in Gathered Twigs. That was the quickest part – next, you need to create the images.

On white cardstock, stamp each of the images in Memento Tuxedo Black ink. Use your favourite colouring medium; I used my Zig Clean Color Real Brush markers. I kept the colours light & bright, because hey – beach weather! After colouring, use the matching Beach Bunnies dies to die cut each image.

Have a Bright & Sunny Day!

LAYER IT ALL TOGETHER

After you’ve done your colouring and die cutting, you’re ready to layer your scene together. Erase the light pencil marks, and attach your die cut frame to the white panel. Next, stamp the sentiment from the Beach Bunnies stamp set underneath the frame, in Memento Tuxedo Black ink.

Attach all of the die cut images with foam squares or tape, arranging the beach houses in the middle of the frame. The clouds of course go above, as well as the little bird.  Attach the ice cream to the hand of the little girl bunny, and attach both of the bunnies outside the frame, on either end of the sentiment.

Have a Bright & Sunny Day!

CREATE YOUR OWN BRIGHT & SUNNY DAY!

Are you ready to have a bright & sunny day? No matter what the weather outside is doing, you can create your own! I hope I’ve inspired you to have some fun, and make your own weather. All of the supplies can be purchased from the Scrap ‘N Stamp online store – you can use the links below to go directly there!  Be sure to check out the fabulous new products that have arrived, and look at the current specials. There’s always something you need!


Have a Bright & Sunny Day! Read More »

Tuesday with Tara {take 190}

Happy Tuesday!  It’s hard to believe we’ve almost reached the end of February already… all I can say is BRING ON SPRING!  I am so ready for some sunshine and to start seeing more green things popping out of the dirt!  Since I still had the same stamp & die sets by Tim Holtz I featured last week out on my desk, I decided to keep working with them… there’s so many fun elements to create with!  I’m embracing green this week though, using the leafy designs on each set together because they remind me of spring!

I started by inking up the white die cut foliage in Distress Inks: cracked pistachio and twisted citron.  I then took a cream card base and stamped the leafy stem as a background alternating with the two colors.  I used a water brush to pull color from the stamp and lightly color my images with the opposite color they were stamped in.  I then took one of the smaller images from the Media Marks stamp set and inked only a portion of it to fill in some of the empty spaces and finished off the card base by adding some twisted citron to the edges of the card.

I cut a strip of craft card stock to go the full height of the card and stamped the sketchy stripes in cracked pistachio Distress Oxide.  I then adhered the foliage with some glitter glue, knowing it would ooze out behind the design a bit and I wanted to add some glitter.  I smudged the glitter with my fingers and since I liked how it was looking I grabbed my tub of Nuvo Moonstone Glimmer Paste and decided to brush it over the entire strip and foliage. It’s a very thin layer, but has lots of sparkle that really picks up the light!

Once dry, I assembled it and added another sentiment sticker- because the white letters didn’t match my cream card, I rubbed some twisted citron distress ink over them.  I added a thin strip of foam adhesive behind the stickers to give a bit more dimension and stability.

I hope my card brings a bit of spring… or hope for spring to your day!

Inky hugs,

Tara


Tuesday with Tara {take 190} Read More »

Free Shipping Anywhere In Canada