Scratch-N-Stamp
Search

Checkout

Keep up with Sales, New Products and other events at Scrap `n Stamp. Sign up for our newsletter now!

What's New

Hot Deals


distress inks

New Lavinia Stencils

Welcome to a new week, my friend! Deb here, for the design team. I’m starting the week off with a new product – a new Lavinia Stencil called Pods. Have you seen this amazing line of stencils yet? Be sure to check them all out, in the Scrap ‘N Stamp store. It was difficult for me to choose just one, but I loved the shape of the Pods, so that’s what I’m sharing today.

PODS FOR FALL

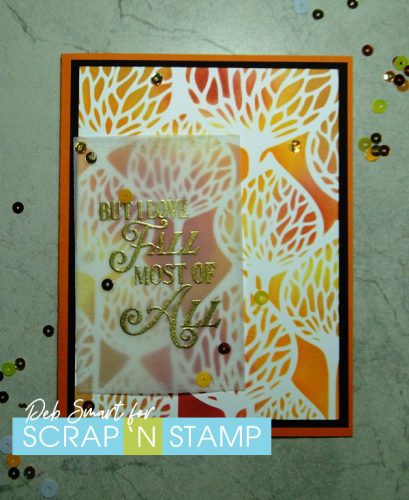
The brilliant thing about this stencil is that you can use it year ’round. Change up the colours you use to suit the season! Of course we’re in fall right now, and I just love the colours of the changing leaves. So I pulled out my Distress inks, and got blending!
New Lavinia Stencils

Don’t you just love the warmth of these colours? And they blend so beautifully.

CARD DETAILS

Start with a piece of smooth white cardstock. Lay the Lavinia Stencil Pods over top, and hold it in place with some Purple Tape.  Choose your colours, and start applying them with a blending tool. I chose Distress inks in Fired Brick, Mustard Seed, Spiced Marmalade and Tea Dye.  When finished blending, remove & clean the stencil.  Take a minute to admire your handiwork, ’cause gosh – it’s pretty! *wink*

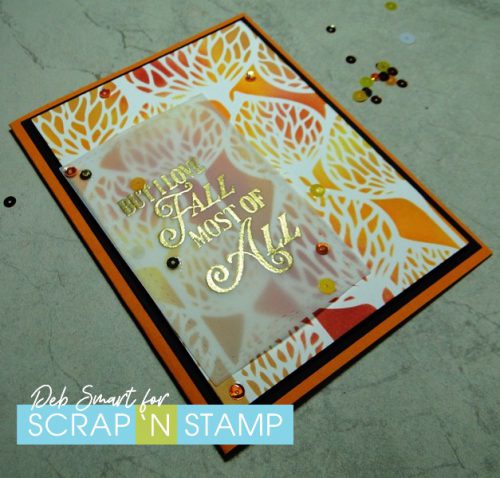
The stencil and colours are so beautiful, it’s a shame to cover them up. So don’t! Use a piece of vellum, and stamp the sentiment from the Memory Box Harvest Love set in Versamark ink. Cover it with gold embossing powder, and then set with a heat tool.  Die cut the sentiment with the MFT Wonky Stitched Rectangle Die, and then attach it to the blended panel with glue dots. Now, attach the card front with foam tape to a piece of black cardstock. This helps those gorgeous colours really pop! Finally, attach the front to a dark orange card base. Add the finishing touch of some Picket Fence Studios Candy Corn Shot sequins to the card front.
New Lavinia Stencils

You could add extra shine to your card by switching the black cardstock panel to a gold metallic panel. That would coordinate nicely with the gold embossed sentiment.

DAILY CHALLENGE

It just so happens that today’s word for the Scrap ‘N Stamp Daily Challenge is ‘stencil’! Coincidence? I think not! Ha ha! I’m the one who chose the word for today, knowing that it was my day to share. Whether you choose one of the new Lavinia Stencils, or one of your favourites, I hope that you’ll play along. Be sure to share  your project on the Facebook challenge page HERE, and use the hashtag #SNSCHALLENGE when you share there, and on your other social media pages. At the end of the month, one luck person will be randomly selected to WIN a $50 GIFT CARD to Scrap ‘N Stamp! Play along with as many days as you like.

SUPPLIES
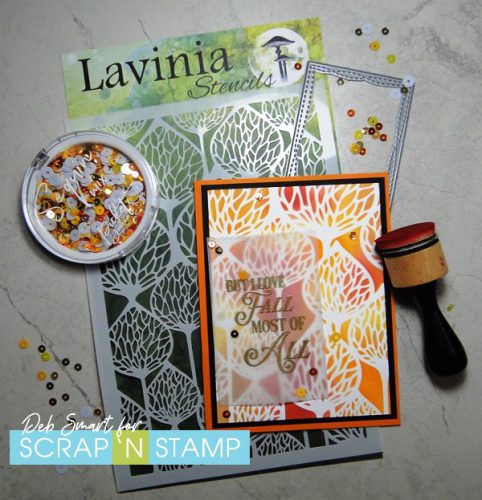
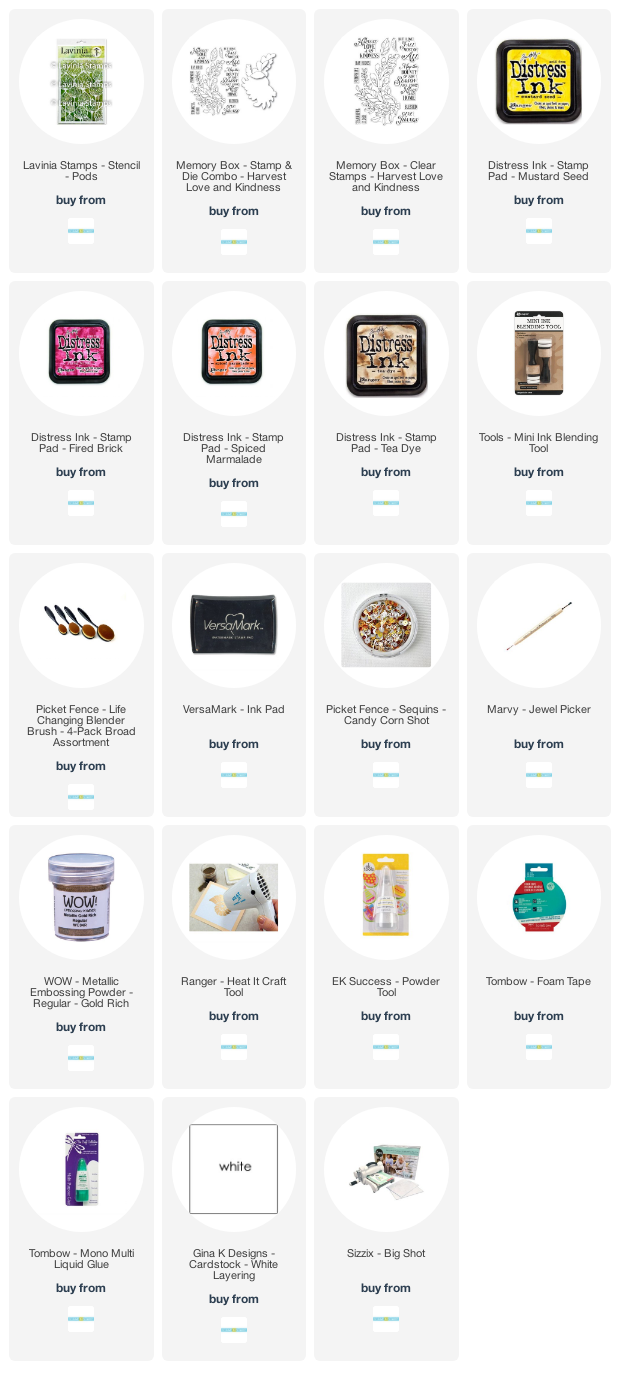
New Lavinia Stencils

Affiliate links for products are supplied, below. If you choose to use my links, you help support me in maintaining my blog. Thanks in advance!


New Lavinia Stencils Read More »

Laugh ‘Til You Leak!

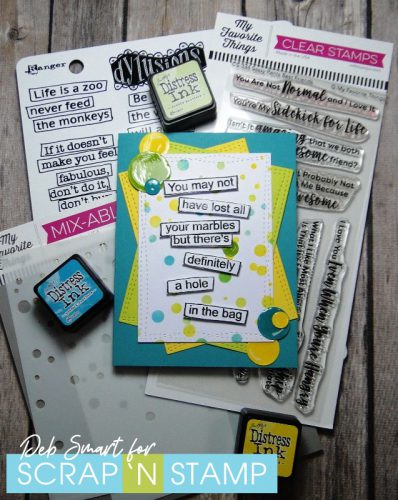
Hi friends! It’s Deb here today, from the Design Team. I thought I’d continue on with our Scrap ‘N Stamp ‘Snarky New Year’ blog hop theme with today’s card! If you missed the Hop, be sure to check it out! Enjoy the snarky humour – it’s all in good fun, of course! You can start at my post HERE. Today’s card is made with the same sentiment stamp set, called Laugh ‘Til You Leak by Dyan Reavely. The sentiments in this set just cracks me up!

LAUGH ‘TIL YOU LEAK

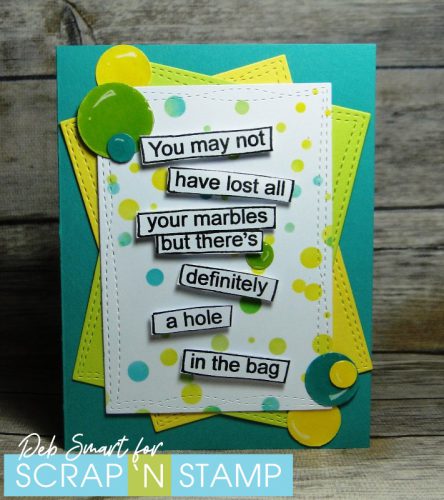
I had lots of fun creating today’s card. Fun, bright colours, stencils & more were all put to use.

Laugh 'Til You Leak!

You’d definitely have to choose carefully who you send this card to – it’s a special sense of humour  that would appreciate it!

CARD DETAILS

To start, make your ‘extra marbles’, so that they have time to dry. Use small circle dies or punches to create ‘marbles’ in your colour scheme. Create the shine accent with a white gel pen. Next, use Nuvo Crystal Glaze and apply it over the entire circle. Set them aside to dry.

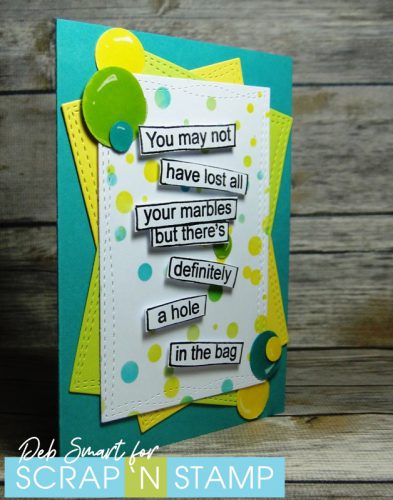
Now, on a piece of white cardstock, use the MFT Confetti Stencil set and apply 3 different colours of ink. My choice of colours is Peacock Feathers, Mustard Seed and Shabby Shutters Distress ink. Use one stencil for the top, and the 2nd stencil for the bottom, to cover the entire panel.  These fun coloured dots are your ‘marbles’!  Next, use the MFT Wonky Stitched Rectangles dies to die cut the stenciled panel, plus 2 more in the same or similar colours to the ink. Create a card base from the 3rd colour.

Use glue or tape to layer the die cut rectangles to the card base, offsetting them on angles. Stamp the sentiment from the Laugh ‘Til You Leak set in Nocturne ink onto white cardstock. Cover with clear embossing powder, and heat set. Next, cut the sentiment apart, and attach the strips to the card front, with fun foam or foam tape.  Once your die cut/punched ‘marbles’ are dry, attach them to the card front – watch out, they’re escaping through the ‘hole’!

Laugh 'Til You Leak!

INSIDE SENTIMENT

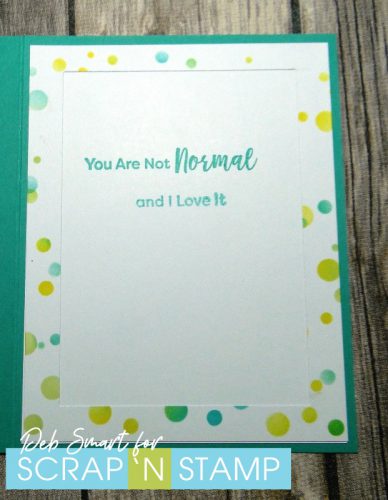
Now, with a sentiment like this on the front, you may want to soften the statement with one inside!

Laugh 'Til You Leak!

After die cutting the stenciled panel, I used the leftover frame and attached it to a white panel, on the inside of the card. The sentiment is from the MFT Sassy Pants Best Friends stamp set. No one could be mad at this, right?!

I hope that you’ve enjoyed my card today, and seen how snarky doesn’t have to be mean! It’s all about keeping it in good fun, and knowing your recipient. *wink* The products I’ve used for my card are all in the Scrap ‘N Stamp online store – links are below. Have a fun day! Remember you can join in the snarky fun on the Scrap ‘N Stamp Facebook Challenge page HERE. Create your own snarky card, and add it to the page! One lucky winner will be drawn at the end of the month!

Laugh 'Til You Leak!

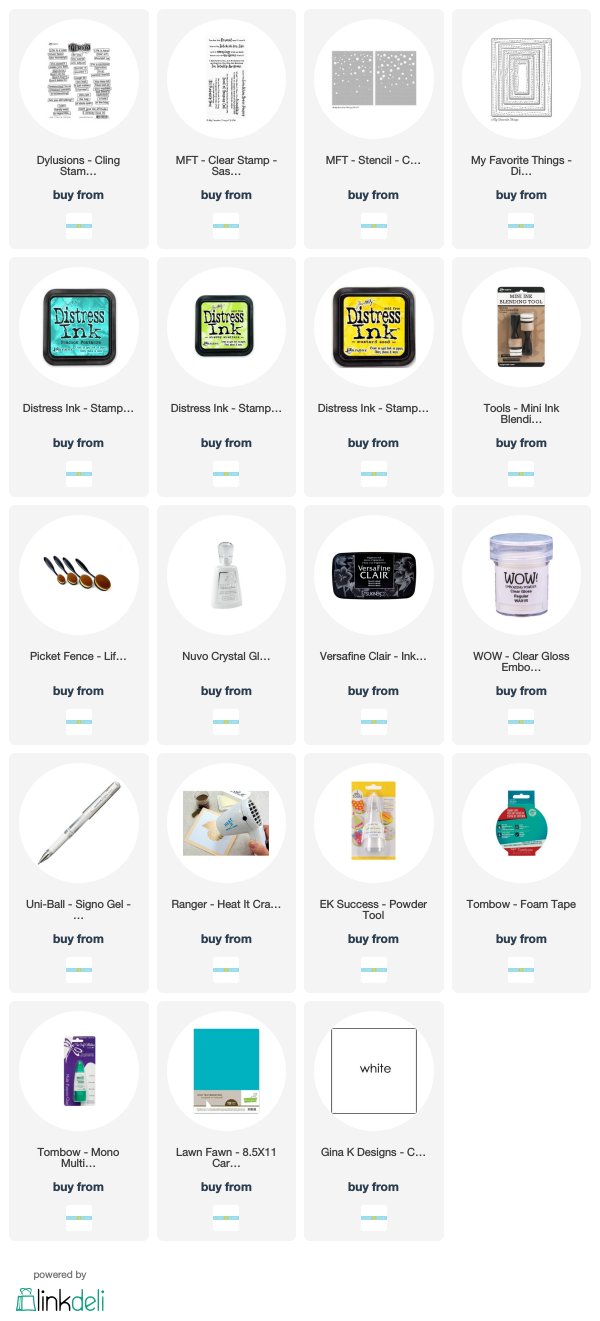
Affiliate links for products used are supplied below, at no cost to you. Using my affiliate links, you help support me in purchasing new products, so that I can continue sharing new projects with you!


Laugh ‘Til You Leak! Read More »

Get Well Greeting….and Grief

Hey Friends!  It Chala and I just wanted to start off by saying I was so bummed that I was not able to participate in the Snarky New Year Blog Hop…so, I am sharing one now!

 Anyone who knows me knows that I LOVE the snark and sarcasm!  Unfortunately, my year started with the passing of several family members (3 in one week), one of which was my incredibly sweet (yet chaos envoking) Father-in Law who lived with us.   He was diagnosed with cancer in September and it has been a tough several months for our family as he was determined to stay at home as long as he could to celebrate Christmas with his grandkids.  Thankfully, he was able to fulfill this goal.  However, we sadly lost him the morning of January 1, 2020.  Now, I should note that we are a bit of an odd family.  Our days are filled with sarcasm and humour and we are often hard for “outsiders” to understand.  But,  it is with this sarcasm and much humour that we dealt with his diagnosis and this tremendous loss and ongoing grief.   So, please take today’s card with the humour it was intended to invoke to lighten the mood and I hope it makes you laugh as much as it made my family laugh.

Since so many of my friends and family have also been fighting off the flu, sniffles, colds and coughs, I thought it would be fun to make a “Get Well” card.

Hero Arts Snarky Mix and Match

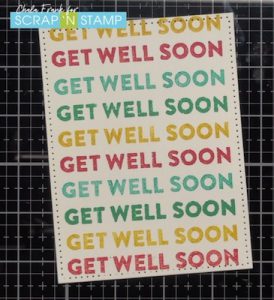
I am using the “Get Well Soon” sentiment from the Snarky Mix & Match stamp set by Hero Arts. This has got to be one of my favourite snarky sentiment sets on the market!  I stamped the sentiment several times on an A2 size card base in with Distress Inks in the colours Wild Honey, Candied Apple, Broken China and Evergreen Bough.  Then die cut with a rectangle die.  The one I used is from Elizabeth craft designs.  However, a similar one is MFT A2 stitched rectangle stax  set 2 dies.


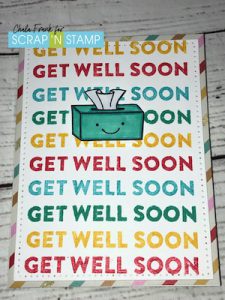
I picked through my rather large stash of patterned paper and picked out a rainbow stripe pattern.  I admit, I am not exactly sure where it came from…..but, the Taylored Expressions 6×6 – Hello Sunshine paper pack would coordinate beautifully with the Distress Ink colours that I chose. I trimmed the patterned paper down and adhered it to an A2 size side folding card base that I made from Lawn Fawn 8.5″ x 11″ – 80lb White Cardstock.

I loved the rainbow colours of the card….but, felt it needed a little something on the front. I saw the Tissue box from the Lawn Fawn – On the Mend stamp set and thought it would look really cute.  I like being able to mix and match several stamp sets/companies to stretch my use of them.  I stamped the tissue box with Memento Black Tuxedo Ink and coloured it with Copic Markers in the colours C2 – Cool Gray, BG13 – Mint Green and BG 15 – Aqua.  I fussy cut the image out and popped it up with a square foam adhesive.

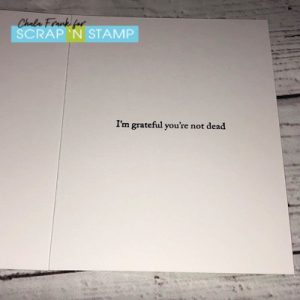
For the inside sentiment, I stamped the “I’m grateful you’re not dead” with my favourite sentiment ink Versafine Claire Nocturne Ink. (I thought this was really funny….thankfully, so did my family!)

I know this card is very simple and I’m sorry I don’t have a coordinating video…but, I am still trying to get back into the creative groove!

Thank you for stopping by and letting me share a little personal side of my life!

Hoping you all enjoy your week!


In Memory of Robert Harrington Frank

“Don’t do it, it’s a trick!”

~Chala, xoxoxo

Get Well Greeting….and Grief Read More »

Free Shipping Anywhere In Canada