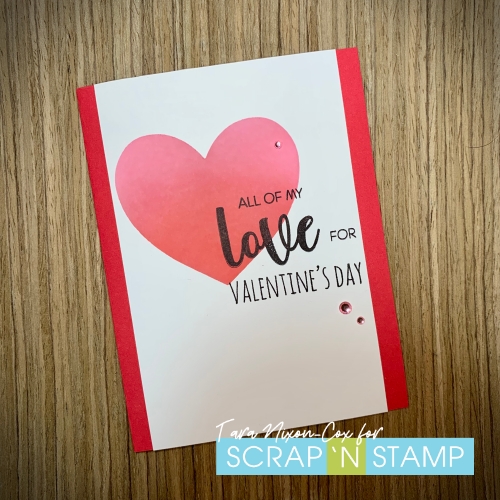
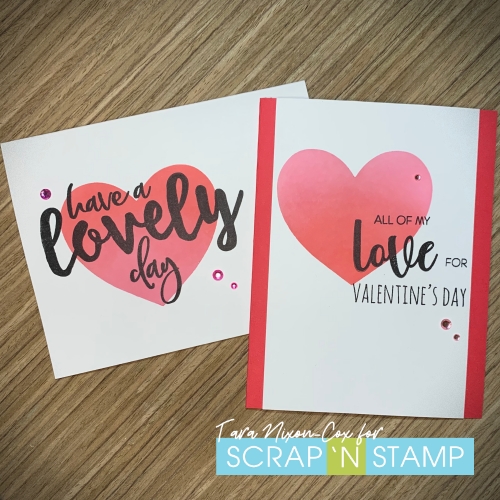
All You Need Is Love
As the song goes, all you need is love! Well, that and craft supplies. And coffee. And chocolate! Well, we’re going to stick with the love theme, since it is Valentine’s Day, after all. I stayed with the adorable Tracey Hey stamps that we featured in our recent Inspiration Blog Hop. This time I used the cute unicorn.
LITTLE BIT CRAZY
Little Bit Crazy is the name of this stamp set, featuring the unicorn, and her pals giraffe and elephant.
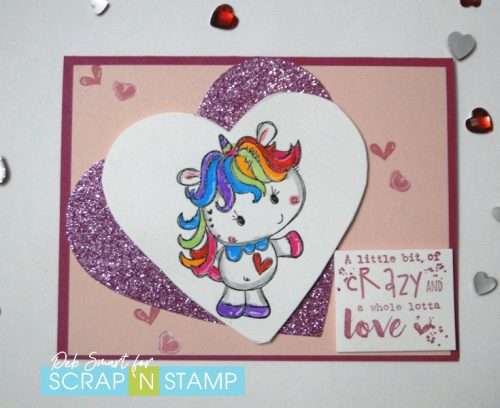
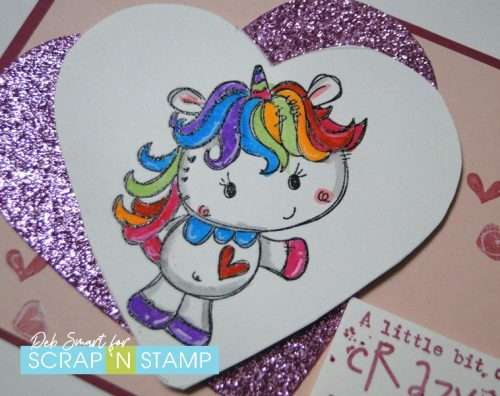
I think that the sentiment says it all! This image is such fun to colour – you can let your imagination run wild, no need to stick with realistic unicorn colours. (What do you mean, they’re not real?!)
CARD DETAILS
Start by stamping the unicorn image in Nocturne ink onto a piece of white cardstock. Cover it with clear embossing powder, and then heat set. Setting the ink allows you to use whatever you like, to add colour. I chose to use my Zig Clean Color Real Brush Markers, because I love the selection of colours in the pack. It’s not strictly a ROYGBIV rainbow, but close enough. Add accents and highlights with a white gel pen. Let’s take a look at this cutie, shall we?
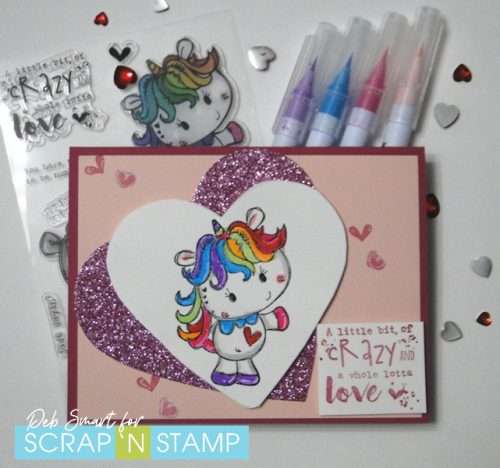
Next, die cut the image into a heart shape. Then cut a larger heart shape from glitter paper. Layer the two hearts onto a light pink panel, using glue and foam tape/squares. Next, stamp some of the hearts, also from the Little Bit Crazy set, in darker pink, onto the background panel. Stamp the sentiment in the same darker pink onto a white square, and pop it on with foam squares. Finally, attach the front panel onto a dark pink card base.
CHECK OUT THE INSPIRATION HOP
If you haven’t already, be sure to check out our Wild ‘N Whimsy Inspiration Hop. We had fabulous guests posting for this Hop, PLUS each post in the Hop will give away 1 Tracey Hey stamp set! To be entered for a chance to WIN, leave a comment on each of the Hop posts. You can start HERE, at my post, then follow the links. Enjoy the Hop, and good luck!
CREATE YOUR OWN LOVE & WHIMSY
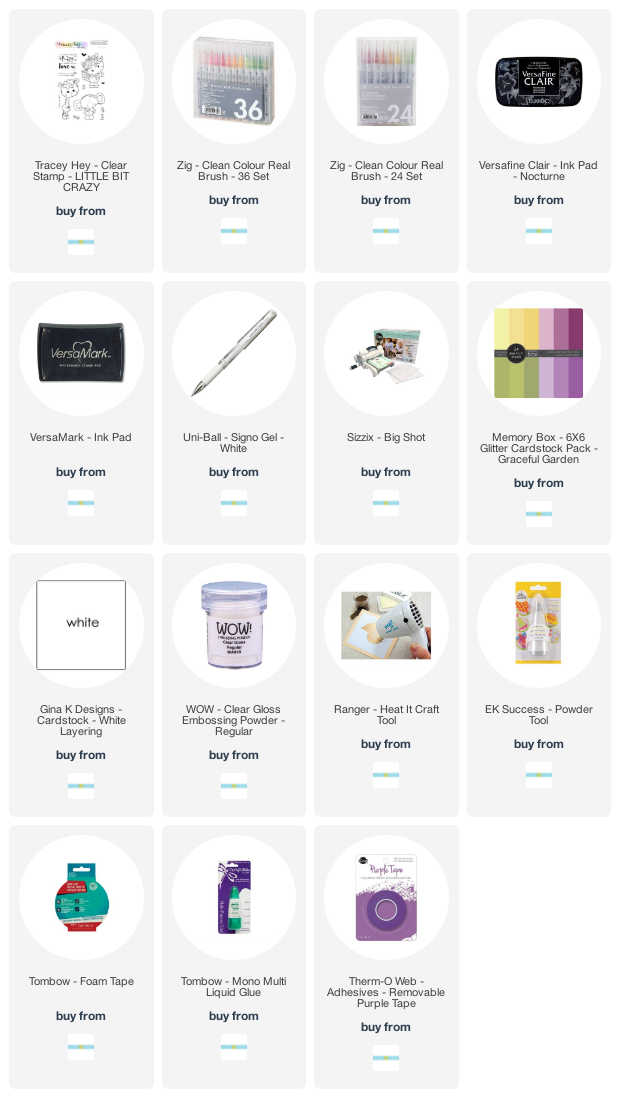
You’ll find the links for the supplies used to create my cards, below, using my Affiliate links. When you’re shopping at Scrap ‘N Stamp, be sure to use my Design Team Discount Code 10DEB, for 10% OFF your total order of regular priced items!
All You Need Is Love Read More »