One Stencil, Three Ways
ONE STENCIL, THREE WAYS
Boy, do I love getting a lot of use from my crafting supplies! Hello there – it’s Deb here, and I’m posting today for the Scrap ‘N Stamp Design Team. I really hope you enjoy today’s project, because it’s not just 1 project, but 3 different techniques for using one stencil. In this case, it’s one stencil, three ways – three different techniques to be precise. I love using stencils, because of their versatility. Depending on the stencil, it can be the focal point, or a background. It can be subtle, or in your face. You can use the entire stencil, or just part of it. So enough talk – let’s get on with the fun! I have kept the pictures in this post to the most important ones, but if you’d like to see more of the steps involved, you can head over to my blog post for more visuals.
STENCIL WITH INK & BLENDER BRUSHES
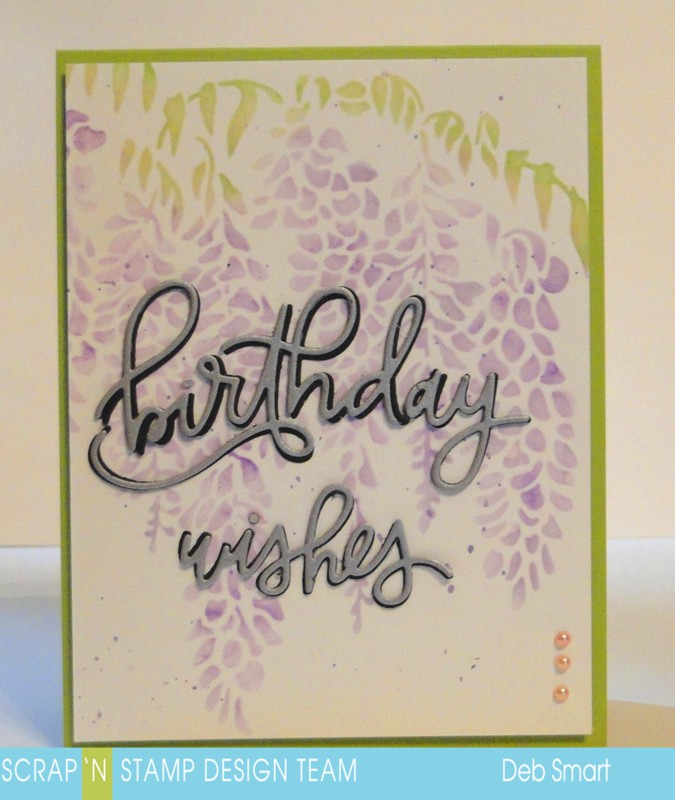
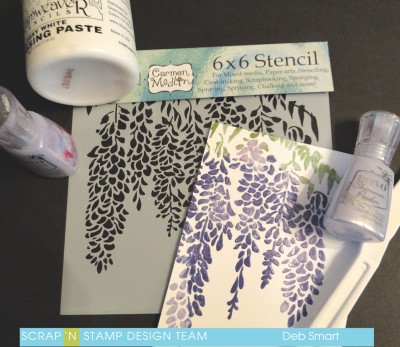
This is probably the quickest, and most common way to use your stencil. I chose the beautiful Wisteria stencil from The Crafters Workshop. It’s a full 6″ X 6″, so you have the choice of what type of project to create. I chose to use the full stencil, but then cut down the panel to create a card front.
To do the stenciling, first cut a panel of white cardstock to the same size as the stencil. Hold the stencil in place with some Thermo Web Purple Tape around the edges. Next, apply the ink with the Picket Fence Studios Life Changing Blender Brushes.
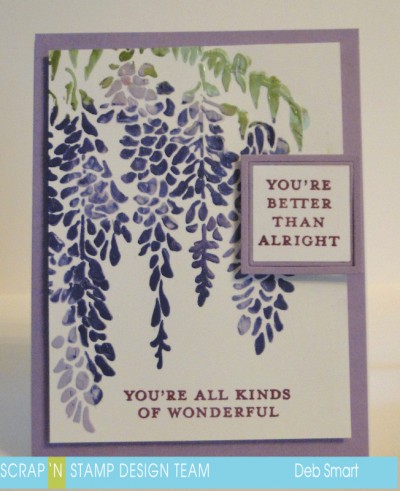
Above, you can see the card front finished, with a die cut added. I shared this card on my own blog last week; you can read more about it in this post.
STENCIL WITH NUVO SHIMMER POWDERS
Now this technique is lots of fun – and a bit messy! There’s more pictures for this technique on my own blog, so you get more of an idea how to do it. First, because the Nuvo Shimmer Powders are highly pigmented powders that are activated by water, you need to get your work space set up. Put down a craft mat, or something to protect your work surface. Because you’ll be adding water, you don’t want the water to seep under the stencil. Follow the directions on a temporary re-positionable spray adhesive; spray it on the back of the stencil, and wait until it is tacky.
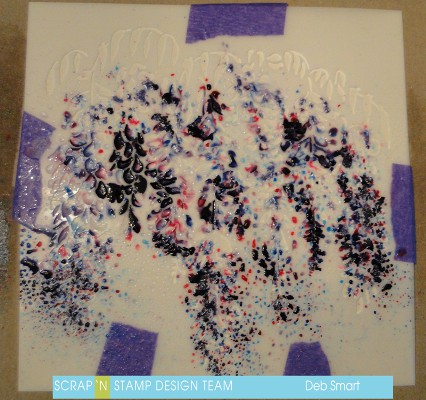
Cut a panel of watercolour paper to size, and then lay the stencil, tacky side down, over the paper. (just for good measure, I also put Purple Tape around the edges, but it wasn’t necessary). Next, sprinkle the Nuvo Shimmer Powders over the stencil. I used two different colours; Lilac Waterfall and Violet Brocade. Alternate placement of the powders, to mix up the colours. Once you’re sprinkled on some powders, lightly spray with water. The photo below shows the powders reacting to the sprayed water. I know – it looks like a hot mess at this stage!
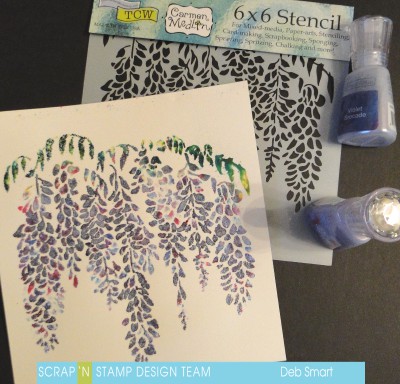
You can see in the photo above that the shimmer powders are a mixture of colours; not just a flat one shade. You can add more powder, and then more water, to areas where you may have missed, or where you want more colour. The photo below shows the powders now dried, and the stencil removed. Note – you don’t have to wait for the image to be dry, before removing the stencil. And the great part is that the temporary adhesive has blocked the water from seeping under the stencil, so you can still see the individual petals.
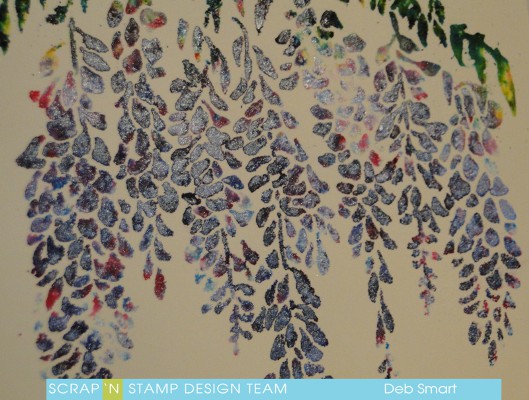
In case you’re wondering where the shimmer is – I took this next close up photo, just so you can see it! Even so, the photo doesn’t really do it justice. In person, it’s gorgeous!
STENCIL WITH EMBOSSING PASTE & NUVO SHIMMER POWDERS
I guess technically, this is a 3rd and 4th way to use the stencils! You can use embossing paste as it is, but I wanted to add colour to mine, so I added the same Nuvo Shimmer Paste as I did in the technique above.
This is another technique that can be a bit messy; I try my best to set up my area to control any out of control paste! First, I got out two large pieces of wax paper – yup, from the kitchen cupboard! Next, I used my palette knife to put some of the white embossing paste on each piece of wax paper. The reason I used 2 pieces is that I wanted to use both the Lilac Waterfall and the Violet Brocade Shimmer Powders, without getting them mixed together.
Sprinkle one of the shimmer powders onto one of the pastes, and the other one onto the other paste. Use your palette knife to mix them up. ( I have a photo of this step in my blog post).
Once you have your powder and paste mixed up, apply them one at a time on top of the stencil. Hold your palette knife like a regular knife, and apply it like you’re buttering toast. It’s that easy! Apply the paste in different areas, so that you can see the two different colours. If you want extra ‘high’ texture, build up the paste. For a lower profile texture, skim the palette knife over the paste, skimming off any excess sitting on top of the stencil.
I was so excited to see the results that I forgot to take a picture before removing the stencil! So sorry about that! But below, you can see the result, with the stencil removed.
FINAL CARD
I decided to create a card front using the embossing paste panel that I created. I trimmed it down just a bit, and added a panel of light purple cardstock behind it.
The sentiments are from the Concord & 9th Everyday Bouquet set. They are stamped in Seedless Preserves Distress ink; one onto a scrap of white cardstock, the other directly onto the bottom of the panel. The top sentiment is die cut using the matching Everyday Bouquet Dies; they include the cute double frame, which is die cut in the same cardstock as the panel behind.
I do hope you’ve enjoyed today’s post, and are inspired to look at your crafting supplies with new eyes! By using different products, you can stretch your supplies and your crafting dollars. Not to mention, coming up with amazing new projects to share with your friends!
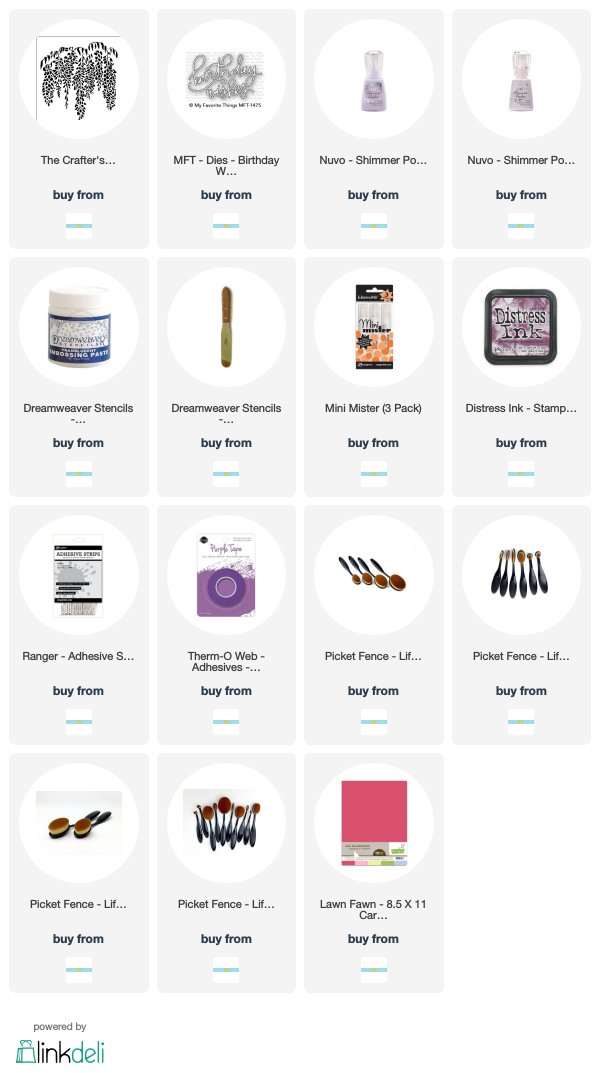
All supplies are available through Scrap ‘N Stamp. I’ve included links for you, below.
Compensated affiliate links are provided where available, at no cost to you.
One Stencil, Three Ways Read More »


