Scratch-N-Stamp
Search

Checkout

Keep up with Sales, New Products and other events at Scrap `n Stamp. Sign up for our newsletter now!

What's New

Hot Deals


Colorado Craft Company

Word Prompt Challenge for Fun

Hi creative friend! It’s Deb here, for the Design Team. Today I’m here for the word prompt challenge for “FUN”. Yes, it’s fun, but the word is actually ‘fun’!
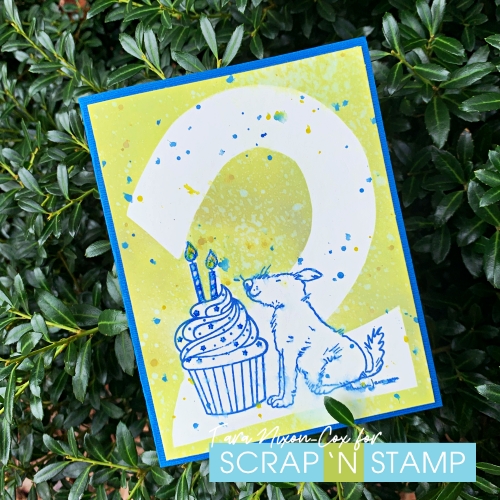
BIRTHDAY WISHING

Now, everyone has different ideas of what is fun. It can be an activity, or reading your favourite book, maybe going to a movie. Or, just sitting with friends. I decided to turn fun into a verb, instead of an adjective – with this fun, interactive card!

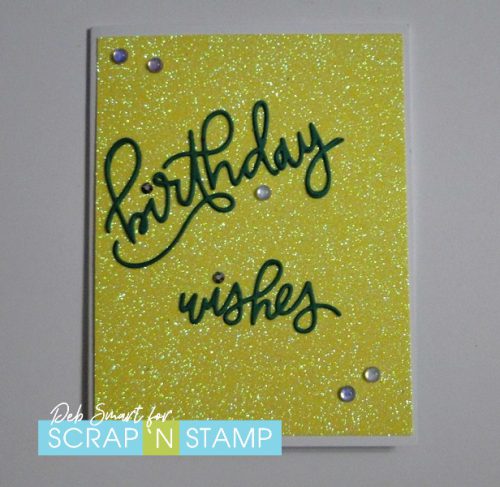
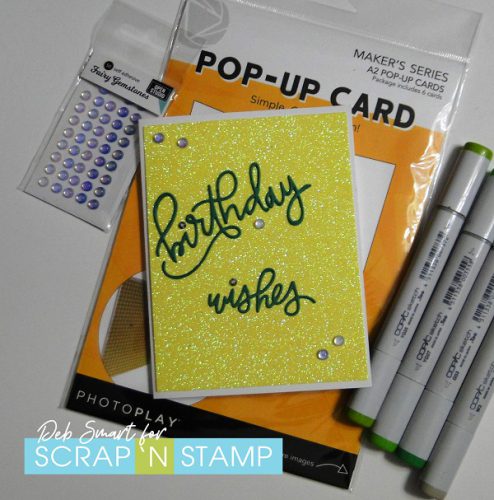
Okay, so the front of the card doesn’t give too much away. The glitter cardstock and embellishments hint at something, though. To create the card front, simply die cut the MFT Birthday Wishes Die-Namics from green cardstock. Glue it onto a piece of Memory Box Glitter cardstock (the pack I have is retired, but there’s new packs in store!). Add some Memory Box Fairy Gemstones (Winter Fantasy), and then attach this panel to your card front.

CARD DETAILS

As I explained, I’ve hurt my back, so I had to figure out a card that would be fairly quick to make. The Photo Play Pop Up Card Kit is a life (or back) saver! This pack includes everything you need to create 6 pop up cards. All you need to add is your creativity, some paper and stamps.

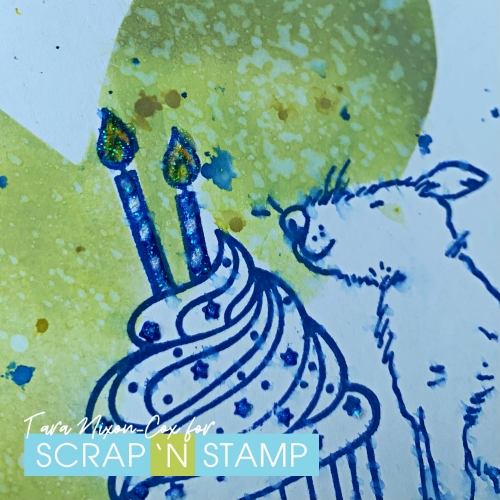
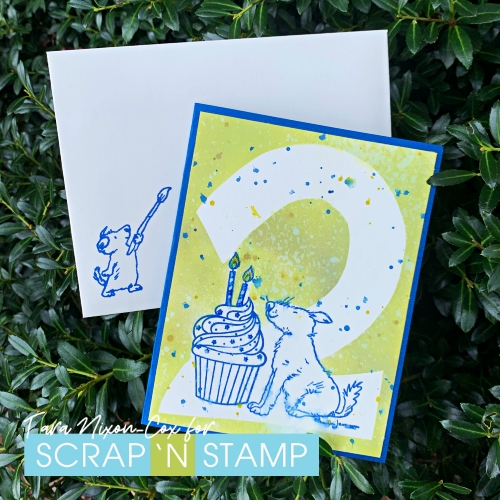
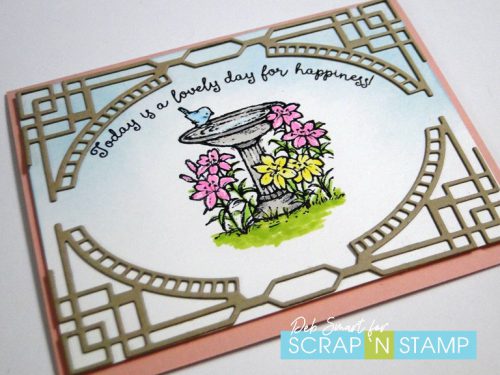
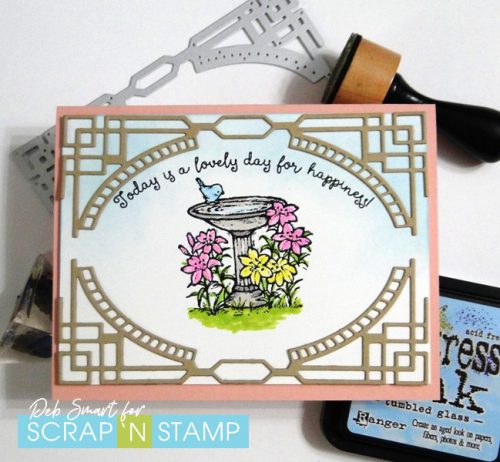
Before following the simple directions to attach the pop up piece, add your coloured cardstock to the inside of the card base. On the left side, I stamped 2 sentiments from the Colorado Craft Company Birthday Wishing stamp set in a dark green ink. Next, stamp the balloon holding bunny from the same set in Nocturne ink, onto a piece of white cardstock. Use your favourite markers to colour him and the balloon – I used my Copic markers.

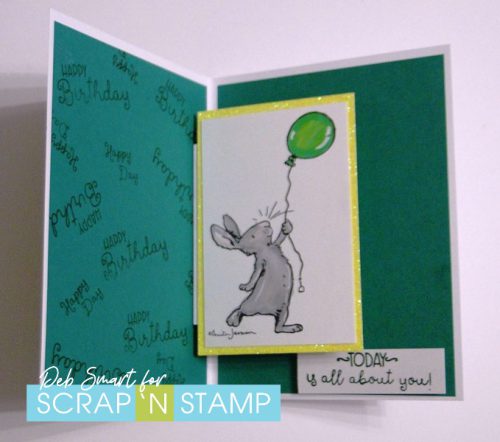
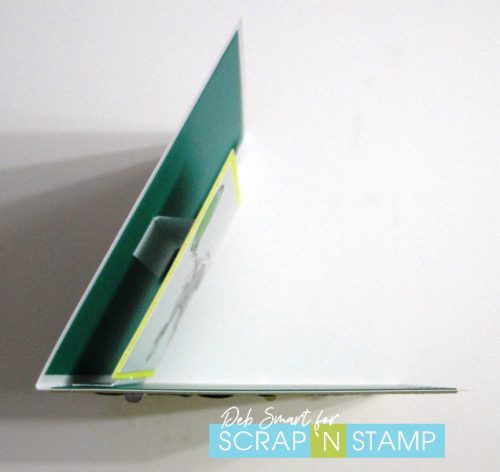
Now you can attach the pop up mechanism to the inside of the card. Next, attach a slightly larger piece of the same glitter paper, behind the bunny, and then attach both to the top of the pop up piece.  Stamp another sentiment onto white cardstock, trim, and attach it to the bottom right, below the bunny. The photo below shows how the pop up mechanism looks like, from above.

Word Prompt Challenge for Fun

JOIN THE CHALLENGE

I hope that you’ve enjoyed my card for the word prompt challenge of ‘fun’! And, I hope that you’ll join in on the fun, too. Simply join the Scrap ‘N Stamp Challenge Facebook Group, HERE. Pinned to the top of the page, you’ll find the list of word prompts; there’s a new one for each day of the month. Create and then share a photo of your project to the group, using the hashtag #snschallenge. At the end of the month, one lucky participant is randomly chosen to WIN a $50 GIFT CARD to Scrap ‘N Stamp! It’s just that easy.

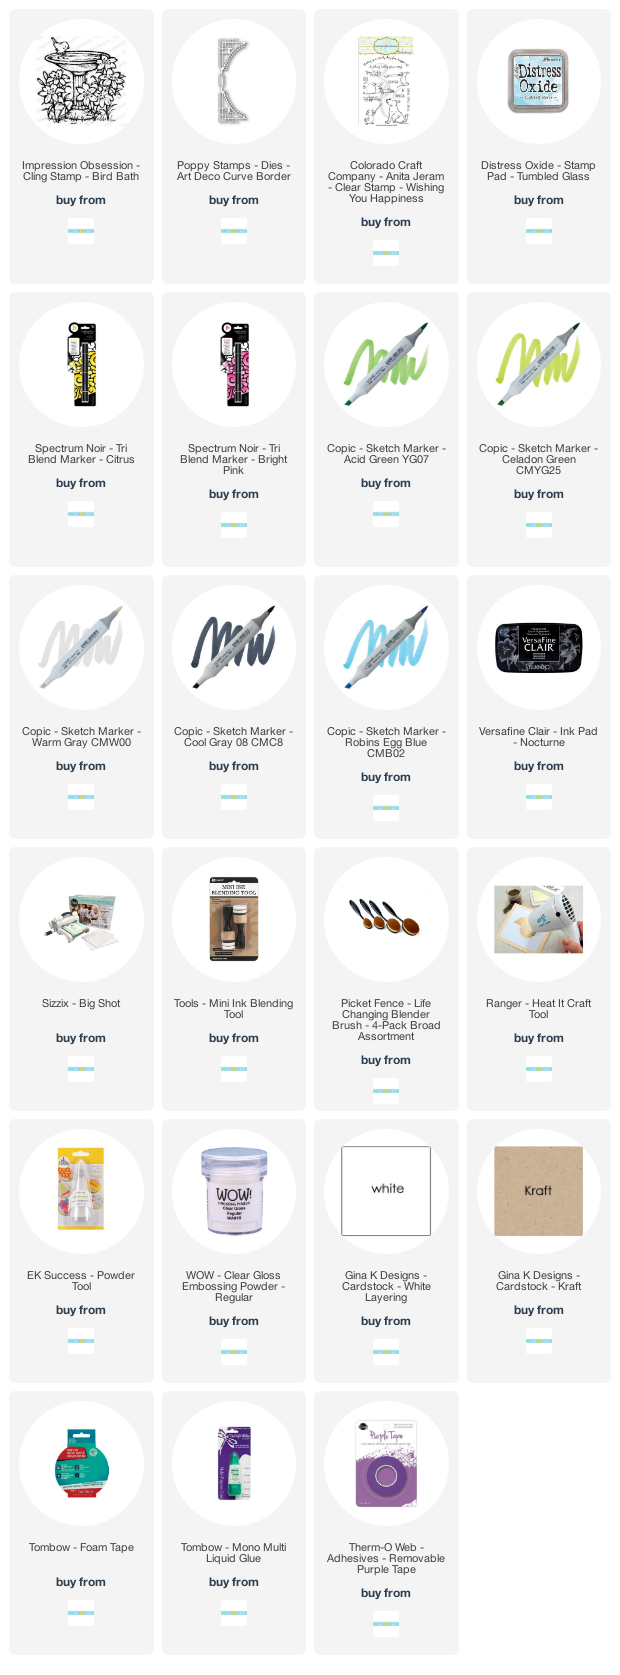
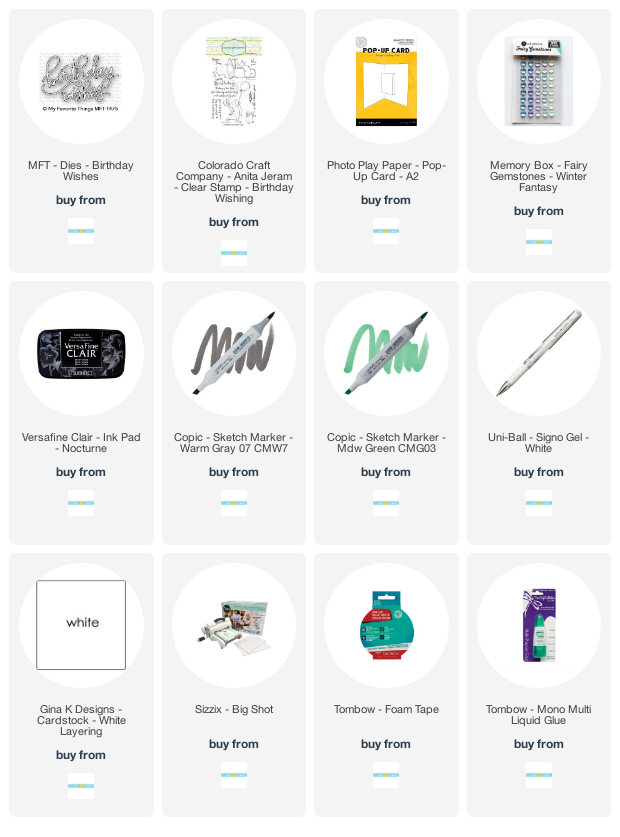
To recreate my card, you’ll find the list of supplies below. When you shop at Scrap ‘N  Stamp, be sure to use my Discount Code 10DEB, and enjoy 10% OFF your total order (regular priced items).


Word Prompt Challenge for Fun Read More »

Tuesday with Tara {take 317} TWO

Happy Tuesday!  Today’s card celebrates the BIG event in our lives last weekend… our grandson turned TWO years old!   I was faced with the challenge of making a card for him that was both creative and simple.  I hope you like what I came up with!

I combined two fun stamp sets for this card- a cupcake by Gina K Designs and a dog by Anita Jeram.  I knew I could add two candles to the cupcake but I wanted something simple with no coloring and I wanted a big number 2 on my card front!  I went with a simple blue & green color scheme- doing my stamping with Prize Ribbon Distress Ink and my ink blending with Twisted Citron.  My blending brush was a bit dirty (oops) so that’s why you see some color variation in the green part of my card!

I started by stamping the cupcake and dog on a panel of Cardstock that I cut 1/4″ smaller than my card front, spacing them so there was room on both sides and beneath the images.  I used another piece of scrap Cardstock the same size and sketched a large 2 on it, then cut it out (trimming and adjusting it here and there until I was happy with it).  I then placed it over the stamped images and used a bit of washi tape and some scraps of paper to roughly mask over the parts of the dog & cupcake that overlapped.  I should have done a proper mask, using a post-it note, or even better a product like Masking Magic… but I improvised with what was on the table next to me 🙂

From there, I just gradually added color over the entire background with my blending brush.  Once I was done, I lifted my masks to reveal my design!  In order to add a bit more texture, I splattered some water across the design.  I did forget that I had used water-based ink for my stamping as well… so as you can see, I got some splotches there too.  I decided to embrace it and add some blue splatters too for a bit of a confetti vibe!  A tiny bit of glitter on the candles was my finishing touch after adhering the panel to a blue card base.

I stamped a smaller pup from the set on the envelope to finish things off.  It turned out to be a pretty fun design, if I don’t say so myself!  The only thing I’d change is next time I would probably use a permanent ink for my stamping so it wouldn’t bleed with my spritzing 🙂

Wishing you a day full of inky fun!

Inky hugs,

Tara

Tuesday with Tara {take 317} TWO Read More »

Bird Bath

Today’s word prompt for the Scrap ‘N Stamp challenge is ‘wings’. This gave me the perfect opportunity to use some new goodies that I recently ordered! You may recall, our recent Blog Hop was called For the Birds (you can start at my post HERE, if you haven’t seen it yet), so I thought I’d carry on with the theme.

BIRD BATH

Bird Bath is the name of a new stamp from Impression Obsession. I think it’s adorable; I’m a big bird watching fan – usually just in my backyard! I also wanted to show off the new Poppystamps Art Deco Curve Border die, so I included it in my card.

Bird Bath

That little blue bird is so cute! And he’s got the bird bath all to himself!

CARD DETAILS

With the ornate Art Deco Curve Border, I wanted to keep the rest of the card quite simple.  Do do this, start with a piece of white cardstock. Blend some Tumbled Glass Distress Oxide ink around the top 2/3rds of the piece. Next, stamp the Bird Bath image in Nocturne ink, in the middle of the card. While the ink is still wet, cover it with clear embossing powder, and then heat set. Now you can choose your medium for colouring the image. I chose a few of my Copic and Spectrum Noir Tri-Blend Markers, and then added a few highlights with a white Gel Pen.

With a light brown cardstock, use your Big Shot with the border die, and die cut a total of 4 borders. Layer and glue 2 together for each of the top and bottom of the card front. Before attaching the die cuts, place the top one on the front panel, and line up the sentiment stamp, from the Colorado Craft Company Whishing Happiness stamp set. Once you’ve got the alignment, remove the die cut, and stamp the sentiment in Nocturne ink. Repeat the heat setting of clear embossing powder over the sentiment. Now, attach the borders to the card front, and then attach it to a light pink card base, using foam tape.

Bird Bath

Doesn’t that sentiment just perfectly suit this happy image? You can send this card for just about any occasion.

JOIN THE DAILY CHALLENGE

I hope that you’ll join our challenge, and today’s prompt of ‘wings’. Joining is easy – in the Facebook group HERE you’ll find a list of words, one for each day of the month. Play along with as many as you want! At the end of the month, one name is randomly drawn from all participants. That lucky person will WIN a $50 Gift Certificate to shop Scrap ‘N Stamp!

Bird Bath

If you’d like to recreate my Bird Bath card, I’ve provided shopping links to the products, below. When you shop Scrap ‘N Stamp, be sure to use my Discount Code 10DEB, for 10% OFF your purchase!


Bird Bath Read More »

Free Shipping Anywhere In Canada