Scratch-N-Stamp
Search

Checkout

Keep up with Sales, New Products and other events at Scrap `n Stamp. Sign up for our newsletter now!

What's New

Hot Deals


Copic Markers

Having a HOOT with coloring mediums!

I had so much fun playing with MFT- Warm & Feathered Hugs Stamp set. I made two tags using different mediums- Copics and Fabercastell Pencils.

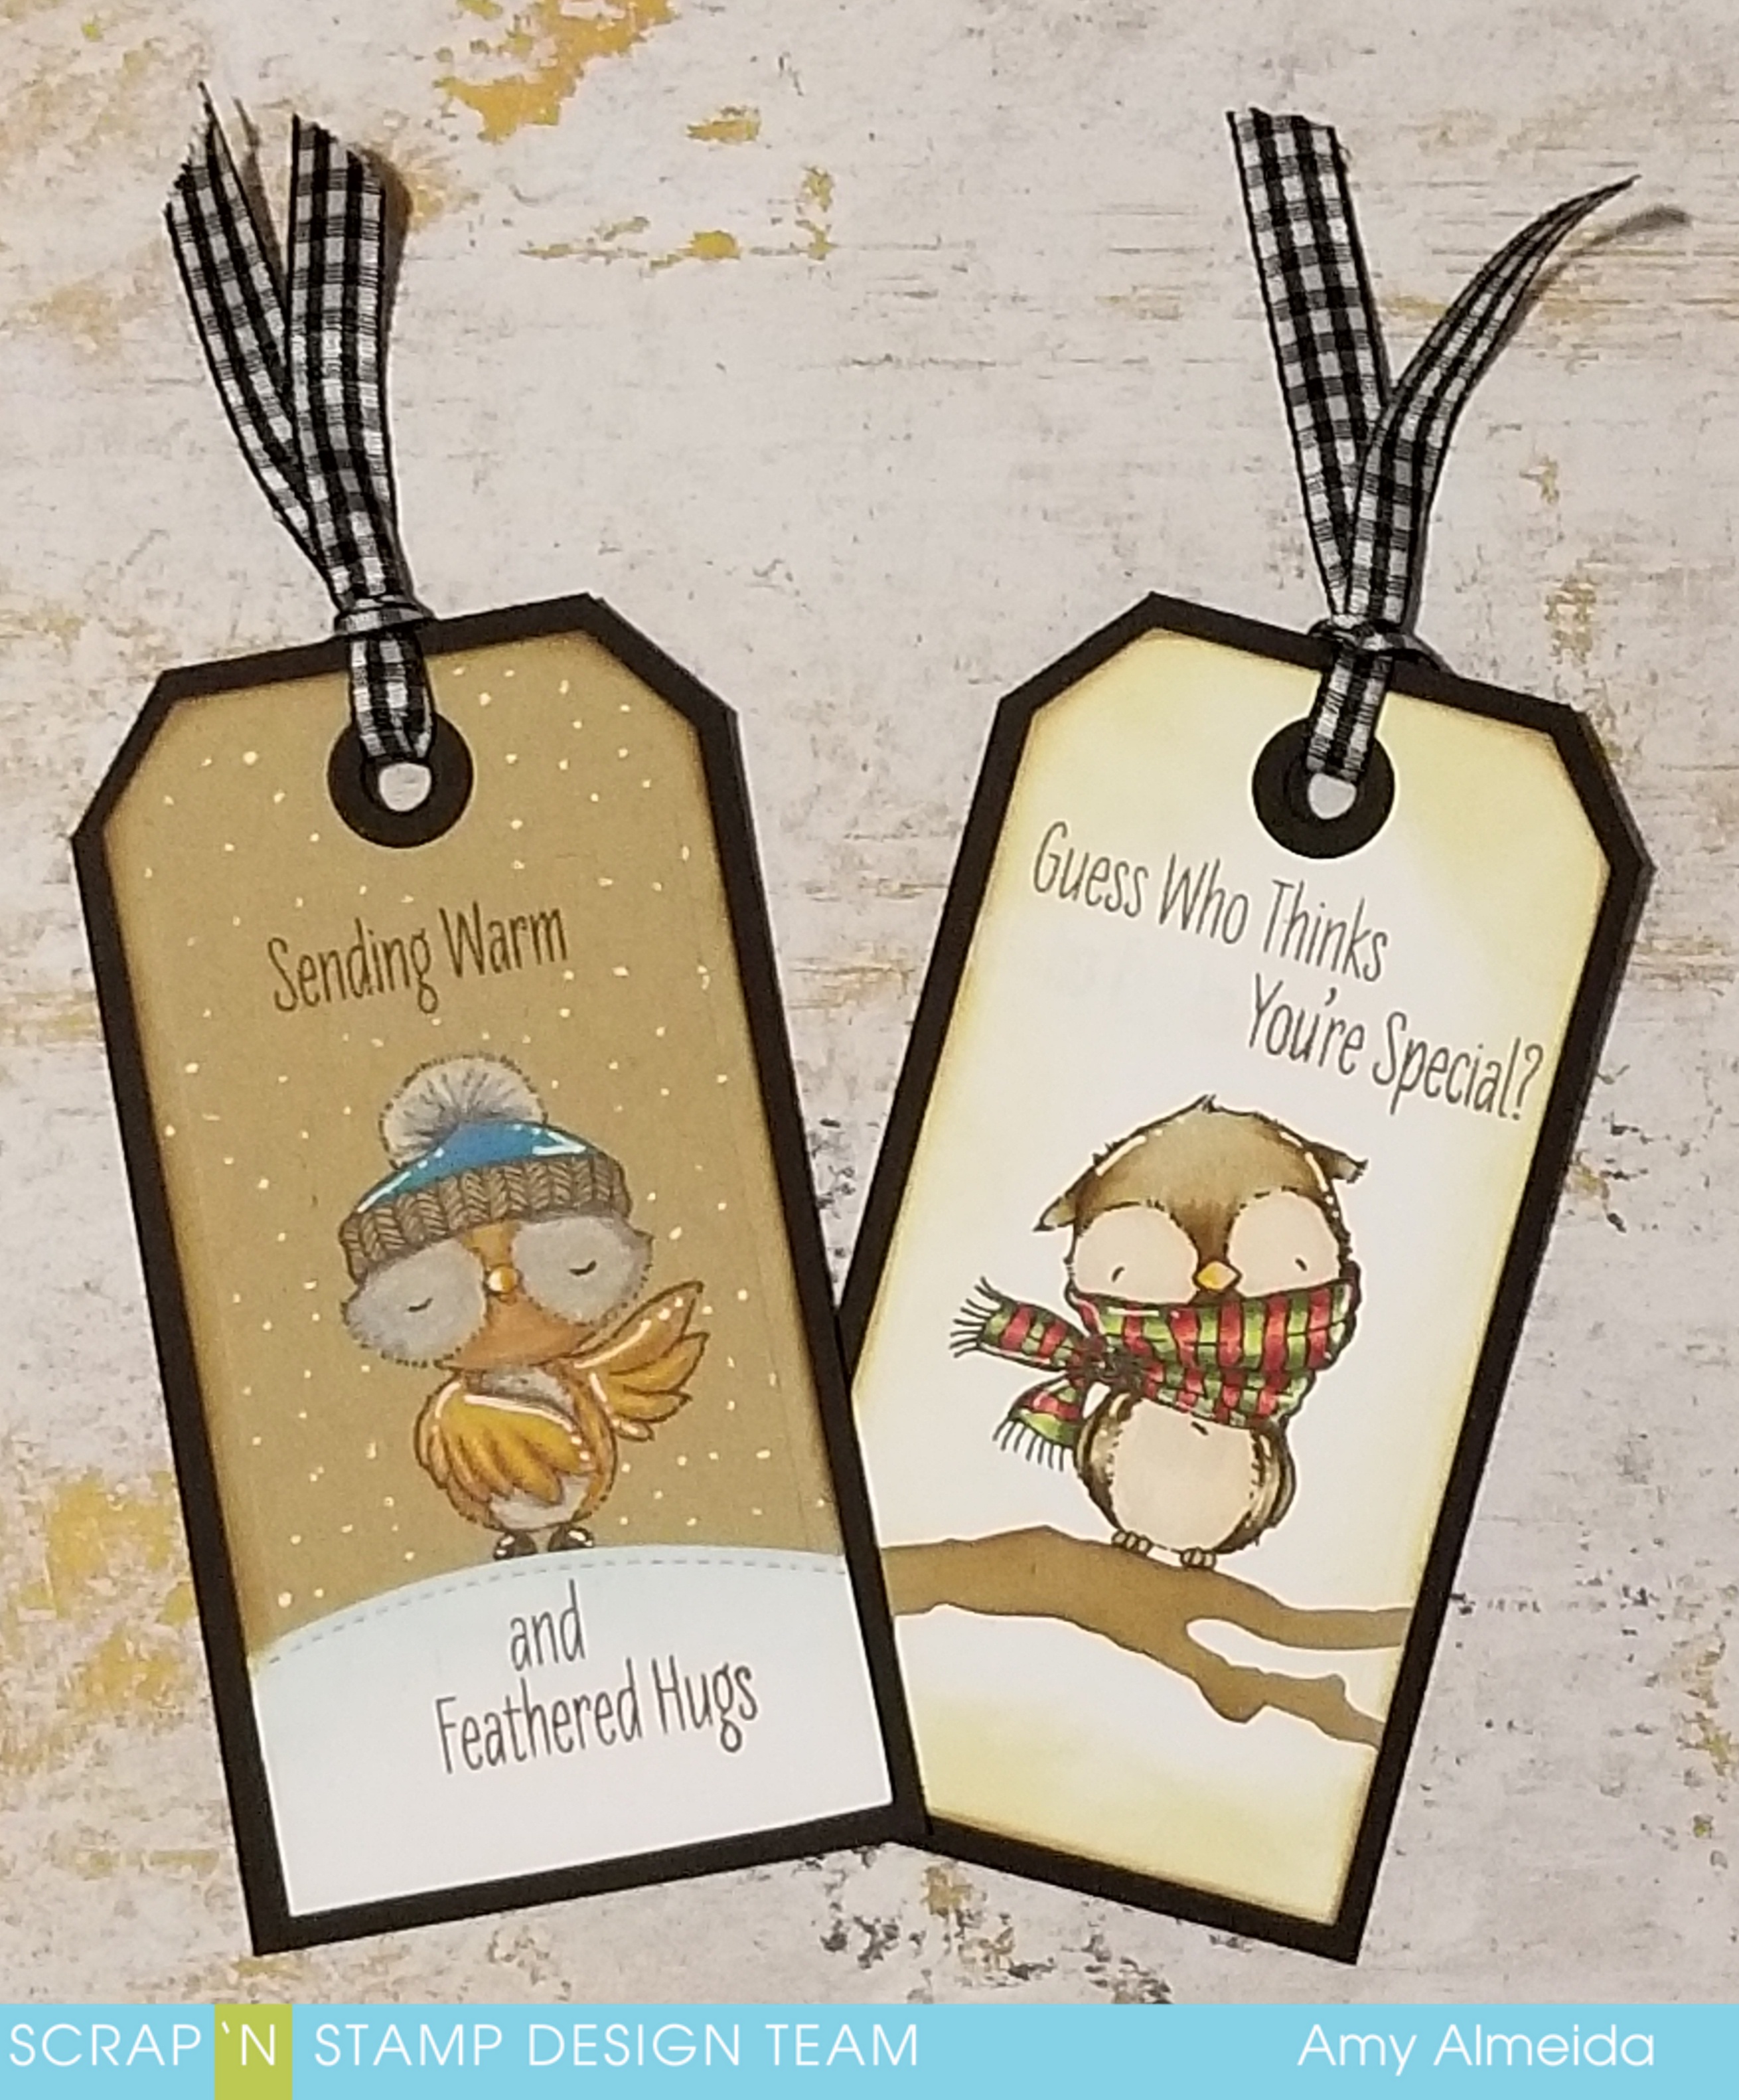
This stamp set has a 3 adorable owls to choose from and so many fun sentiments, so I couldn’t decide which to use, so I used two images from the set and colored them with different mediums onto different cardstocks.I started with the second larges die in the Tim Holtz Stacked Die set cut from Neenah 80lb Cardstock and Bazzil Kraft Cardstock.

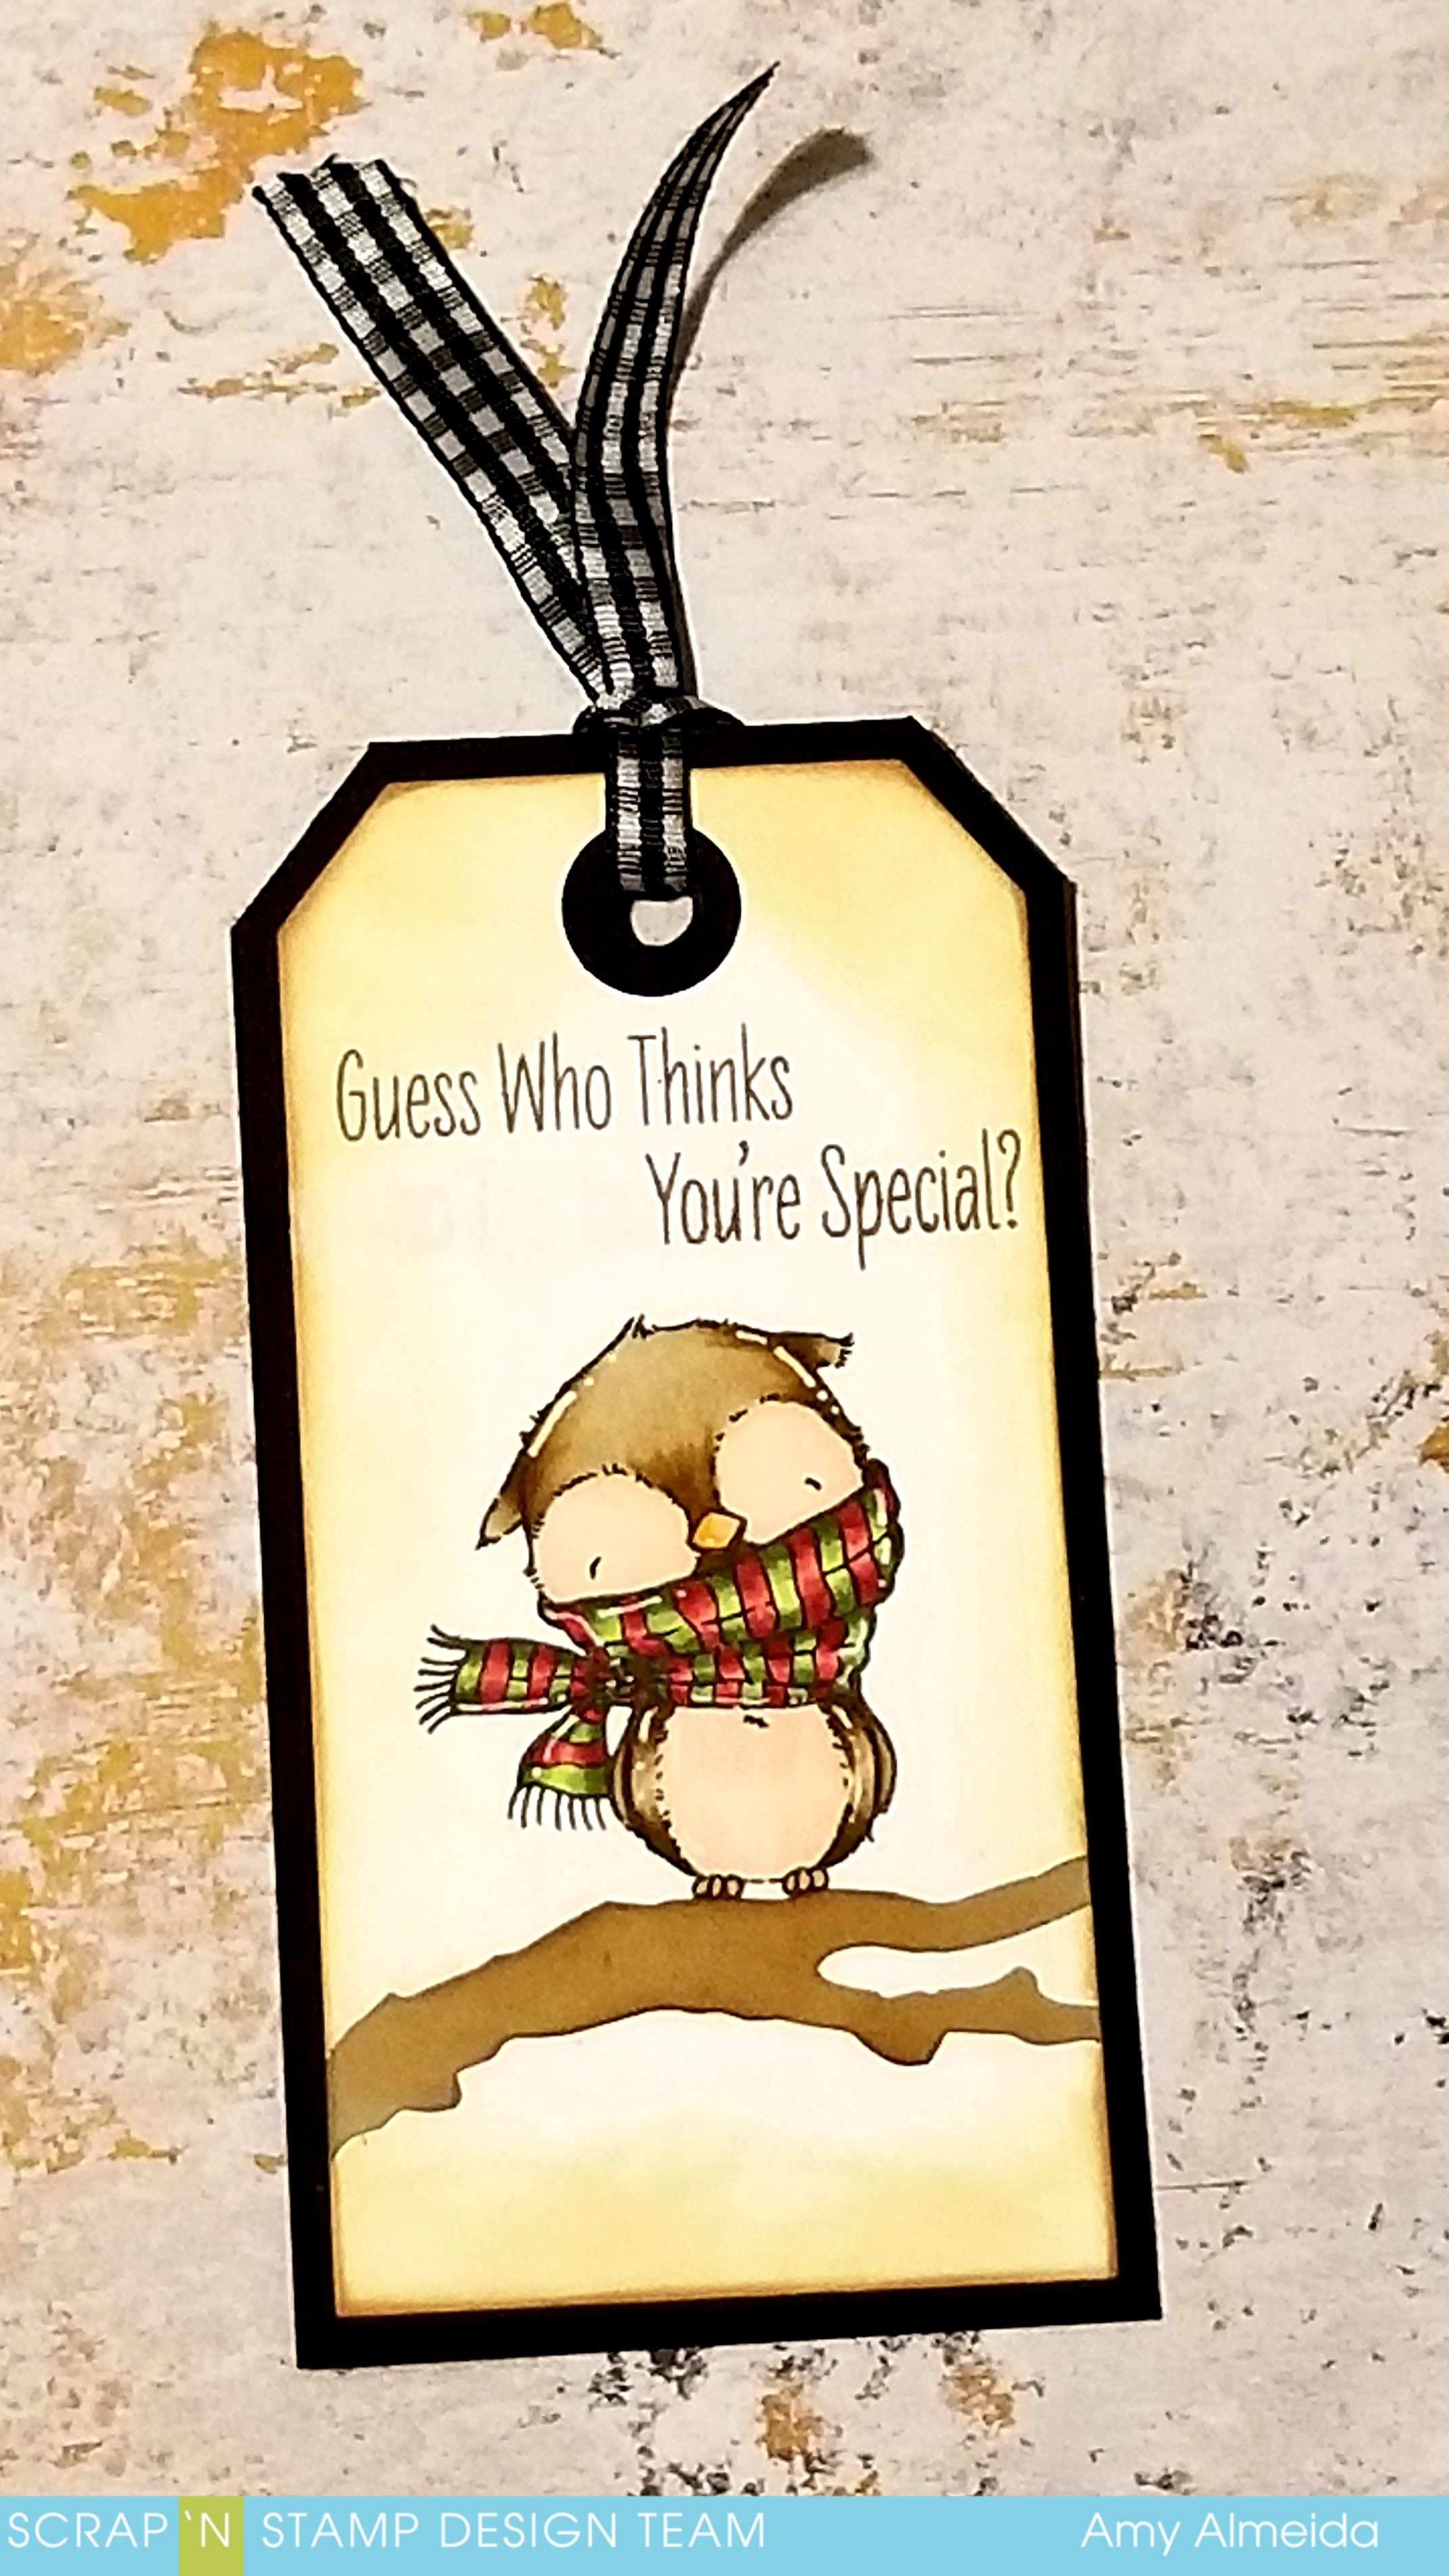
First up, I colored the owl with the adorable scarf and stamped him onto Neenah 80lb cardstock with Versafine Black Onyx ink and heat set it to dry.

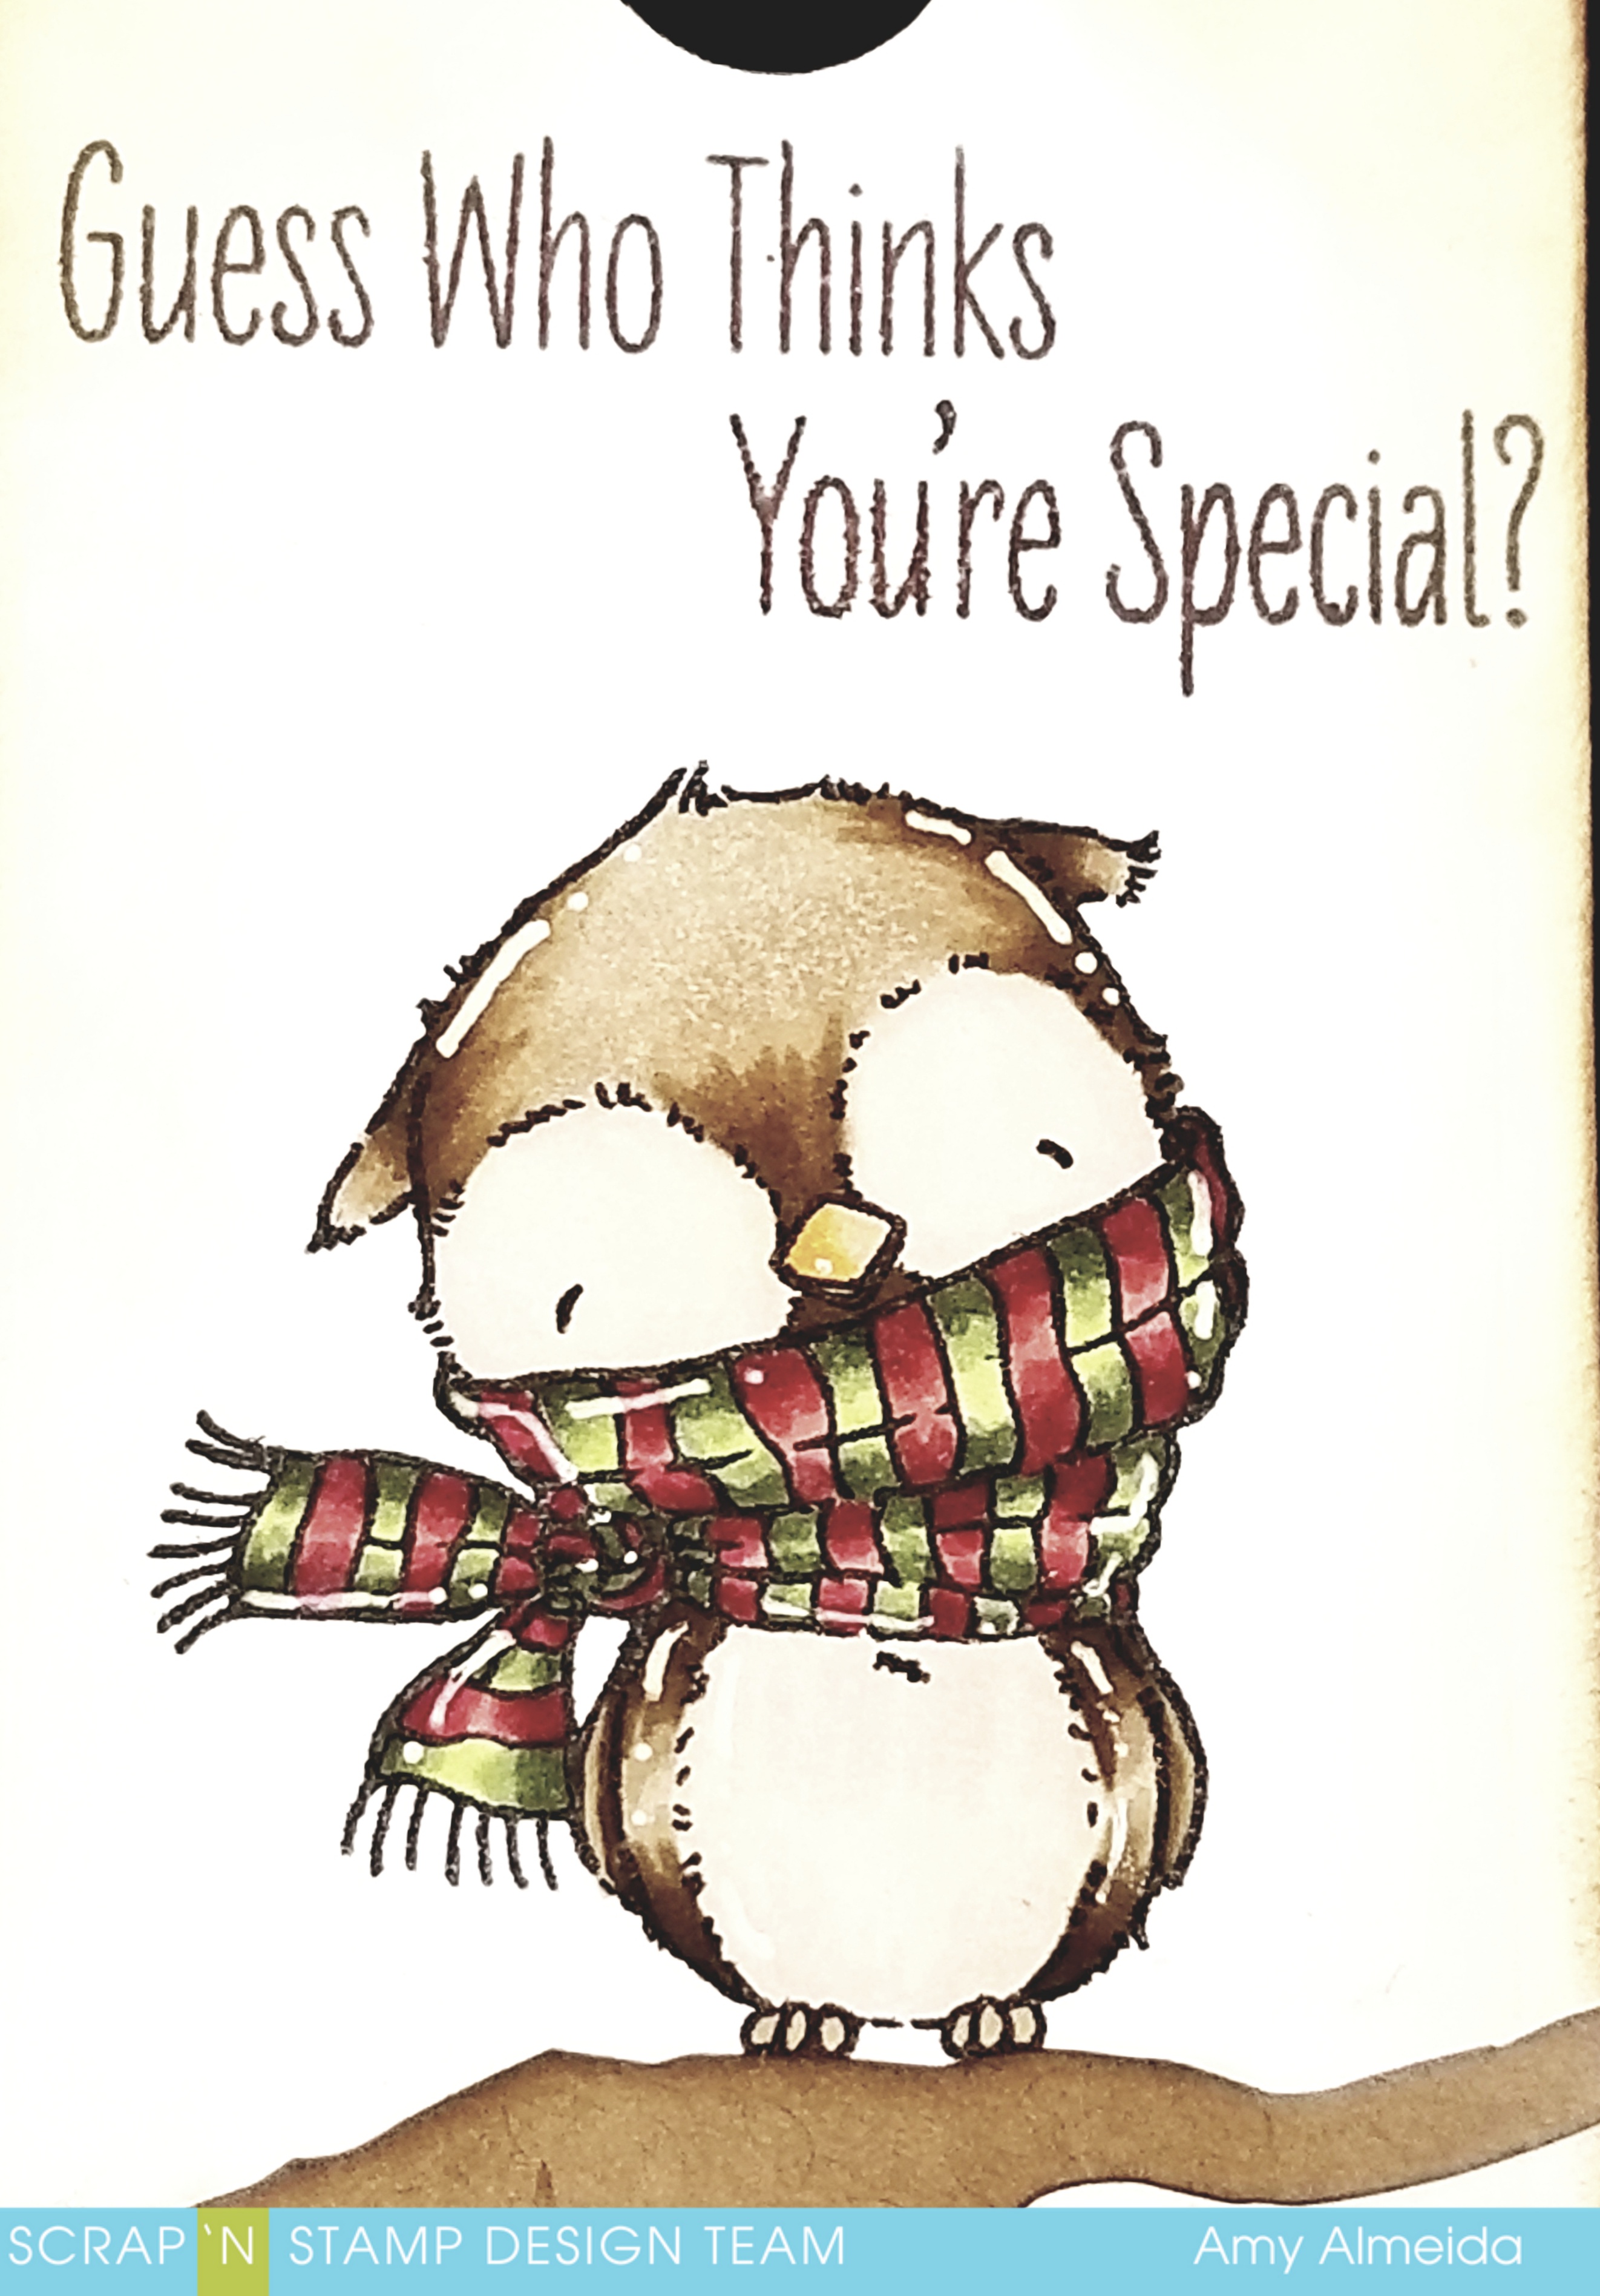
I colored him with Copics and added a Signo White Gel pen for highlights. SO MUCH FUN TO COLOR THESE LIL’ GUYS!!

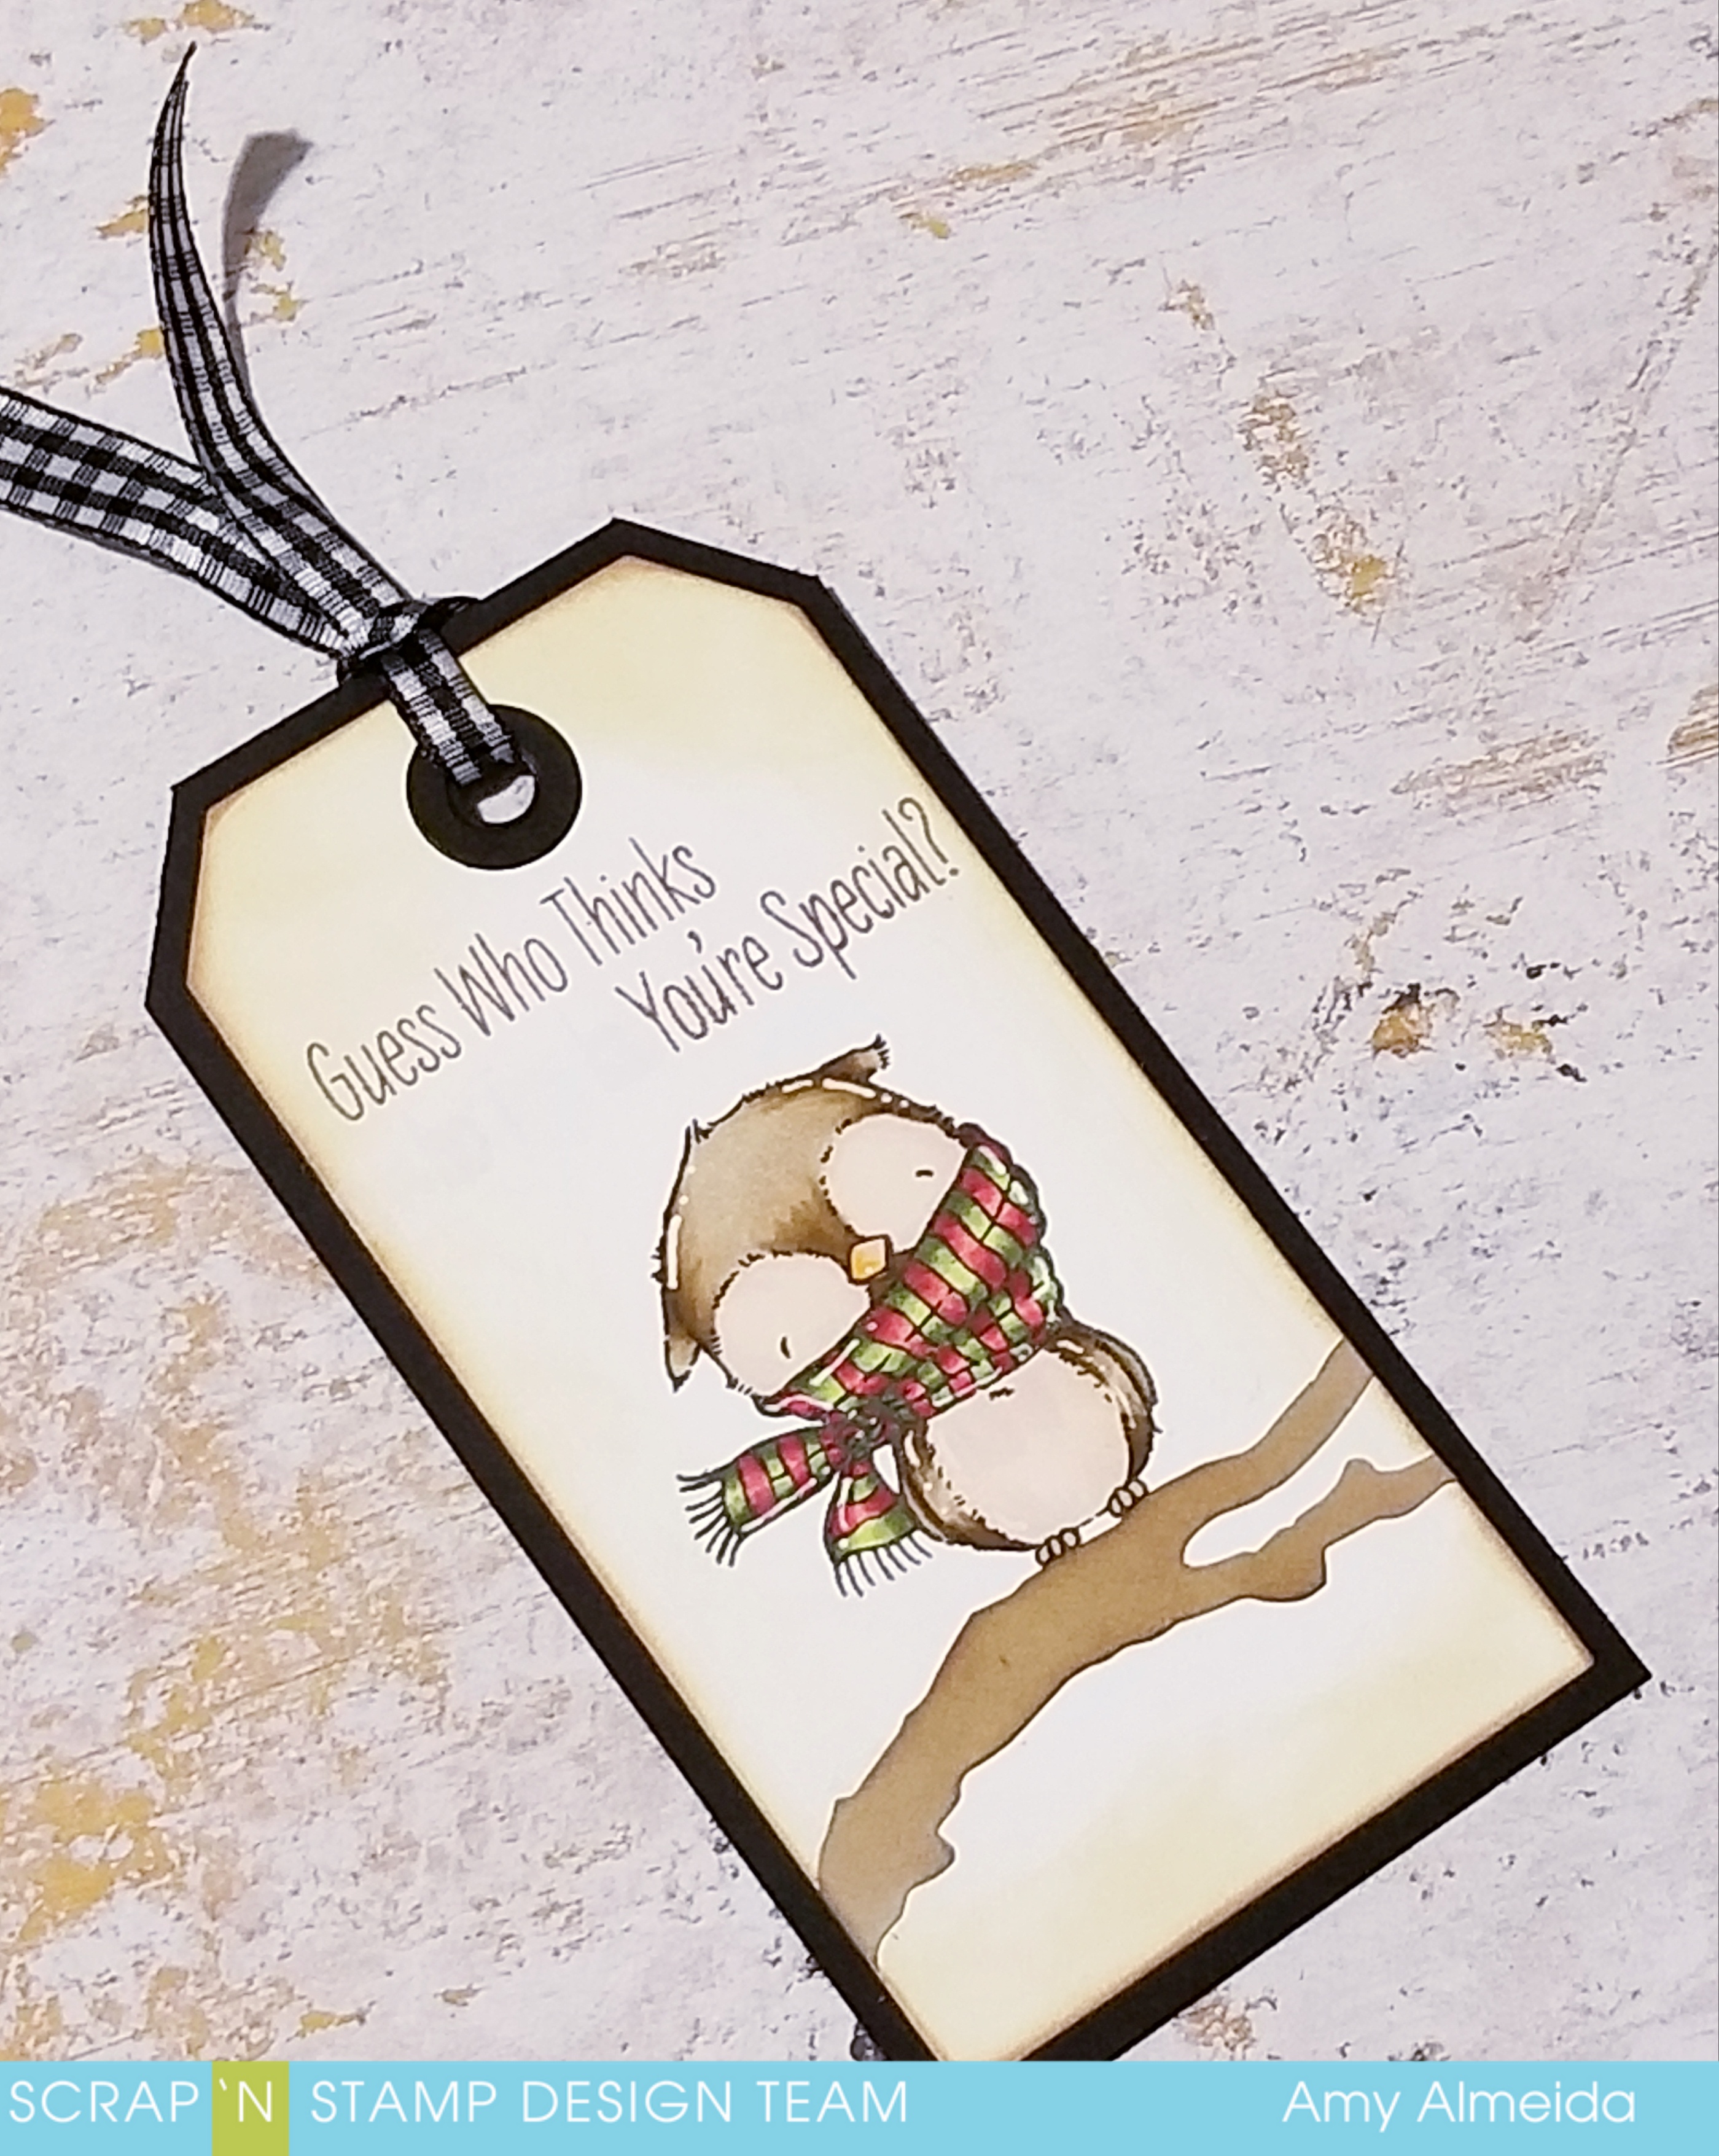
I added a branch for him to be perched on from Tim Holtz- Bird Branch Big Die and inked the edges with Vintage Photo Distress Oxide.  I adhered the branch to the tag and trimmed off the excess as it is a large die. I inked some Antique Linen Distress Ink to warm up the background a bit and stamped a sentiment from the Warm & Feathered Hugs set with Versafine Sepia Ink . I adhered the tag to black cardstock and trimmed around the tag leaving about a 1/8″ border and some gingham ribbon finished off my first tag using Alcohol Markers and white cardstock.

Next up, I stamped a different owl onto Bazzil Kraft Cardstock with Versafine Sepia Ink.

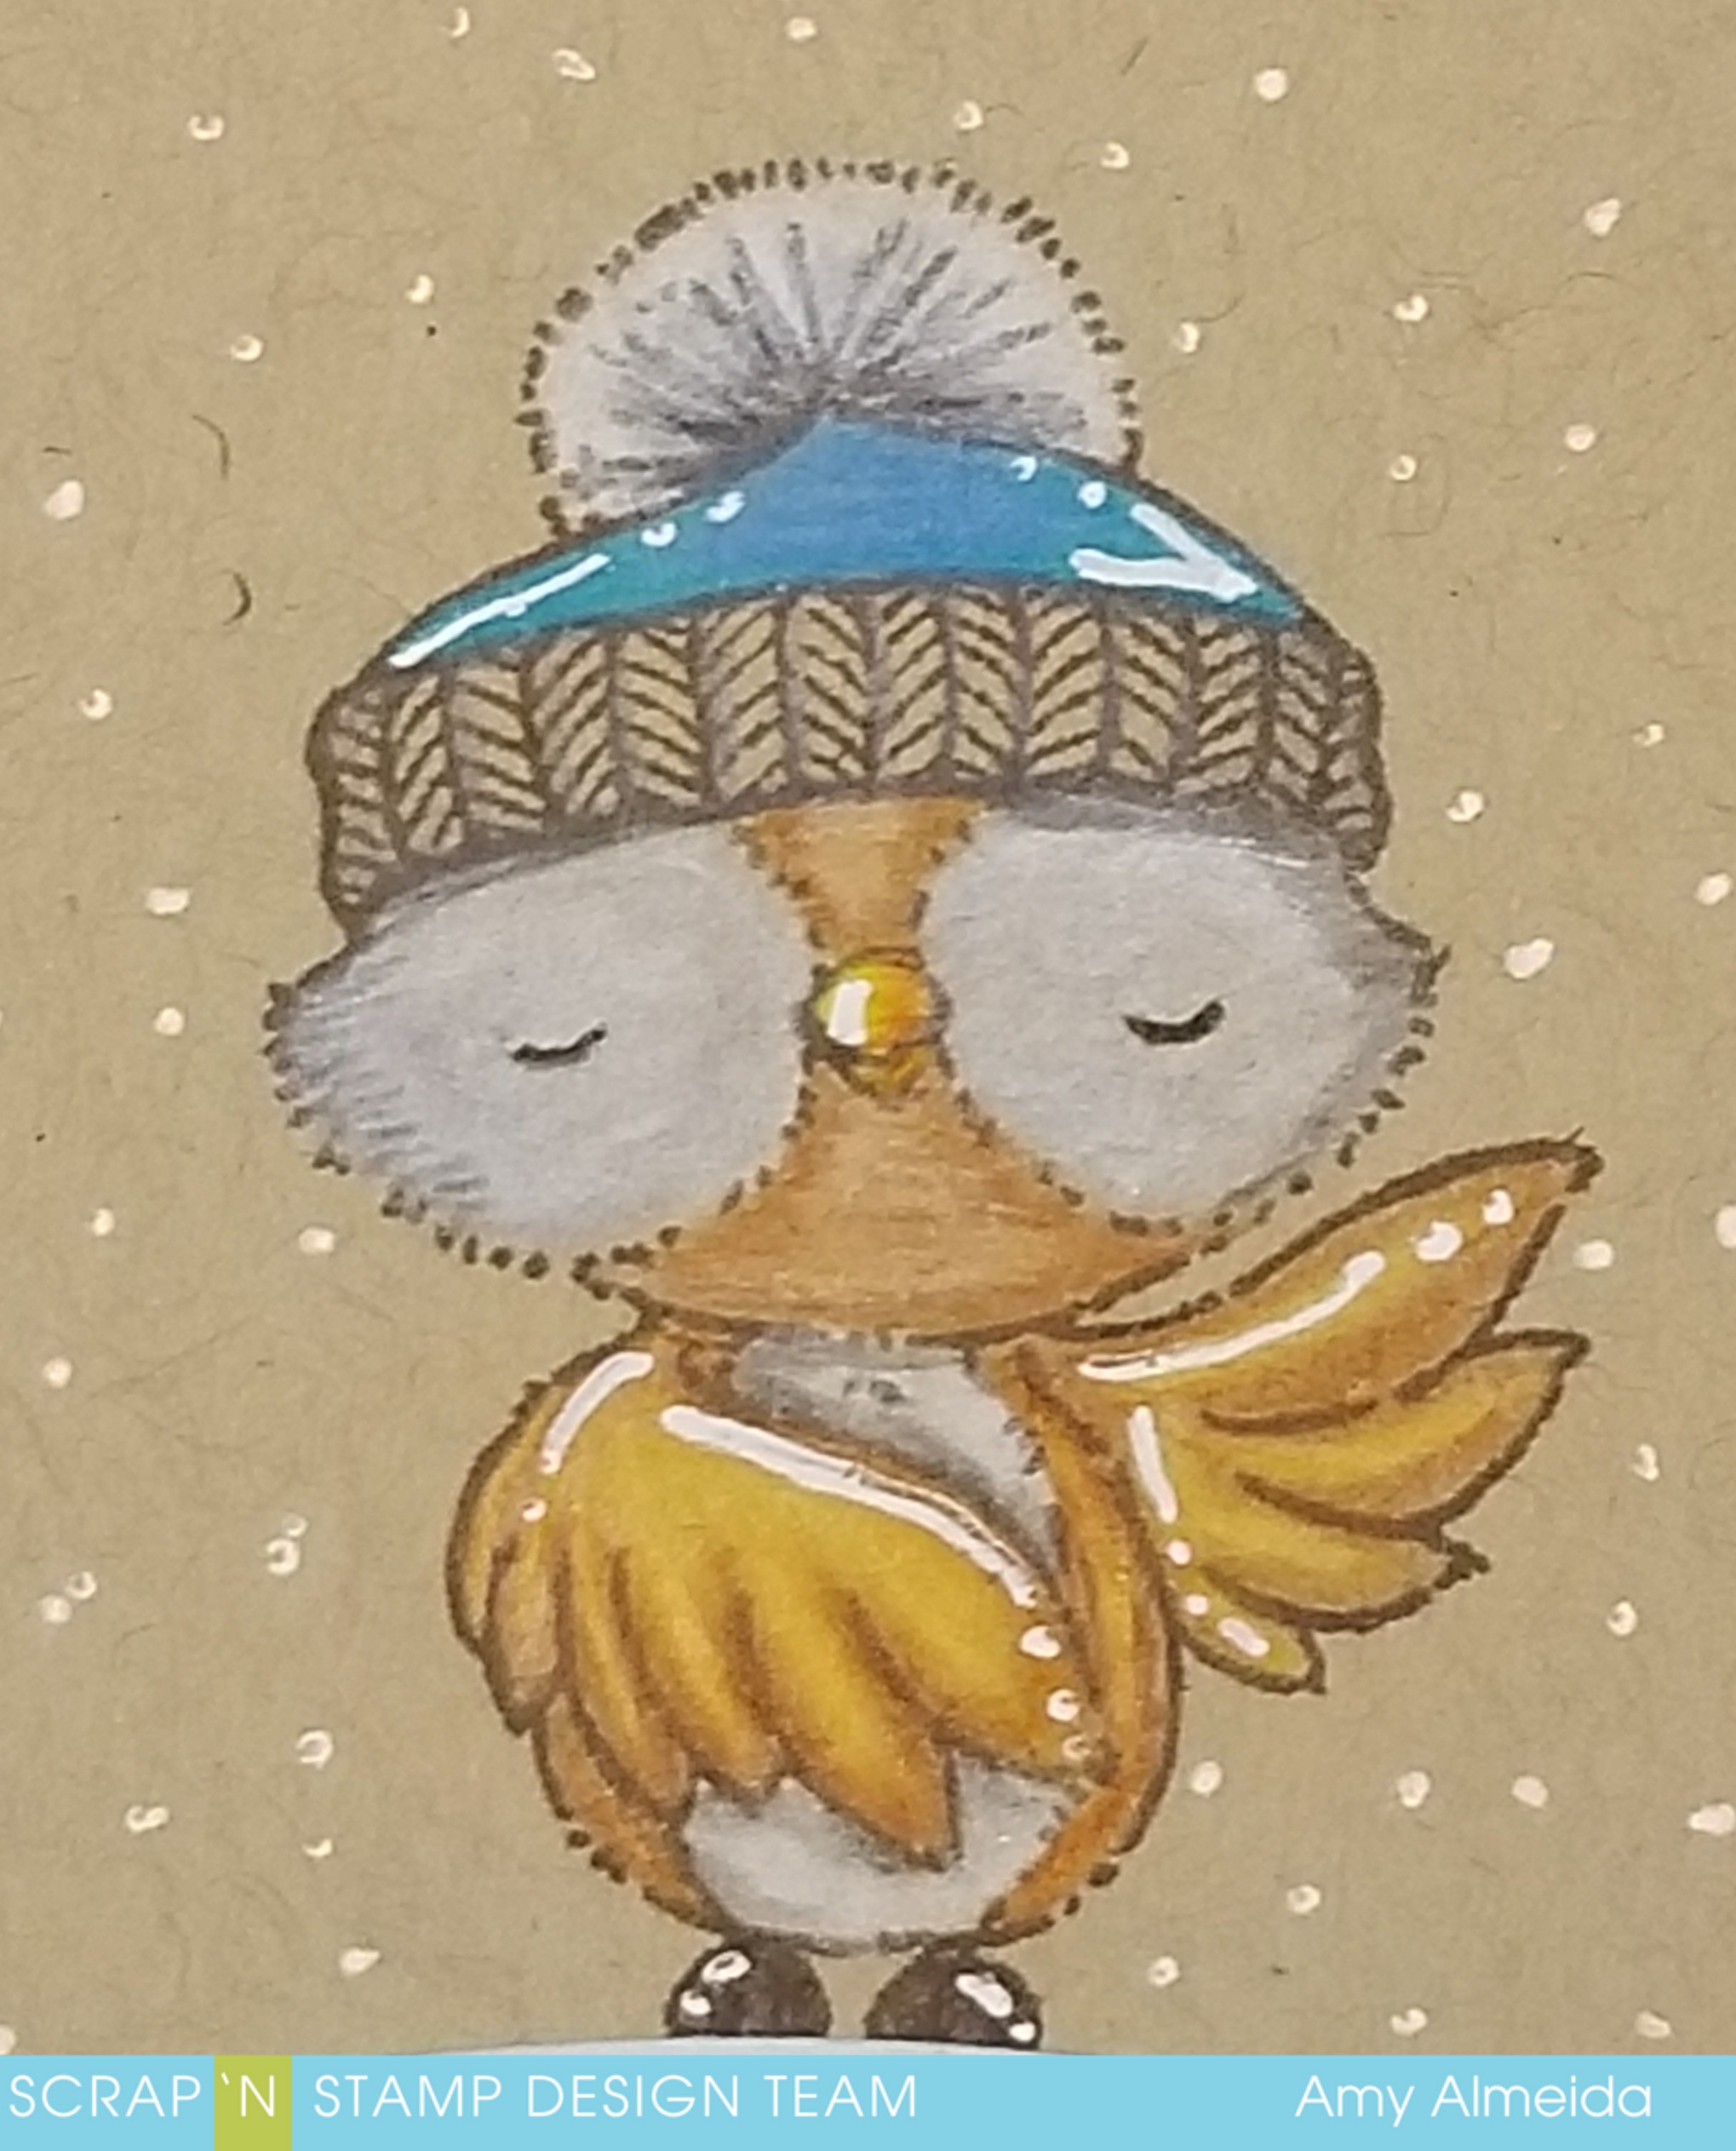
I colored the image using Fabercastell Goldfaber colored crayons- I  love the effect of coloring on Kraft cardstock with  colored pencils, such a sweet and soft look you get by layering the colors. I then added some white Signo Gel pen for highlights and added a Lawn Fawn Stiched Hillside border and edged the hill with some Tumbled Glass Distress Oxide to give the snowhill some definition.

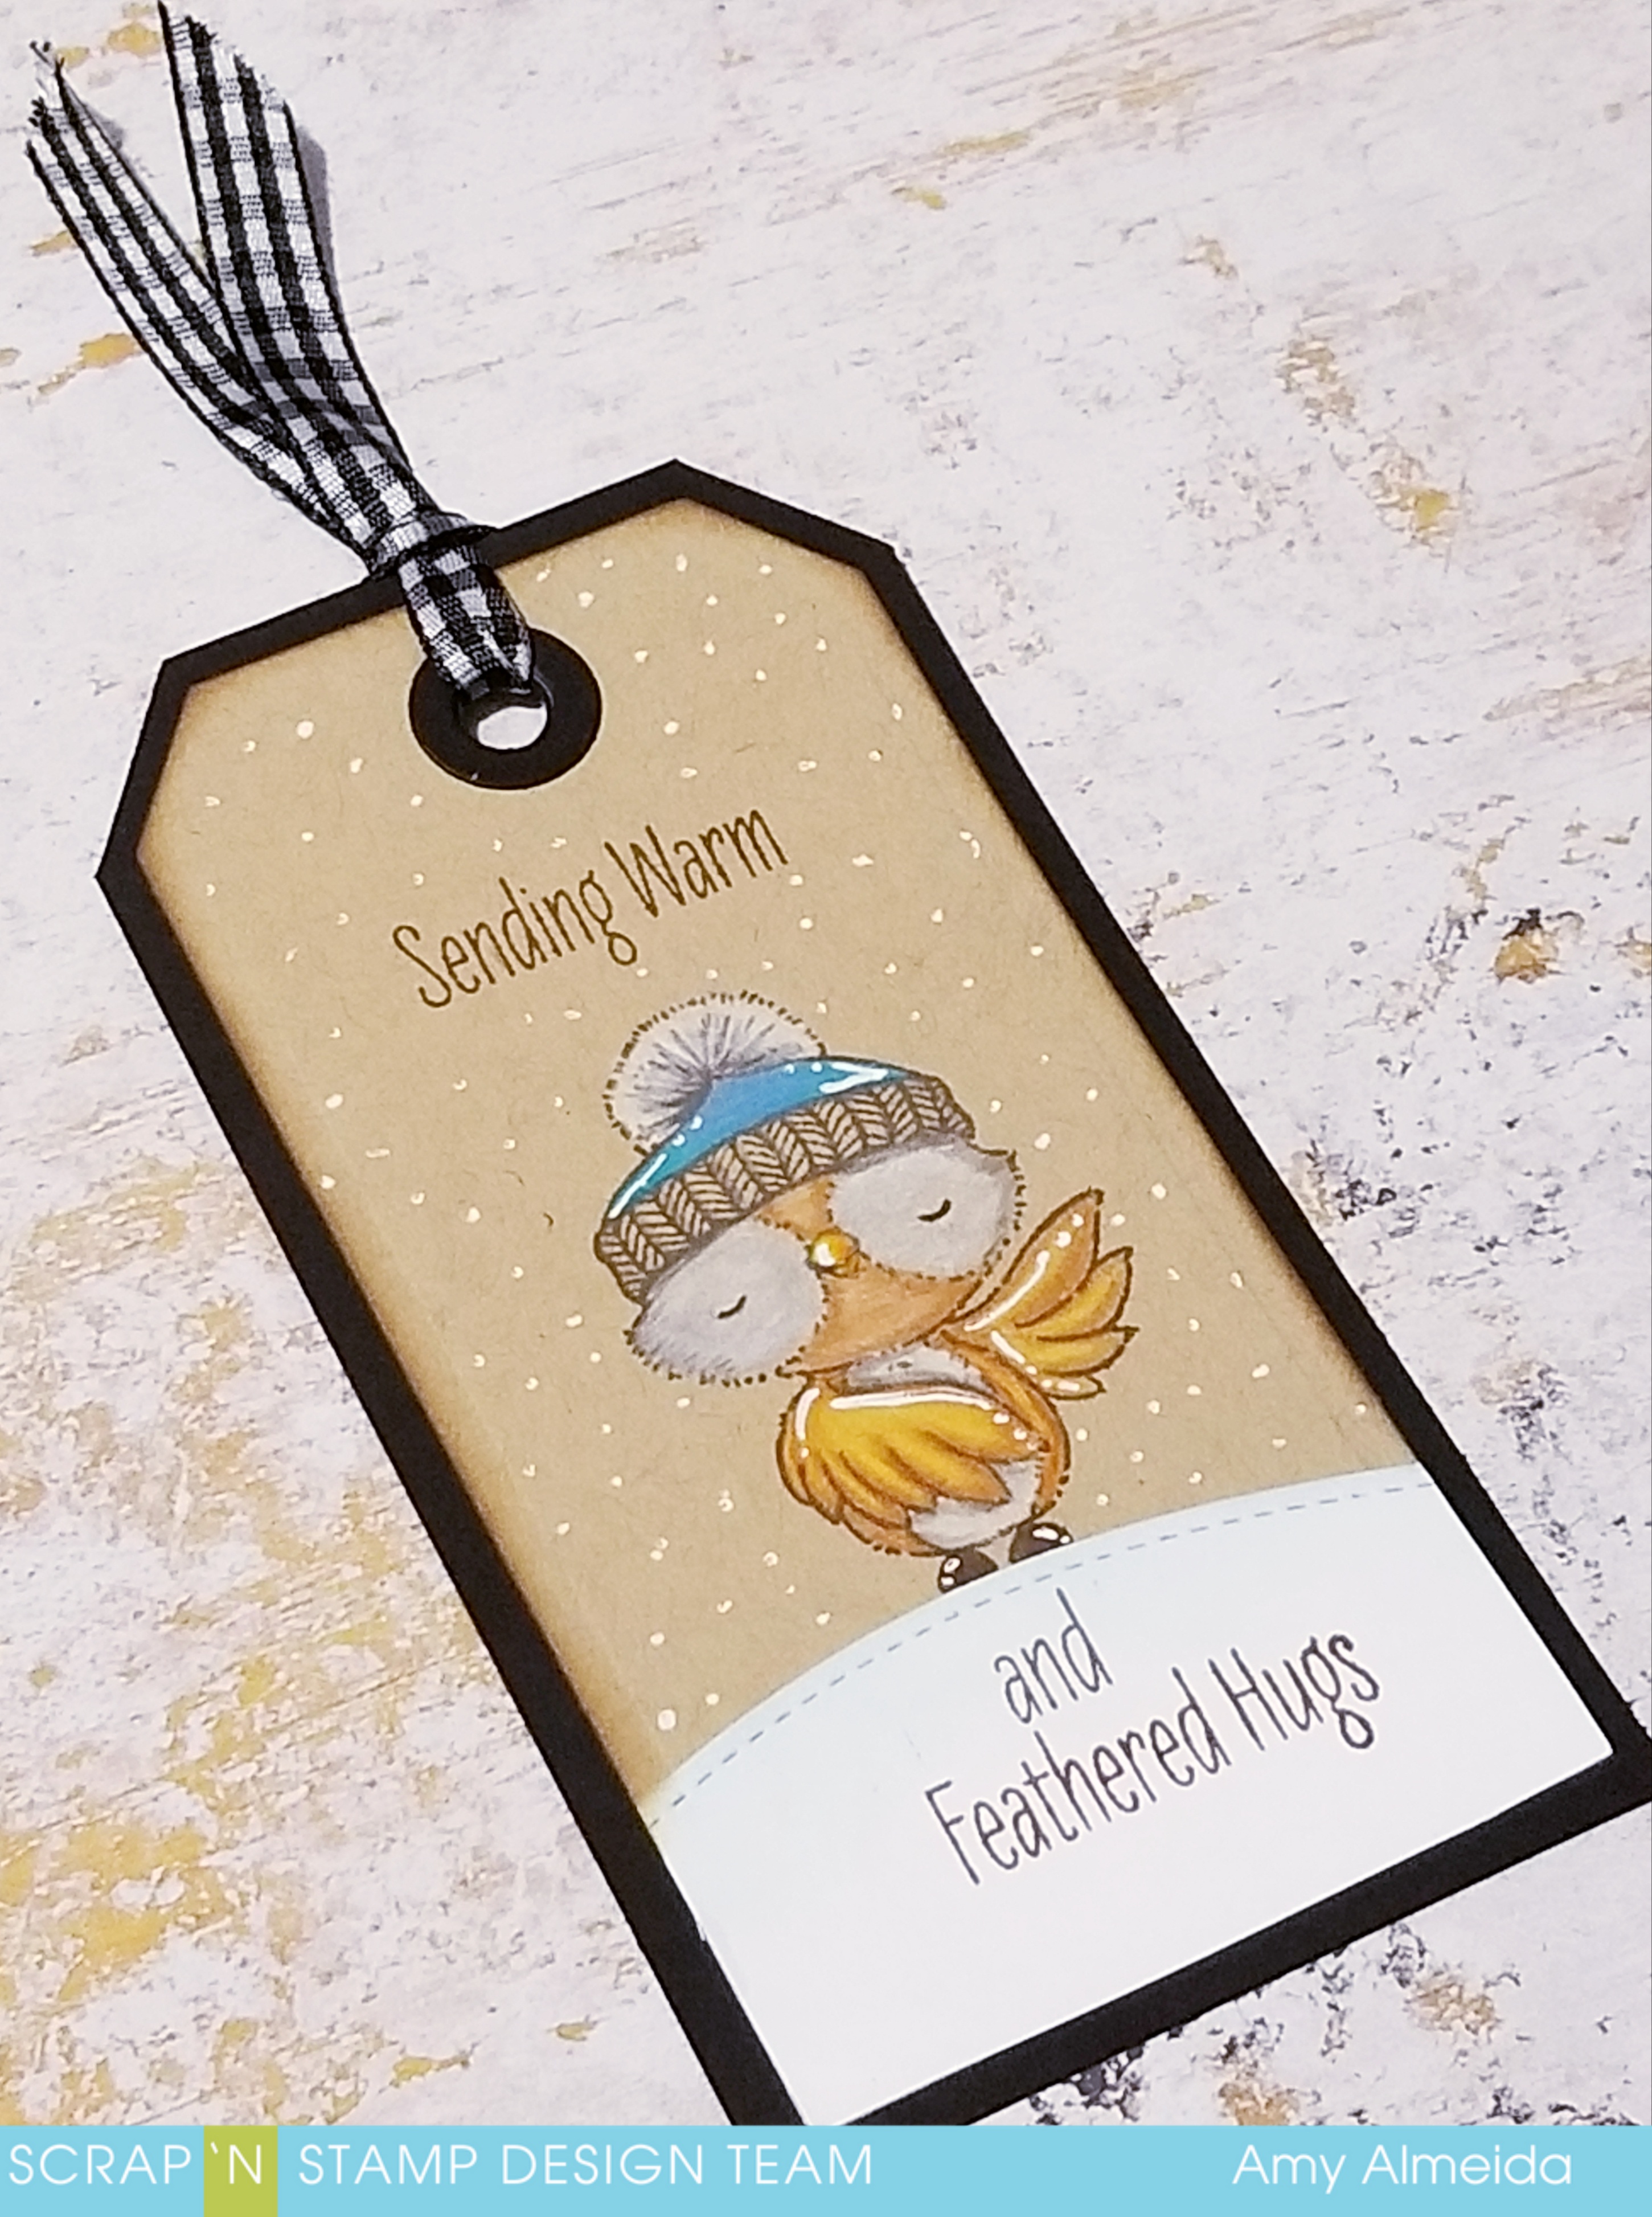
I then added a different sentiment from the Stamp set and added the black cardstock border and ginham ribbon, like I did in the first tag.

There we have it, a couple of quick and easy tags using different coloring mediums and cardstock.

Thanks for stopping by and I can’t wait to see y’all in the New Year!

~Happy Crafting~

Amy

Having a HOOT with coloring mediums! Read More »

Tuesday with Tara {take 178}

Happy Tuesday!

I’ve been holding out for a bit to play with this sweet “Winter Aviary” stamp set by Flora & Fauna and today I’m finally sharing my first creation with you using it.  I was admiring the variety of greens and noticed the curve of one of the branches would work perfectly to create a wreath, so I traced a circle onto my card front and inked up the branch with Iced Spruce Distress Oxide and I was delighted when it was a perfect fit!  Since the first step went so well, I decided to continue on… I added some berries and holly leaves, stamped in shades of red (Candied Apple) & green (Lucky Clover).

I decided I wanted a bit more dimension, so I stamped the holly leaves onto a light green cardstock (the same as my card base would be) in the same Lucky Clover Ink.  After I cut them out, I added a bit of shading using my ink applicator tool with blending foams.   I added a bit of red Stickles to the berries and some lime Nuvo Crystal Drops on a few of the leaves, also adding some to the NOEL I stamped in the center of my wreath.  The subtle color really made my Oxide Ink pop!  I finished off my wreath adding a red bow and a small stamped bird from the set.

It’s a simple card, but it was fun to see what I could do with the variety of designs in this stamp set!  It definitely opened my eyes to look at the other Flora & Fauna sets and see what I could do with them… but first I’ve got a bit more creating to do with this one 🙂

Inky hugs,

Tara

Tuesday with Tara {take 178} Read More »

Birthday Card featuring Concord & 9th!!

Hello crafty friends and welcome back!!  Laurie with you today to share a birthday card!!  I really needed a break from Christmas card making and also wanted to showcase some  Concord & 9th goodies that are new to the shop!!

I used the Happy Day Stamp Set along with its c0-0rdinating dies to make this card. This isn’t a new set from C&9 but it is definitely worth a look if you don’t own it or a revisit if it happens to be in your stash!

I used my alcohol markers in shades of coral, green, tan and turquoise. I tried to go for a subtle look but sometimes have a hard time achieving that with my markers! The cake plate was actually paper pieced on a teal coloured paper.  I added a bit of shading to the edges with my markers and polka dots with my white gel pen.

Once I started with the white details, I couldn’t stop and added them everywhere!  The flowers also got a good coating of Clear Wink of Stella!!  The co-ordinating dies have the words “happy day” which I cut from the same patterned paper as the plate.  I cut the letters as well as the cake die from craft foam and adhered everything onto a white panel that was embossed with a folder from Taylored Expressions (unfortunately, this folder is not available :()

The panel was adhered to a white, top fold card base and I added a few clear sequins from my stash! This card was a little labour intensive, especially with the colouring but I really like how it turned out!

I hope you enjoyed today’s card and I hope you will take a look around the shop at the new release section as it’s full of amazing goodies!

Thank you so much for dropping in today!! Have a great day and I’ll see you soon!

Laurie

Birthday Card featuring Concord & 9th!! Read More »

Free Shipping Anywhere In Canada