Scratch-N-Stamp
Search

Checkout

Keep up with Sales, New Products and other events at Scrap `n Stamp. Sign up for our newsletter now!

What's New

Hot Deals


Colouring

Spotlight Technique

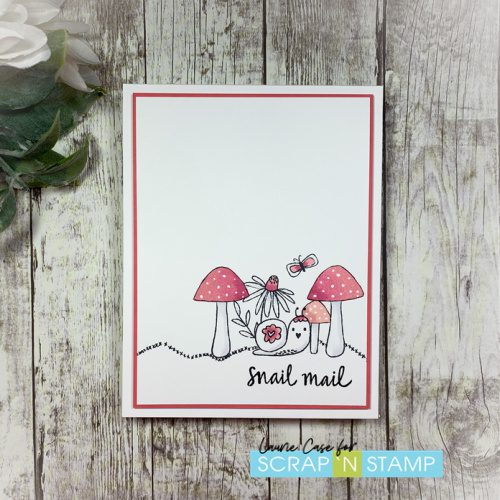
Good morning!! Laurie with you on this Sunday morning to share a card featuring the spotlight technique. There are many variations to this technique but it basically involves highlighting a particular image with die cutting, stamping or colouring.

For my card, I focused on highlighting one specific colour.

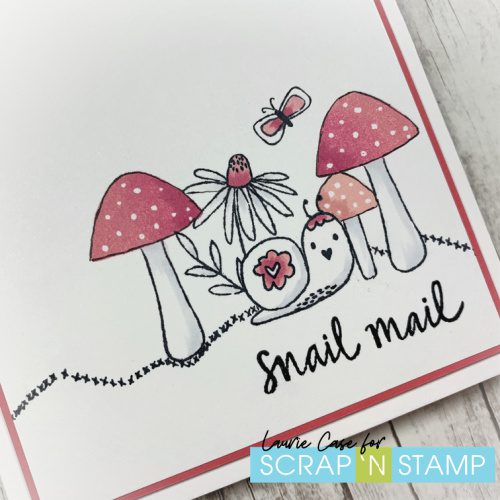
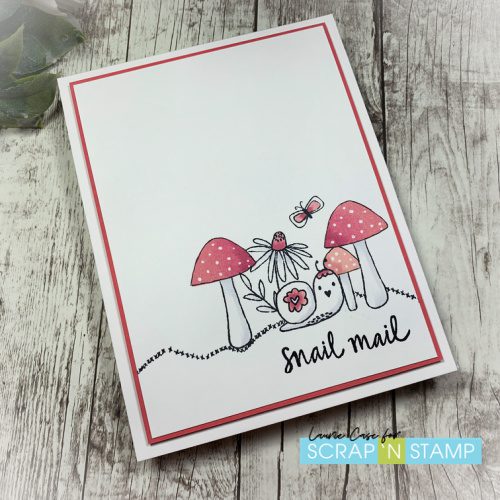
I used the Slow Down Snail Stamp Set from Flora & Fauna and focused on the colour pink. You can see I did some very simple masking to create this little scene. I absolutely love Flora & Fauna!!

I focused on the colour pink and used no other other colours. It’s a very clean and simple card design. To finish up, I trimmed down the panel, matted it onto a pink piece of cardstock and adhered it to a white cardbase.

Like I said, this technique has many variations. Some more complicated than others! Check out Pinterest for tons of examples!

Sadly, this is my last post for Scrap N Stamp Canada. I want to thank Raya for having me for the past couple of years and to the awesome ladies on the design team! And thank YOU for stopping by!!

Laurie

Spotlight Technique Read More »

MFT Floral Blooms

Hello Crafty friends, Nancy F here today to share on the Scrap’n Stamp blog. I decided to do something a little different, yet still playing along with the monthly challenge. I am doing an all mixed media style card, from used books pages to gel pressing. So grab your favorite beverage and sit back and enjoy it.

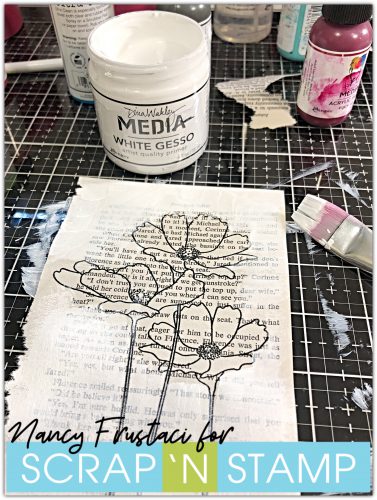
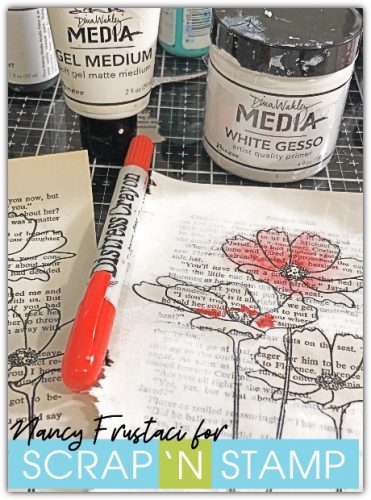
mixed media pages, stamped the floral  blooms on to pages of an old book and heat set it with some embossing powder. I then added gesso around the flowers

I started by stamping out these beautiful Flowers in bloom set from My Favorite things on to the pages of the book using my stamping tool and Versa Clair nocturn ink .  Then I heat set with clear embossing powder to help the image stand out from the writing, then repeated this process four times. 

I also had too many ideas flowing through my head by this point, from art journaling layouts to more cards. So stay tuned for more projects.

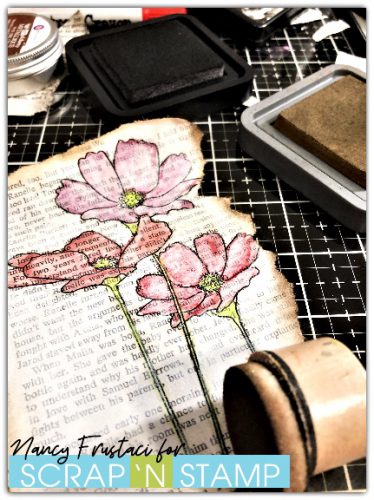
adding colour to the flowers with distress crayons and Dina Wakley paints


Now that all the stamping and embossing was completed it was time for the fun messy part, getting in with the paints and gesso. This is always my favorite part. 

To bring the focus more to the flowers I decided to add Dina Wakley media white gesso to the book pages, carefully going around the flowers. This really helped to mute the print down some and allow the flowers to pop. I decided to actually add some gel medium to the petals of the flowers, I felt this would seal the paper and allow me to wipe any mistakes away easily.

finishing off the edges of the book page with some ground espresso, and black soot

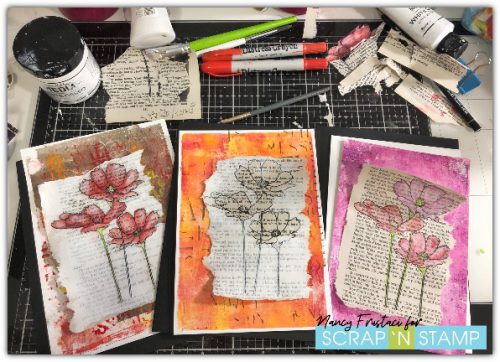
 I created three styles of cards with three versions of the painting. 

For the above, I would add my paint in and then wipe it away allowing it to stain the paper and give it a night tinted look. Once I was happy with how it looked I decided to distress the edges of the paper, using distress oxides and regular inks.

adding the flowers too some previously created gel pressed backgrounds

The cards themselves were larger than normal, cards measured 5 ½ X 7 ¾. I used some of my previously created gel backgrounds and really did not want to trim much off of them, thus keeping as much of the detail as possible. I chose the background to match or enhance the flowers.

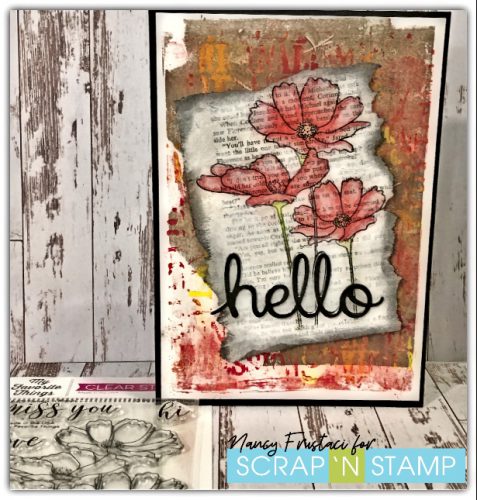
A close up of one of the finished cards,

  Each gel pressed backgrounds were added to the card flat using a liquid adhesive. For a little dimension popped up the painted flowers using some foam tape. To complete the card I used a simple hello die and layered a few of them together to create dimension also adding a mirror layer to the mix.

I hope you were able to get some inspiration from the above and welcome your comments. Please also make sure to use the links below for your crafting needs. 

Have a Great Week! 


MFT Floral Blooms Read More »

Miss You Card ft. Lawn Fawn!

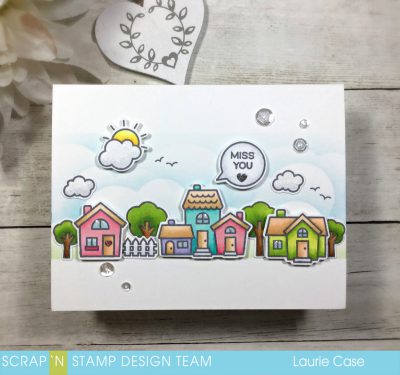
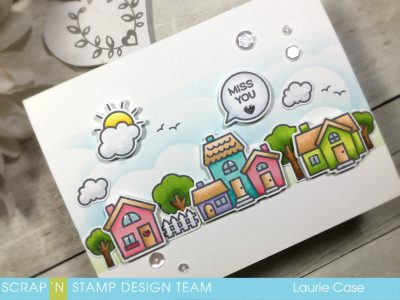
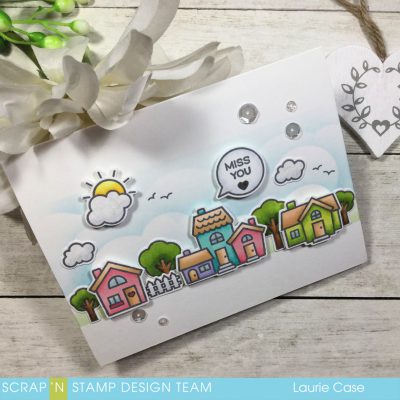
Hello, crafty friends and welcome back!! Laurie here with you today to share a clean and simple “miss you” card that uses the Happy Village Stamp Set and co-ordinating dies from Lawn Fawn!  I’ve had this set for awhile and have never used it!  It is super cute and a lot of fun to colour!!

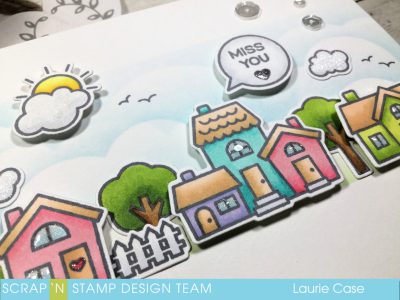
I stamped in Memento Gray Flannel ink.  I like to use this ink when I don’t want a super dark outline. I used only two shades of each marker to colour the images. I tried to keep things lighter in shade.  After everything was die cut, I started on my card base.

I masked off the top and bottom of the card base with painters tape.  I used the Cloud Stencil from My Favourite Things and Broken China Distress Ink to create a light sky.  It’s hard to tell but I added some Mowed Lawn Distress Ink to the bottom to give the illusion of ground.

I used a combination of foam adhesive and liquid glue to adhere all the images.  The sentiment in the speech bubble is from the Plane and Simple stamp set (also from Lawn Fawn) and works perfectly here!!

To finish off, I added some glitter pen to the clouds, glitter pen to the windows as well as a layer of Nuvo Crystal Glaze and a few clear sequins!!

That’s all for me today! Thank you so much for stopping by!

See you soon!

Laurie


Miss You Card ft. Lawn Fawn! Read More »

Free Shipping Anywhere In Canada