Cool Yule Masculine Card
I don’t know about you, but I always seem to struggle with making masculine cards.
So with a few males on my christmas list this year, I played around with the Tim Holtz COOL YULE dies. Here’s one of the masculine Christmas themed cards I came up with. :o)
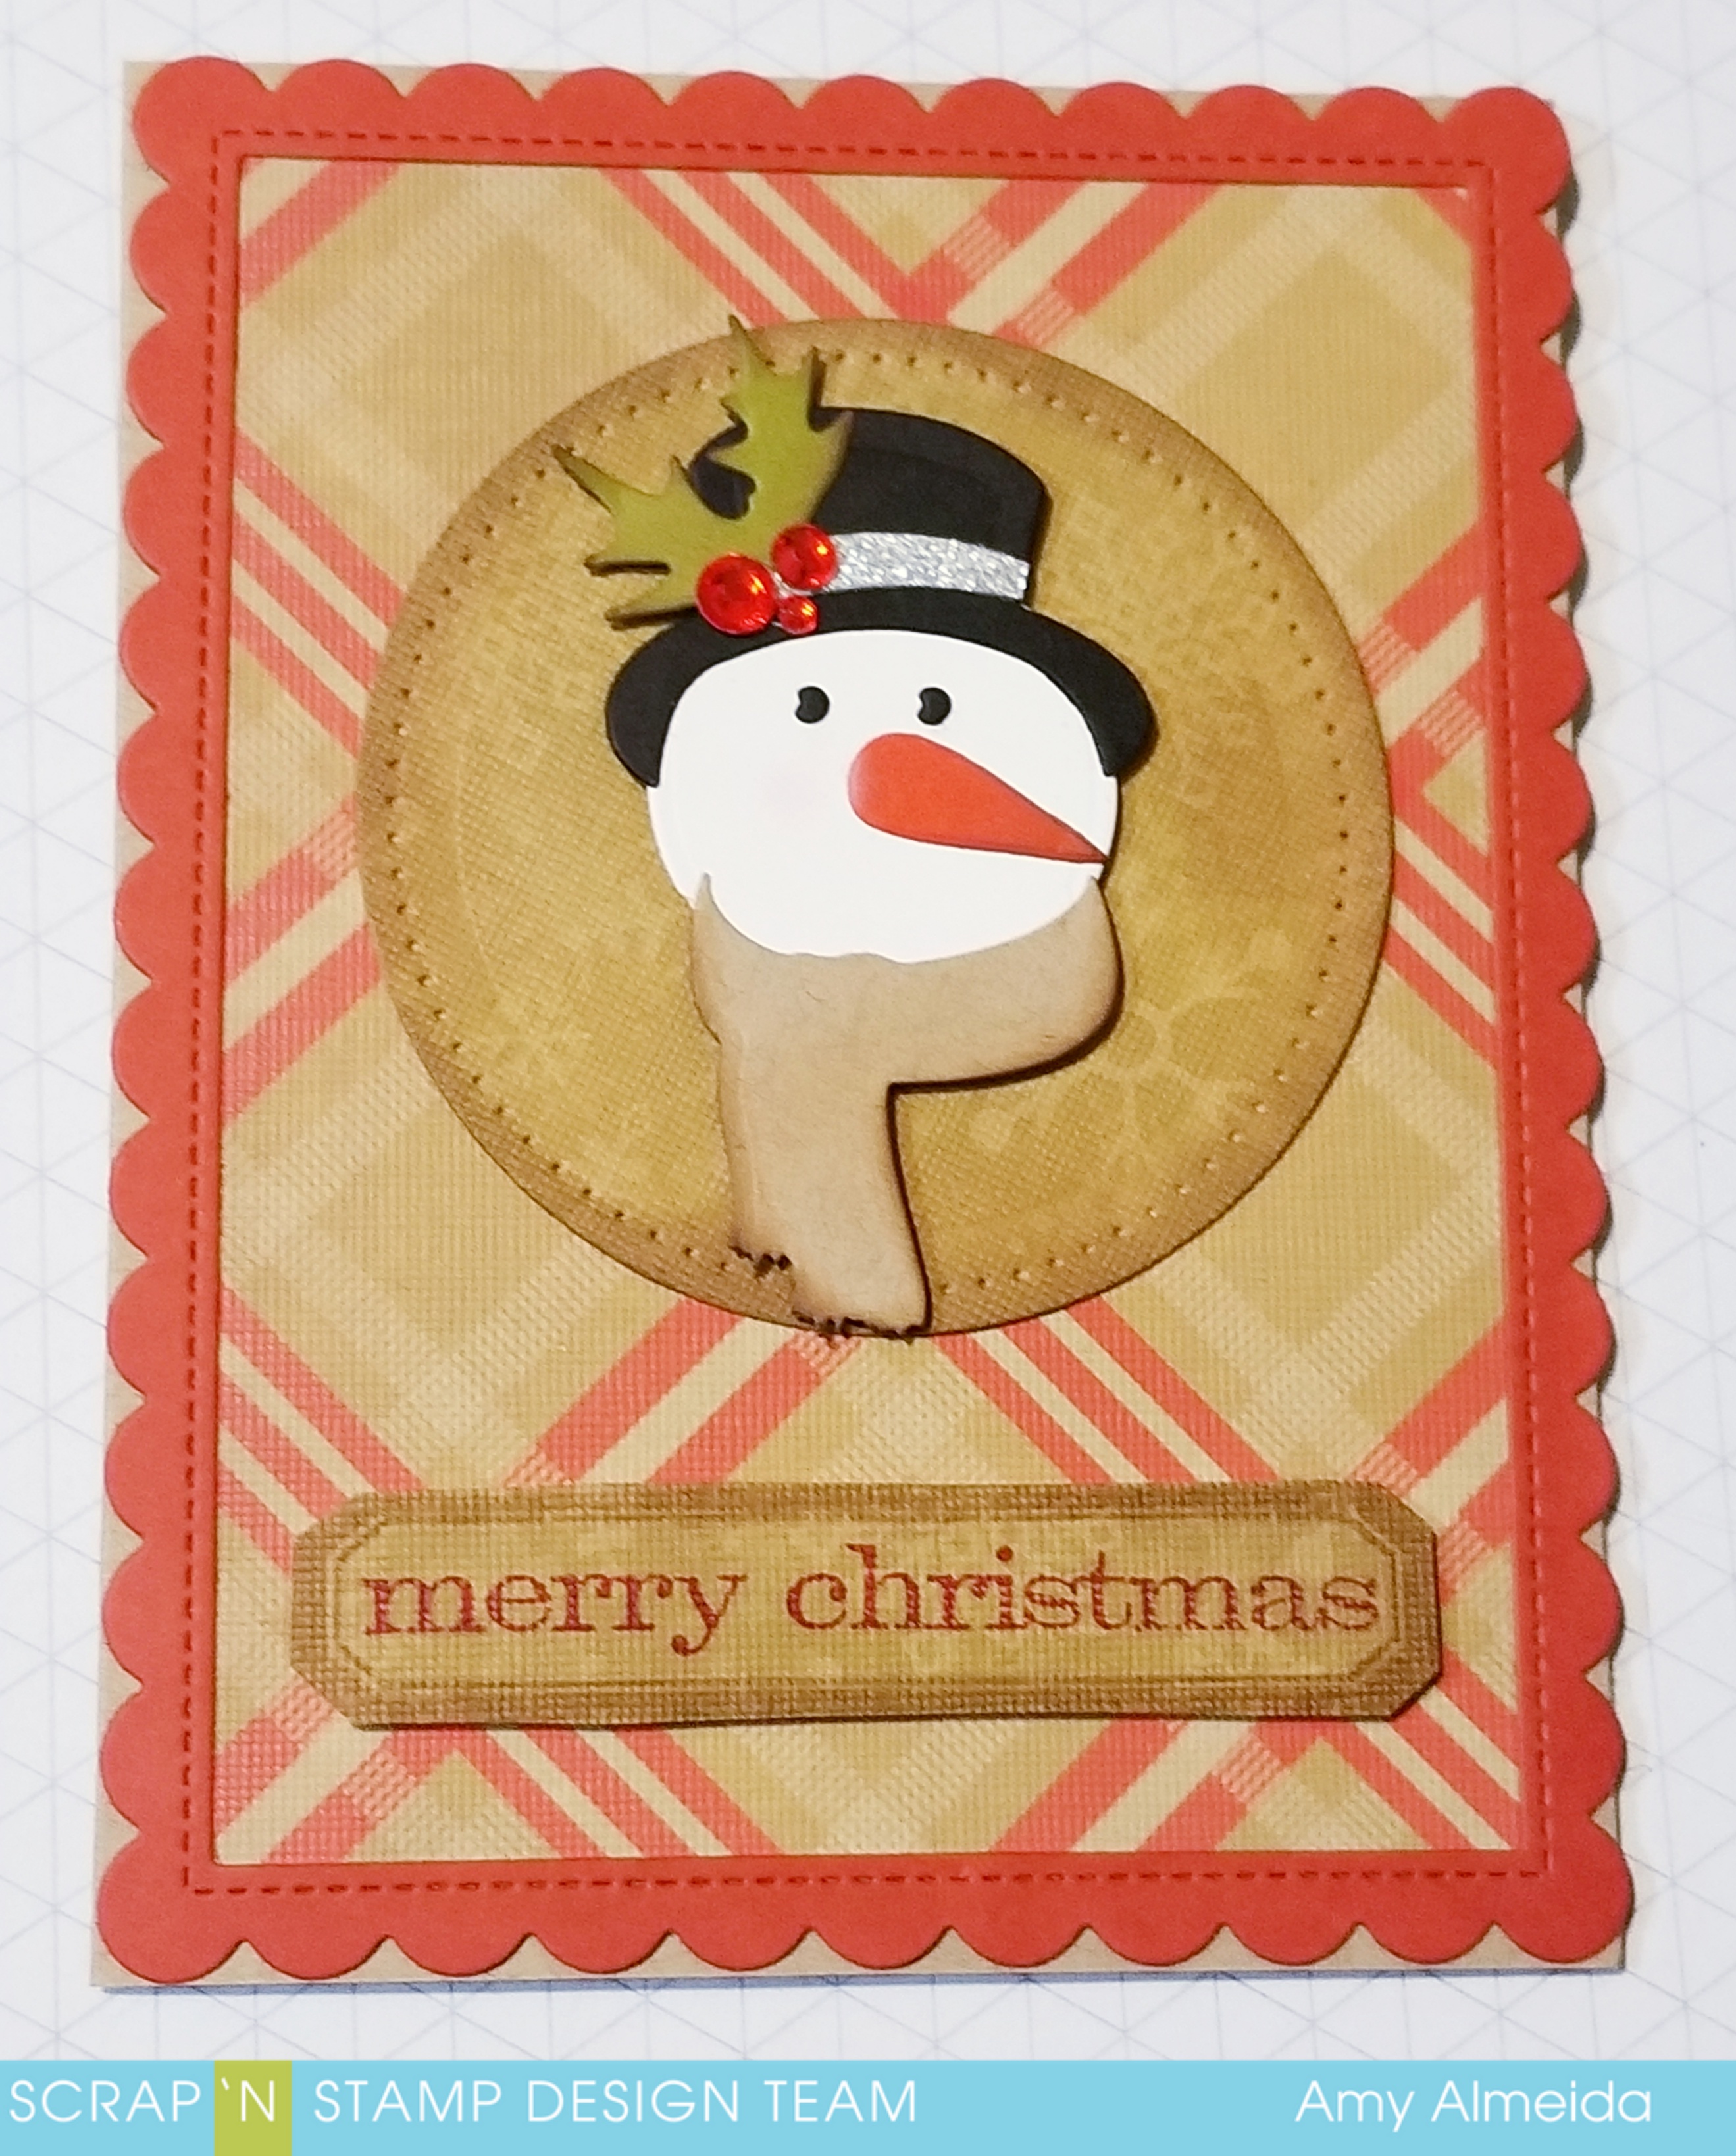
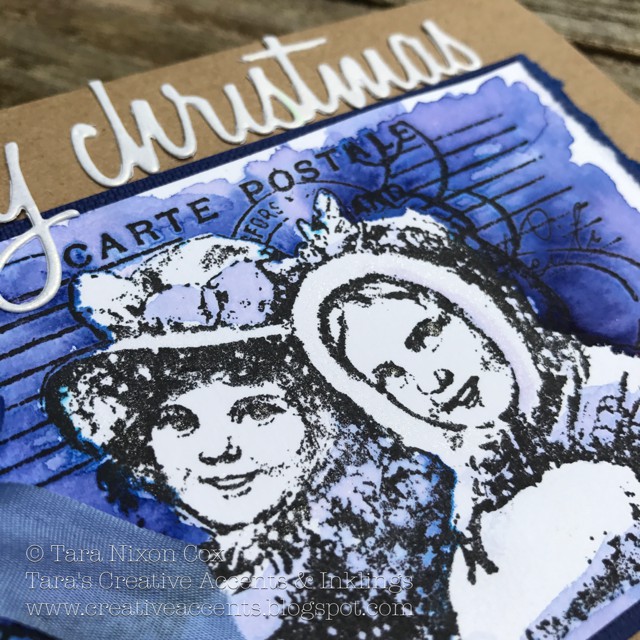
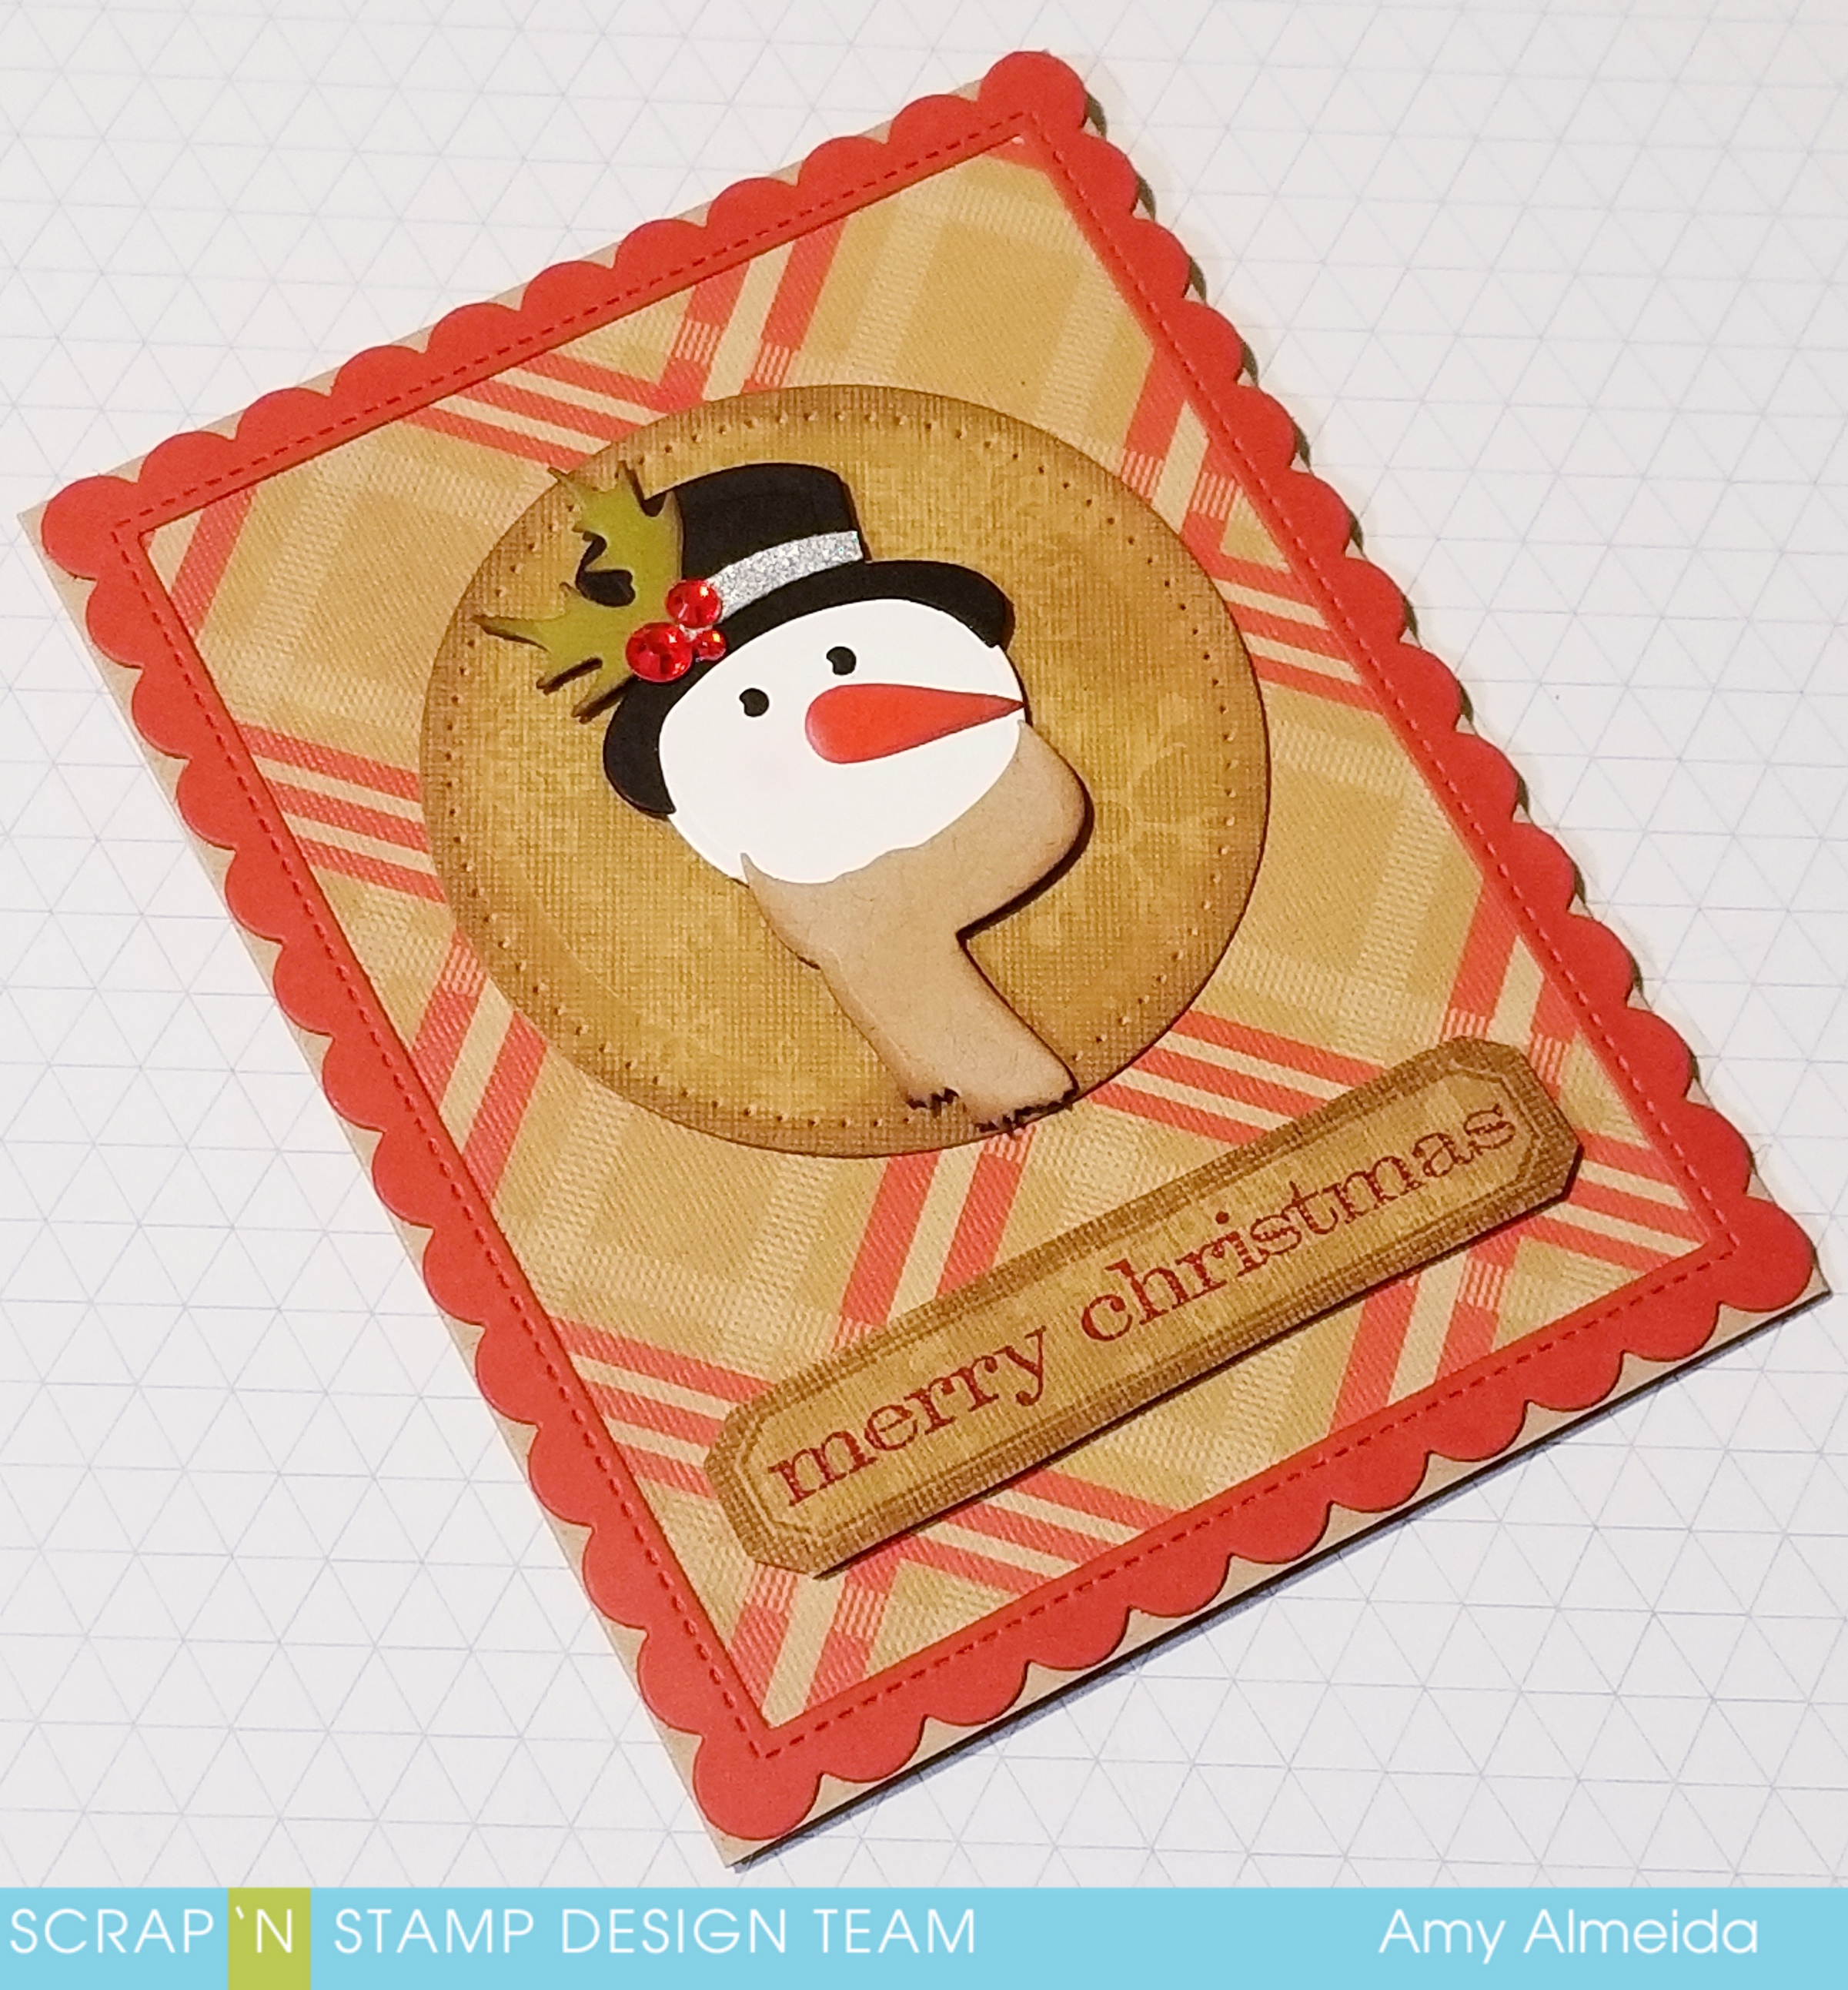
I started with some Designer Christmas paper in plaid and then cut out a frame using the Stitched Scalloped Rectangle Frames from Lawn Fawn in a coordinating cardstock. I adhered the frame to my designer paper using Nuvo Deluxe Glue. I then adhered the panel to a Kraft Cardstock base.
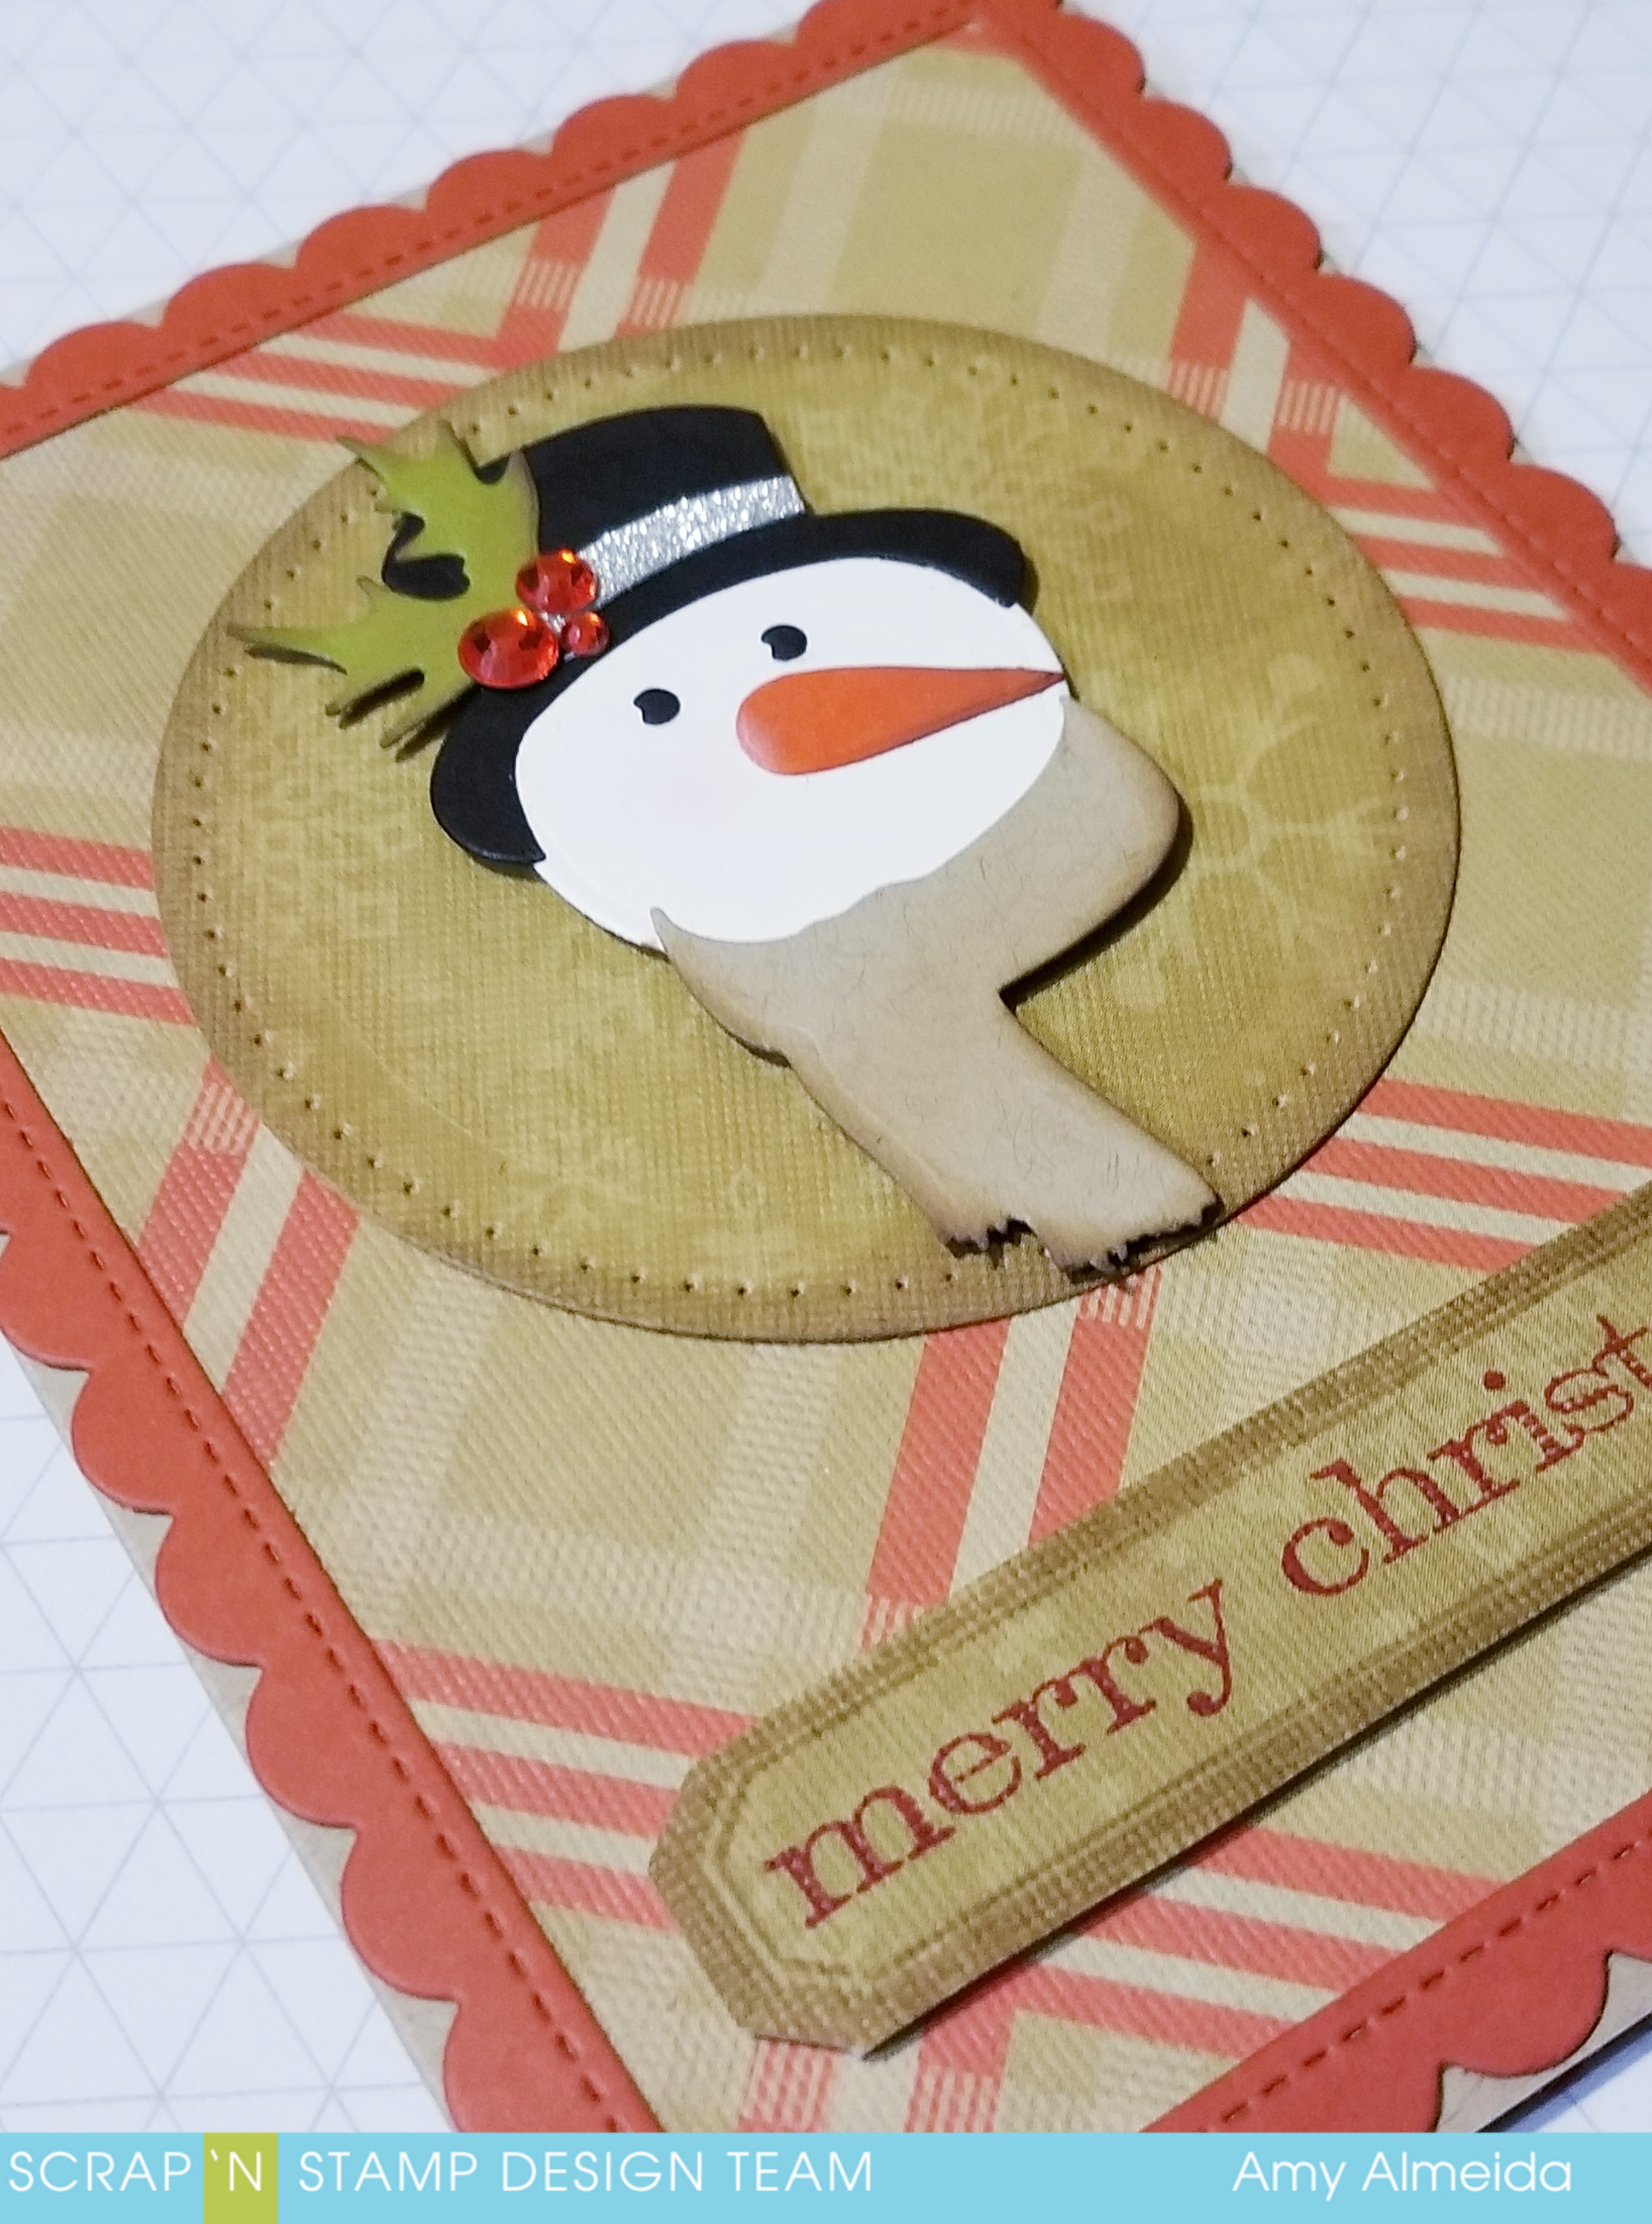
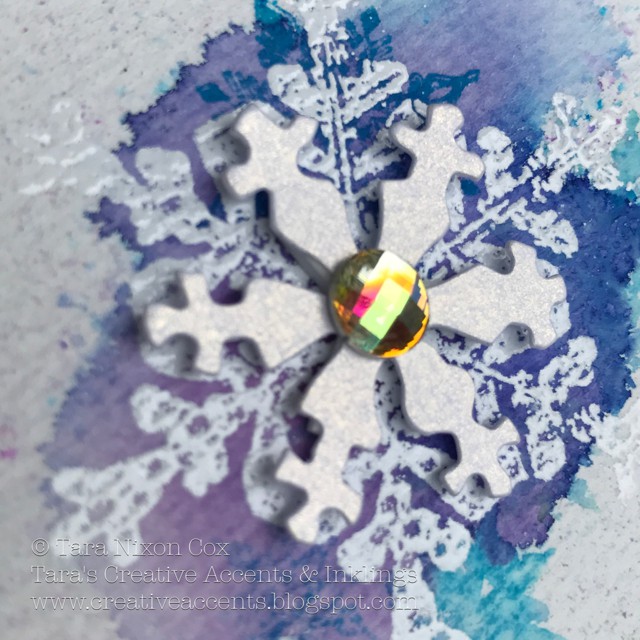
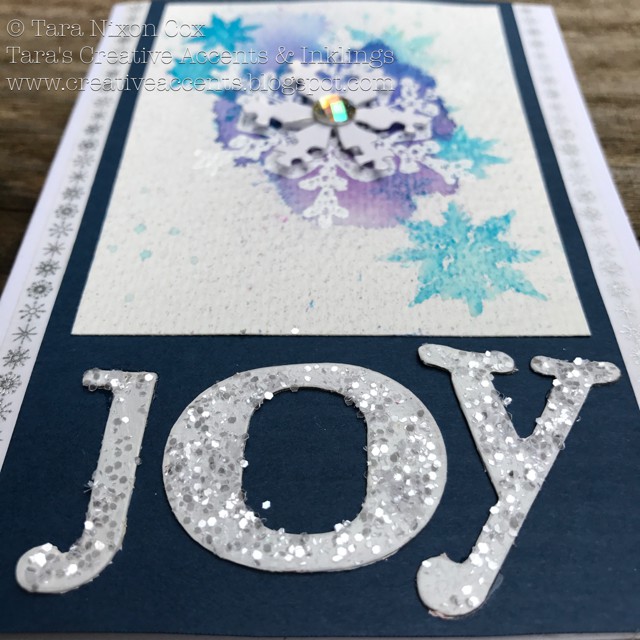
I then cut out a circle using Spellbinder’s Pierced Circles from some more Designer paper and inked the edges with Vintage Photo Distress Oxide. Now for the fun part, I cut out all the snowman pieces from the Cool Yule Die set in different cardstocks and adhered him together….how COOL is he? hehehehe This is such a fun set as you can mix and match a lot of the pieces….so much variablitily in this set!I adhered him to the circle with Foam Tape and finished with a sentiment from Tim Holtz Snowman Blueprint set. Which has a label I stamped with Versafine Vintage Sepia ink and the sentiment in StazOn Blazing Red Ink.
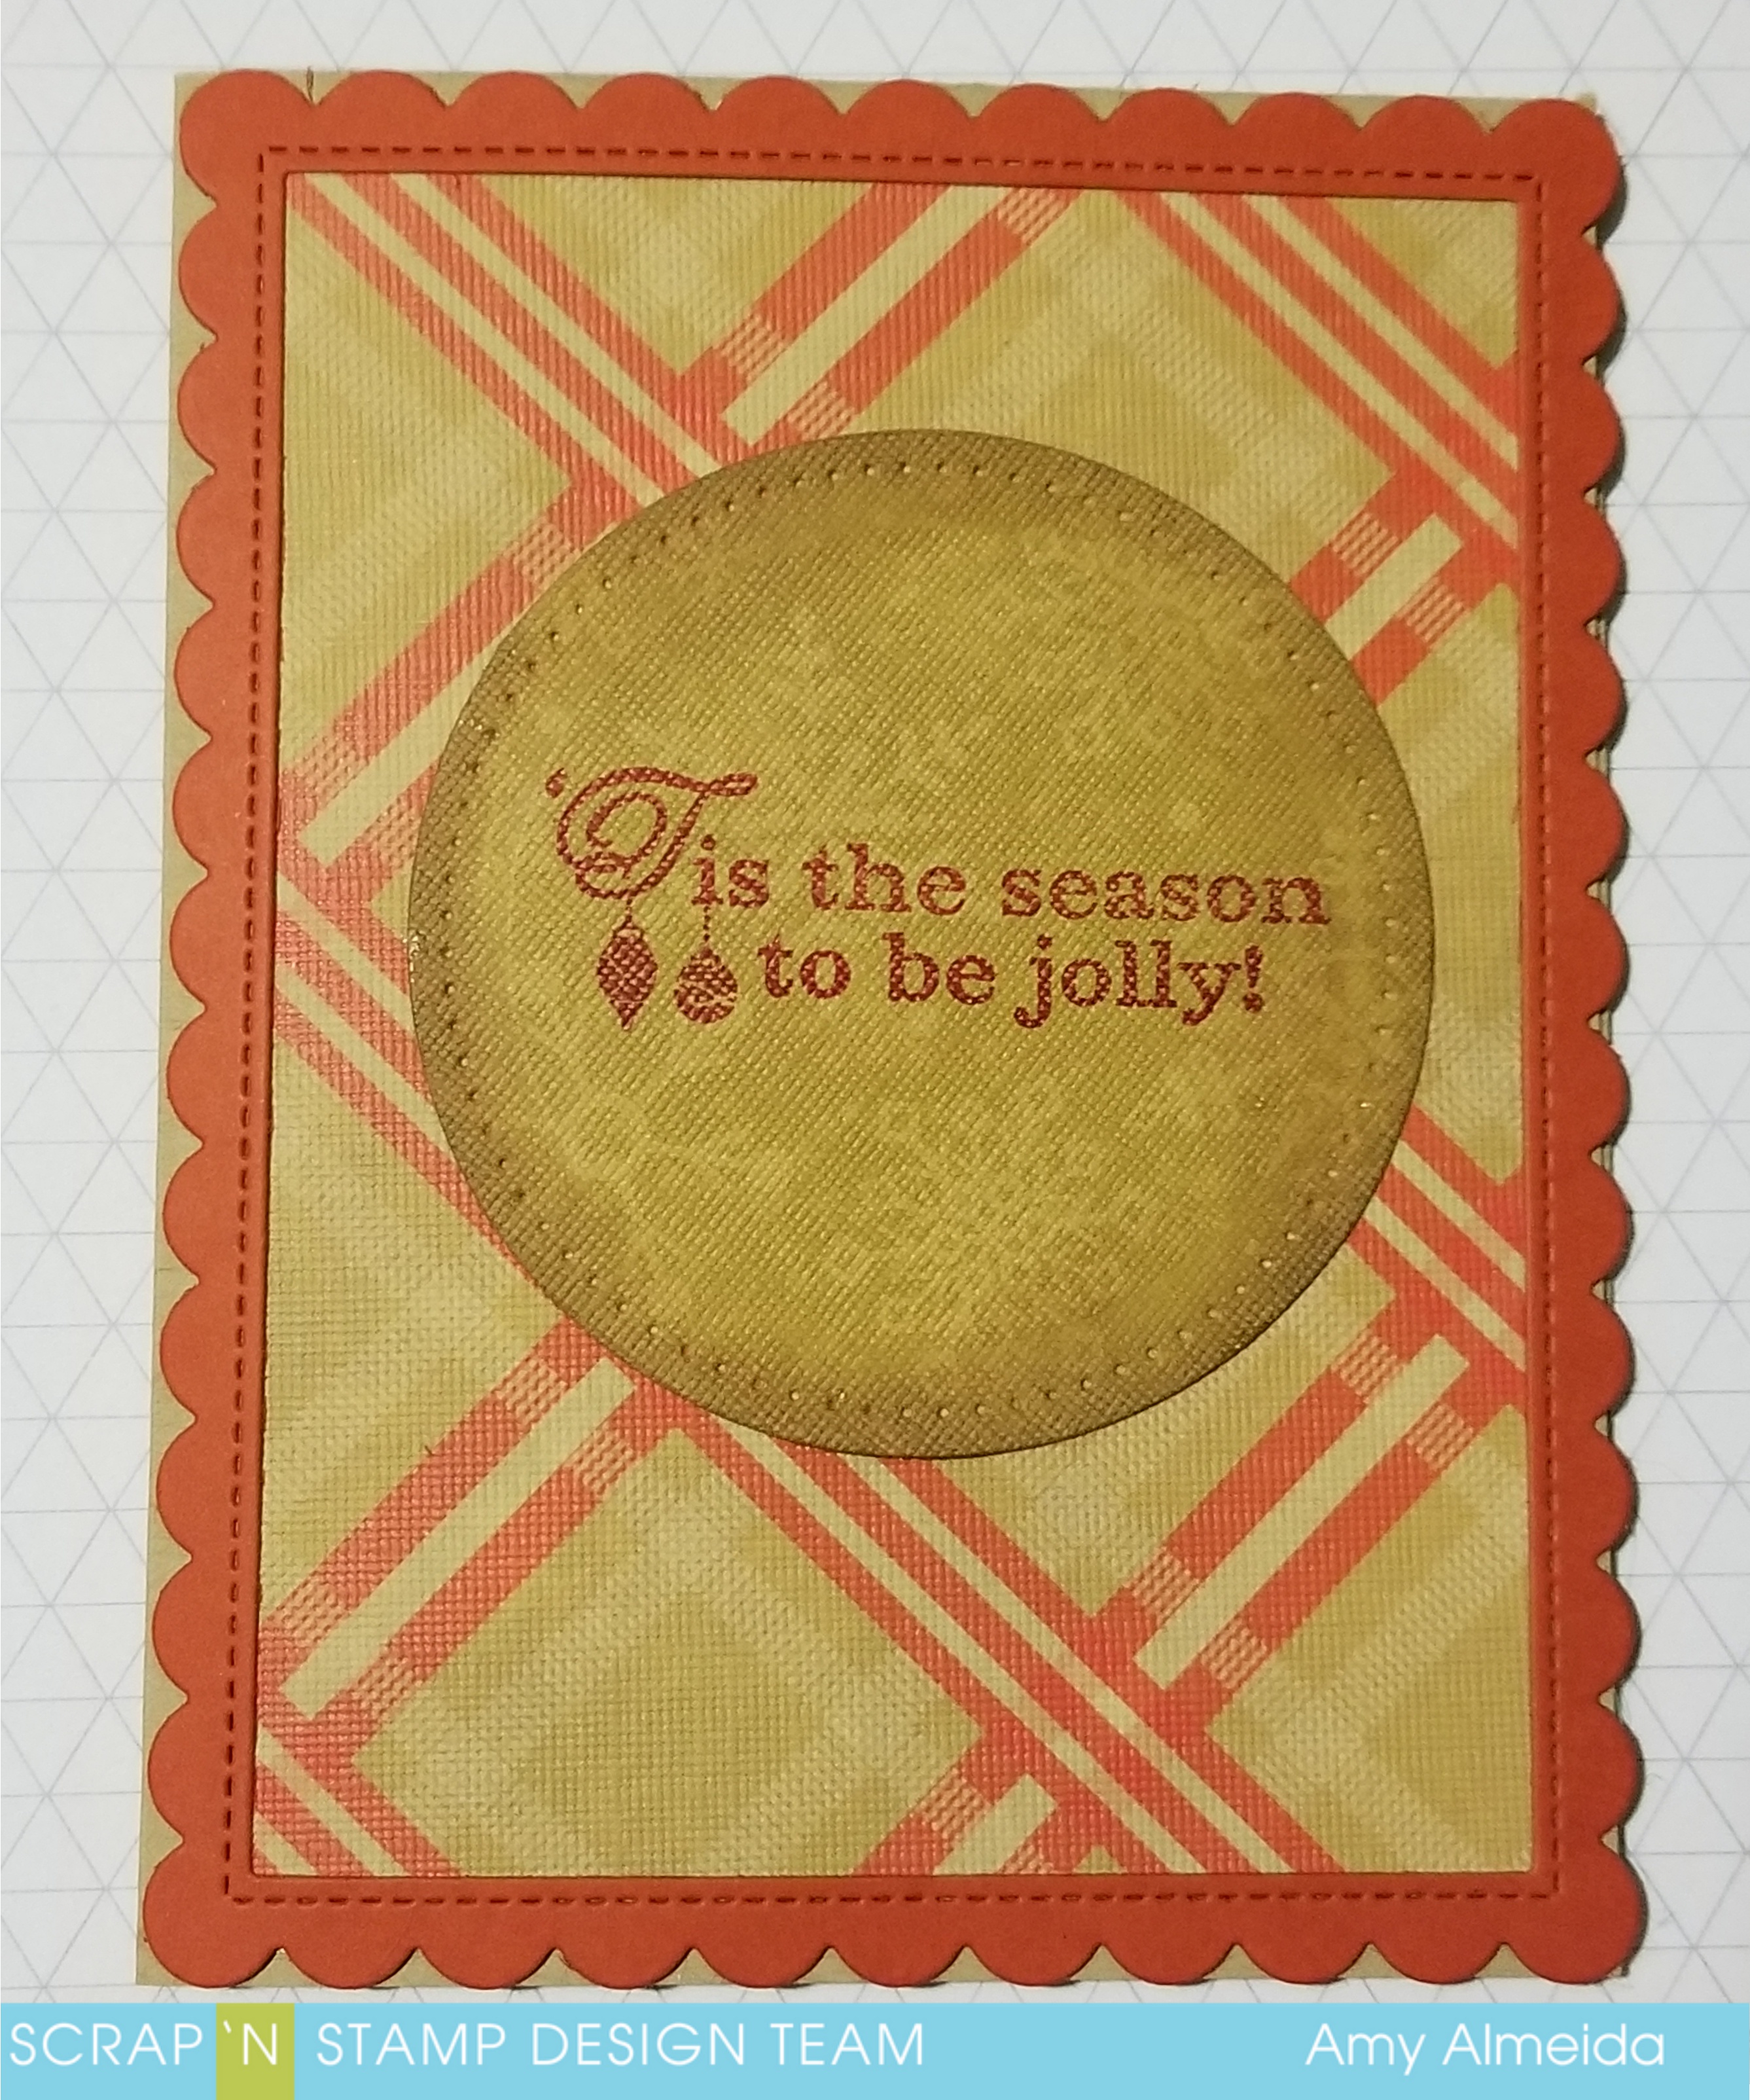
I kept it pretty simple for mailing and like I said before, I struggle with Masculine cards and WHEN TO STOP. lol. But here’s the inside using the same design as the front and an old sentiment from Cornish Heritage Farms.
I hope y’all have a Happy Holidays and I’ll see you back here after Christmas with another fun lil’ make.
Happy Craftin’!
~hugs~
Amy
Cool Yule Masculine Card Read More »
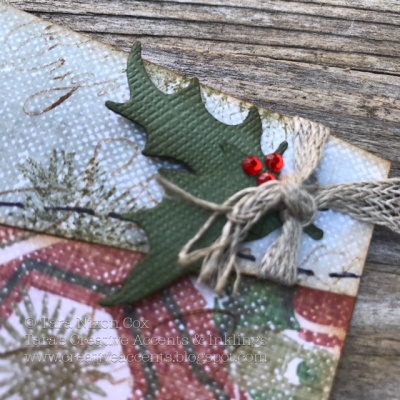 As you can see I also pulled out a ‘stitch’ stamp to add a bit of detail to the top portion of the card. Here’s what the alternate card looks like:
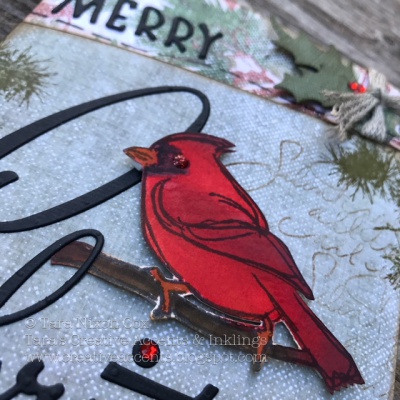
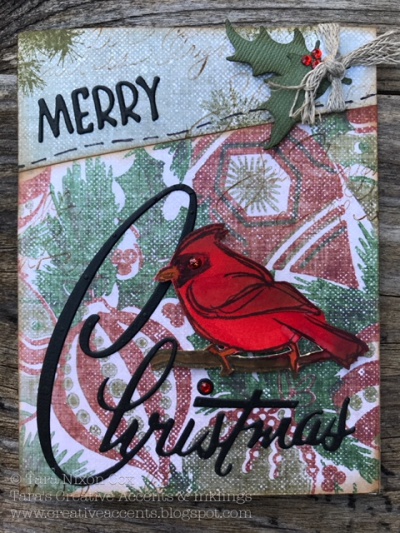 I hope you like it! These came together fairly quickly once I had my concept, and I really love the simple, bold features. One of my favorite things about my home in the south is seeing cardinals in my own front yard on a regular basis. They have always been a favorite seasonal symbol for me 🙂
 I added a touch of color to a few areas on the focal point so it wasn`t such a stark contrast. I also added a touch of glitter with a glitter marker. After tearing the right edge, I cut a couple slits on the left edge and threaded a silk ribbon through it to add a soft bow.