Scratch-N-Stamp
Search

Checkout

Keep up with Sales, New Products and other events at Scrap `n Stamp. Sign up for our newsletter now!

What's New

Hot Deals


die cutting

You’re Swell

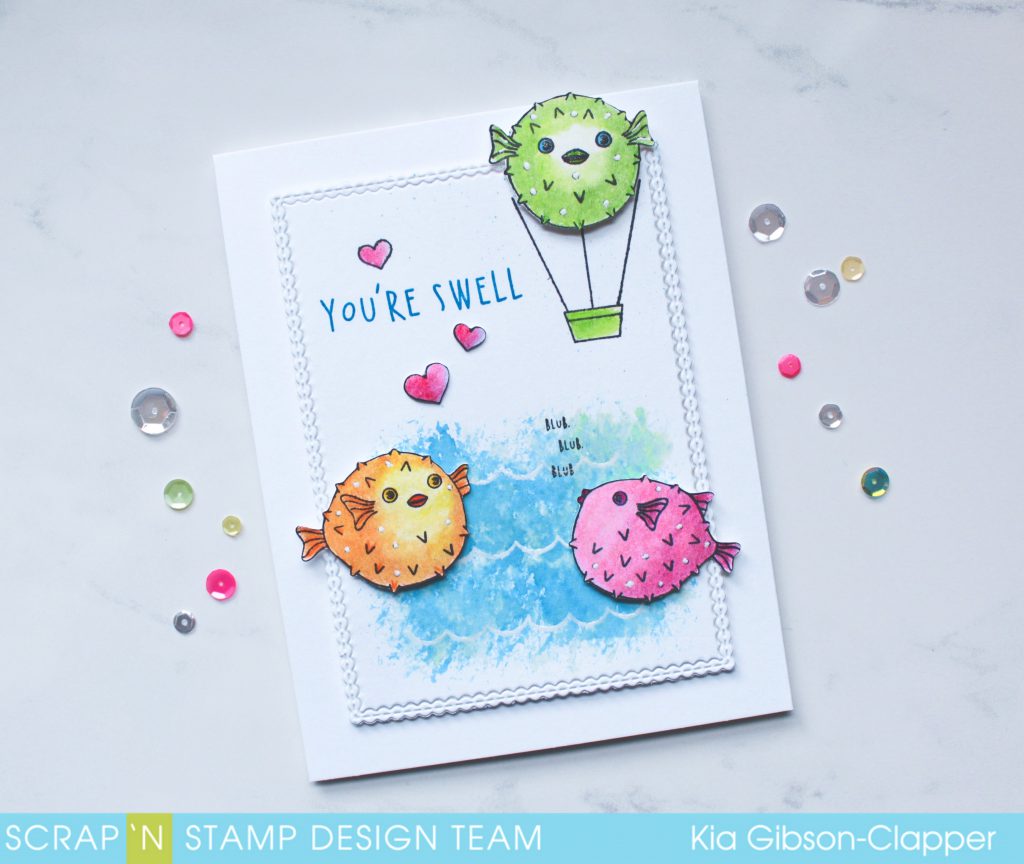
I cannot look at this stamp set and not laugh. How adorable are these puffer’s?
I was going to watercolour, but I thought I would change it up a bit and use my Chameleon Color Tones. I have had them for awhile, yet this is the first time I have used them. I have to say, I enjoyed them very much. They were easy to use and I very much like the colours that are offered. They also come in a great box for storage.

On to my card for today. I am using Hero Arts “I’m A Puffer For You” stamp set.

I first die cut the panel using my Memory Box die, then stamped and heat embossed the waves using Nuvo embossing powder. I mixed up distress oxide inks to colour the water, starting with Salty Ocean, then Cracked Pistachio and finally Broken Glass, drying between each application. I did not want my frame to have colour, so I applied the colour with a rough brush and flicked small amounts of splatter towards to top of the panel representing beads of water falling from the puffer balloon.

I stamped the fish and proceeded to colour with the Chameleon Color Tones, starting with the lightest colour and ending with the lightest colour. What that means is, I start with the lightest colour, go to the medium colour, and once done with that colour I go back over the blending lines with the lighter colour. I go from medium to dark and go back and do the blending area with the medium colour. I colour using small circles as I don’t like to see lines. Needless to say colouring with pencils is time consuming for me, but also very relaxing. Once I am done with my colouring I go over everything with a light covering of Gamsol, or you can use Isopropyl Rubbing Alcohol.

I attached the panel to my card base using foam tape and arranged placement of the fish. I styled each of them and propped them up on foam dots, adding Wink of Stella to the gills, fin, lips and eyes, and white gel pen on each of the fish covering the black circles. I added the hearts with glue, stamped the sentiment using Manganese Blue and the “Blub” sentiment using Jet Black ink.

 Scrap’n Stamp has $10.00 off the Chameleon Color Tones for the next week, so now is a good time to add them to your craft supplies.

I hope you have enjoyed this card today and thank you for visiting the Scrap’N Stamp Blog. I have a close up of my card on my blog which you can find here.

You’re Swell Read More »

TBT- Industrial Florals

HAPPY HAPPY HAPPY THURSDAY!!

I don’t know about you, but still being buried in a few feet of snow does not make me feel like Spring is right around the corner!  No early Spring flowers shyly blooming from under the veil of Winter’s frozen slumber, here!!  It’s more like—LAME–we need to go cut more wood for the wood burning stove and schlep it through two feet of slushy, wet snow!! 🙂

Oh, we’ll get our Spring flowers–but maybe not until April!!  So until then, I’m finding myself using flowers in some of my latest designs….if I don’t have any flowers outside (yet), I’ll create some inside!! 🙂

Indus Flower

I was inspired by Tim Holtz’s January Tag design and this is my take. Better late than never, right?  One of the creative goals that I set for myself this year is keeping up with Tim’s 12 Tags of 2014 Challenge.  Now, in what order I do them….? 😉

Background

I started with a piece of manila stock cut to about 4″x5.25″.  I smushed Vintage Photo, Crushed Olive and Mustard Seed DI’s onto my craft sheet and dropped some small piles of Pewter Perfect Pearls randomly over the ink.  I spritzed it all with water then pressed my manila stock into the wet ink and dried with my heat tool.  I repeated that process two more times.  This photo does not do the technique proud, but, it’s a very cool effect and the way the ink blends with the perfect pearls–Awesome!!

Rub Ons and Stencils

I used Words & Elements Remnant Rub-Ons on the right hand side and I used the Rays stencil with Antique Linen & Vintage Photo DI’s on the left hand side.  After applying the inks with my ink blending tool, I quickly dusted it with clear embossing powder and set with my embossing  heat tool.

Embossed Rays

The embossed rays gave this background a very subtle texture and image but ‘Big Design Bang’ nonetheless!

Rays

I lightly sanded the rub-ons and distressed the edges.  I inked the edges and over the entire background with Walnut Stain DI and my ink blending tool.

Foil for the flowers

To make the industrial flowers, I adhered a piece of Foil Tape Sheet to a scrap piece of cardstock.  I then added texture to the foil cardstock with a Cuttlebug embossing folder and then ran through the Big Shot machine again with the Tattered Floral Die.

Flowers and Molding

I cut a piece of Molding Film and covered it with a layer of Frosted Film then ran that through the Big Shot with the Tattered Floral die, too.

Foil Tat Florals

Pretty fun, right?  Now, time to get inky and painty!!

The frosted florals that I ended up using, got inked with Orange Blossom and Sepia Archival Inks and the industrial florals got a light layer of Black Soot DP.

Assembly

I shaped the foil flowers with a pencil and I shaped the frosted flowers with my heat embossing tool.  I carefully applied heat to the frosted petals and quickly manipulated into a slight curve with my fingers.  After it cooled, it was time for assembly and layering! More fun pieces of embellishments coming right up!!

I “made” those rusty bits! It’s totally awesome!!  I was introduced to Crafty Notions Rusting Powder by Alison Bomber on her blog Words and Pictures (you gotta check out her blog–Awesome!).  I just started having the chance to play with this magical powder, but so far–it’s easy: apply layer of multi-medium to bit or piece of your choice and then sprinkle Rusting Powder to cover;  a bit stinky: spray vinegar over powdered pieces; and totally worth it: wait for bits & pieces to dry and become rusty.

Flower Assembly

I used a simple black brad and an antique brad to layer with my rusted pieces.  I punched a hole through the layers of flowers and manila stock to secure them all together with the brads.

That splatter brush is a fun tool!  I may have gone a little splatter happy on this card🙂

DSC01569

I finished with a few Chit Chat stickers that I trimmed into little banners and inked with Walnut Stain DI.

Lots of elements in this one–But, they all work!!  With this card heavily inspired by Tim Holtz, it’ll fit right in over at the Anything Tim challenge at A Vintage Journeya new challenge blog on the block, and with all of the textures and the stenciling I did on this one, I’m going to send it over to Frilly and Funky for their Stencils and Textures challenge.

DSC01593

I really am looking forward to actually having real flowers blooming in my yard but, not having to dig in the yard yet and being able to stay in my crafty dungeon to create, is one of the benefits of having a late Winter and two feet of slushy snow hanging around🙂

Thanks for stopping by my blog today! Have a GREAT weekend and Stay Artsy Fartsy!!  XOXO-Shari

SUPPLIES I USED:

  • Distress Inks & Paint (Tim Holtz/Ranger); Archival Inks (Ranger); Perfect Pearls (Ranger); Embossing Ink (Clearsnap)
  • Modeling Film (Wendy Vecchi/Studio 490); Frosted Film (Tim Holtz/Idea-ology);  Foil Tape Sheets (Ranger); Rusting Powder (Crafty Notions);
  • Stencil (Tim Holtz/Stampers Anonymous); Tattered Florals Die (Tim Holtz/Sizzix); Cuttlebug Embossing Folder (Provo); Big Shot Machine (Sizzix)
  • Splatter Brush (Liquitex); Multi-Medium (Claudine Hellmuth/Ranger); Sanding Block; Craft Sheet; Ink Blending Tool; Distresser
  • Chit-Chat Stickers (Tim Holtz/Idea-ology); Remnant Rub-Ons (Tim Holtz/Idea-ology); Brad; Antique Brad (SU)

TBT- Industrial Florals Read More »

My Pumpkins – Halloween Bonus Project

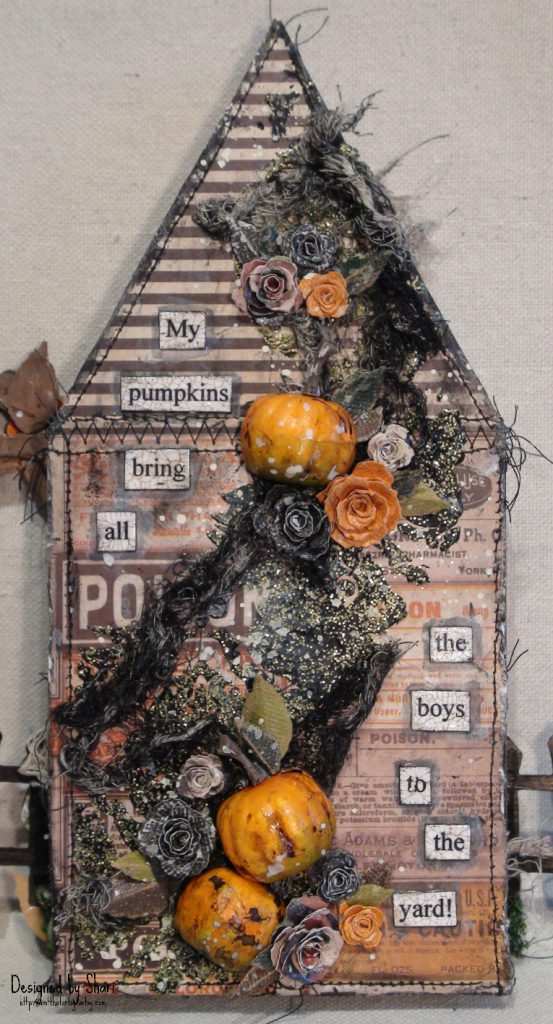
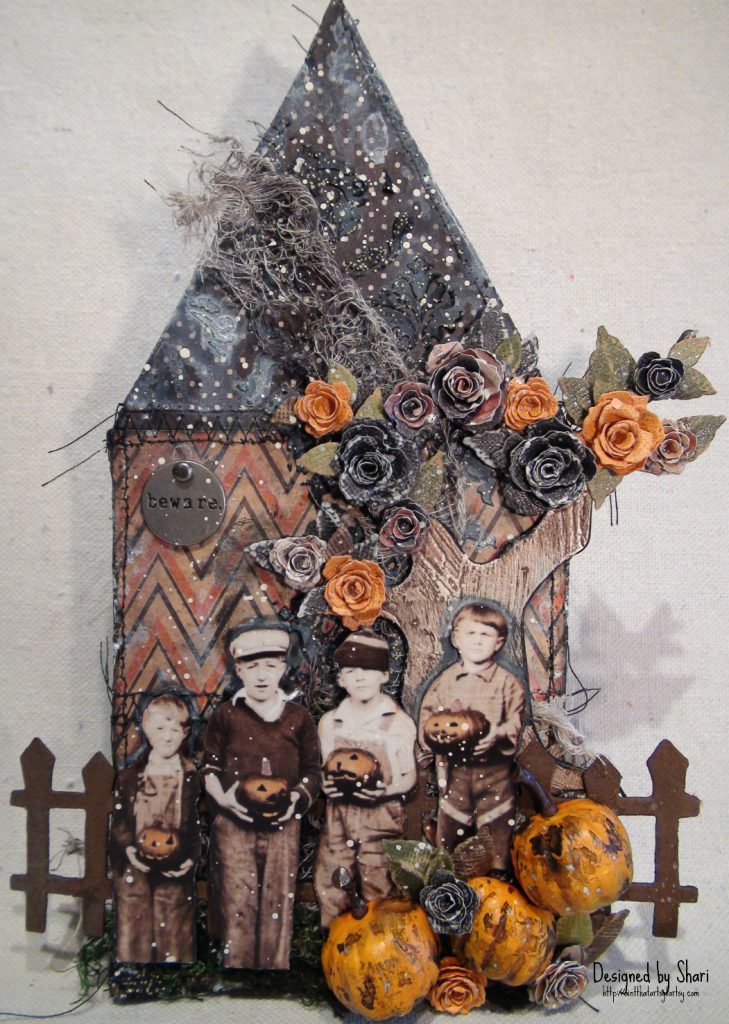
HAPPY HALLOWEEN!!  Hi There, It’s me Shari from Ain’t That Artsy Fartsy and I’m so happy to be here today to share a fun little décor piece I made for Halloween.  With so much Halloween inspiration out there, and with a little apropos change to a song lyric, I came up with…..

dsc00308

…wait for it……

dsc00319

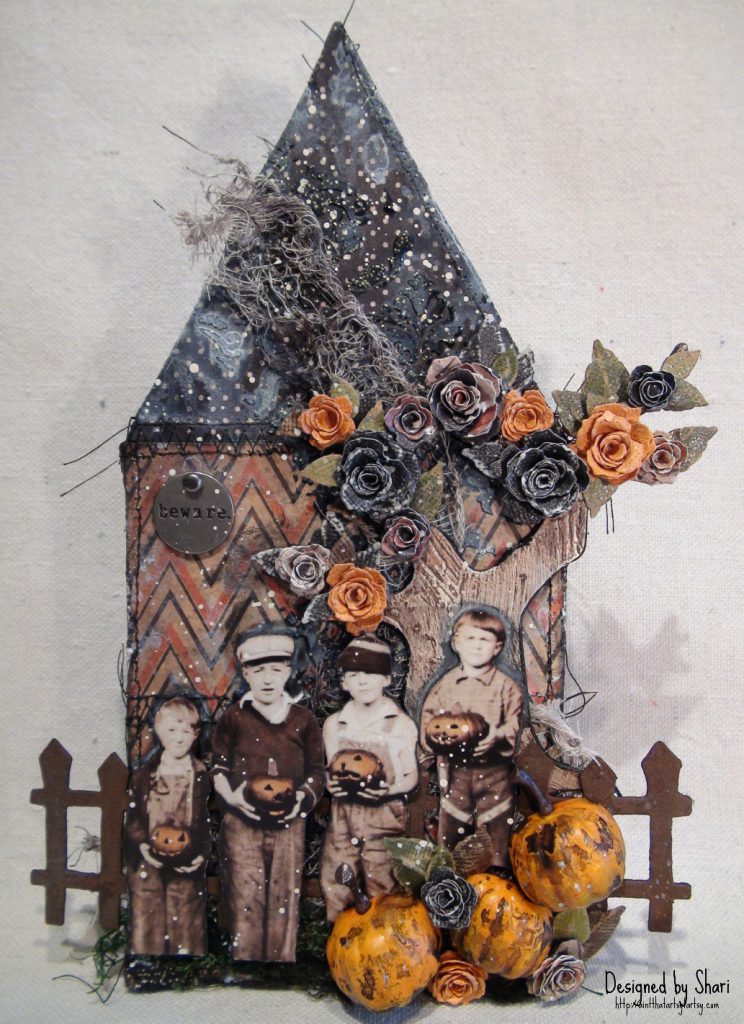
While you’re all laughing and chair dancing, I’ll tell you a little bit of what I did to make this altered wooden house.

dsc00291

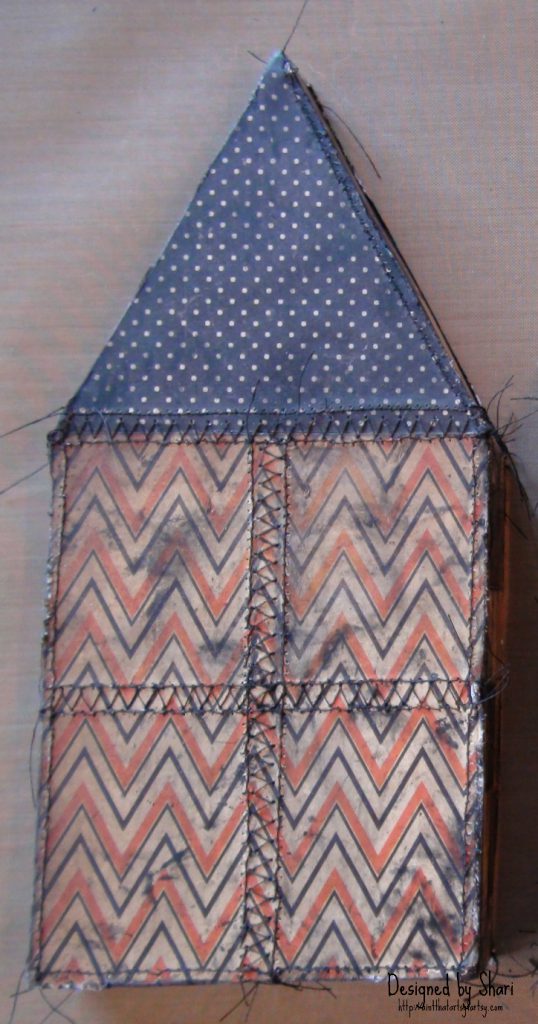
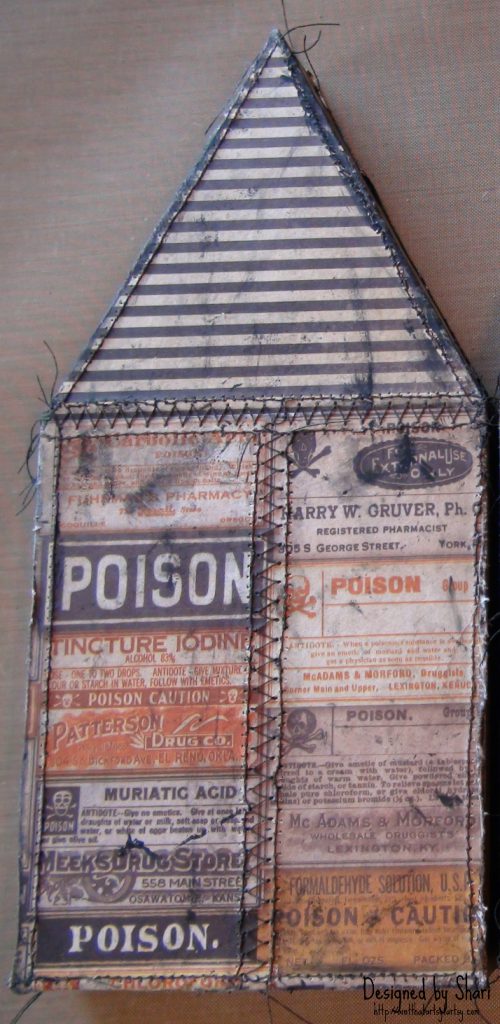
I cut my house out of a piece of unfinished poplar.  This house measures 9″ x 4″ x 1″ and I covered the front and back with pieces of Tim Holtz Regions Beyond Paper Stash that I had stitched together with my sewing machine.

dsc00292

I roughed up the edges with my paper distresser and inked with Black Soot DI then adhered to the front and back surfaces with matte Decou-Page.  I added smears of black gesso with my fingers and adhered a long piece of Design Tape to the outside edge.

dsc00310

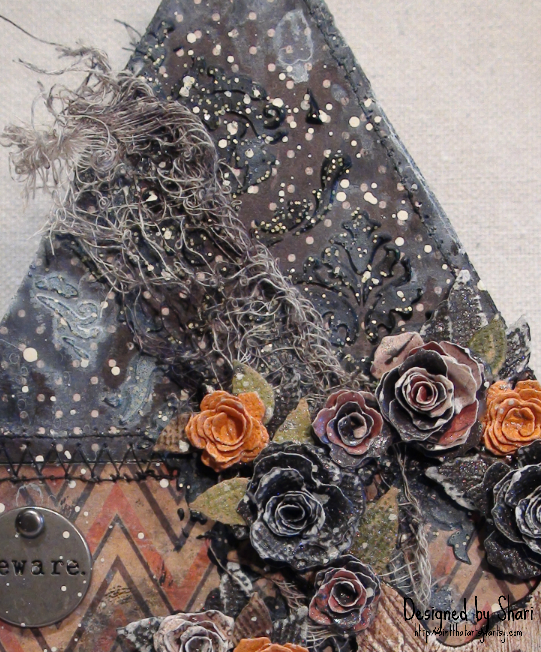
I added stenciling to the front and back sides of the house with Tim’s Gothic Layering Stencil and black modeling paste.  While the paste was still wet, I sprinkled Shabby Shutters Distress Glitter over it, tapped off the excess and let air dry.  While that was drying, I spritzed pieces of cheese cloth with a combo of Hickory Smoke and Black Soot DSS and heat set.

dsc00327

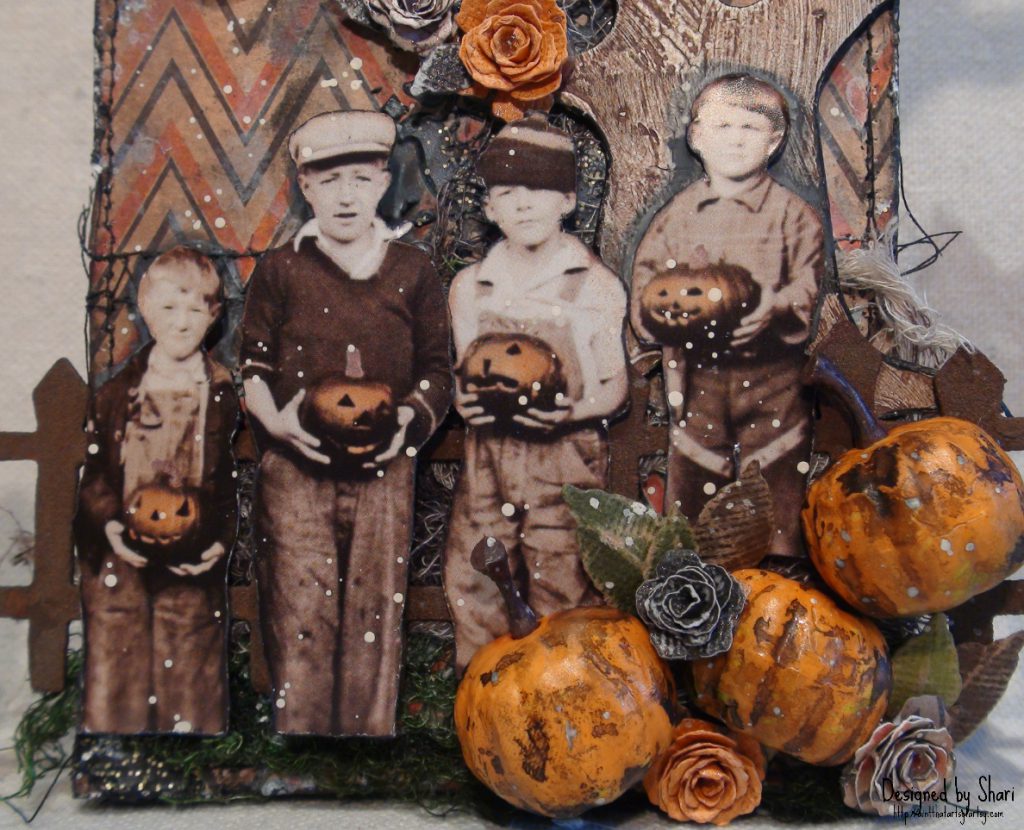
The tree and fence are older Sizzix dies that I treated with crackle paint and rusting powder respectively.  When the crackle paint dried on the tree, I rubbed it with antiquing cream to accentuate all of the neat texture, then I started to adhere the pieces onto the house.

dsc00309

This little foursome of cutie-pies is from Tim’s Found Relatives-Occasions.  I fussy cut them from their card and colored their Jack ‘o Lanterns with my Pumpkin Spice DM.  I die cut a bunch of leaves and roses from the Tiny Tattered Florals die from a mixture of Kraft Core, Color Core and Regions Beyond Paper Stash.  I stained the Pumpkin Pieces with Hickory Smoke DSS and gave all of the roses and leaves a spritzing of Pewter Perfect Pearls Mist.

dsc00321

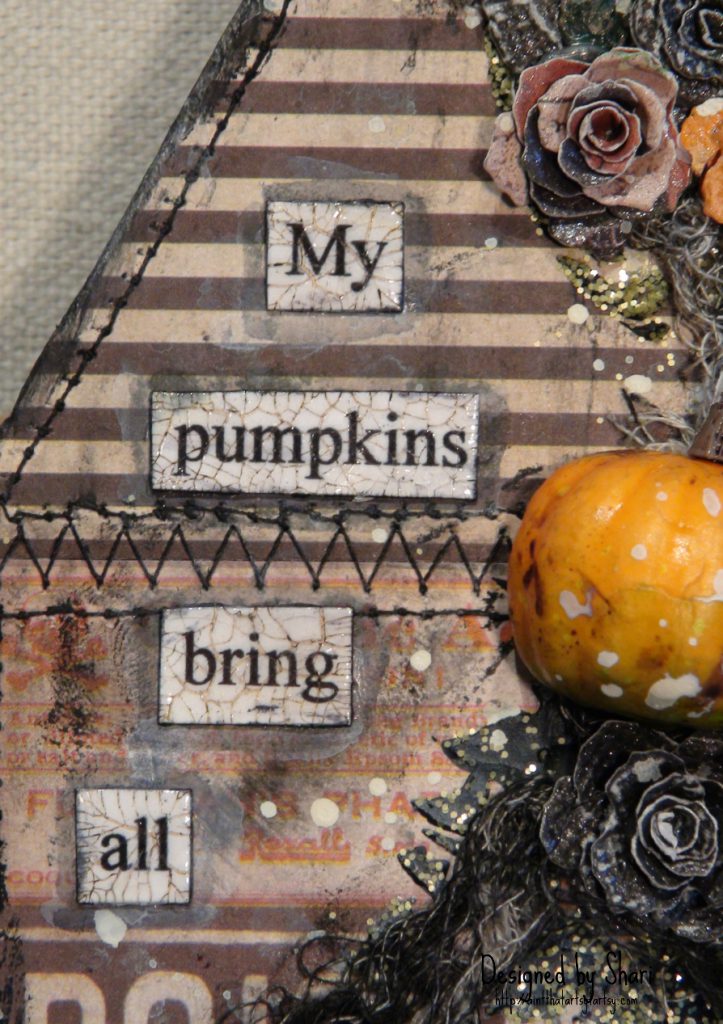
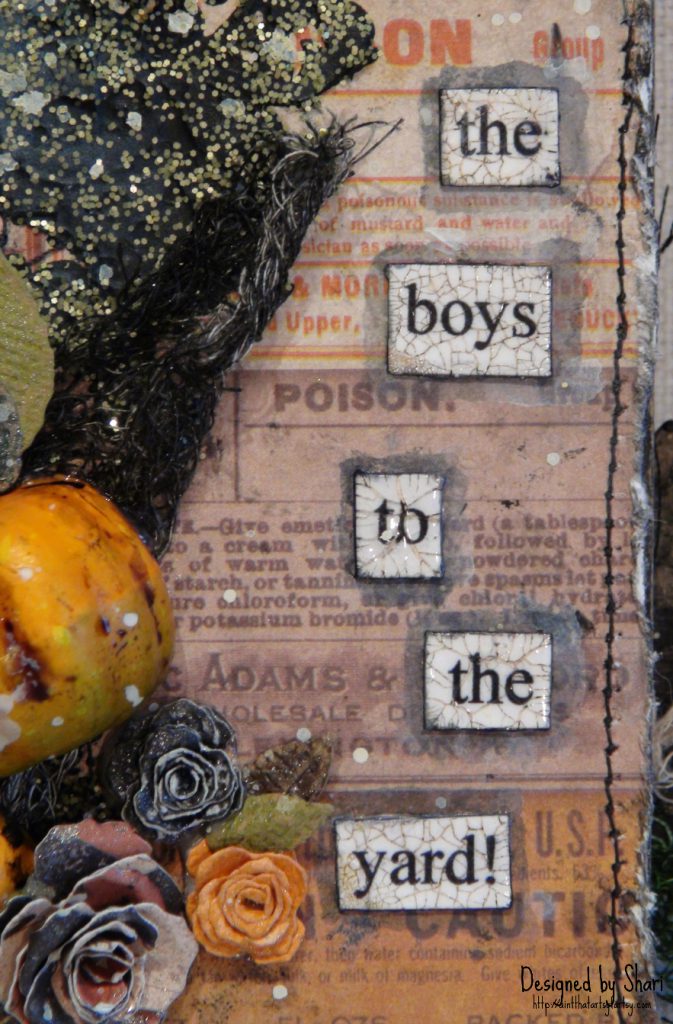
The song lyrics were printed onto white card stock and cut into bands.  I sealed with matte Decou-Page and then coated with clear crackle glaze.  When the crackle glaze was dry, I rubbed with Hickory Smoke DI and adhered onto the house with matte Decou-page.

dsc00322

I outlined the word bands with Black Soot DI and my water brush, then brushed a wash of translucent white paint around the edge of the house, spritzed with water and let the watery paint drip down.

dsc00327

To finish the house, I attached a Typed Token and applied one final splatter of off-white paint to the front and back sides of the house.

I hope you’ve enjoyed my little Halloween house today and will come back later in the week for our Throwback Thursday feature.

Until next time–Stay Artsy Fartsy!! XOXO-Shari

My Pumpkins – Halloween Bonus Project Read More »

Free Shipping Anywhere In Canada