Scratch-N-Stamp
Search

Checkout

Keep up with Sales, New Products and other events at Scrap `n Stamp. Sign up for our newsletter now!

What's New

Hot Deals


Gina K. Designs

Gina K Elegant Asters

Hi Crafty Friends, Sandi here and my inspiration today is the Gina K Elegant Asters Sepia Card.

more text here

more test

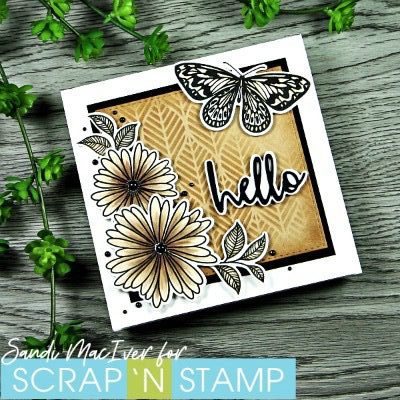
This stamp set has a beautiful selection of flowers and leaves, a fabulous butterfly and some great sentiments (although I didn’t use them for today’s card).

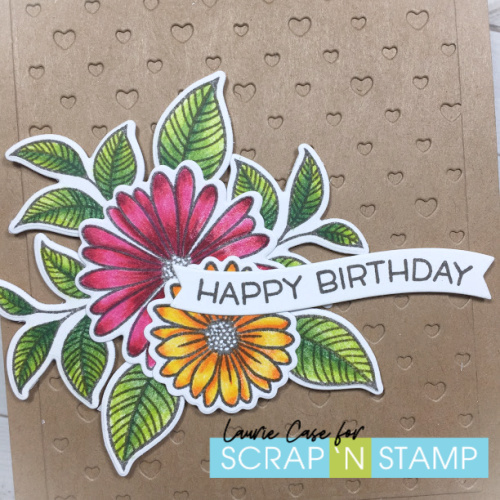
I used four Copic Markers to create my Sepia color for the design pieces: E41, E43, E44 and #47. Once all the images were colored, I cut them out with the coordinating dies.

more instructions

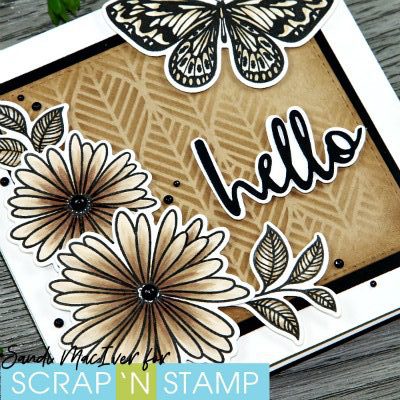
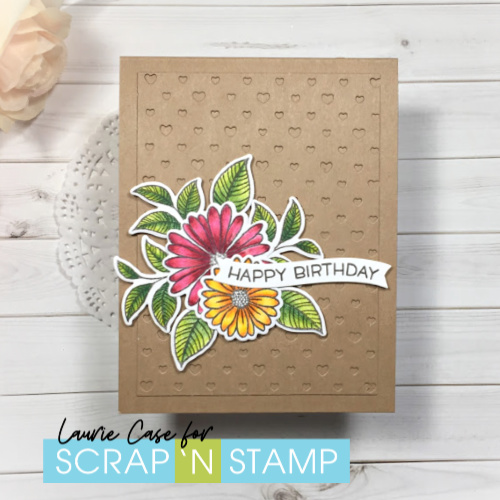
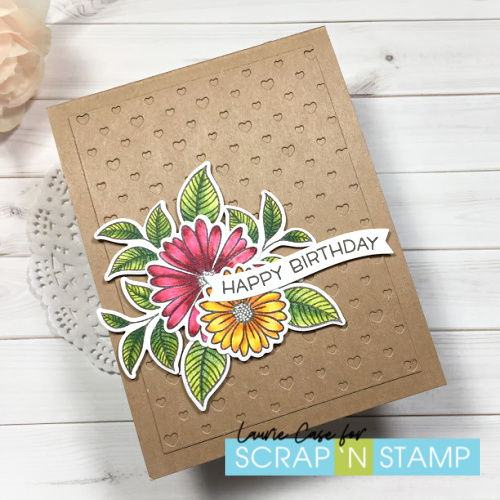
For the background, I started with a piece of Gina K Kraft card stock and die cut it with a stitched square die.
I used the Gina K Leafy Stencil and Gina K Kraft Ink with a Life Changing Brush to add a little “background noise” behind where my art pieces would go.
I also inked around the edge before mounting it to a black mat and then my 5 x 5 square top folding card base.

lalal

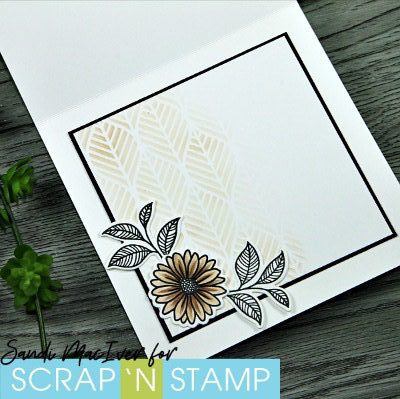
I repeated the stencil design lightly on the inside of the card and duplicate the mat layers as well before adding the extra art pieces. NOTE: the leaves on this one I left black and white and I really like the contrast to the Sepia flower.

elegant asters

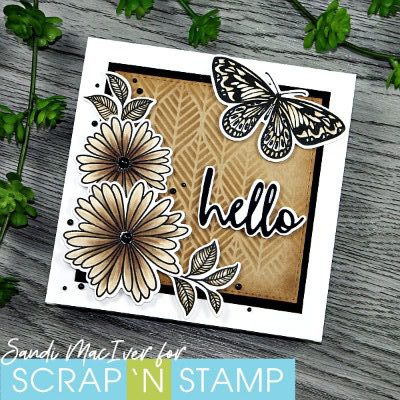
I used foam squares to attach the art pieces and then added a three layered die cut sentiment.

My final embellishment, I used the Nuvo Crystal Drops in Ebony Black to add some interest down the left side of the card.

Here’s a short video I created walking you through the Copic Flicking technique and the sepia color for the card.

https://youtu.be/Vi6coYh0vOg
Gina K Elegant Asters

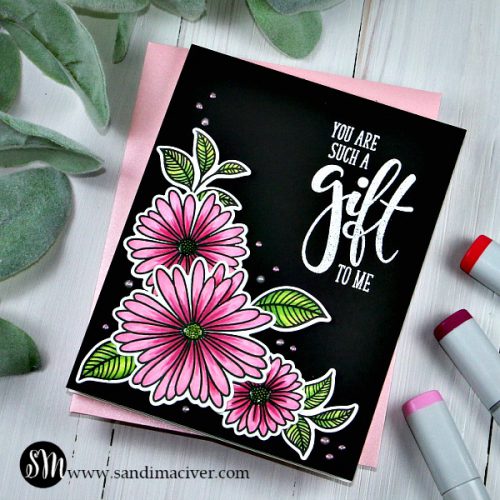
Here’s another card I did recently using the same stamp set. This time coloring the flowers in pinks:

Copic Markers used:

Leaves: YG21, YG17, YG23

Flowers: RV13, RV14, RV25

Flower Center Y15

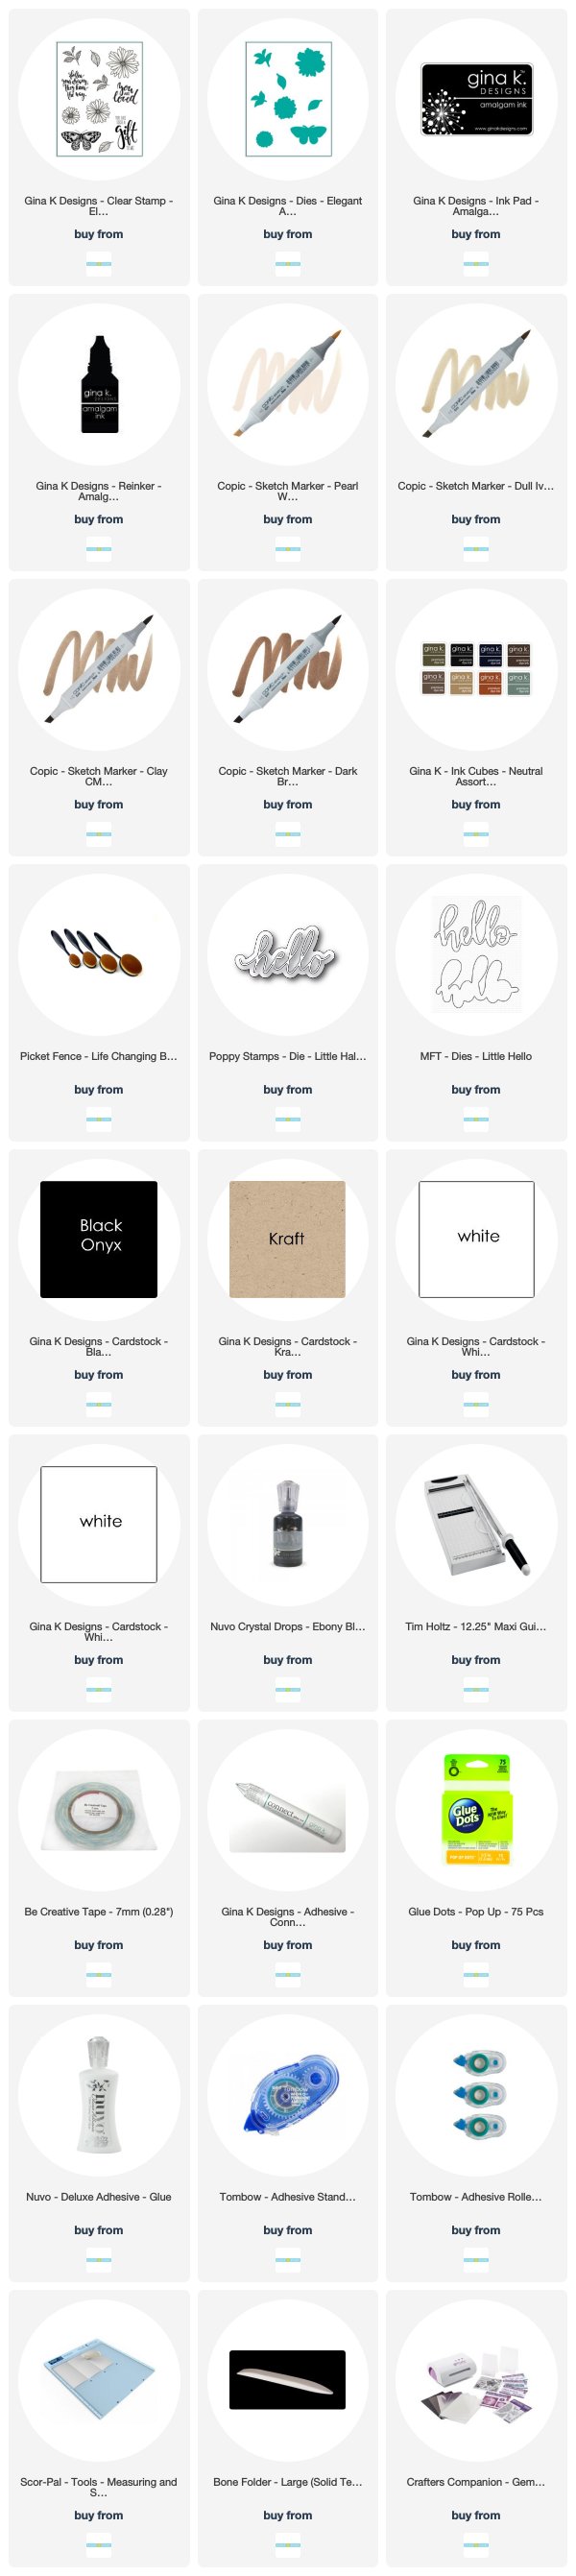
That’s it for me today, I hope you enjoyed my projects with the Gina K Elegant Asters. I have shared the products I used below with links to the Stamp ‘N Scrap Online Store.

Gina K Elegant Asters Read More »

Inspiring Poppies

Hello there! It’s Deb here today to share some more projects made, keeping with our Scrap ‘N Stamp theme of poppies this month. I’m using the beautiful Gina K. Designs Inspiring Poppies stamp set. If you haven’t already, be sure to check out our Poignant Poppies Blog Hop. You can start here on the blog at Tara’s post, and go from there. Be sure to comment on each blog post, to be entered to win a $50 Gift Certificate to Scrap ‘N Stamp!

INSPIRING POPPIES

This is the same Gina K. Designs stamp set that I used for my 2 cards for the Blog Hop. For those cards, I did both in a Remembrance Day theme. Today’s cards could be used for ‘thank you’ or ‘thinking of you’ cards – or of course, just because!

Gina K. Inspiring Poppies

This is a simple card, but the ink blended background adds a big punch, don’t you think?

CARD DETAILS

Start with a panel of smooth white cardstock. Use a blending brush, apply Worn Lipstick Distress ink to the outer edges of the panel. Next, blend on Festive Berries Distress ink to the middle, blending outwards into the Worn Lipstick ink.  When you’re finished blending, stamp the poppies image in Nocturne ink in the middle. Cover with clear embossing powder, and heat set.

Cut a black cardstock base and panel to go behind the blended panel. Cut another white panel to go on top of the card base. Stamp the sentiment, also from the Inspiring Poppies stamp set, in Nocturne ink, and heat set with clear embossing powder.  Finally, layer the panels together, using foam tape for the black and stamped panels.

Gina K. Inspiring Poppies

POPPIES ON RED CARDSTOCK

If you don’t have the time for blending, you can stamp the poppies directly onto red cardstock.

Gina K. Inspiring Poppies

You still get the big ‘punch’ of colour, especially using a red & white scheme, with the black stamping.

CARD DETAILS

If possible, this card is even more simple to create than the first! All you have to do is start with a panel of red cardstock. Stamp the poppies image twice in Nocturne ink, and heat emboss with clear embossing powder. Stamp the 2 sentiments, also included in the Inspiring Poppies stamp set in Versamark ink. Cover with white embossing powder, and heat set.

Next, layer your stamped panel offset to the bottom left on a panel of white cardstock, using foam tape. Attach this to a red card base. Now, finish off your card front by adding some white  pearls in the lower left and upper right corners of the red panel.

Gina K. Designs Inspiring Poppies

This makes a lovely ‘thank you’ card, doesn’t it? No one has to know how quickly it comes together!

I hope that you’ve been inspired to do some creative stamping of your own, today! Scrap ‘N Stamp is also having a November challenge on the Facebook page – just create any project of your own, making sure to use a poppy theme. Add it to the Facebook challenge page HERE, and you’ll automatically be included for a random draw. At the end of the month, one lucky participant will win a $25 Gift Certificate to Scrap ‘N Stamp!

Links are included below for the products I’ve used to create my cards.


Inspiring Poppies Read More »

Combining Stamp Companies

Hello and welcome back! One of my favourite things to do is to combine different stamp companies on one project. This actually took me quite awhile to get comfortable with. I always thought it was “taboo” to have a bunch of different brands on one card, haha!

But, in fact, by combining your sets, you open up a whole new world of possibilities! More often than not, they compliment each other very well. I chose to combine Gina K Designs and Lawn on my card today.

I coloured up some flowers and all the leaves from the Elegant Aster Stamp Set from Gina K. I’ve been loving coloured pencils lately so that was my medium of choice. I used the co-ordinating dies to cut each image out.

Now, I think the florals would have looked great directly on the card front but by using the Polka Heart Backdrop Die from Lawn Fawn it took the card to another level! By using a tone on tone look, the background die gave texture and a bit of dimension. I did trim the heart background just a bit.

I used a sentiment from the Wavy Sayings Stamp Set from Lawn Fawn and stamped it on a Simple Wavy Banners die cut.

I popped up the floral arrangement as well as the sentiment. I didn’t add any sort of embellishment which was hard to do! But I actually like the look of the simple, no fuss look!

Thank you for dropping by today! Have a great day and a Happy Thanksgiving!!

Laurie

Combining Stamp Companies Read More »

Free Shipping Anywhere In Canada