Friend Bloom
Happy Birthday Scrap’n Stamp!
I am thrilled to be with you today to celebrate and share with you two cards I have made for today, using the new Daniel Smith Watercolour Dot card.
On both cards I used the beautiful Memory Box Gentle Blossom, which I loved painting. Both cards also have the same embossed backgrounds, using different colours and layouts.
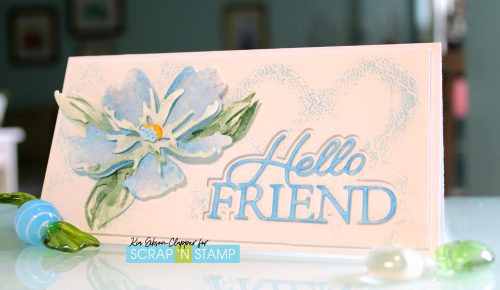
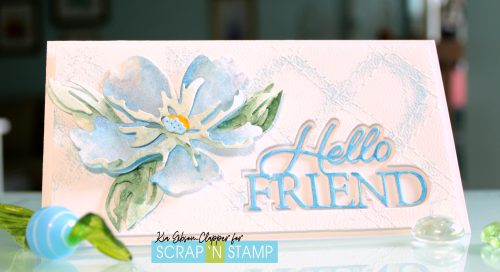
This card looks darker as I turned it away from the light of the window. I started with the flower doing my first layer using Lapis Lazuli Genuine.
It is a colour that I do not have as yet, but it is on my wish list. It made a beautiful base colour for this card.
I dried each layer of colour as I went along with my painting on both cards.
I then added in my main colour, which is Irridescent Electric Blue, doing a few layers using this colour, then blending in with Irridescent Sapphire.
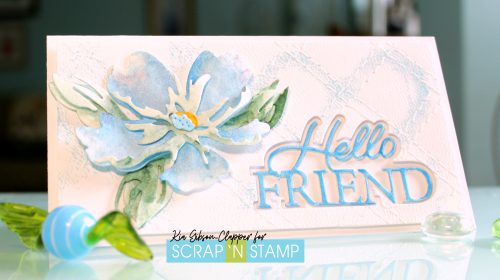
For the leaves and leaf centre I used Jadeite Genuine along with Cascade Green. The flower centre has a light wash of the Irridescent Electric Blue and Aussie Red Gold.
The background was done using the Quilted embossing folder with Tumbled Glass Oxide rubbed on the folder before running it though my Gemini. I then die cut the sentiment out using the shadow for the sentiment.
The sentiment is die cut 3 times, with the Fabriano Hot Press paper attached to the top piece.
I then attached the embossed piece to the card using foam tape. I styled the flower pieces and glued them together using Nuvo Adhesive, then attached to the card panel using foam squares.
I painted the sentiment using the Irridescent Electric Blue for several layers to achieve the dark colour.
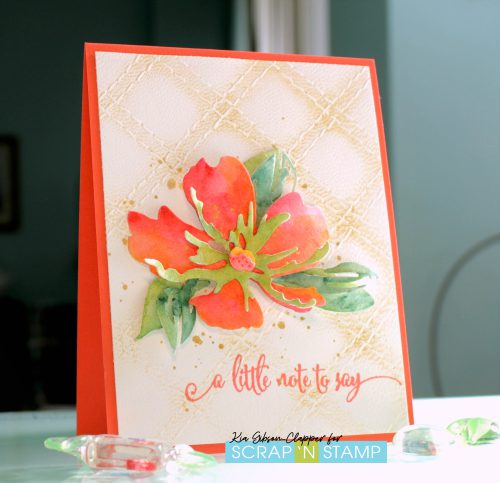
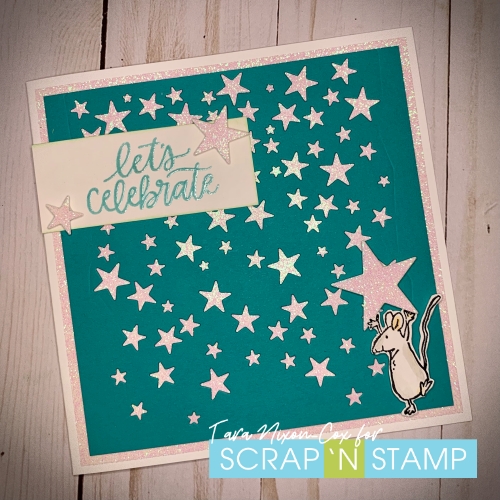
This is “A Note”.
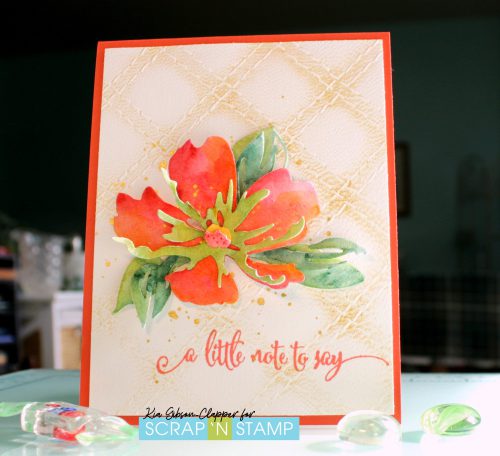
I am using the same dies and embossing folder for this tent card.
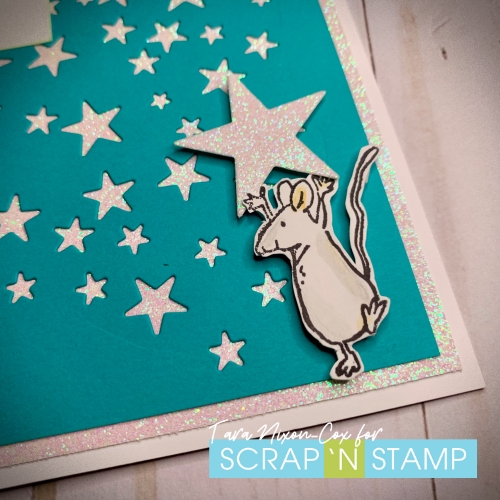
On the embossing folder I used Delicata Gold ink, then splattered using Gansai Gem colours in gold and attached the piece to my card base.
For the flower and leaves I am using Fabriano Hot Press watercolour paper. I decided that I wanted this card to have a saturation of the Coral colour, however I did not start with that colour.
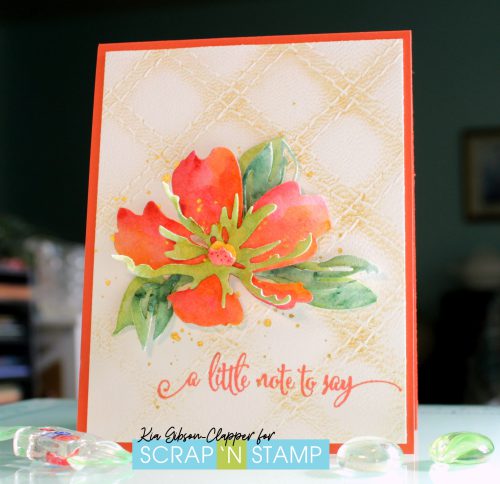
I first applied a base colour of Rose Madder Permanent. I then blended in Raw Sienna Light, and finally the Quinacridone Coral.
When finished adding the Coral I added splatters to the flower using the Gansai Gem Gold colour.
For the leaves and greens I used Cascade Green along with Serpentine Genuine. The flower centre is the Coral along with the Aussie Red Gold.
Once all the layers of colour were completed I styled the flowers and leaves, gluing them together and adding them to my card using foam squares.
Once all the layers of colour were completed I styled the flowers and leaves, gluing them together and adding them to my card using foam squares.
To finish up I stamped the sentiment using VersaFine Clair ink in Tulip.
I hope that you have enjoyed this rather long post today. I very much enjoyed using the Dot card to paint my cards and think it is the perfect way to check out the colours by Daniel Smith.
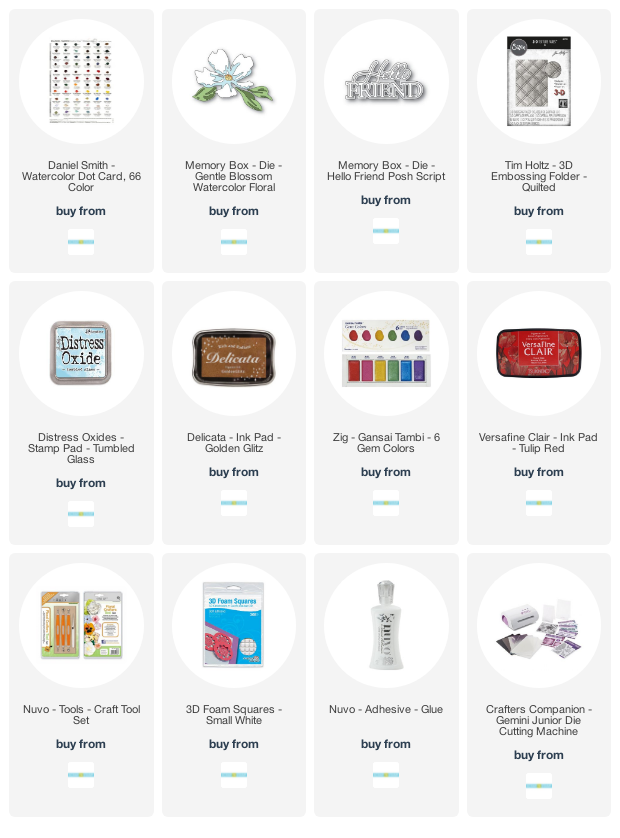
Following are Affiliate links to the Store for the products I used for these cards, at no extra cost to you.