Scratch-N-Stamp
Search

Checkout

Keep up with Sales, New Products and other events at Scrap `n Stamp. Sign up for our newsletter now!

What's New

Hot Deals


Memory Box

Time to Celebrate

Welcome back to real life after a holiday weekend! Today’s Random Acts of Cardness prompt on the Facebook Scrap ‘n Stamp challenge page is CELEBRATE! It would be easy to use this prompt for a Christmas card, but I’m ready to ease back into regular cardmaking. 😉  Here’s what I came up with:


When a card is this clean and simple, it’s nice to add a bit of a WOW factor, and for me, it was cutting the two My Favorite Things martini glasses out of sparkly blue Memory Box glitter cardstock. It’s one of teammate Jess’s “picks”, and it’s a good one! Gorgeous shimmer, and die cuts beautifully. I also cut a few extra martini glasses out of some scraps of blue cardstock – the narrow stems of the glasses are hard to pop up with foam tape, I find.  For a little background interest, I added a light grey stencil of brickwork… perhaps this celebration is taking place in a trendy bar? 😀  The sentiments come from two different MFT stamp sets, Balloon Bundle and A Toast to You. To finish, I layered everything on a grey card base to pick up on the stencilling.


Just a reminder, if you’re doing some after-Christmas shopping, you can use the code 10Lindsey for 10% off your order! Have a great week.


Time to Celebrate Read More »

Darling Deer

Hello my friend! It’s Deb here with a Saturday post for the Scrap ‘N Stamp Design Team. In case you didn’t know, each month in the Facebook group HERE, we post a list of words, one for each day of the month. The challenge is to choose a word prompt, create a project featuring that word in an image, and share it to the group using the hashtag #snschallenge. At the end of the month, one lucky participant is randomly chosen, to WIN a $50 Gift Certificate to Scrap ‘N Stamp! My word prompt for today is ‘reindeer’ – appropriate for this time of year, right? So I chose the new Sizzix/Tim Holtz Darling Deer Dies as my reindeer.

DARLING DEER

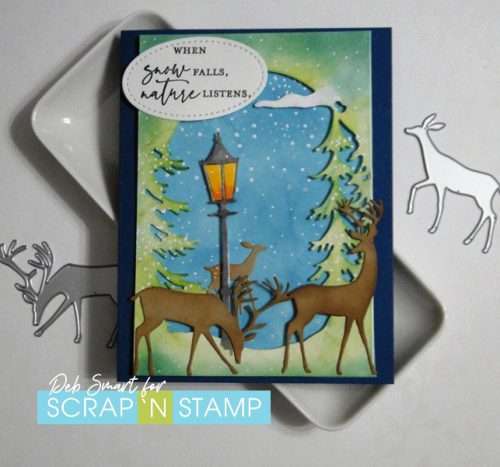
I just love the different poses & sizes of the 4 deer that come in this set. I’ve used 3 of the 4 in my card, along with creating the background with the Memory Box Lamplit Tree Collage Die.

Darling Deer

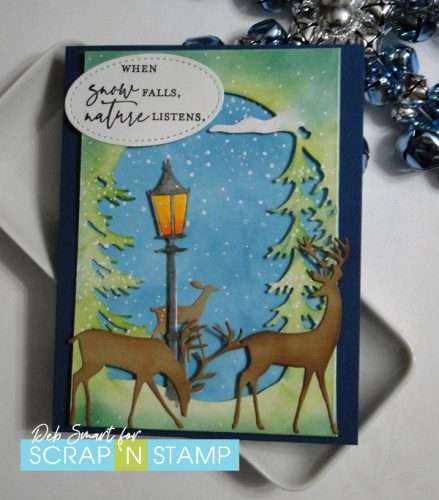
Now,  before you question why there is a lamp post with the deer – we’ve had deer wandering down our street, and in our front (and behind our back yard)!  Granted, we live at the base of a mountain, but they’re always breathtakingly beautiful!

CARD DETAILS

For the background, start with a piece of white or light blue cardstock (if you start with light blue, it cuts down on your ink blending time!). Blend on Broken China Distress Oxide ink, getting lighter towards the middle. Next, die cut the Lamplit Tree Collage using your Big Shot, and white cardstock. Blend different shades of green ink onto the trees and ground, darker around the edges and corners.  Blend orange and yellow for the lamp light, and colour the lamp with a dark gray marker. While you have your Big Shot out, die cut 3 of the Darling Deer from a light brown or kraft colour cardstock.  Apply Vintage Photo ink with a blending brush onto the deer, for shading.  For the smallest deer, keep it lighter, just adding a bit of blending to his rump. Then, add some dots on top, using a white Posca Paint Pen. This makes it look like a baby deer (yes, I know baby deer aren’t born in winter!).

Add snow to the background and foreground panels by stamping the snow from the Colorado Craft Company Kittens & Mittens set, in Versamark ink, repeatedly. Cover with white embossing powder, and then heat set. Add a few more snowflakes if necessary, using the white Posca Paint Pen.

Attach the die cut panel to the ink blended background with foam squares. Next, glue the deer into place. Stamp the sentiment from the Penny Black When Snow Falls stamp set in Nocturne ink, and then die cut it with a stitched Oval. Attach it to the top corner of the card front. Finally, add the card front to a dark blue card base.

Darling Deer

Wouldn’t this be a lovely scene to come upon? Definitely Instagram worthy – if I were able to stop saying “OH” long enough to take a photo!

JOIN THE FUN

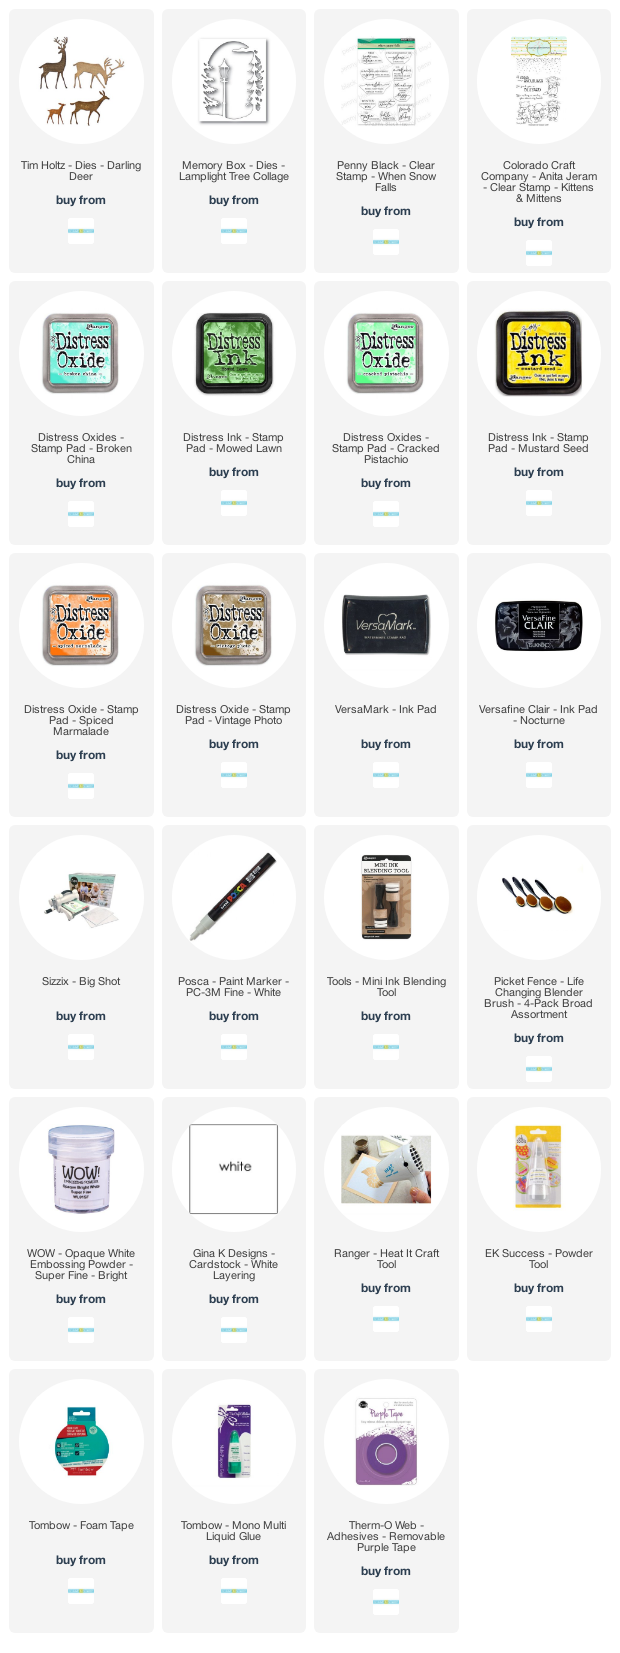
I hope that you’ll join the fun with our daily challenge! It’s also a great way to kickstart your creative process, and get lots of cards made at the same time! I hope you’ve enjoyed seeing my Darling Deer; I’ve included shopping links to Scrap ‘N Stamp for the supplies, below.

Darling Deer

Affiliate links are provided, at no cost to you. When you choose to use my links, I receive a small commission, which helps me maintain my blog & keep creating. Thanks in advance!


Darling Deer Read More »

Tuesday with Tara {take 321} Looks like snow y’all

Happy Tuesday!  Today the challenge word that inspired my card was STENCILS and I was excited as I just got some new ones from Vicki Boutin recently.  I’m such a fan of her colorful work and this Wild Soul Stencil from the Storyteller collection is the first product I finally got my hands on… I didn’t even notice it was a set of three! (I also got the 6×8 paper pad for some quick creations!).  I follow Vicki on Facebook and she often does tutorials, so I went looking for a fun stencil technique.  You can find the video I used as my inspiration on October 1- it’s a fun one.

So I started with the technique she shared using Distress Ink, a stencil and a bunch of water on a smaller scale since I was working with cards instead of scrapbook page.  Once it was ready, I trimmed it down to size and then as I was contemplating my card (and the SNOW my hometown in BC got yesterday!) I added a layer of snowflakes using this great stencil by Paper Rose.

Once I decided I wanted to embrace the snow theme I went digging through my supplies.  I recently got this big y’all die from Picket Fence (which I don’t imaging SNS will have anytime soon, but since I’m living in the south now it’s something I had to have it) so I found a sentiment to pair it with.  These sweet stitched snowflakes are from Memory Box, which I thought was a nice touch with the stitched edge on my background.  A few elements cut from book print adds a really fun touch, and I inked them in the same pale green (shabby shutters) Distress Oxide ink that I used with the stencil over the background.

This background has almost a tie-die feel to it… which I’m not sure is something I’ve ever seen with snowflakes before, but I kinda like it!  Hope you do too 🙂

Inky hugs,

Tara

Tuesday with Tara {take 321} Looks like snow y’all Read More »

Free Shipping Anywhere In Canada