Scratch-N-Stamp
Search

Checkout

Keep up with Sales, New Products and other events at Scrap `n Stamp. Sign up for our newsletter now!

What's New

Hot Deals


Stencils

Tuesday with Tara {take 48}

Happy Tuesday!  Today I’ve got a couple tags I created, doing a bit of experimenting to see which end result I liked best 🙂 Often I share just the end result, but the process is really the fun part, so I thought I’d show both and tell you a bit about what I did to get these results.

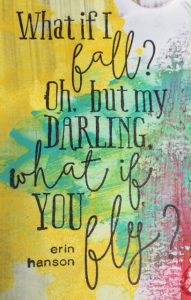
fly tag


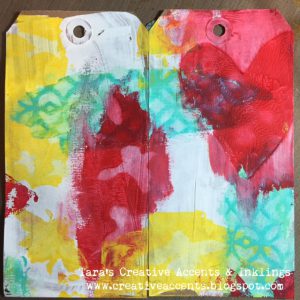
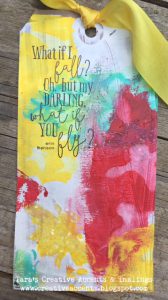
I started with two kraft tags, which I had primed with white gesso.  I wanted to use the baby wipe technique for my background, so decided to tape them together temporarily (washi tape on the back side) to give myself a larger work surface. This is not a new technique, but I hadn’t done it for a while!  Here’s a brief video from a few years back of Dina Wakley showing this technique, if you’re not familiar with it.  I applied paint with my fingers in smaller spots and overlapped colors as I moved across the tags.  I kept it simple working with 3 colors and stencils, and for some reason the bees really popped out for me.  Here’s the finished background.

fly tag (7)

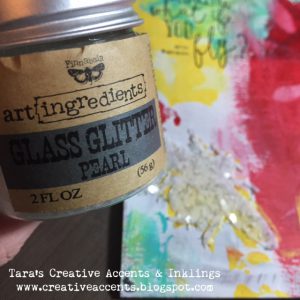
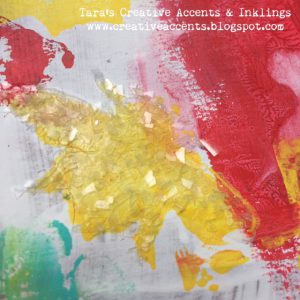
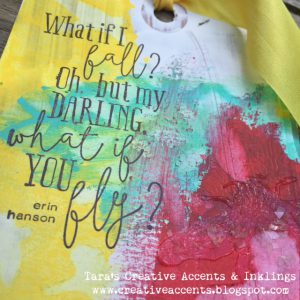
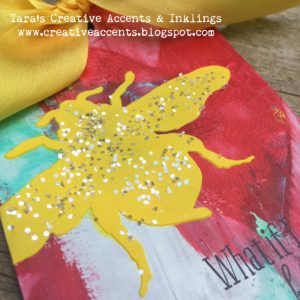
I got to visit the store in Granville Island last week and this sentiment stamp from Impression Obsession jumped out at me, so it inspired me to finish the tags with a focus on bees.  I first stamped the sentiment on each tag so that I wouldn’t smear texture paste by stamping later.  I wanted to draw attention to the yellow bee that was on the bottom of this tag, so lined up the stencil over it and applied transluscent texture paste, then some glitter flakes over it.  I repeated this closer to the sentiment on the tag.  Here’s how it came out.

fly tag (8)

fly tag (6)

fly tag (5)

fly tag (4)

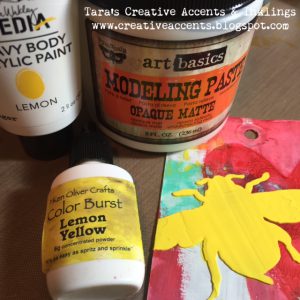
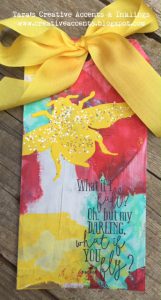
For the second tag my eye was drawn to the large red heart, so I decided to add a large yellow bee.  In mixed paste before, I’ve found they tend to lighten to pastel shades, I wanted bright so brought out the big guns and added both paint and Color Burst to a little bit of opaque white paste.  It turned out amazing!  As before, I applied paste through the stencil and added a bit of glitter after (a smaller chunky glitter this time).

fly tag (1)

fly tag (2)

fly tag (3)

*** I’m having some technical difficulties with some of my images today, so please check back later and hopefully I’ll have the sizing fixed!***

Thanks for stopping by- I hope you’ve been inspired to take the leap and experiment with your supplies!  Who knows, maybe you’ll fly…

Inky hugs,

Tara

Tuesday with Tara {take 48} Read More »

Tuesday with Tara {take 39}

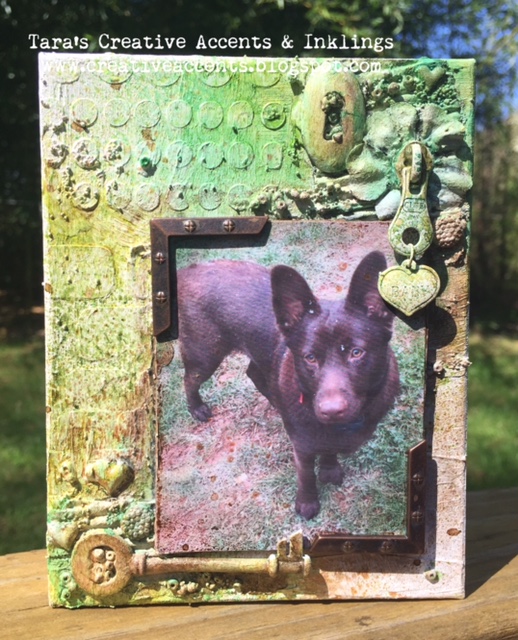
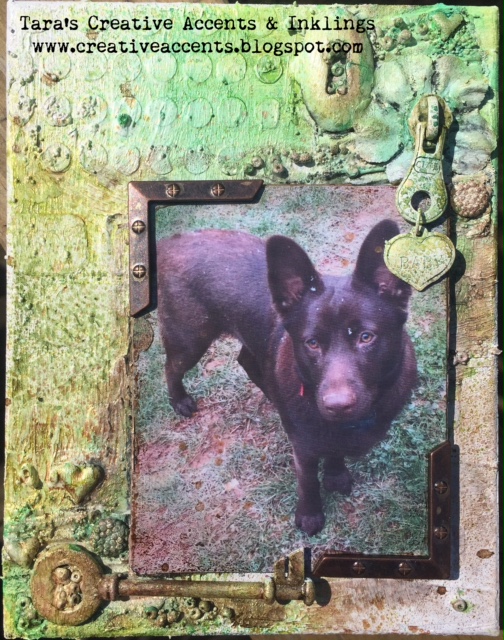
Happy Tuesday!  This week I was thinking about all the new Finnabair goodies in the shop and decided to make a mini piece of altered art inspired by her techniques and style.   It’s been a while since I played with this style, and I’d never tried incorporating a photo into my piece so I decided to pick a small canvas and a photo and go for it!

Hershey

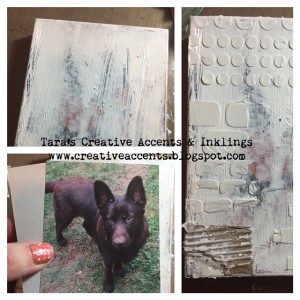
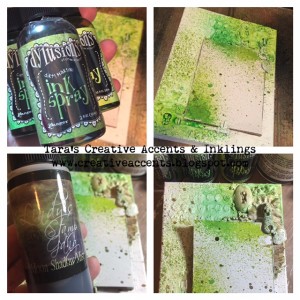
I started by coating my canvas (the lid from a box of greeting cards) with white gesso and trimming my photo and some white cardstock to the same size.  I applied texture paste through a stencil and adhered some torn corrugated cardstock with gel medium, then set it aside to dry.  While drying, I gathered some assorted embellishments for my project, including beads and some puffy heart stickers.  Color does not matter as everything will be painted with white gesso!

Hershey1

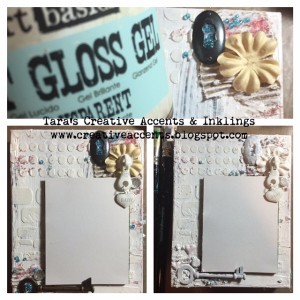
Use gel medium to adhere the photo to cardboard (I wanted mine to be slightly raised).  I decided to paint over the photo with gel medium as well to add texture and seal it in.  Arrange photo and embellishments on background and adhere with gel medium, then protect the photo with cardstock and paint everything with white gesso.  Set aside to dry (or use a heat tool to speed the process!)

Hershey2

Now to add some color!  I decided on shades of green for this project, so sprayed a few shades of Dylusions Ink Spray, focusing my aim on the embellishment clusters I created in two corners around my photo.  I dropped color from the Moonshine Mist by Lindy’s Stamp Gang (brown ink with green shimmer) over the Dylusions.

Hershey3

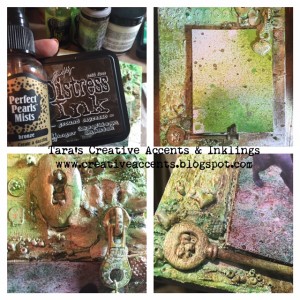
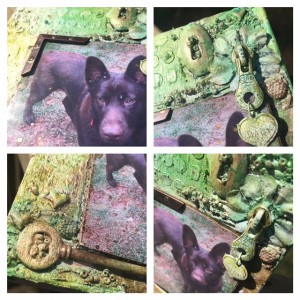
Lastly I added a bit of Distress Ink to the photo edges and some Perfect Pearl Mist in bronze.  I covered the photo again and sprayed the entire project.  The resins in the Perfect Pearls help to seal in the water based inks I used!  I also dropped a few spots of bronze directly onto my photo.

Hershey4

As a final touch, I added some metal photo corners to the photo, dropping a bit of Perfect Pearl Mist onto those to tie it all together.

Hershey5 Hershey6


Materials used:

White Gesso

Texture Paste

Dina Wakley “essentials” stencil

Dylusions spray paints (shades of green)

Moonshadow Mist by Lindy’s Stamp Gang (I used one with green shimmer, this one has blue!)

Perfect Pearl Mist, bronze

Assorted embellishments (like Finnabair Mechanicals!)

Finnabair’s Glass beads & Micro beads

Gel Medium (glossy or matte… whatever you have handy!)

Cardboard, cardstock and something to alter (I used a box lid from a set of greeting cards)


How about a chance to win some fun Mechanicals this week?  Leave me a comment & let me know, have you ever created something mixed media inspired by Finnabair?  The winner will get this fun mix, perfect for spring:

Mechanicals small

Have a creative day!

Inky hugs,

Tara


Tuesday with Tara {take 39} Read More »

Tuesday with Tara {take 37}

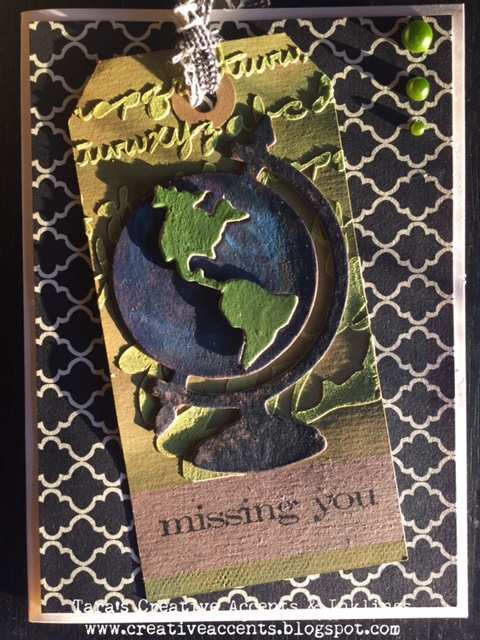
Happy Tuesday!  I wanted to share something GREEN in honor of St. Patrick’s Day coming up this week, so I’m sharing this card I made for  my awesome family back in BC.  It’s simple, but has some fun textures I hope you’ll enjoy!

missing you (1)

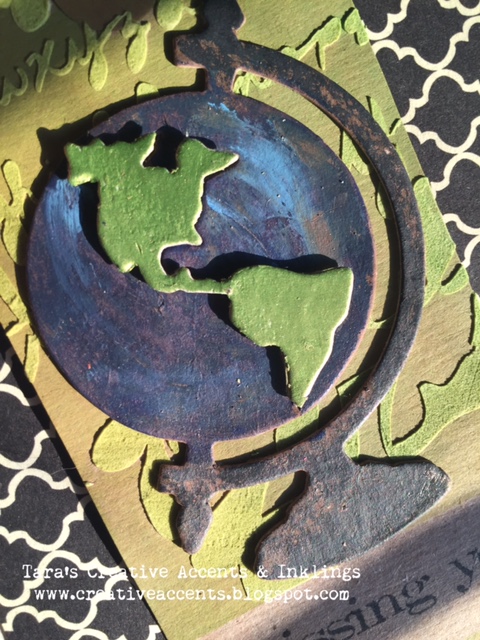
I used the mini globe sizzix die by Tim Holtz, cut from chipboard, painted with Distress Paint and sanded lightly.  I did some finger painting to add some blue to the globe base and Viva Decor Inka Gold to make the land shimmer in green!

The tag was created using Ranger Texture paste through a fun scripty stencil onto a kraft tag.  Once dry, I masked off a section at the bottom (a post it note or piece of low tack washi tape works great!) and inked the entire tag up with some green Distress Ink.  I lifted my mask and stamped the sentiment with black Archival ink.

missing you (2)

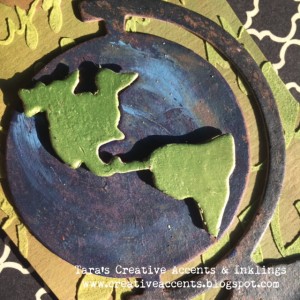
As you can probably see from the shadows, I cut the ‘land’ from the rest of the die and raised it with foam adhesive.  (I do apologize for the shadows- I forgot to take pictures until I was ready to send this off in the mail and had to work with less than perfect light!)

missing you (3)

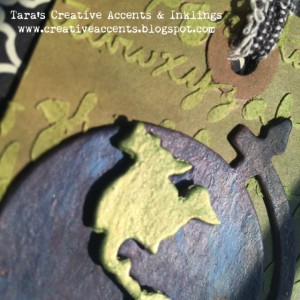
This last photo is just to show the awesome shimmer you get from the Inka Gold paint.  love that stuff!

missing you (4)


Materials used:

Tim Holtz Simple Sentiments Stamps

Tim Holtz mini globe sizzix die

Crafter’s Workshop alphabet script stencil

Kraft Tag, patterned paper, kraft card, chipboard

Ranger Texture Paste

Distress Ink & Paint (assorted black, blue & green shades)

Viva Decor Inka Gold Paint (love this yellow green color I used on the globe!)


The winner of our Memory Box Die giveaway last week is…

Mary-Frances Gray

Congrats!  Send us a message with your mailing address so we can ship off your prize 🙂

This week, you could win this fabulous stencil:

tcw-541s_749_detail

We are trying something new with a giveaway widget this week…please feel free to share this giveaway with your friends 🙂

UPDATE: I messed up the rafflecopter link a bit (oops) so used random.org to select from comments & fb likes… and the winner is “Julie aka mom” yay!  My mom is my most faithful blog fan, & leaves regular comments, so it’s exciting to see her win!  

Hope you have a fantastic week!  See you next week,

Inky hugs,

Tara

Tuesday with Tara {take 37} Read More »

Free Shipping Anywhere In Canada