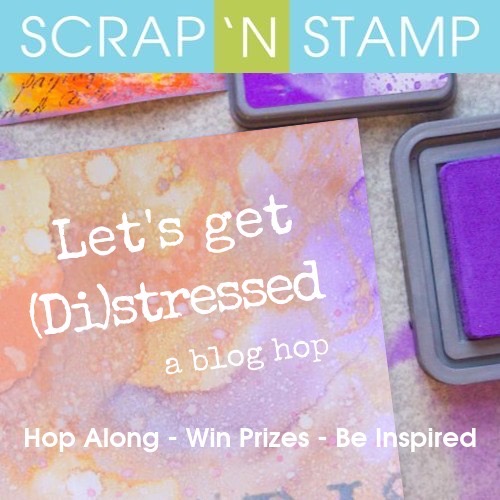
Let’s get (Di)stressed Blog Hop
EXPLORE DISTRESS OXIDE INKS WITH US!
Welcome to the Scrap ‘N Stamp October Blog Hop! We are thrilled to have you join us as we (Di)stress a bit this month… by having some inky fun with Distress Oxide Inks & Sprays! The Design Team has some gorgeous projects ready to inspire you AND this weekend you can save 10% on all things OXIDE (even the new sprays!) with coupon code “OXIDE10” (fine print: not valid with any other coupon, sale or promotion. Valid on in stock items only. Expires Oct. 6 at midnight)
Win Prizes
As you know, we love when you leave us some love by way of comments… so will once again be randomly selecting a commentor to win a $50 gift certificate to the SNS online store! (winner will be announced Oct 22) Be sure to comment at all the stops along the way- the full link up is at the end of this blog post!
Be Inspired
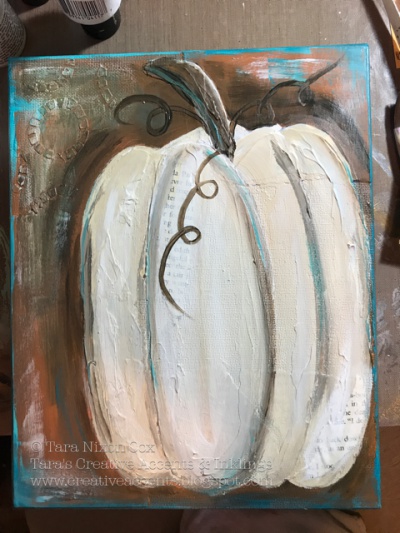
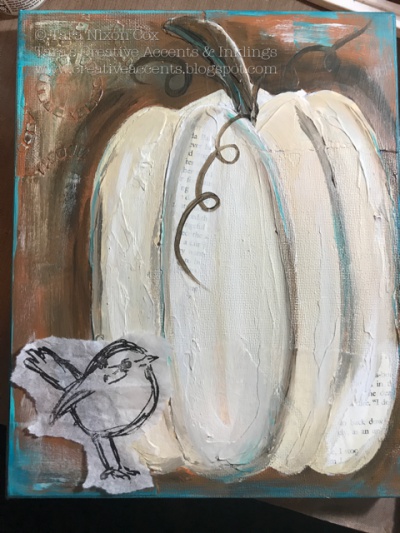
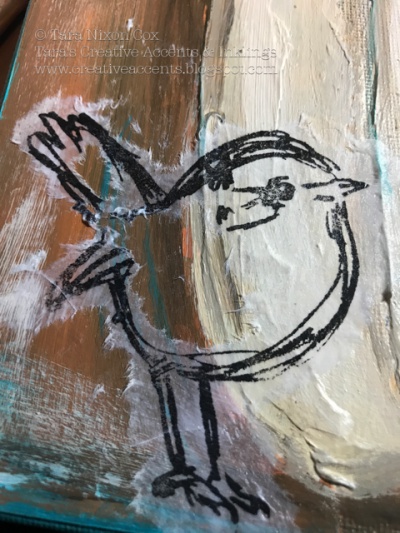
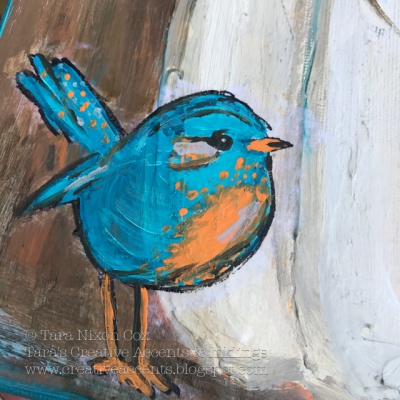
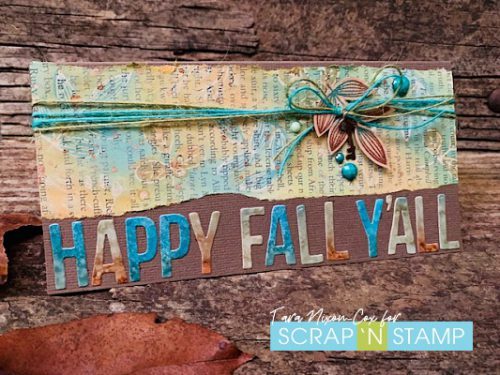
It’s my privilege to kick things off once again with my project! I use Distress Oxide Ink probably on about 80% of my cards these days. But the funny thing is, I was a bit stumped with what to share! Thankfully, I found some time to ink up something autumn inspired. I also got to use the die cut letters that were left from the project I shared on Tuesday– bonus!
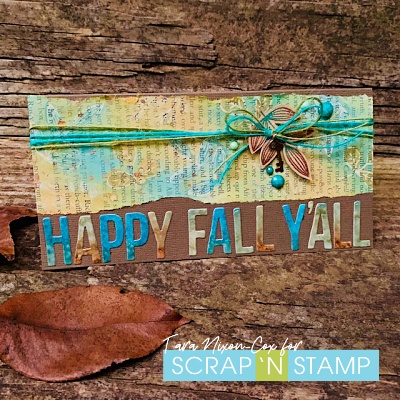
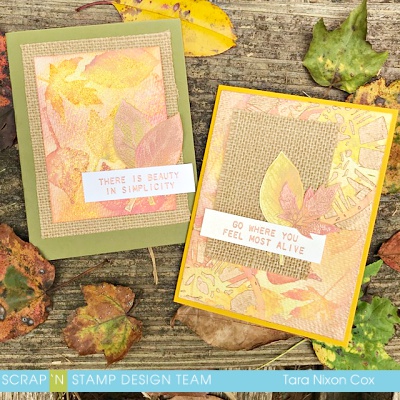
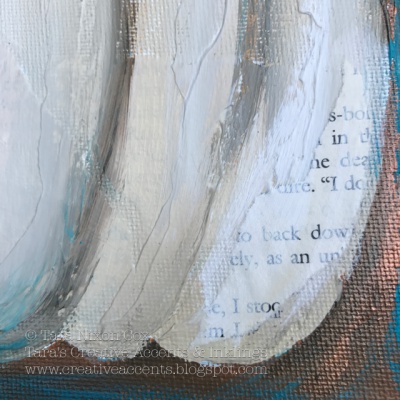
My card features a resist technique on book print paper, which I’d never tried with Distress Oxide Inks before. It was a bit touchy adding water to such thin paper, but it was fun to see it all come together! I started by clear embossing leaves from the Sketchy Flowers stamp set by MFT. I then added my first layer of ink with my Life Changing Blender Brushes by Picket Fence Studios.
(Di)stress with Distress Oxide
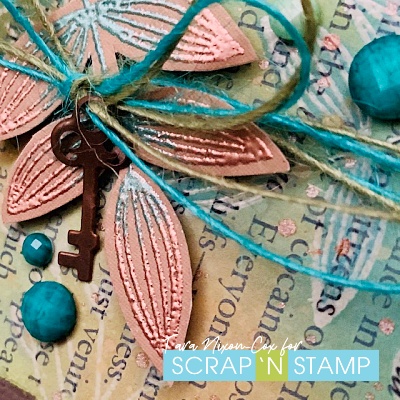
One of my favorite things about Distress Oxide Inks is how the colors layer over each other, especially when you add water to help them oxidize! I brushed on another layer of color, then rubbed and misted some Spiced Marmalade onto my kraft sheet and dabbed it over the surface. I used a slightly damp rag to wipe the ink off the embossed design, revealing the white leaves. It felt like it needed just a bit more colour, so I used the coordinating solid images to help my design stand out.
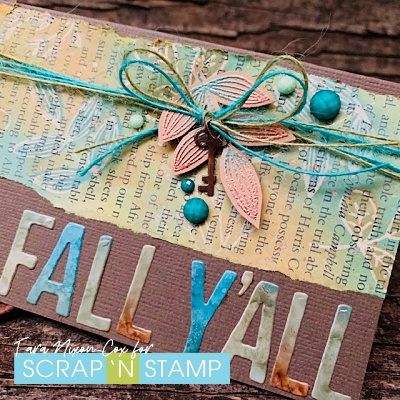
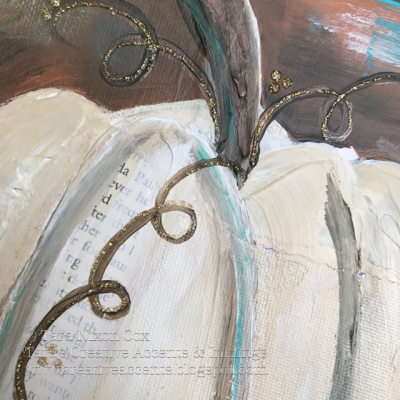
My card base was made from a scrap of brown cardstock, sized approximately 7″ square before I scored it. I heat embossed one of the leaves on a lighter brown cardstock in metallic teal and copper. I love the look of two-tone embossing, though it’s been a long time since I’ve done it! Details like twine, bling and some splatters of Distress Oxide Spray in Spiced Marmalade and Distress Spray Stain in Antiqued Bronze finish off my card.
I really love how the Old Paper Distress Oxide ink plays so well with the alcohol ink colors in my letters! It also really softens up the brightness of the other colors.
I hope you like my card, and I know you’re gonna love the rest of the projects in this Blog Hop! Next up you are heading over to see what Kia has for you! Below you’ll find the full list of links for the team.
Hop Along
Happy Hopping!
Inky hugs,
Tara
Let’s get (Di)stressed Blog Hop Read More »
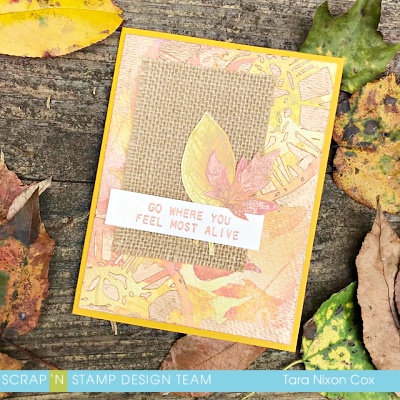
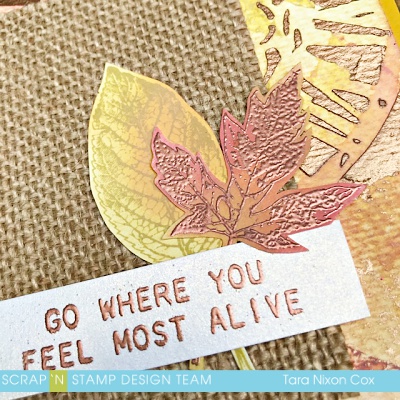
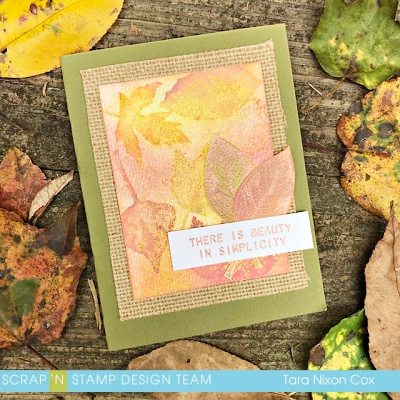
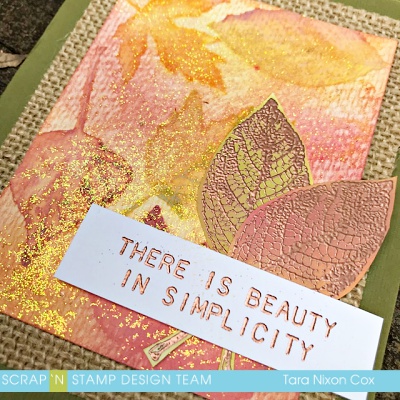
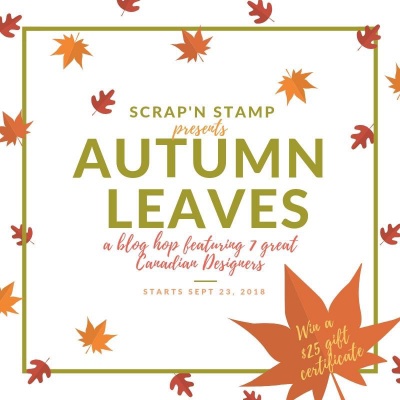 Happy Blog Hop Day! Thanks for joining us- I hope you’re cozy with a warm beverage of choice (tea, PSL, whatever floats your boat…) and ready for some autumn inspiration. We are celebrating colorful autumn leaves today! There’s 7 of us with projects to share, which means 7 chances to win a $25 gift certificate to spend in the store! Leave comments along the way and please feel free to share about the hop & leave some comments on facebook too 🙂 We are giving away THREE gift certificates and will announce the winners on October 2!