Hello all, Kia here today for our Christmas in July Random Act of Cardness Challenge. Today is Day 16, which is me, and my challenge is Gelli Plate Printing. If you do not have a Gelli Plate, now is the time. You will enjoy all that can be done with Gelli printing.
For my backgrounds today I decided to use Distress Oxide Inks, some using only one colour and some with two colours. One stencil of snowflakes was also used, and Saran Wrap, so minimal supplies. My Gelli Plate is 5 x 7 inches.
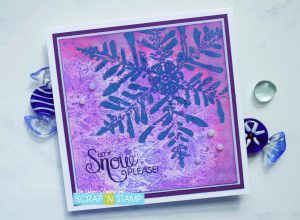
For my card above, this is done using Saran Wrap. I tear a piece bigger than my plate and crunch it up in a tight ball, then unravel being careful not to tear it. I apply my colours of choice direct to the plate, in this case Worn Lipstick and Wilted Violet, and smooth them out with my brayer. I then place the unwrapped Saran over the plate and lightly tap over it to make sure the wrinkles will transfer.
No need to worry as your ink will not dry while the Saran is over it. I lift the Saran, then apply my paper, and smooth the paper with my hands before lifting my print. (I use Hammermill Printer Paper cut in half for this). There is so much movement on the paper, it is fabulous.
I use my background I trim it up and attach to a piece of 80lb cardstock. I then trim that to the size I want for this particular card. In this case I trimmed to 4.75 square. I stamped the large snowflake from Colorado Craft using VersaFine Clair Ink in Paradise, and heat embossed with clear embossing powder. I then sponged on Picked Raspberry and Wilted Violet along two edges of the paper and added some Nuvo Shimmer Pen in Midas Touch to this area.
To finish I matted with a light lavender then a dark purple cardstock on a Neenah cardbase and stamped the sentiment using VersaFine Clair Ink in Fantasia. A few Nuvo Crystal Drops in Morning Dew completed this card.
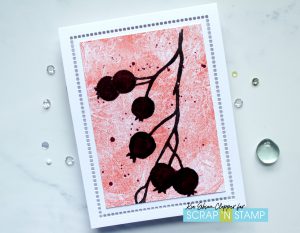
The card above is also done with Saran wrap and one colour. I simply moved the Saran in areas to move the ink below before pulling the print. I finished with attaching it to cardstock and cut the piece in two so I have a piece for the inside of the card as well.
Using VersaFine Clair Ink in Pinecone I stamped the Bramble Berry Branch from Penny Black. I did about 4 passes to ensure I had good coverage. I then painted on Nuvo Baked Cherry using Nuvo Aqua Pen from the Festive Season Set, and went over that with my Nuvo Midas Touch Shimmering Pen. It looks fabulous, I so wish the sparkle would show in pictures.

And finally for my last card for today, again I am using the Colorado Craft Snowflake stamp. For this background I used two colours and a stencil.
To do this I attach the Hammermill paper to my work surface at the top of my gelli plate with green tape. This ensures the paper will stay in place. I then applied Squeezed Lemonade, smoothed out with my brayer and took a print with the paper I have attached.
I then added Worn Lipstick, smooth it with my brayer and laid my stencil over the top, rubbing my fingers around the stencil to make sure it was making contact, then lifted the stencil and folder the paper back over the plate, smoothing out with my hands.
This is one of my favourite prints as it is unexpected for a snowflake. Once again I trimmed the print, attached to cardstock, then cut to size. I stamped the snowflake and heat embossed with Rose Quartz embossing powder, then stamped the sentiment using Red Carnation Ink. To finish I added Orange Marmalade Jewel Drops.
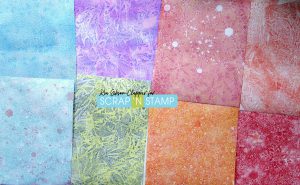
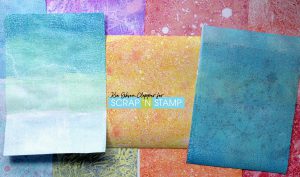
Following are some of the prints I made all with Distress Oxide Inks.
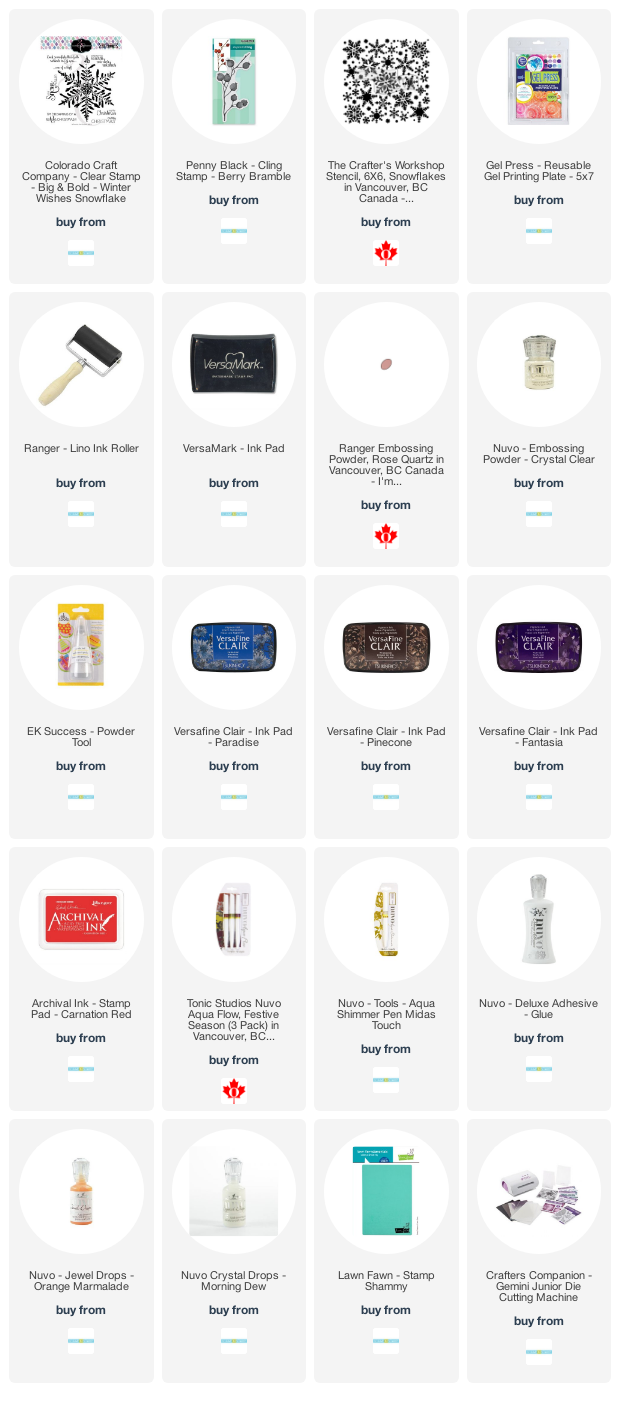
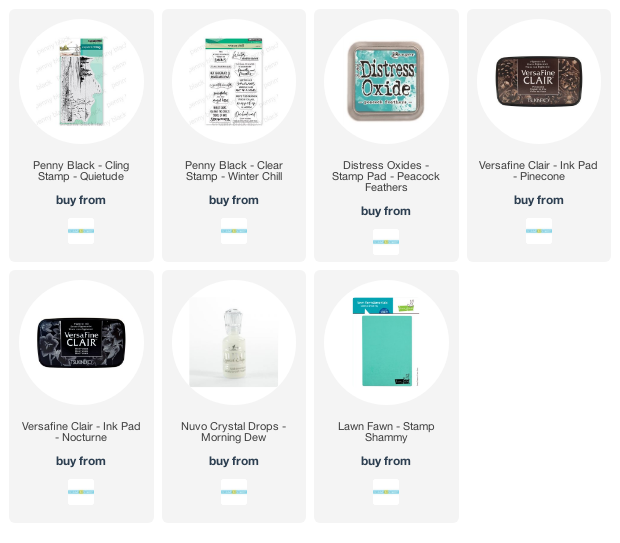
I hope you have enjoyed today’s challenge and I hope you can play along. Following are Affiliate Links for all but the Distress Oxide Inks, that I used for these prints.
Thank you for joining us today.