Scratch-N-Stamp
Search

Checkout

Keep up with Sales, New Products and other events at Scrap `n Stamp. Sign up for our newsletter now!

What's New

Hot Deals


Penny Black Stamps

Winter Hearts of Magic

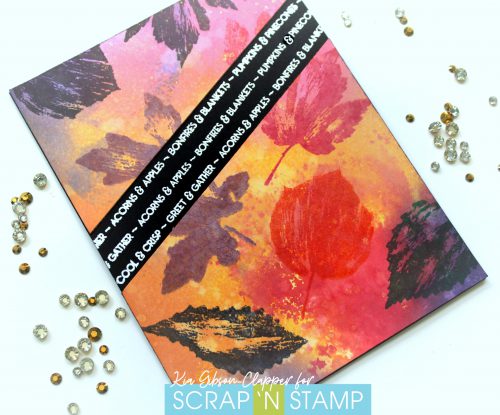
Hello everyone. Kia here with you today to share this adorable Penny Black image called Bundled Buddies.  I thought this would make a sweet card to make my friend for her granddaughter.

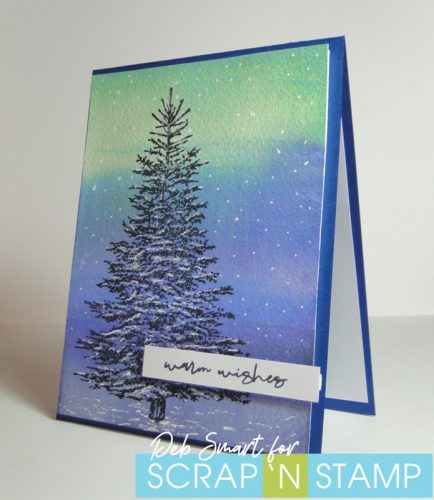
I started with a very pale pink card tent fold card.

Using Strathmore Bristol Smooth I did my background pieces using Nuvo Shimmer Powder Catherine Wheel. On plastic wrap I sprinkled the shimmer powder then spritzed with water before laying my Bristol in it. I then heat dried the piece and did a second round with the colour, again heat drying.

For the top layer I sprinkled the Bristol paper with the Shimmer Powder, then hit it with water, being sure to leave some white space. I attached the two pieces of Bristol together on an angle.

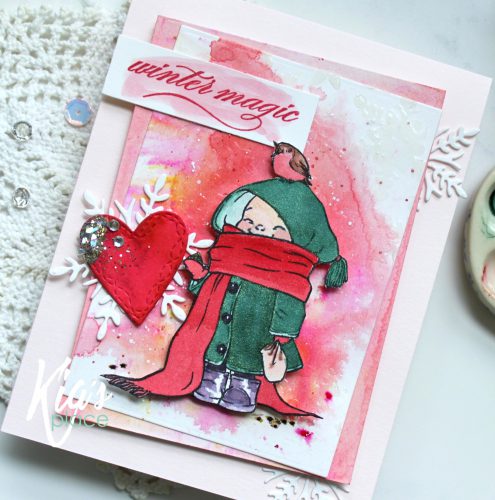
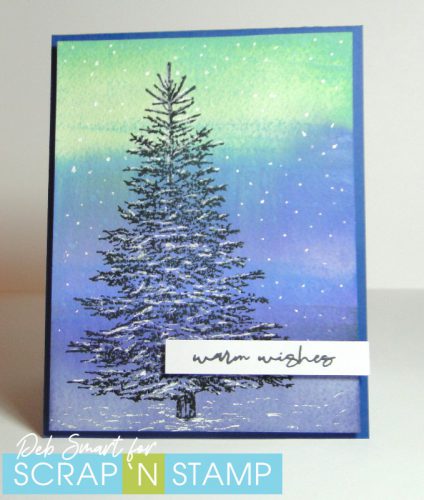
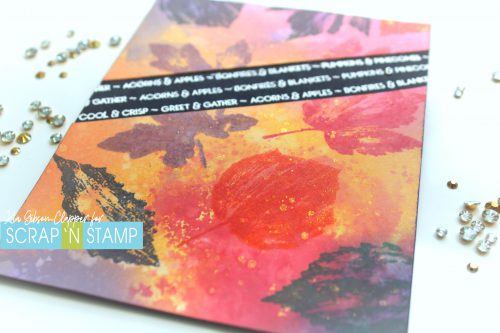
On the top piece of Bristol and using my snowflake stencil I applied texture transparent glossy paste and set it aside to dry. You can see the snowflake in the top right corner, and once you know what to look for the snowflakes will appear throughout the piece.

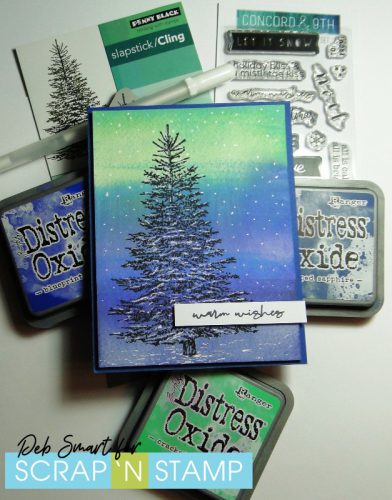
Using Fabriano Hot Press water colour paper and VersaFine Clair ink in Nocturne, I stamped the Penny Black image and proceeded to paint using the Nuvo Shimmer Powder as my colour. The red is several layers of the Catherine Wheel, and the green is several layers of the Green Parade. Once finished and dried I fussy cut her out.

I added the Bristol layers to my card base using Fun Foam and Be Creative/Scor-pal Tape. I then attached the Penny Black image using foam squares.

Using my Gemini Jr. I die cut the snowflakes and the Valentine Heart painting the heart the same as I did the scarf. I cut a couple of the snowflakes in half and tucked them in, and added the larger snowflake to the left.

On the red heart I added Glossy Accents to the corner and covered it with WOW Midas Touch Embossing Glitter and a few gems, then attached it over the snowflake.

To finish the outside I painted a light coat of the shimmer powder and stamped my sentiment using a red ink.

For the inside I again did a Bristol Paper panel using the same colours as on the front of the card. I die cut the snowflake frame, and sprinkled the powder on it and spritzed. then attached one of the snowflake halves and adhered to the background pieces.

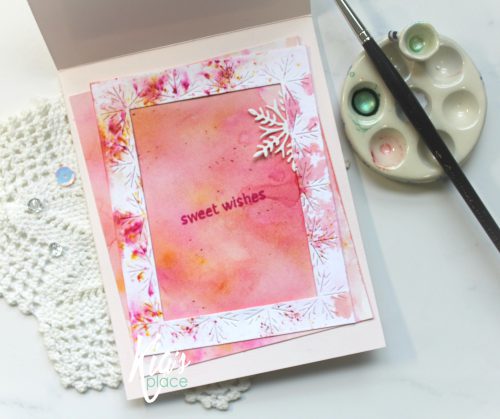
The inside is finished with the sentiment stamped from the Penny Black Little Charmer stamp set.

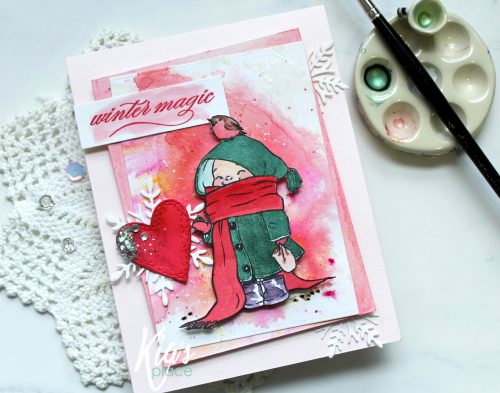
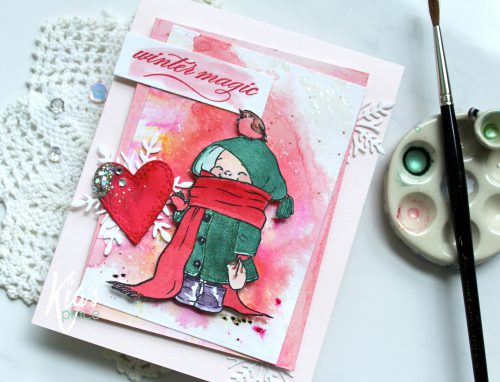
I so wish you could see the shimmer from the powder and the stencilling, it is very pretty.

I think it is the perfect little card for my friend to give her granddaughter, and I hope you enjoy this as well. Thank you for joining us today.

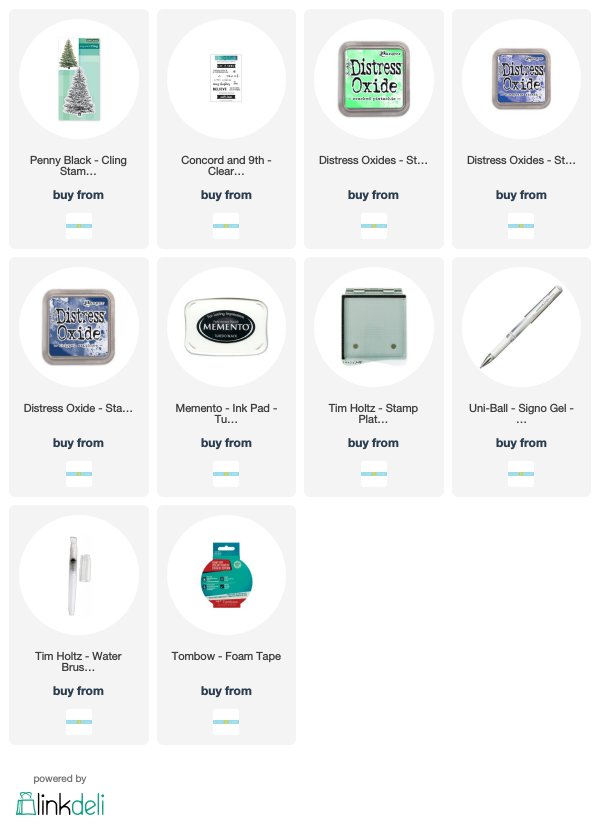
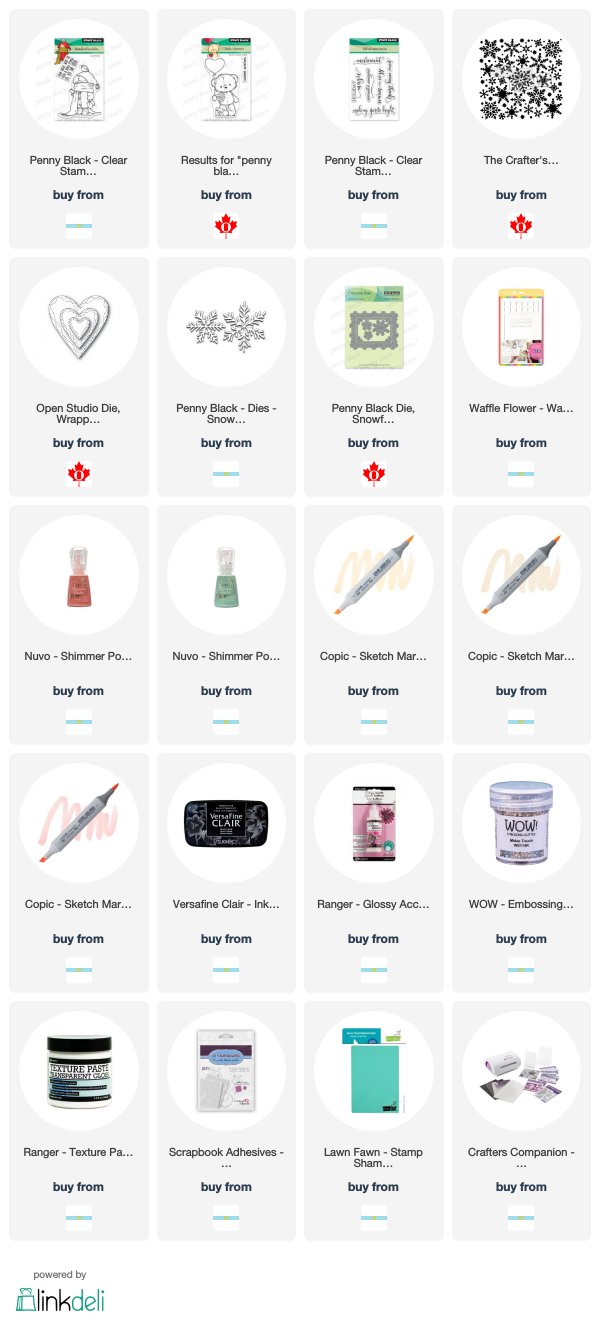
Following are Affiliate Links to the products I have used for this card today.


Winter Hearts of Magic Read More »

Create a Distress Oxide Watercolour Background

Happy Monday! I hope you’re all rested and ready to try something new today! At least, this technique was new to me; perhaps you’ve already tried it & love it. It’s Deb here today, and I’m continuing on with the Scrap ‘N Stamp blog hop theme of Distress Oxide inks for my card today.  I’m here to share with you how to create a Distress Oxide watercolour background.

WINTER TREE

This card is easily done, and doesn’t take long. That meets my criteria for a holiday card that I can mass produce!

The colours I used create an easy ‘northern lights’ effect. You can switch up the colours to create a ‘regular’ night sky, if you prefer.

CARD DETAILS

Start with a panel of watercolour paper. Next, apply the Distress Oxide inks directly to the paper – no blending tool needed! Start with Cracked Pistachio at the top, then Chipped Sapphire in the middle, and finally Blueprint Sketch at the bottom. Spray the entire panel with water, and then spread the colours across the panels, for full coverage. You just want to spread the colour – not work it into the paper. Now, prop your panel up against something, so that it’s at a slant. Allow the piece to dry, so that the water & colours move downwards as it’s drying.

Once your panel is dry, set it  up in your stamping platform, with the Penny Black Winter Tree stamp. Cover the stamp with Memento Tuxedo Black ink, and stamp onto the panel. Because of the texture of the watercolour paper, you’ll probably need to ink & stamp twice – that’s why you’re using your stamp platform!

After stamping, use a white gel pen to add snow to the tree, the ground and snowflakes. Stamp the sentiment from the Concord & 9th Mistletoe Messages stamp set in Tuxedo Black onto a strip of white cardstock, and trim to size.

Layer your stamped panel onto a dark blue card base with foam tape. Finally, attach the sentiment strip across the bottom third of the front, with more foam tape.

I hope that you’ve enjoyed our month of Distress Oxide projects, and are inspired to try out at least some of the different ways to use them. It’s not just stamping anymore! If you need some supplies, I’ve included links below for online shopping.

Have fun stamping – and getting creative!

Affiliate links are provided, at no extra cost to  you.


Create a Distress Oxide Watercolour Background Read More »

Cool and Crisp

Hello crafters, Kia here with you today sharing this autumn card I did for the blog.

In my neck of the woods it is a beautiful sunny day with cool breezes, so the perfect day to make this card.

Using Distress Oxide inks on my Waffle Flower Water Media Mat I did some pouncing and sponging on white cardstock using Spiced Marmalade, Picked Raspberry, Candied Apple, Wild Honey, Wilted Violet and Dusty Concord.

Once the piece was done I spritzed with water using my Holbein Water spritzer, which sprites out the water in different sizes of water droplets. So cool!

Allowing the panel to dry naturally, I then stamped the leaves using an acrylic block, Ranger Inks and VersaFine Clair inks. I then splattered using Nuvo Shimmering Pen in Midas Touch, which you can see in the picture below.

For my sentiment I used the cute autumn line sentence from Concord & 9th Lace Leaf Set, stamping three rows on black cardstock and heat embossing with white embossing powder.

With the help of my Make Art Stay-ion grid lines and magnets I marked off the cutting area of my panel to make room for the sentiment and applied the pieces to the black card.

I enjoyed making this card for my favourite season, and I hope you enjoy it as well. Following are Affiliate links, at no cost to you, to the store for the products I have used today.

Cool and Crisp Read More »

Free Shipping Anywhere In Canada