Scratch-N-Stamp
Search

Checkout

Keep up with Sales, New Products and other events at Scrap `n Stamp. Sign up for our newsletter now!

What's New

Hot Deals


Slimline

Sea Life Sentiments

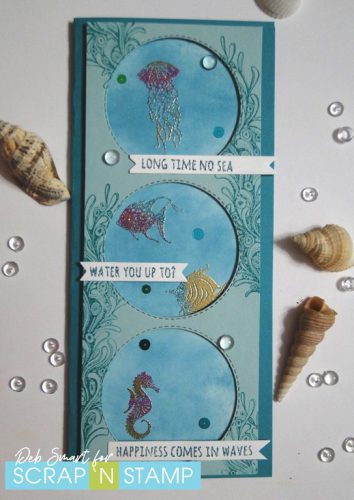
I hope that you’re playing along with the Scrap ‘N Stamp daily challenge, and enjoying yourself! I love visiting the challenge page HERE on Facebook, and seeing how creative everyone is.  If you haven’t joined us yet, it’s easy to do! Just join the page, create a project for one of the daily prompts, and share your creation on the page. Be sure to use the hashtag #snschallenge there, & on your other social media pages.  Play along with as many days as you want. Then, at the end of the month, one lucky participant is randomly chosen, and WINS a $50 GIFT CARD to shop Scrap ‘N Stamp! Today’s word prompt is ‘sentiments’, courtesy of me, Deb, for the Design Team.   I chose to use the Poppystamps Sea Life Sentiments stamp sets, along with some Lavinia sea themed stamps.

SEA CREATURES

I admit that I just love the design style of Lavinia stamps! And since I’ve been in a sea/ocean theme lately, it was easy to choose the Sea Creatures, and Sea Tangle stamps to use on today’s card.
Sea Life Sentiments

This card was fun to do – I just let my creativity have fun!

CARD DETAILS

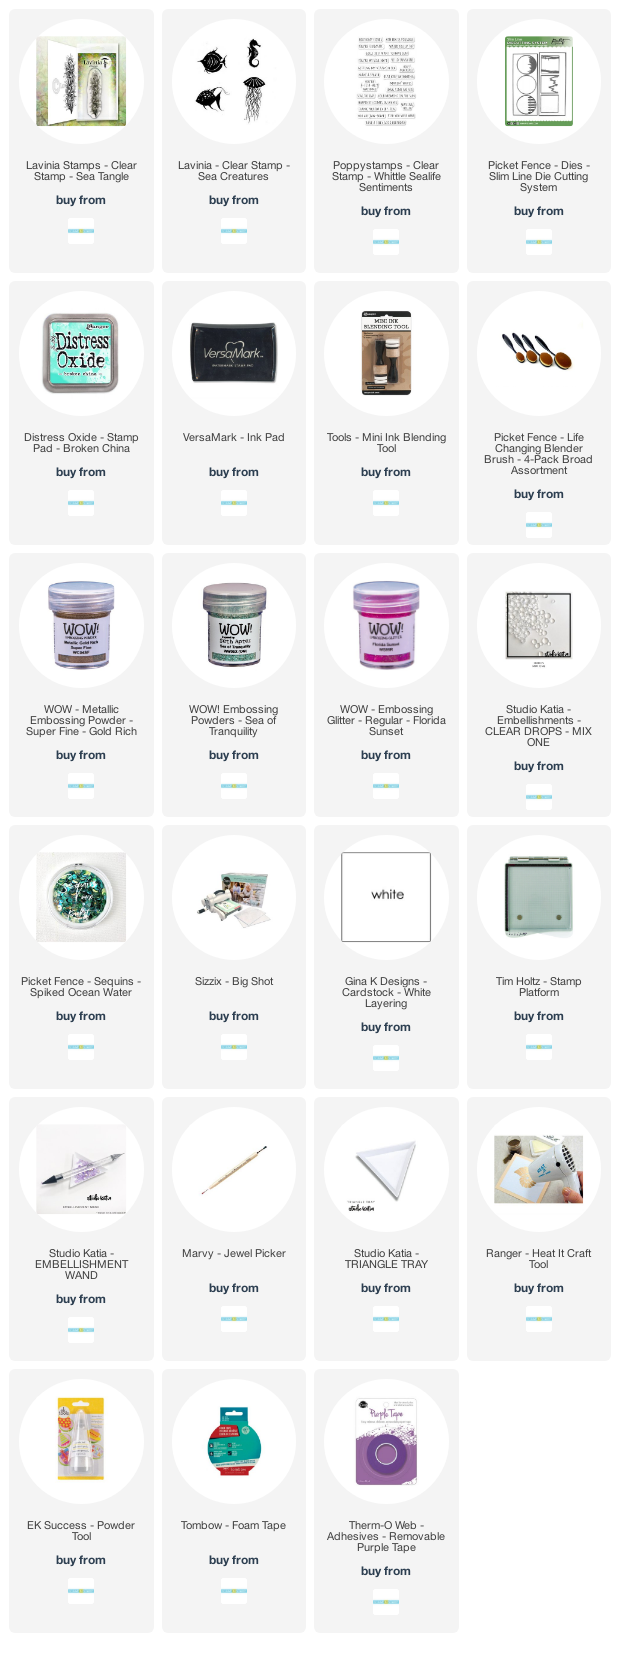
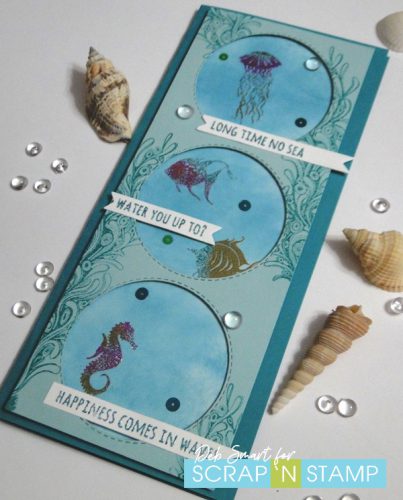
First, start with a blue slimline card base. Next, use the Picket Fence Studios Slimline Die Cutting System to cut a piece of white cardstock for the back layer, and a light blue/green piece for the top layer. Next, use the stitched circle from this same die set, and die cut 3 circles from the front.

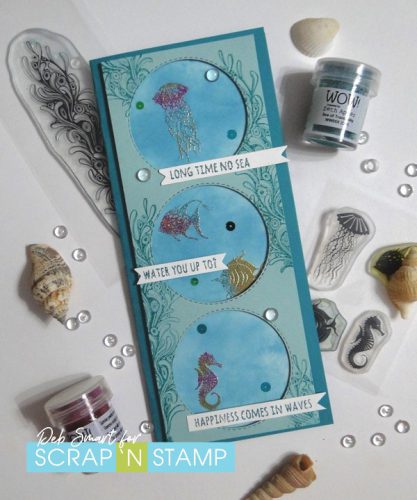
Use the Lavinia Sea Tangle stamp and a turquoise ink, and stamp randomly on the die cut front panel. Set this aside, while you work on the back panel.  On the white panel, use a blending tool to apply Broken China Distress Oxide ink within the 3 circle areas. Next, place the piece in your stamp platform, and line up the image stamps from the Sea Creatures set. Cover the stamps with Versamark ink, and stamp.  Have fun with the embossing powders – I combined 3 WOW embossing powders in Gold, Florida Sunset and Sea of Tranquility on the 3 images.  Shake off any excess powder, and set with your heat tool.  Stamp the sentiments from the Poppystamps Sea Life Sentiments set in Versamark, and use the left over combined colours of embossing powder for them.

Now, layer the stamped die cut/stamped panel over the image panel with foam tape or squares, and then attach the sentiments. Finally, add some sparkle with Picket Fence Studios Spiked Ocean Water Sequin Mix, and some clear acrylic bubbles.
Sea Life Sentiments

I love the sparkle  & shine from the mixed embossing powders, along with the sequins!

SUPPLIES

All of the supplies you need to create this card are linked below, from the Scrap ‘N Stamp shop. I do hope you’ll play along with my word prompt of ‘sentiments’ today! And of course, as many other days as you’d like to join, as well. Have fun creating!
Sea Life Sentiments

Affiliate links for supplies are provided. If you choose to use my links, you help support me in maintaining my blog, at no extra cost to you. Thanks in advance!


Sea Life Sentiments Read More »

Cute Critters!

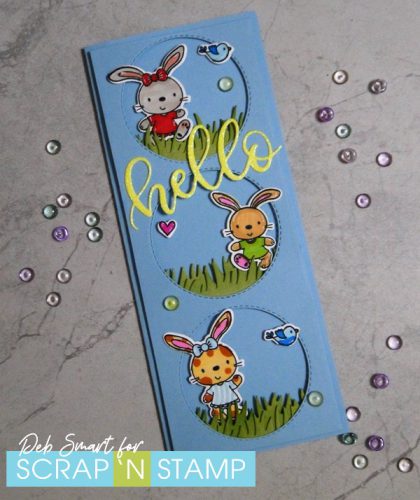
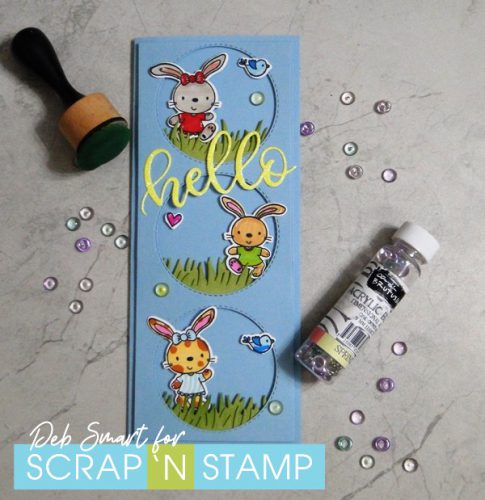
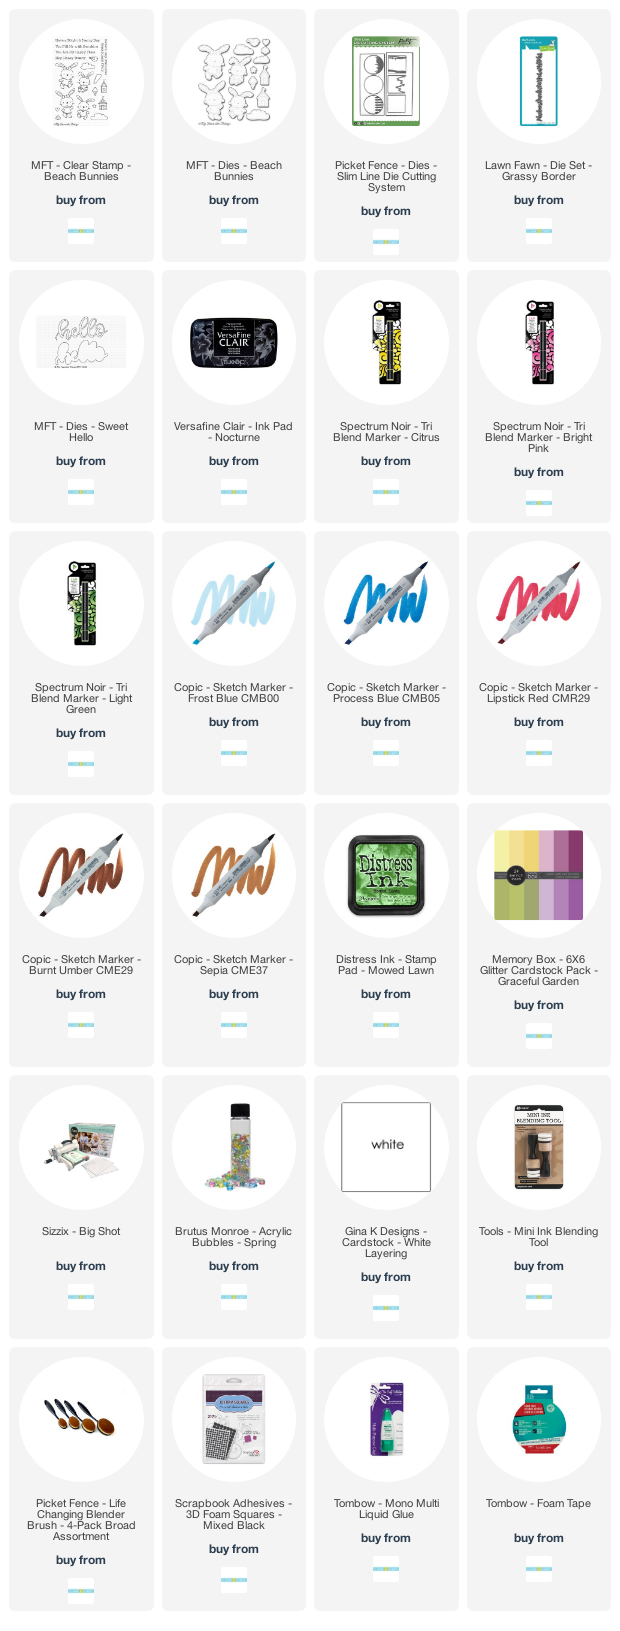
Today’s prompt for the Scrap ‘N Stamp daily challenge is ‘animals’, so I’m here to share some cute critters with you! It’s Deb here today, for the Design Team. I pulled out an older stamp & dies combo from MFT called Beach Bunnies, and combined it with the recent Picket Fence Studios Slimline Die Cutting System.

BEACH BUNNIES PEEK-A-BOO

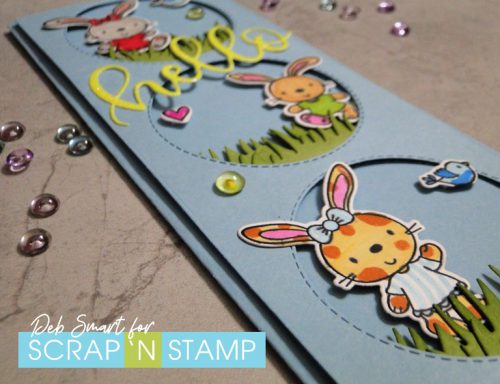
It was fun to give these bunnies their own personalities and fur colour!

Cute Critters!

The fun part is that you can choose any colour, for any part of this card, to use! I went with blue for my cardstock, for a ‘blue sky’ kind of background.

CARD DETAILS

Create your card base of 7″ x 8 1/2″. Score and fold in half at 3 1/2″, and set aside. Next, use the PFS Slimline Die Cutting  System to die cut the top layer, and each circle.  I like the added touch of the stitching around the circle dies. Next, use the Lawn Fawn Grassy Border die to die cut 2 strips of grass, from a mid-green cardstock.

Stamp the bunnies, birds and heart in Nocturne ink onto white cardstock. Use your favourite markers to colour the images; I used a combination of Copic and Spectrum Noir, from my stash. Now, use the coordinating Beach Bunnies dies & die cut each image. Add some interest to the die cut grass by blending on some Mowed Lawn distress ink, with a blending tool.

Now, add 2 layers of the grass to the bottom of each circle, using glue or double sided tape. Next, add this layer to the card base, using foam tape or squares. Add foam tape or squares to the back of the die cut images, and then place the bunnies inside each circle. Allowing the bunnies to be partially outside of the circles adds more dimension. Finally, add the birds, heart and a few of the Brutus Monroe Acrylic Bubbles to the front.

Cute Critters!

I decided to add  a die cut sentiment to the front. Use your Big Shot with the MFT Sweet Hello die, and the Memory Box bright yellow glitter paper. This glitter paper is very stiff & sturdy, so you don’t have to layer it. Attach it with glue to the card front, and you’re done!

JOIN THE DAILY CHALLENGE!

You can find the Scrap ‘N Stamp daily challenge in the Facebook Group HERE. There’s a new word prompt for each day of the month. You can play along as many times as you want! Simply share a photo of your card, and use the hashtag #SNSCHALLENGE & tell us which day it is for. At the end of  the month, one lucky person is randomly chosen, and WINS a $50 Gift Card to shop Scrap ‘N Stamp!

SUPPLIES

Have fun joining the ‘animals’ challenge for today, choosing whichever cute critters you want share! You can shop for supplies at the Scrap ‘N Stamp store HERE. Be sure to use my Designer Discount Code  10DEB at checkout, to get 10% off your total purchase! (regular priced items only, coupon codes cannot be combined).

Cute Critters

Affiliate links for supplies are provided. If you choose to use my links, you help support me in maintaining my blog, at no extra cost to you. Thanks in advance!


Cute Critters! Read More »

Mini Slimline Card

Hi Everyone!

It’s Susan here today with a mini slimline card and a quick video showing the process. Slimline cards are really popular right now and recently I’ve been seeing some mini slimline cards in the stamping community. I thought they were really cute and wanted to give it a try so I thought I’d bring you along so you could see the process.

Unfortunately not everything was filmed –  I had an issue with my phone during the process and didn’t get all the coloring. If you have any questions though please leave me a comment below and I will gladly answer them for you.

To start you need to cut a piece of card stock to 6 1/4″ x 6 1/2″.

On the 6 1/2″ side score down the middle at 3 1/4″ giving you a mini slimline card base of 6 1/4″ x 3 1/4″

Cut a panel measuring 6″ x 3″ for the top. This is the piece that we’ll be working with.

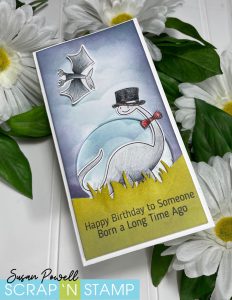
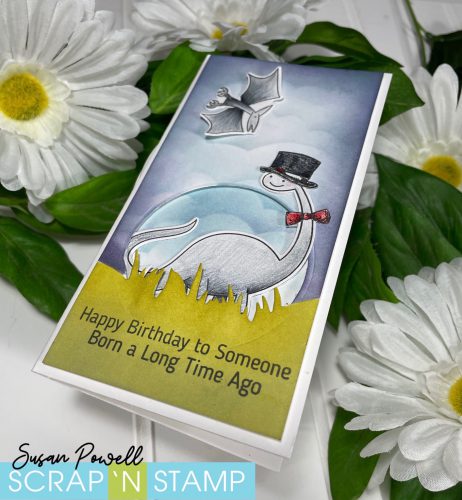
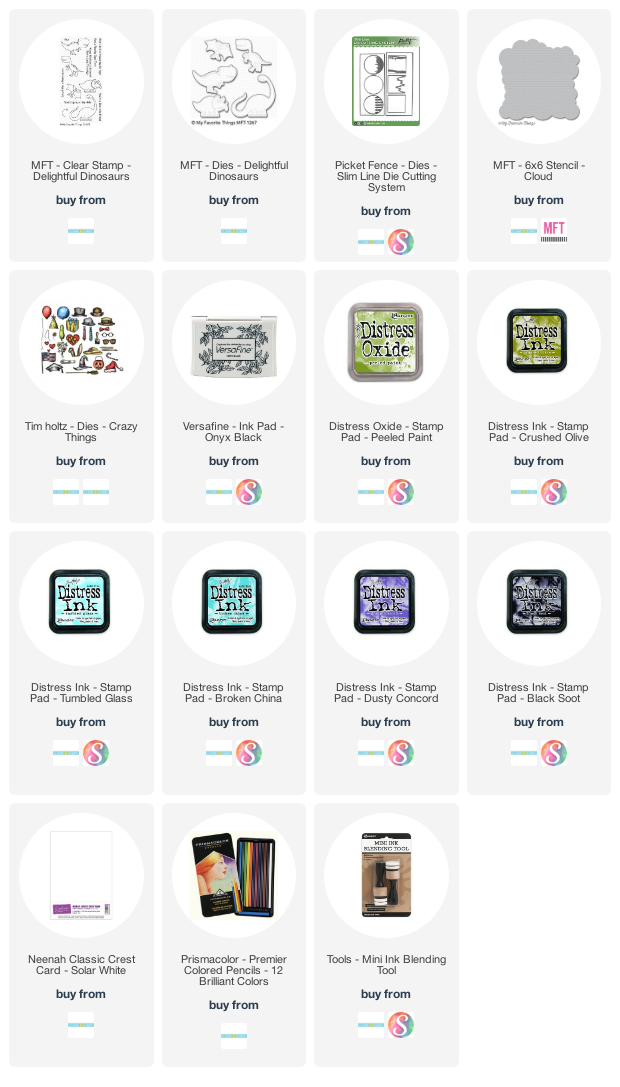
I used the circle piece with grass from the Picket Fence Studios Slimline Die Cutting System to cut an opening for the dinosaur to hang out in. The dinosaur and the pterodactyl are from MFT’s Delightful Dinosaurs Stamp and die set and are colored with Prismacolor Pencils. I used Crushed Olive Distress Ink and Peeled Paint Distress Oxide Ink for the grass. I used MFT’s Cloud Stencil, Tumbled Glass, Broken China, Dusty Concord and Black Soot Distress Inks to make the sky. I added some clouds to the card base behind the opening. Looking at it now I wish I added more of the Dusty Concord Distress Ink so it matched the front a little better.

The sentiment is stamped right onto the grass as I didn’t want to add another piece of card stock to the panel.

I decided that since the dinosaur is celebrating a birthday he needed a top hat and a bow tie in order to do it up right.

I adhered the pterodactyl with liquid glue down the center then popped up the wings with some craft foam.


I’ve made a short video showing how I made this card.

You can check it out here.


Happy Stampin’
and thanks SO MUCH for visiting!
Stay safe everyone!!
 
Susan


Shopping list:
Below are links to the goodies I used, just click on the icon to be taken to where you can purchase the product.
If you use my affiliate links when shopping there is no additional cost to you, I want to say thank you and that I appreciate it and you very much!


Mini Slimline Card Read More »

Free Shipping Anywhere In Canada