Scratch-N-Stamp
Search

Checkout

Keep up with Sales, New Products and other events at Scrap `n Stamp. Sign up for our newsletter now!

What's New

Hot Deals


Christmas cards

Christmas in July – Outdoors!

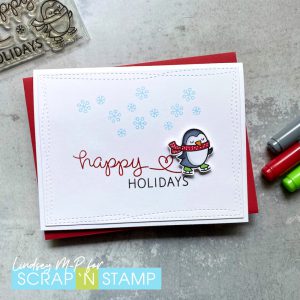
Hello and happy Monday! Hope everyone had a great weekend. I’m here today with a card for today’s Random Acts of Cardness prompt, OUTDOORS! I’m also sneaking in another Christmas in July card, using a sweet little stamp set from Lawn Fawn, Holiday Penguin. Here’s my card:

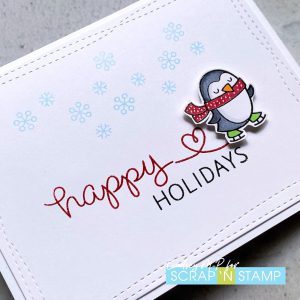
Isn’t he a cute little guy? I stamped and embossed him using Versafine onyx black ink and Wow embossing powder before colouring him with Copic markers. Yes, I had hoped to seamlessly stamp the sentiment and the heart skate trail, but since I didn’t, let’s pretend he did a little toe flip jump here, shall we? 😂  Using the two snowflake stamps included in the set, I added a flurry of snow above him. He is popped up on the panel that is die cut with a My Favorite Things wonky stitched rectangle die. An easily made card to add to the December stash!

Join our Facebook challenge page here! And remember to use the #snschallenge tag on social media so we can all see your creations! Thanks for checking in today – hope you have a great week in store!

Christmas in July – Outdoors! Read More »

Wreath and Wings

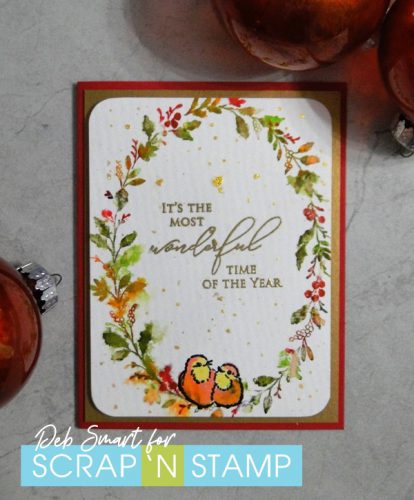
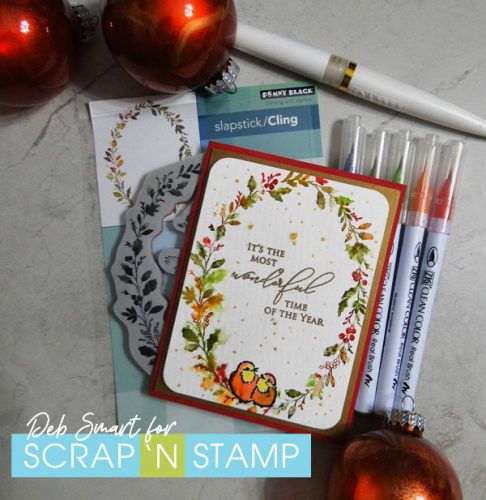
Ho ho hello! It’s Deb here, from the Design Team. Are you ready for the holiday season, such as it is this year? If you’re needing another Christmas or winter card, you’re going to love the one I have for you today. It uses the new Penny Black Wreath & Wings stamp set done on watercolour paper.

WREATH AND WINGS

I just had to do this with my Zig Markers for a watercolour effect. It’s such a soft image and this effect is perfect for it. Have a look.

Wreath and Wings

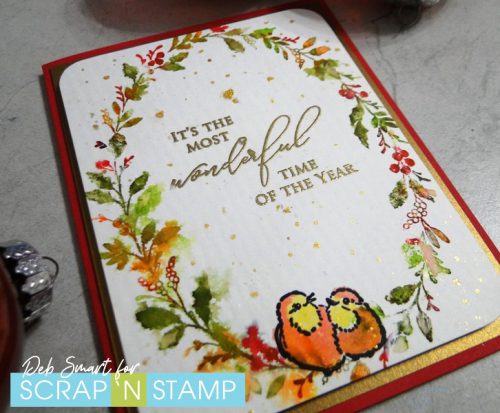
Those little birds are too cute, don’t you think?

CARD DETAILS

To use the Zig markers for watercolour, set up the stamp and your paper in a stamp platform. Use one colour marker at a time to apply the colour directly to the stamp. Mist either the stamp or the paper, and then press firmly onto the paper. I found it was easier to mist the paper with water, so that I didn’t miss the area I was colouring! Continue on moving from colour to colour, until you’re happy with your wreath. The colours I chose are as follows: 041 Light Green; 043 Olive Green; 070 Orange; 022 Carmine Red; 092 Blue Gray.

Clean and remove the wreath stamp, and then line up the bird duo stamp at the bottom of the wreath. Stamp the birds in Nocturne ink, and ensure that it’s dry. To colour the birds, I decided to use a couple of Distress Inks. To do this, press the ink directly onto the lid of your stamp platform, and pick up the ink to paint with a water brush, or small paint brush. I used Fired Brick and Mustard Seed ink colours.

For the sentiment, I chose another Penny Black stamp set called Peaceful Season. Still using the stamp platform, stamp in Versamark ink a few times for full coverage. Next, cover the sentiment with gold embossing powder, and set with a heat tool. To add a bit more interest to the panel, use a Nuvo Aqua Shimmer pen in Midas Touch, and splatter the gold ink over the card front.  Round off the corners, and then layer the card together with gold and dark red cardstock.

Wreath & Wings

As I’m writing this post, we’re having our first snowfall here in Vancouver! It’s put me in a very festive mood; especially watching all the birds at the feeders on our back deck.

SCRAP ‘N STAMP DAILY CHALLENGE

Of course, my card today coincides with the word for today in the Daily Challenge, which is ‘wreath’.  I hope that you’ve enjoyed seeing my Wreath & Wings card. Another reason I like this stamp set is it’s versatility; just change up the colours you use, depending on the season! There’s also 3 different bird images to choose from.

To play along with the Daily Challenge, find the list of word prompts in the Facebook Group page HERE.  You can play along with as many or as few days as you like – yes, you can backtrack, if you’ve missed some days. Just share a photo of your project, using the hashtag #snschallenge on the FB page and your other social media platforms, when sharing. At the end of the month, one lucky person is randomly chosen, and WINS a $50 GIFT CERTIFICATE to shop at Scrap ‘N Stamp!  Have fun – I’ll be looking for your project.

SUPPLIES

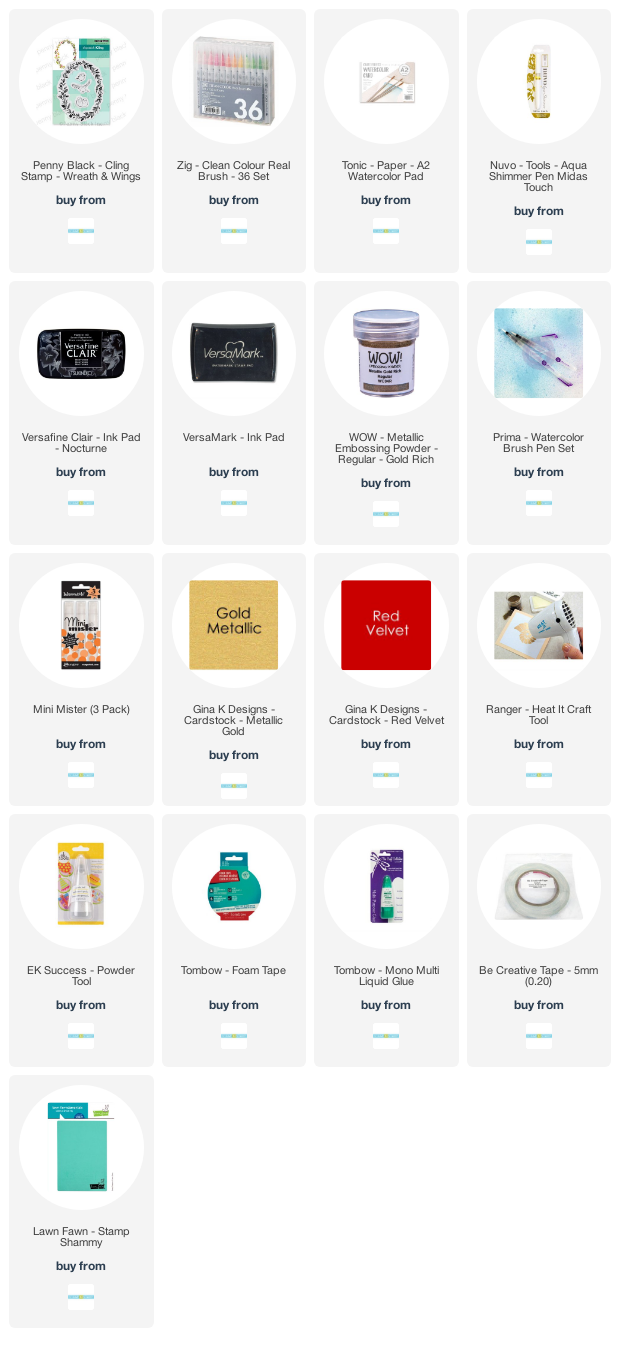
Affiliate links for products are supplied, below. If you choose to use my links, you help support me in maintaining my blog. Thanks in advance! Also, when you shop at Scrap ‘N Stamp, be sure to use my Design Team Discount Code 10DEB, for 10% Off your total order (regular priced items only).

Wreath and Wings


Wreath and Wings Read More »

Christmas Town

I’ve been looking forward to using my newest die set, and today is the day! They are from Hero Arts, called Tri Fold Edge Village Fancy Dies. I saw a great video on the Hero Arts blog on how to create a unique fold with these dies, which is how I created my Christmas Town card.

CHRISTMAS TOWN

If you’re playing along with the Scrap ‘N Stamp Daily Challenge, you’ll know that today’s word prompt is ‘town’. Coincidence? No! First, let’s have a look at the front of the card.
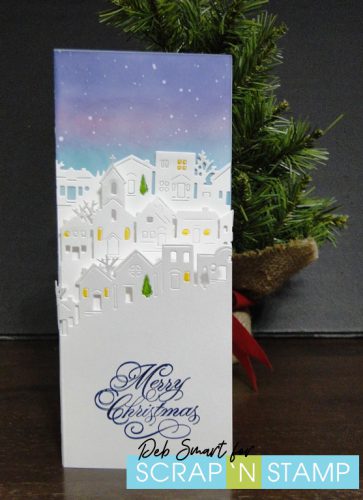
Christmas Town

Looks like your standard slimline card, right? Except – wait for it!
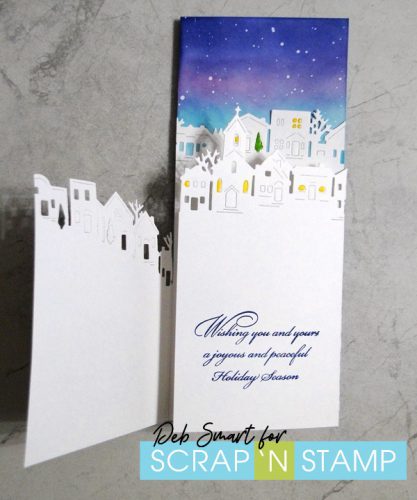
Christmas Town

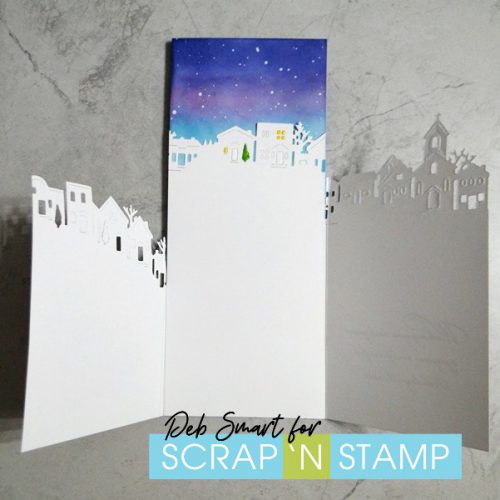
It opens up twice! The photo above shows the first, top-most layer opening to the left. The second layer, with the 3 line sentiment then opens to the right, leaving you the very middle to write your own message.

CREATE THE LAYERS

You could make your card so that it has the flat base, then the 3 front panels. I decided to make my card base a regular opening card base, because I like to write a lot in my cards to family! To do it this way, your card base measures 7″ x 8 1/2″, scored at 3 1/2″. Set this aside for now, while you create the layers.

Cut 3 pieces of white cardstock, one at 3 1/2″ x 8 1/2″, and 2 that measure 4″ x 8 1/2″.  Use your Big Shot with the die set, and die cut one of each.  If you like, you can use your markers to add colour to the evergreen trees and light the windows. Next, on the 1st die cut that is 4″ wide (this will be your middle piece) score it at 1/2″ on the right hand side. Now, take the final 4″ wide die cut piece, and score it at 1/2″ on the left hand side.  Fold back & burnish the score lines.  On the inside of the scored pieces, attach a strip of double sided adhesive tape.

CREATE BACKGROUND & ASSEMBLE

Now you need to create your background. On a piece of 3 1/2″ x 8 1/2″ white cardstock, blend on Distress Oxide inks for a night sky. I chose Broken China, Dusty Concord and Chipped Sapphire. Add some falling snow by flicking on watered-down white paint. Now, cut the length of your 1st die cut (the 3 1/2″ wide piece) down to about 6 1/2″ tall. Attach it to your ink blended background with liquid glue. Decide on how you want to layer the next 2 pieces, and trim them down as needed.

Next, remove the backing from the tape on your 2nd layer, and attach that to the right hand side of the card front. Repeat this with the final piece, attaching it to the left hand side.  You can now attach your card front to the card base.  Add sentiments to the front and middle layers, in a dark blue ink. I chose sentiments from the Penny Black Peaceful Season stamp set.
Christmas Town

The photo above shows how your card looks, with both front ‘flaps’ open.

CREATE YOUR OWN CHRISTMAS TOWN

Of course you can skip the double flap openings, and simply attach each layer on top of the other! However you choose to do it, have fun, and make it your own creation.   To play along with the Scrap ‘N Stamp Daily Challenge, share a picture of your card on the Facebook challenge page HERE. Be sure to use the hashtag #SNSchallenge there, and on your other social media sharing sites. At the end of the month, one lucky person is randomly chosen to WIN a $50 GIFT CARD to shop at Scrap ‘N Stamp!

SUPPLIES

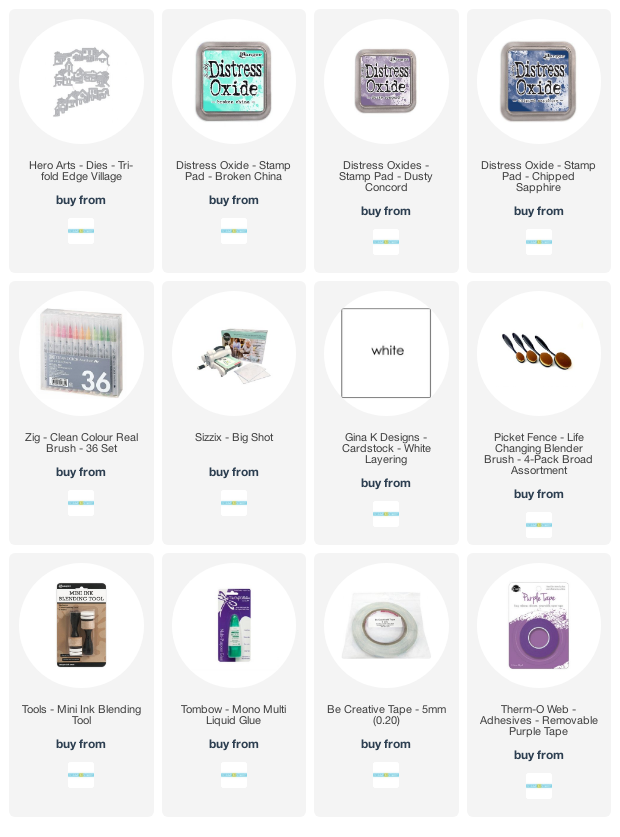
Shop for supplies to re-create this card at the Scrap ‘N Stamp store.  Be sure to use my Design Team Discount Code 10DEB at checkout, for 10% OFF your purchase! (only on regular priced items).   If you choose to use my affiliate links, you’ll be helping to support my blog, and creative projects. Thanks in advance!

Christmas Town


Christmas Town Read More »

Free Shipping Anywhere In Canada