Scratch-N-Stamp
Search

Checkout

Keep up with Sales, New Products and other events at Scrap `n Stamp. Sign up for our newsletter now!

What's New

Hot Deals


Design Team

Easter Sunday With Scrap ‘N Stamp

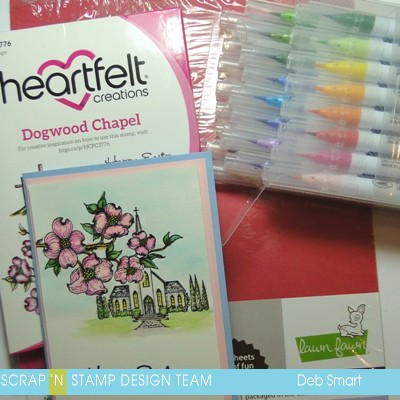
Hello stamping friend, and Happy Easter! However you celebrate, or even if you don’t, I hope you’re enjoying your day. It’s Deb here today with a special Easter Sunday with Scrap ‘N Stamp Design Team post. It’s my turn to share, so of course I had to include the celebration of the day. I’m using a brand new stamp set that I just ordered, called Dogwood Chapel, by Heartfelt Creations. This is also my first time using any stamps from Heartfelt Creations, and I must say, I’ve had a good first impression!

DOGWOOD CHAPEL

This stamp set is deeply etched red rubber, ready to use with your clear blocks and stamping platform. They give a nice, clear image, and the details are easily visible.

Easter Sunday With Scrap 'N Stamp

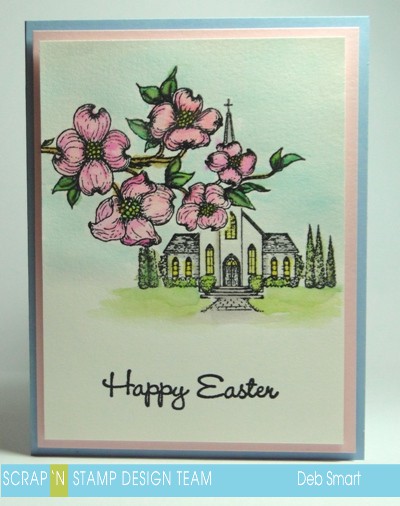
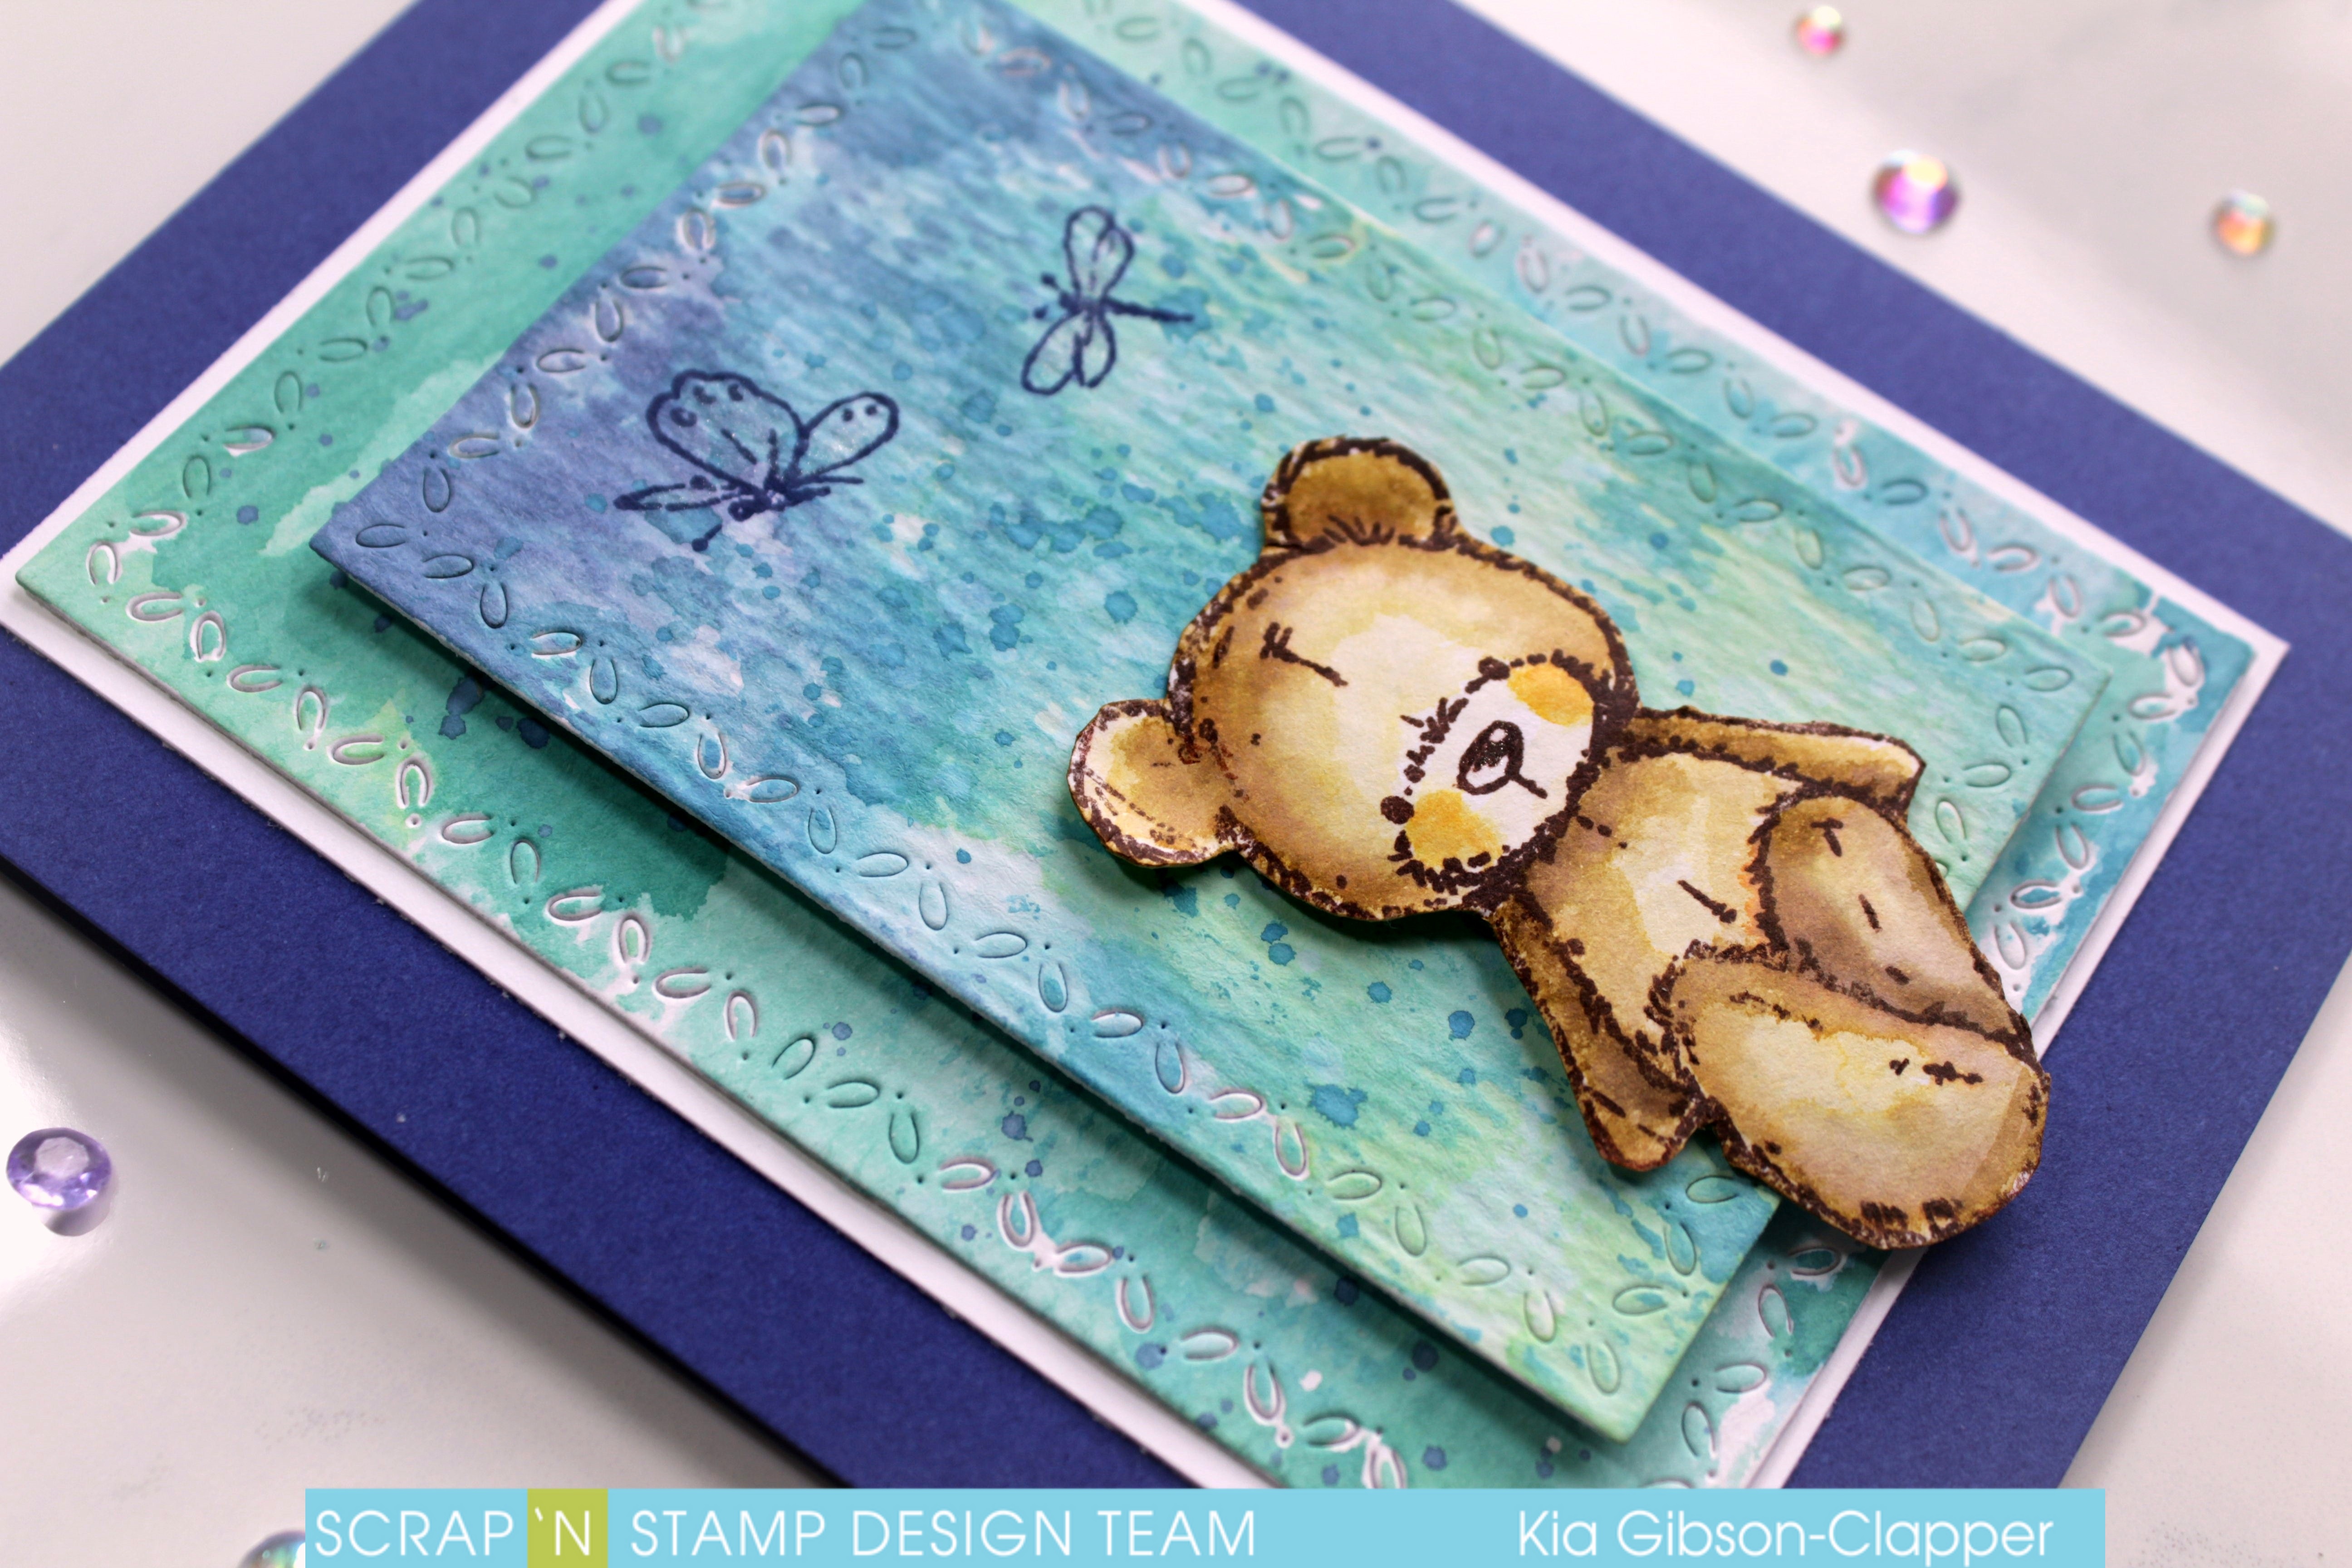
I used two of the 5 stamps from the Dogwood Chapel stamp set; the chapel and the dogwood branch. I wanted to create a scene as if the chapel is in the background, and you’re looking past a lovely flowering dogwood branch.

CARD DETAILS

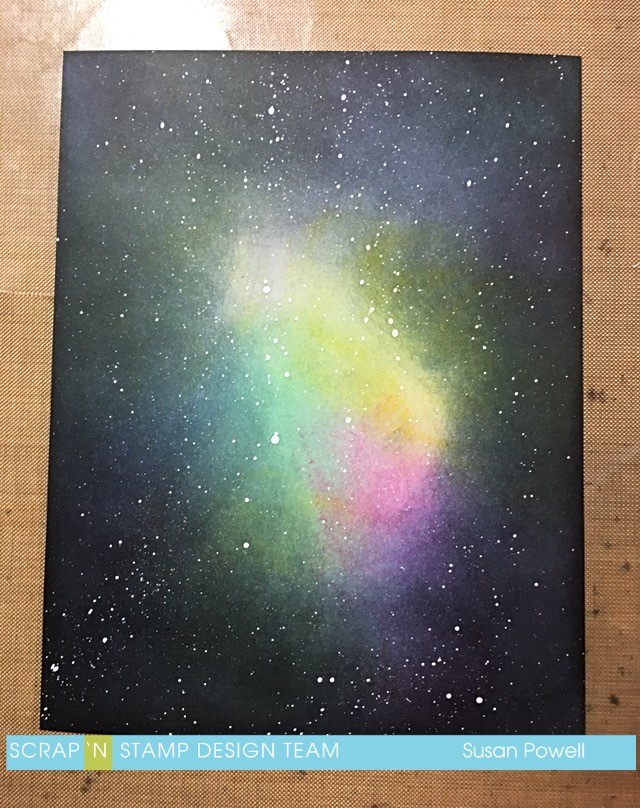
I knew I wanted to watercolour these lovely images, so I stamped in Memento Tuxedo Black in onto watercolour paper. Just to be sure there would be no ink bleeding, I heat set the outline images with clear embossing powder. To get the effect of the chapel being in the background, I first stamped the dogwood branch, and then stamped it again onto a piece of masking paper. I hand cut the image from the masking paper, and placed it over the stamped image. Next, I stamped the chapel image with the mask in place, so that the chapel is placed behind the branch.

The dogwood is actually the provincial flower of British Columbia, where I live. Here, we most typically see the white flower species, but I thought that may be a bit boring, so I decided to colour the pink variety.  I used my Zig Clean Color Real Brush Markers, first applying the lightest pink over each entire flower. I wanted the colour to be kept very light, so I first scribbled with the marker onto a large clear block, and then picked up the ink with my water brush. Then, I applied the colour to the image with the water brush.

Easter Sunday With Scrap 'N Stamp

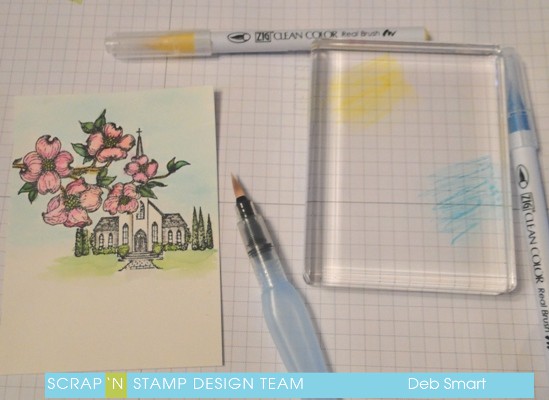
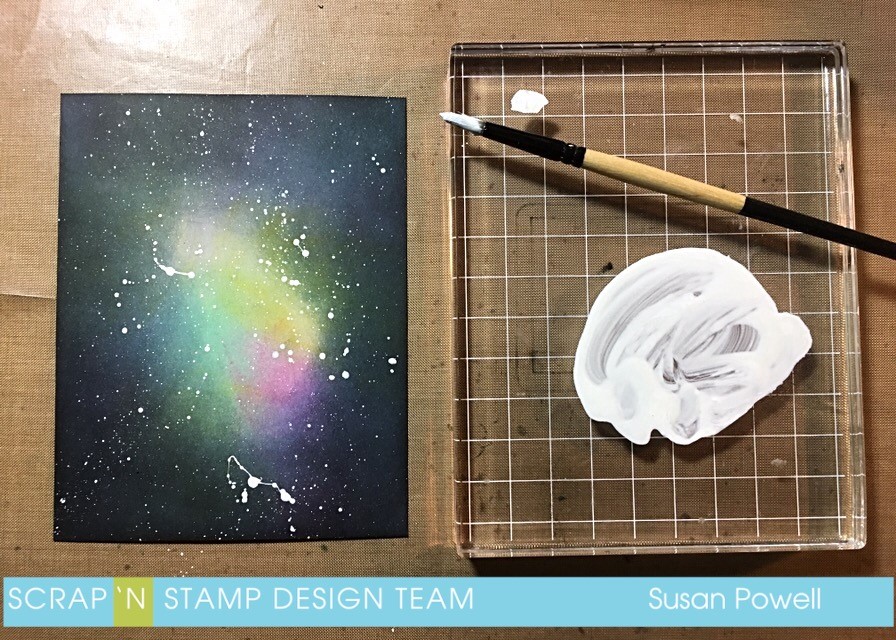
I did this for each of the colours, to keep the application light. It’s always easy to go back and add more colour – but you can’t easily take it away! The photo above shows how I scribbled onto the clear block; you can also use any slick surface, like a piece of acetate, or a water mat, if you have one.

CLOSE UP OF COLOURS

This photo is a close up, so you can see the colours and shading. For the petals/bracts, I used 2 different shades of pink, and added bright green and yellow to the middle. The leaves, as well as the bushes & trees near the chapel are in a multitude of greens – I was even mixing the greens on the block, before colouring! It’s such fun to do – creating your own blend. The chapel was shaded in a light gray, and yellow added to the windows, to give the illusion of it being lit from inside.

close up of colours

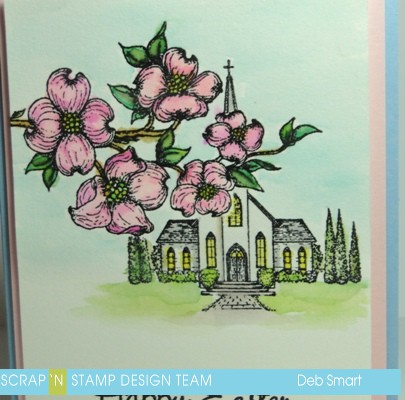
The path is coloured in a light brown, and then I added a wash of greens for the grass. To ensure a light blue sky, first wet the paper with your water brush, and then add lots of water to  your brush when picking up the ink from your block. Finally, stamp the sentiment from the Dogwood Chapel stamp set in Memento Tuxedo Black ink, and again heat set it with clear embossing powder.

LAYER PANELS FOR YOUR FINAL CARD

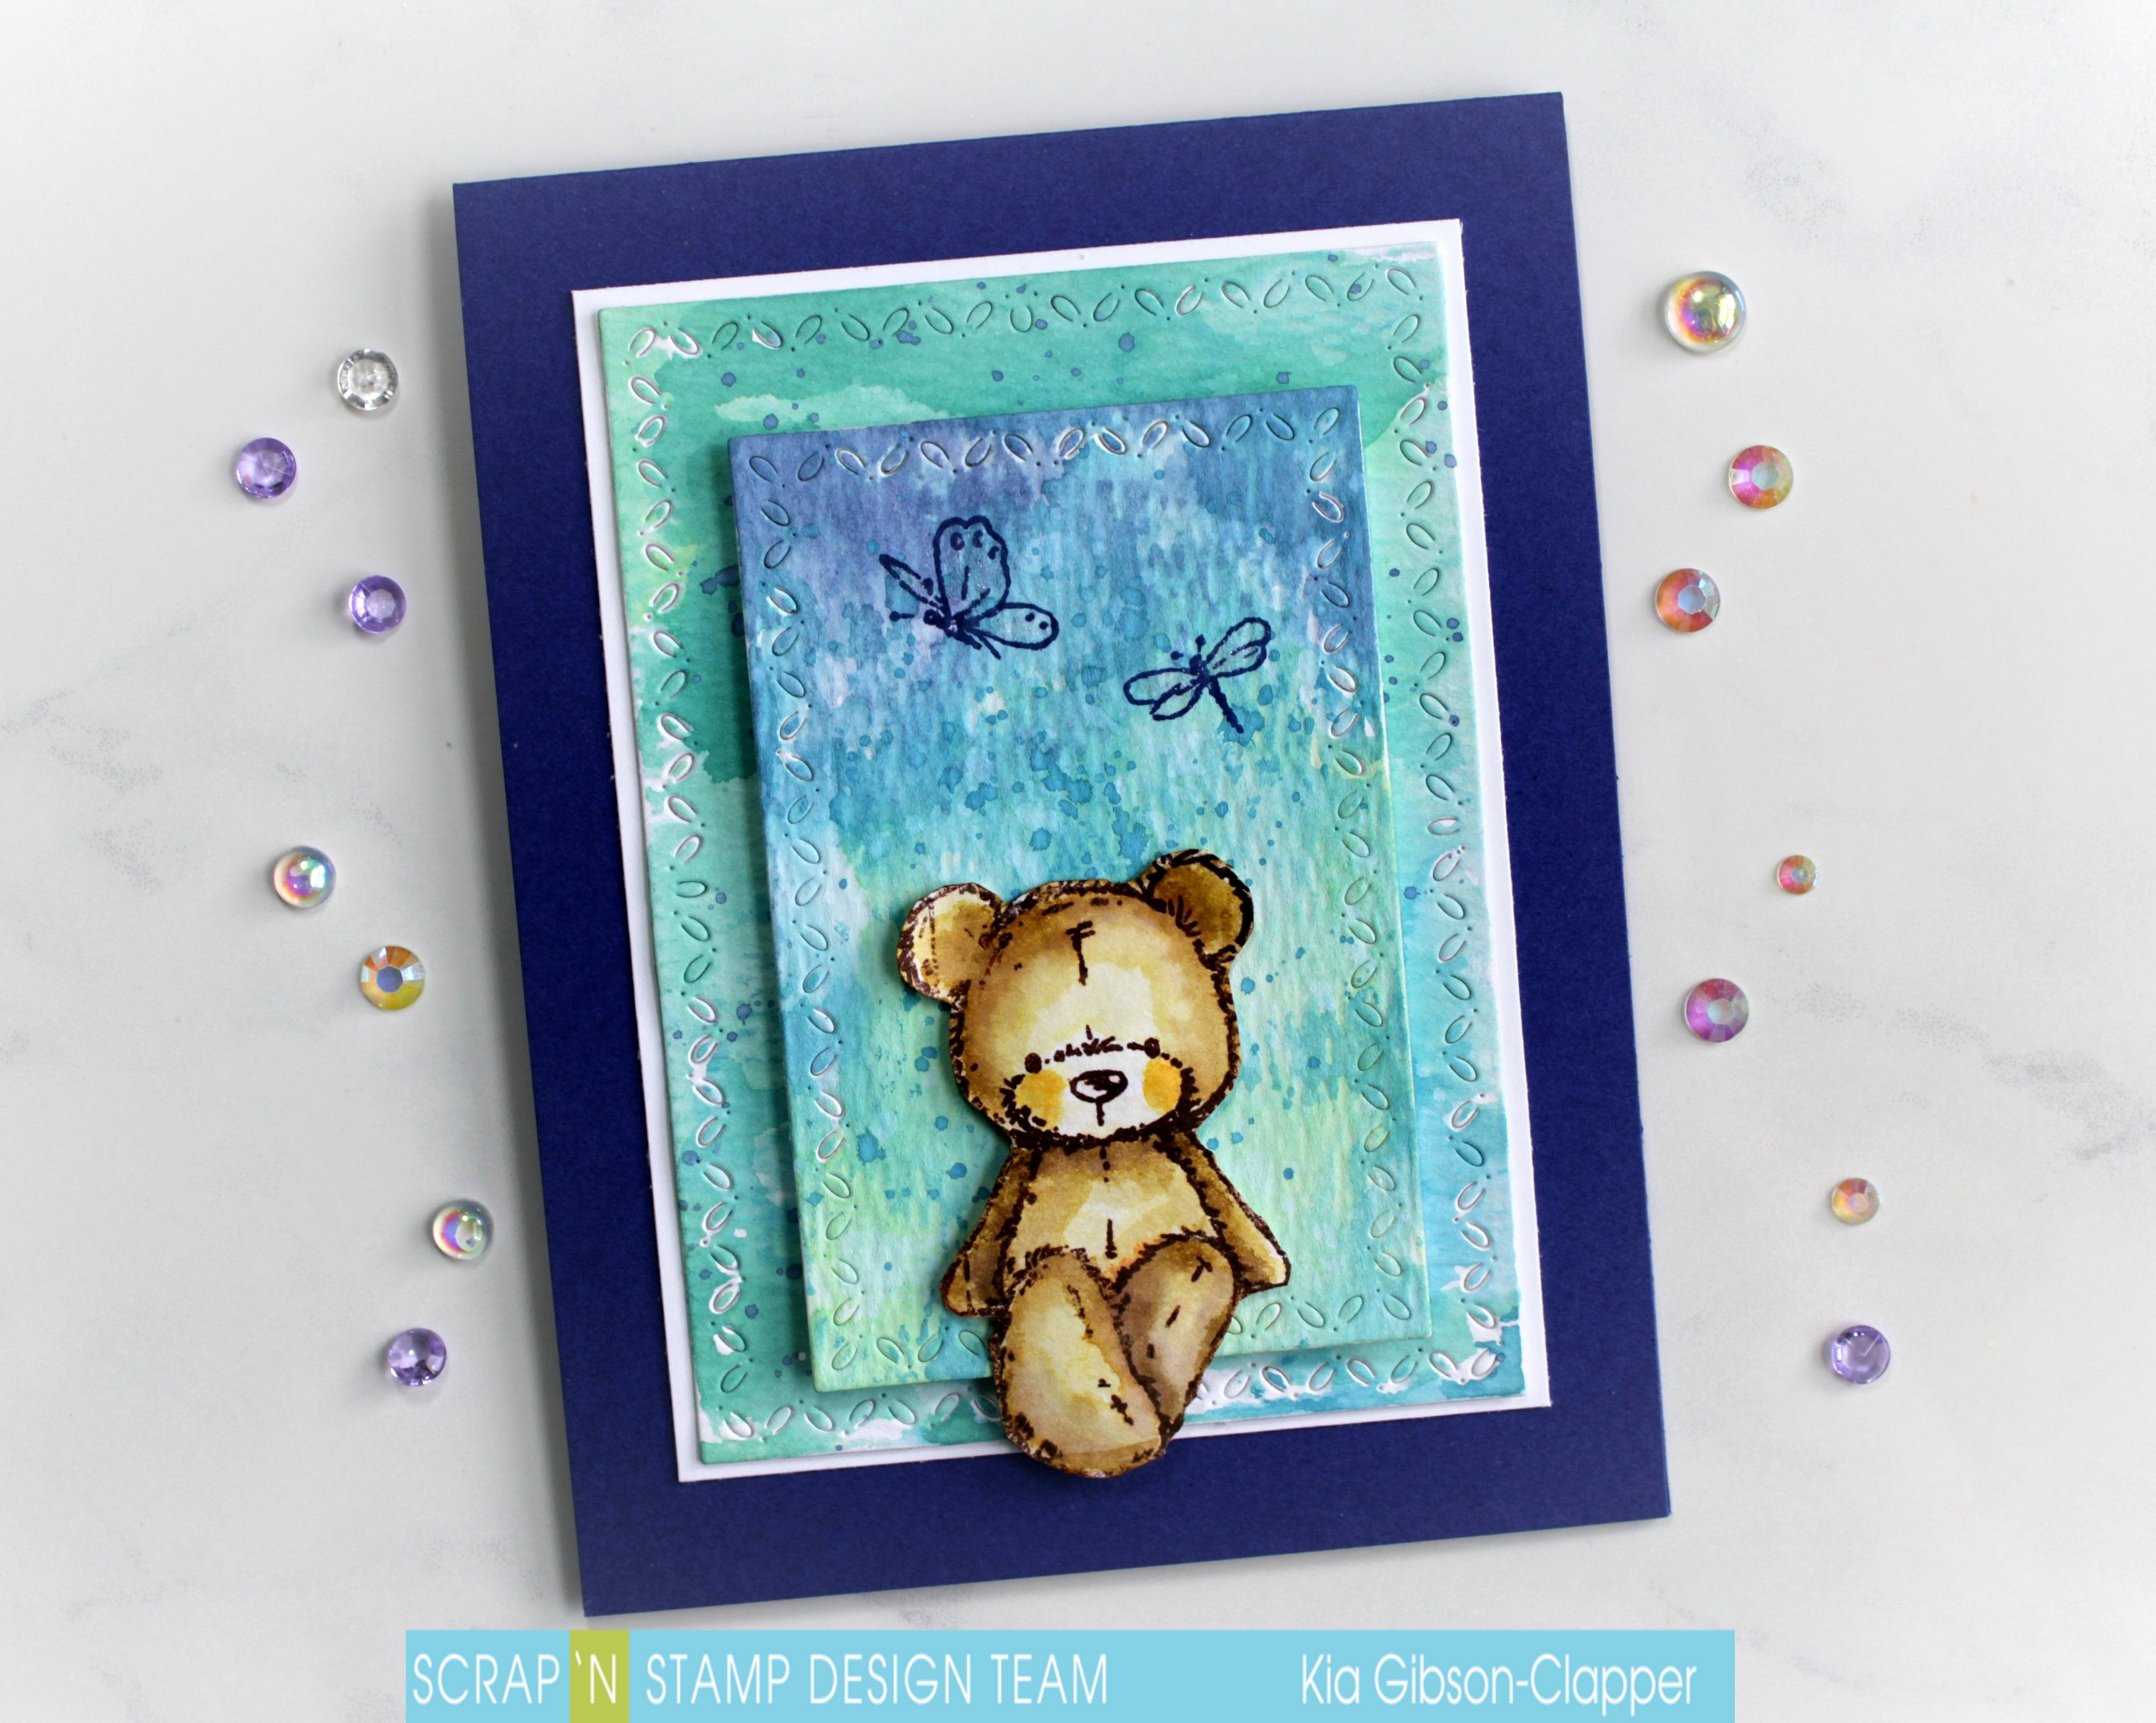
Once you’ve finished watercolouring your image and allowed it to dry, attach it to a panel of light pink cardstock, with foam tape.

layering panels

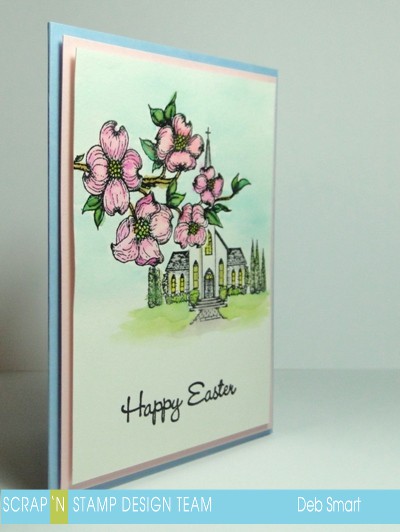
Next, attach those panels to a light blue card base, again with foam tape. I was tempted to add some ribbon or embellishments to the card front, but I liked the simplicity of the image, and so left it plain.

GIVE WATERCOLOURING & HEARTFELT CREATIONS A TRY!

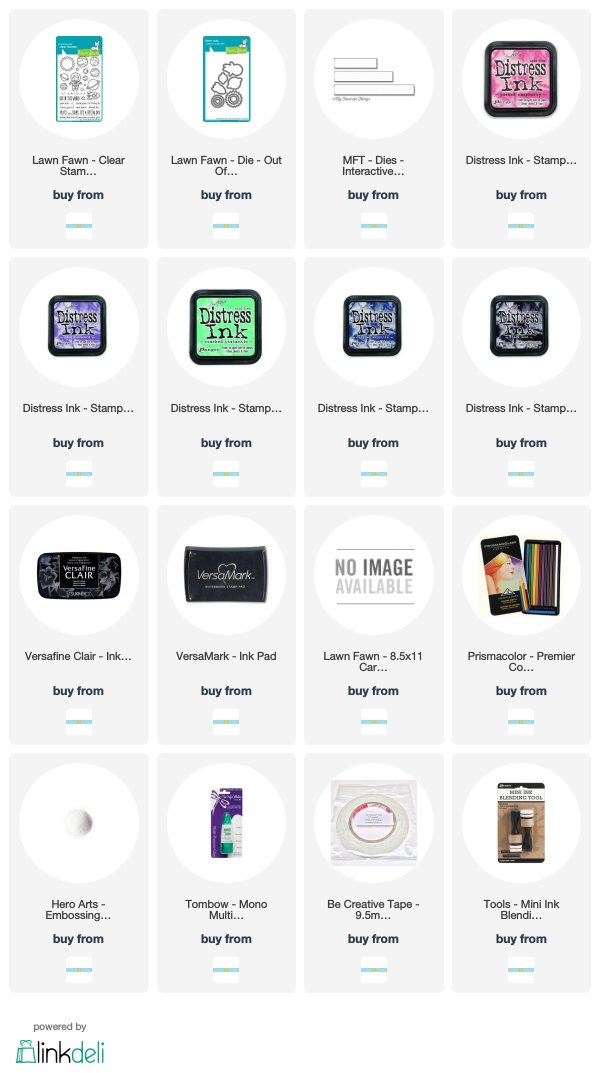
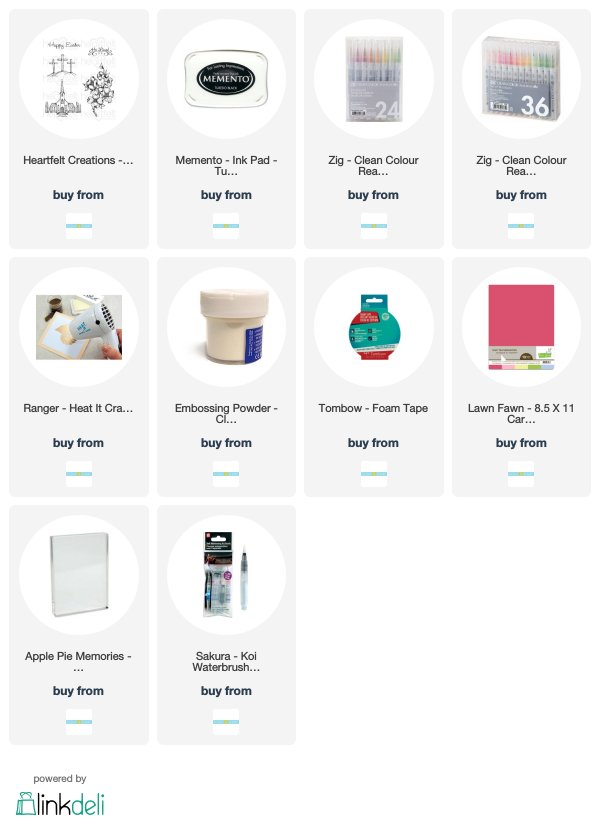
Don’t let the thought of watercolouring put you off! You do not have to be a top level artist; starting with colouring in a stamped image is a perfect way to build up your confidence. And using markers or pencils is also a great way to start, if the thought of buying actual paints puts you in a panic! You’ll find links below to the products I used to create this card – all available in a one-stop-shop at Scrap ‘N Stamp. I hope that this Easter Sunday with me of the Scrap ‘N Stamp Design Team has inspired you to get creative, no matter what medium you choose to use!

Easter Sunday With Scrap 'N Stamp

Compensated affiliate links are provided where available, at no cost to you. Your purchase through these links provides me with a small percentage, which helps keep my blog going, and purchasing new supplies, to share with you! Thank you in advance!


Easter Sunday With Scrap ‘N Stamp Read More »

Out Of This World!

Hello Everyone! It’s Susan and I’m back at Scrap’n Stamp Canada sharing one of my favorite things to make.  A galaxy sky background. It looks awful while you’re making it but then when you put that last color on it magically changes into a beautiful sky right in front of your eyes. This is a pic heavy post so as to be able to show you each step.

I started with Mustard Seed Distress ink and randomly added some sections of color. Another thing I love about this technique is that you don’t have to worry about perfect blending – just get the color onto the paper. Next I added Picked Raspberry.


Then comes Dusty Concord, Cracked Pistachio is next. I bet you’re wondering how is this going to be a galaxy sky? Don’t worry, the next two steps is where the magic happens.


I added a layer of Chipped Sapphire over most of the paper but making it lighter in the center. Now it’s starting to look like the sky.

Now for the Black Soot. Add a layer all over the page, being heavier near the edges and lighter in the middle.

Voila, night sky. But we still need some stars. That’s easy and fun too!

Squeeze a little white acrylic paint onto a craft block, add a couple spritzes of water and mix it up. For the first layer of stars I like to use a toothbrush. It’s great for getting a lot of little stars. Just load up the toothbrush with ink and drag your finger along the bristles. That’s it. In seconds you’ve got a sky full of stars.

For some bigger starts I use a paint brush. Load it up with the watered down white paint and then knock the brush against my other hand. This gives me bigger stars.

I also added a few droplets of water and then dabbed them with a paper towel. I should’ve done this step before the paint but it still worked.

I used the Interactive Rectangle Word Dies from My Favorite Things to do the sentiment. It cuts all but the left edge leaving a flap for the recipient to lift to see the rest of the sentiment. The sentiment on the top of the flap is stamped with versamark ink and then heat set with white embossing powder .

The sentiment underneath is stamped with black ink.


I used my Prismacolor pencil crayons to color in the space boy and all the planets from Lawn Fawn’s Out of This World stamp set and the cut them all out with the coordinating dies I added some of them to the card panel with craft foam and some were adhered directly to the panel. The strings are drawn on with a thin black marker. I didn’t show any of that because I just did simple coloring. If you’d like to see that done, leave me a message and I’ll do a post on that for you.

I hope you’re inspired to try this technique. If you don’t have these exact colors or these inks, that’s okay, just choose similar colors in whatever inks you have and give it a go. If you do try it and share it, please tag me as I’d love to see.


Happy Stampin’

and thanks so much for visiting!


Shopping list:

Click on the picture below to be taken to the store. These are affiliate links which means I will get a small commission if you purchase. There is no additional cost to you and helps with the running of my blog. I appreciate your support.


Out Of This World! Read More »

Sweet Bear

This is Sweet Bear – I wanted to call him Sweetie Pie Bear, but settled for Sweet Bear. I always like to find other ways to use my stamp sets other than what they are intended for. This bear is from Penny Black’s Space Reserved, where he is normally sitting on a bench holding a balloon. I stamped only the bear using Ranger Archival Ink in Sepia, and fussy cut him, so he could sit on the bottom of the top panel and swing his legs. I know he is a he, as he has peach coloured cheeks, girls have pink coloured cheeks.

I water coloured him using Distress Inks in Scattered Straw, Brushed Corduroy and Walnut Stain, adding a bit of Spiced Marmalade to his cheeks.

I die cut the Ranger Distress Water Colour paper with my Penny Black Stitched Stackers, the proceeded to do a distress oxide background using Cracked Pistachio, Broken China and Faded Jeans. I did splattering on the panels, one with the Broken China and the other with the Faded Jeans.

To finish my card I matted the larger piece with white card stock and attached to the blue card base. I then attached fun foam to the smaller panel using scor-pal tape to create some dimension to the card. The bear I styled then attached using foam squares. As a finishing touch I stamped the butterflies using Cobalt ink and added Wink of Stella to them along with the bears nose.

Following is the video I did for this card.

https://www.youtube.com/watch?v=-TN7dGyw-tc

Sweet Bear Read More »

Free Shipping Anywhere In Canada