Scratch-N-Stamp
Search

Checkout

Keep up with Sales, New Products and other events at Scrap `n Stamp. Sign up for our newsletter now!

What's New

Hot Deals


Distress Oxide Inks

Gel Press & Oxides

Gel Press & Distress Oxides

Happy Thanksgiving! Chala here and I am so excited that you are joining me today for this fun technique using the Gel Press and Distress Oxide inks.

I have run into some technical difficulties with my computer and the video and am very disappointed with it’s outcome. In the meantime I will do my best to describe what I did to create these 9 (that’s right 9!!) fabulous cards.

The Gel Press is new to me and I was excited to open it up! They come in several different size, however, I chose the 5″ x 7″ as I usually create A2 size cards. It is like a big blob of firm jello! I removed the two protector sheets and laid it down on my clean Tim Holtz Glass Media Mat which was perfect! Laying it on this mat made it so the gel plate would not move around.

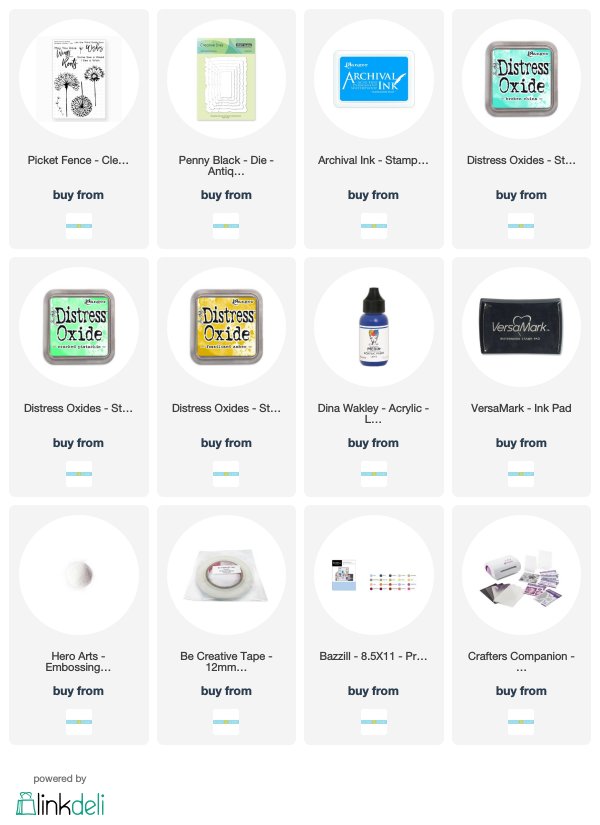
I used a TON of stamps! Look around in your stash to pull out your unused gems and follow along!

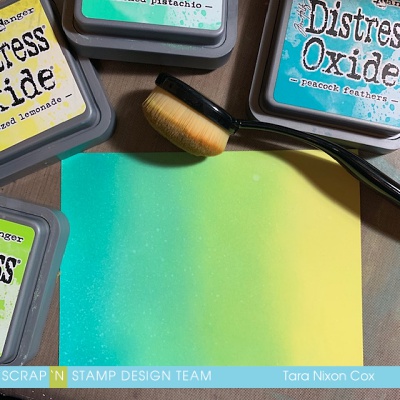
I will admit I was a bit overwhelmed staring at this clean, clear blob of jelly. But, I dove right in and started smushing ink direct from the ink pad onto the surface of the gel plate. Right now you can purchase the first 36 Distress Oxides Ink colours at an incredible deal. Click here to check it out!

You can use swipes, swirls, or use your brayer or blending tool, etc. Just know that if you don’t work your ink into the gel plate it will stay that shape.

What I mean by this is, if you simply stamp down the square ink pad you will get that exact shape when you press down your paper. I think I will be using the gel plate a lot to create mirror images of certain stamps.

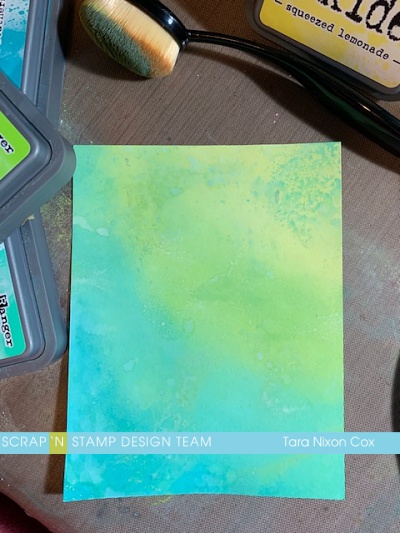
After I smooshed the ink onto the plate I used my brayer to move the ink around. I wanted to get a smooth transition between the colours. Don’t waste the ink on the brayer! Grab another piece of cardstock and brayer the leftover ink onto it to create another background!

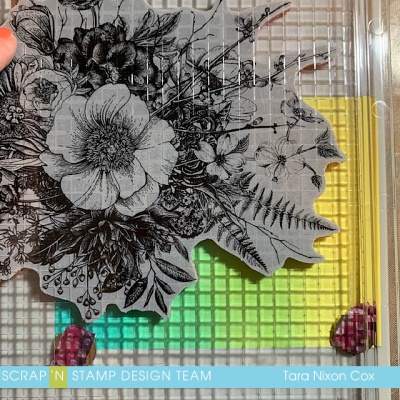
Grab the stamp set you want to use and stamp the image carefully onto the gel press. I used acrylic blocks to help with this process. Then stamp that image onto another background. What we are basically doing is layering images and colours to create one of a kind backgrounds.

Once I stamped the amount of images I wanted onto my gel plate I grabbed a blank piece of cards stock and laid it on top of the gel plate and gently pressed down. I tried several techniques from rubbing my fingers on the back to using the brayer to help transfer the ink. My favourite technique was grabbing an acrylic block and dragging the edge along the back. This seemed to give me the best transfer results.

When you pull up the piece of cardstock you will notice you get a negative image of the stamps you used. So, some of the stamps that had words on them actually appear backwards on my gel pressed piece. I don’t mind this, but you might want to keep that in mind when you are choosing your stamps.

I repeated this process using a variety of stamps and using both Neenah White Classic Crest cardstock as well as Canson Watercolour paper. Each paper gave me a different look.

I noted some stamps worked better than others. My favourite was the Concord & 9th Barnwood Background. The textured look was amazing. If I didn’t like how something turned out I just continued layer on colours and stamps until it worked out. Even the pieces that I cleaned my brayer off on created interesting results. I didn’t let anything go to waste. Using a piece of cardstock that I also pulled up any residual ink after my first presses.

I didn’t get to use all the backgrounds I made but I can save them for another project. The ones that I am not “In Love” with I can use to die cut sentiment from our cut them down into strips to create a different look.

The great thing about the gel press was that it was so easy to clean! After I pulled up all the ink I simply swiped a microfibre cloth over top. I double checked how clean it was with a baby wipe and was surprised that there was little to no ink left over.

You can use a variety of mediums with the gel press including acrylic paint. Many people don’t even clean their gel press as they like the unique images they get by continuing to layer the paints or inks and like that each “pull” gives a new surprise.

I am not that person…I like my materials clean. LOL! Maybe over time I will give up this control…but not today my friend!

I highly recommend adding the gel press to your arsenal of craft tools! I was able to create many backgrounds in short order which I love!

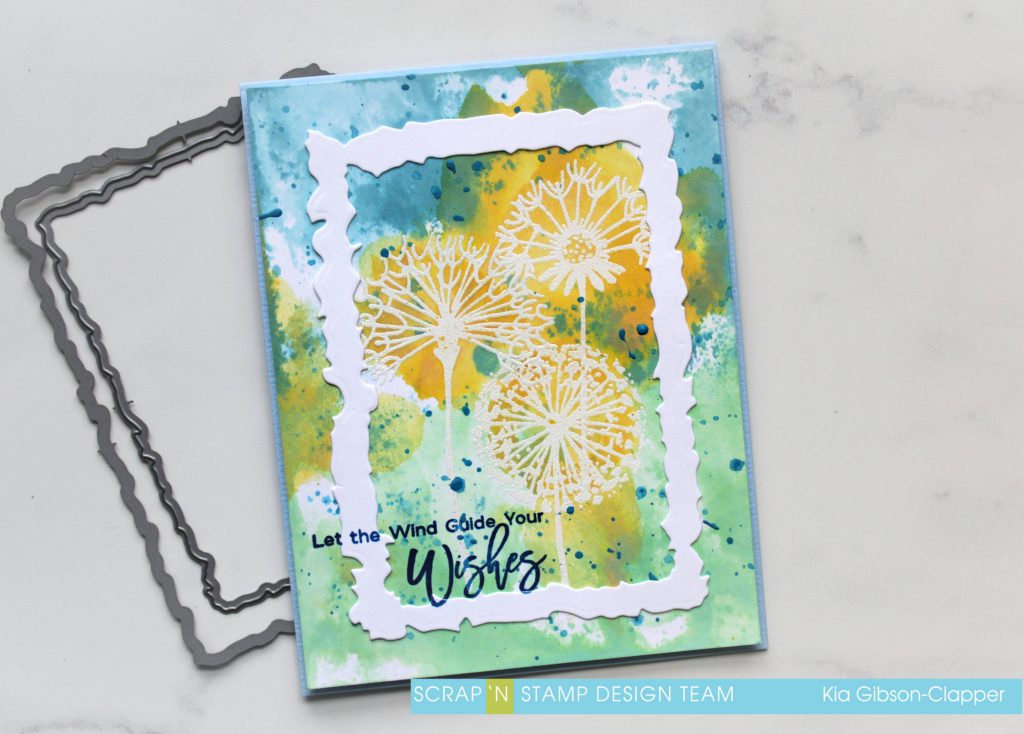
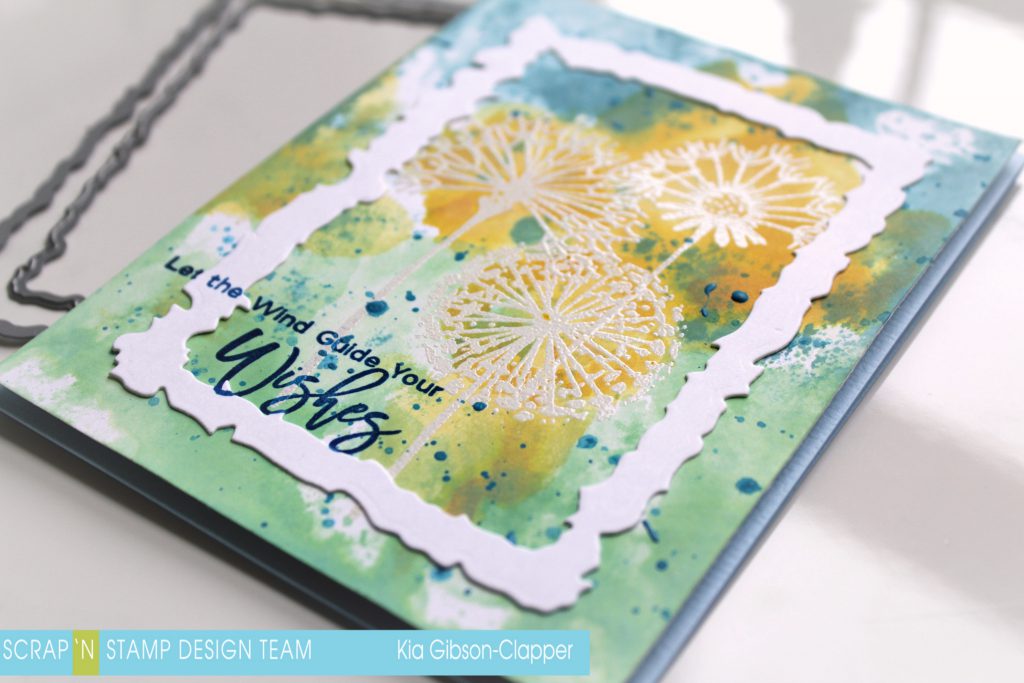
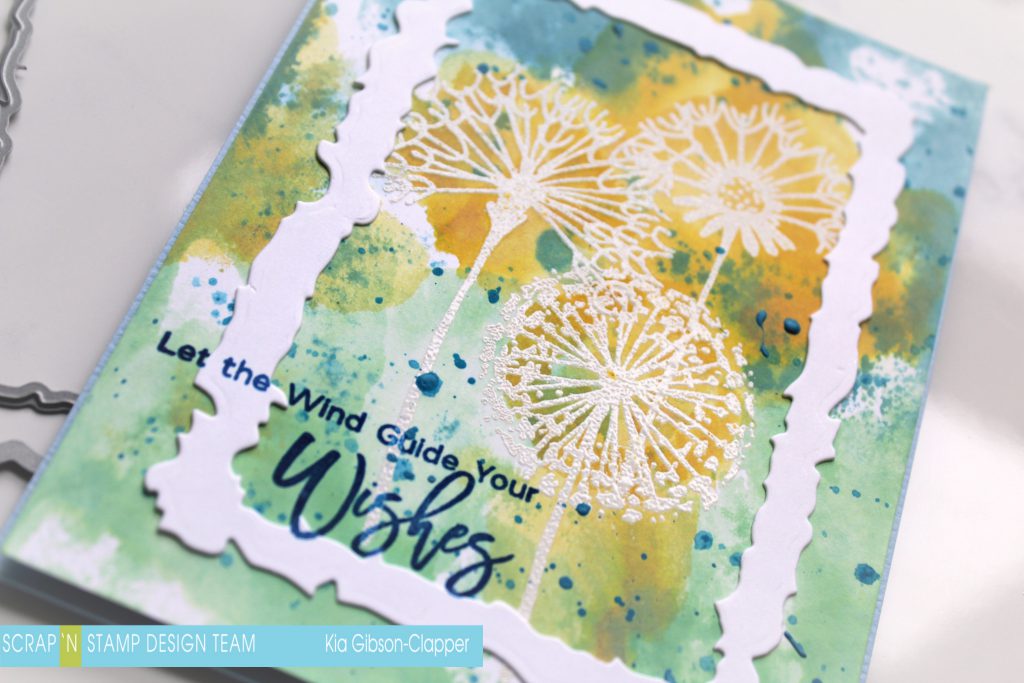
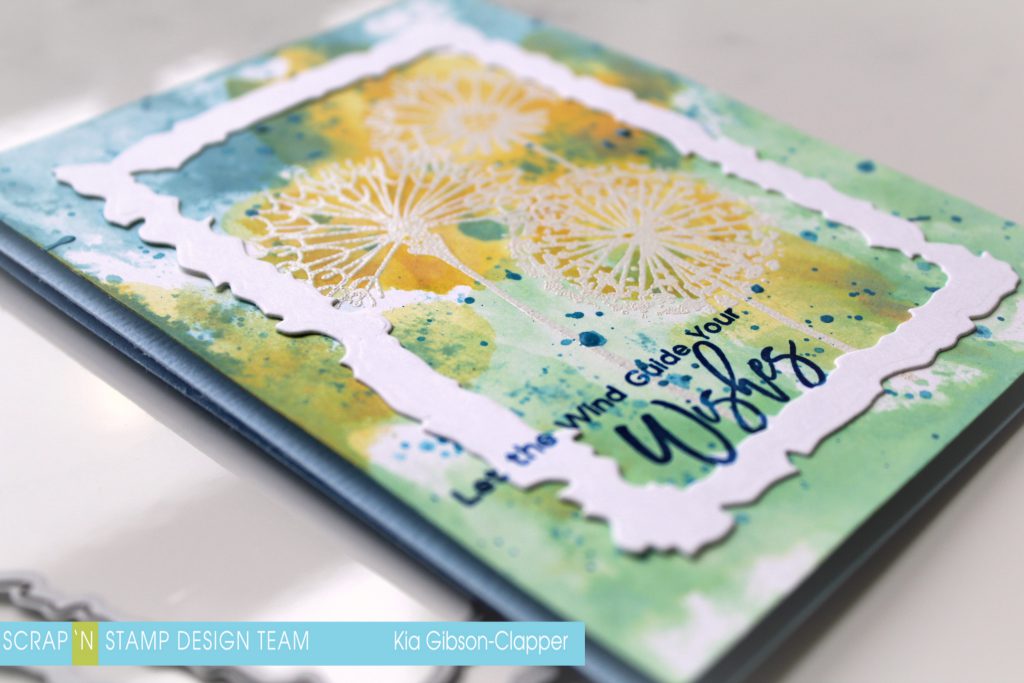
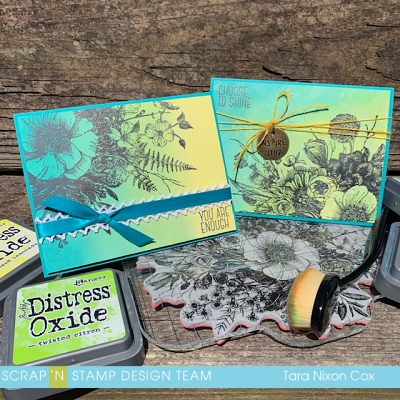
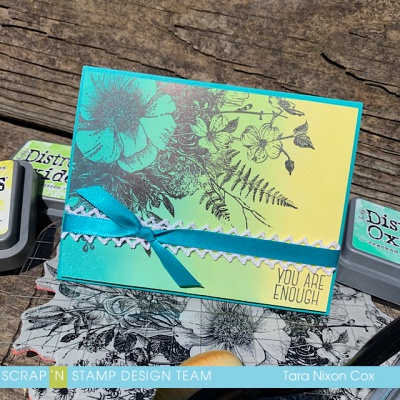
Here is a look at all the cards I created.

Head over to my personal blog by clicking here to see individual photos of each card.

After much deliberation I have decided to share the video even though the quality is not the greatest. For that I apologize. However, after putting in that much work I did want you to have the opportunity to be able to see how easy this process is. If you can stick it out you can see all the cards at the end!

https://youtu.be/GSWvGMReSmk

I am so thankful that you shared your time with me today and I look forward to be able to share with you again soon!

~Chala

Gel Press & Oxides Read More »

Wishes

I am using one of my favourite stamps, Picket Fence Dandelion Wishes. There are many uses for this set, and I also very much like the sentiments.

I first stamped and heat embossed the Dandelion’s using white embossing powder from Hero Arts. I wanted to know the position of the flowers when doing my background in order to get the colour where I wanted it.

I did a smooshing technique, using a light touch in order to keep the inks on the lighter side, and I used the inks sparingly. It is easier to add more ink than to take it away. I also wanted to maintain some white space, so I am liking the way my background turned out. I also splattered some acrylic paint on it for added interest.

Once everything was dry I attached fun foam to the back of my panel using Be Creative tape and attached it to my Blue Bazzill card stock. I then stamped the sentiment using Ranger Archival Ink in Manganese Blue. For further interest I die cut the frame using my Antique Frame from Penny Black, keeping the left over card stock for use inside the card. I again stamped the sentiment with the Manganese Blue ink to cover the frame portion.

I have done a video showing my process for this card, and following the video I have provided affiliate links for the products that I have used. I hope you have enjoyed this card, and thank you for visiting us here at Scrap’n Stamp.

https://www.youtube.com/watch?v=r1f2OH01rQ4&t=98s

Wishes Read More »

Background Check Blog Hop

Welcome to the Scrap ‘N Stamp April Blog Hop!  We are so glad you are here with us today to get some inspiration on a fun variety of ways to create backgrounds using the Life Changing Blender Brushes that are new in the SNS online store!

Here’s the full hop order!  You’re at the beginning with me (Tara) and my card!  If you get lost anywhere along the way, just pop back here for the next link 🙂  Don’t forget to leave comments along the way for a chance to win fabulous prizes… we are giving away 8 Background prize packs and one $50 gift certificate to random commenters along the way! BONUS: You can have 20% OFF the brushes this weekend using the coupon code BRUSH20 (ends Sunday!)

I made two similar cards for today’s hop- here’s a look at them together:

For these cards I wanted to feature a simple ombre type background to let this HUGE stamp shine- it’s Glorious Garden by Tim Holtz and it comes with four simple sentiments and a grid block big enough for the design (I was super excited to see that, though I used it with my stamp platform).  I am brand new to these brushes and a pretty die hard fan of the Ranger Blending tools, but I found these easy to work with and create smooth ‘line free’ blends with my Distress Oxide Inks (for both cards I used Squeezed Lemonade, Twisted Citron, Cracked Pistachio and Peacock Feathers).  They were also really easy on the hands, which I’ve heard from a lot of people who struggle with gripping tools.  There are several smaller set options if you aren’t ready for the full set of brushes (or don’t have the budget- I totally get it!).  I think the 2 pack sampler would be a great start!

My ‘before’ photo of my first card is actually the graphic for the hop, but here it is again so you can check out those smooth blends… I only misted a tiny bit of water to add a bit of oxidization.

Here is what the stamp placement looked like in my stamp platform.  I used Versafine Clair and stamped twice to make sure my impression was perfect.

I wanted to keep these cards really simple, so just added a bit of ribbon with some lace behind it.  When adding ribbon to a top layer like this, I have a little trick I use to keep the knot (or bow) in exactly the right spot.  First, I cut the ribbon so it’s plenty long (at least 3-4 times the width of the layer, ) and tie the knot/bow in a loop, like this:

Then I find my perfect spot and snip the ribbon so it has overhang on both sides, which I will adhere to the back of my card.

The amount of overlap doesn’t really matter, as long as there is enough to tape securely (it may be 1/2″ on one side and 3″ on the other… nobody will know!)  Here’s another look at that card:

For my second card, I did a diagonal ombre and added a bit more oxidization with some wet, inky layers on my craft sheet.  I wanted the yellow to be in the big blossom this time, with the design coming up from the bottom right corner.  Here’s a peek at my background before I stamped on it.. love that subtle oxidization!

And here’s the finished card!

I went for yellow twine and a Tim Holtz charm to finish it off:

The cards are very simple, but the fabulous backgrounds and that gorgeous floral stamp really shine.  I hope you like them!  I’ll have a similar card design on a very different background to share with you on Tuesday, so please check back!  If you are ready to try your hand at creating fabulous, inky backgrounds, please join us on our Challenge Page!  We’d love to see what you create (and you’ll get another chance to win a gift certificate!).


Hop on over to see what Nancy E. has created next!

Have fun hopping!

Inky hugs,

Tara

Background Check Blog Hop Read More »

Free Shipping Anywhere In Canada