Beginner Foil Quill…and a Secret!
Hello Again! It’s Chala and I am back to share with you my beginner foil quill experience….and a secret!
The Foil Quill is one of this years’ hottest new craft items that can be used with the Silhouette, Brother, Cricut and Sizzix electronic die cutting machines. Today I am using my Silhouette machine to show you my very attempt at this technique.
There are specific carriages for each machine and they are ALL included in the one kit. So no need to purchase each carriage separately which is great if you own more than one type of die cutting machine!
Now, I am going to be honest. When this product came out I was not interested in getting it at all. I thought…this is a tool that I really don’t need. So, when I was sent the Foil Quill kit I was very appreciative of getting it…I was excited to use it….but, I really was not optimistic that I would actually like it.
I use my Silhouette machine quite a bit, so I like that I can use this tool with designs that I already own that I purchased through the Silhouette America Design Store, or you can purchase USBs that have designs on them.
This video will show you right from opening the kit, looking at the instructions and my first use and thoughts on the product.
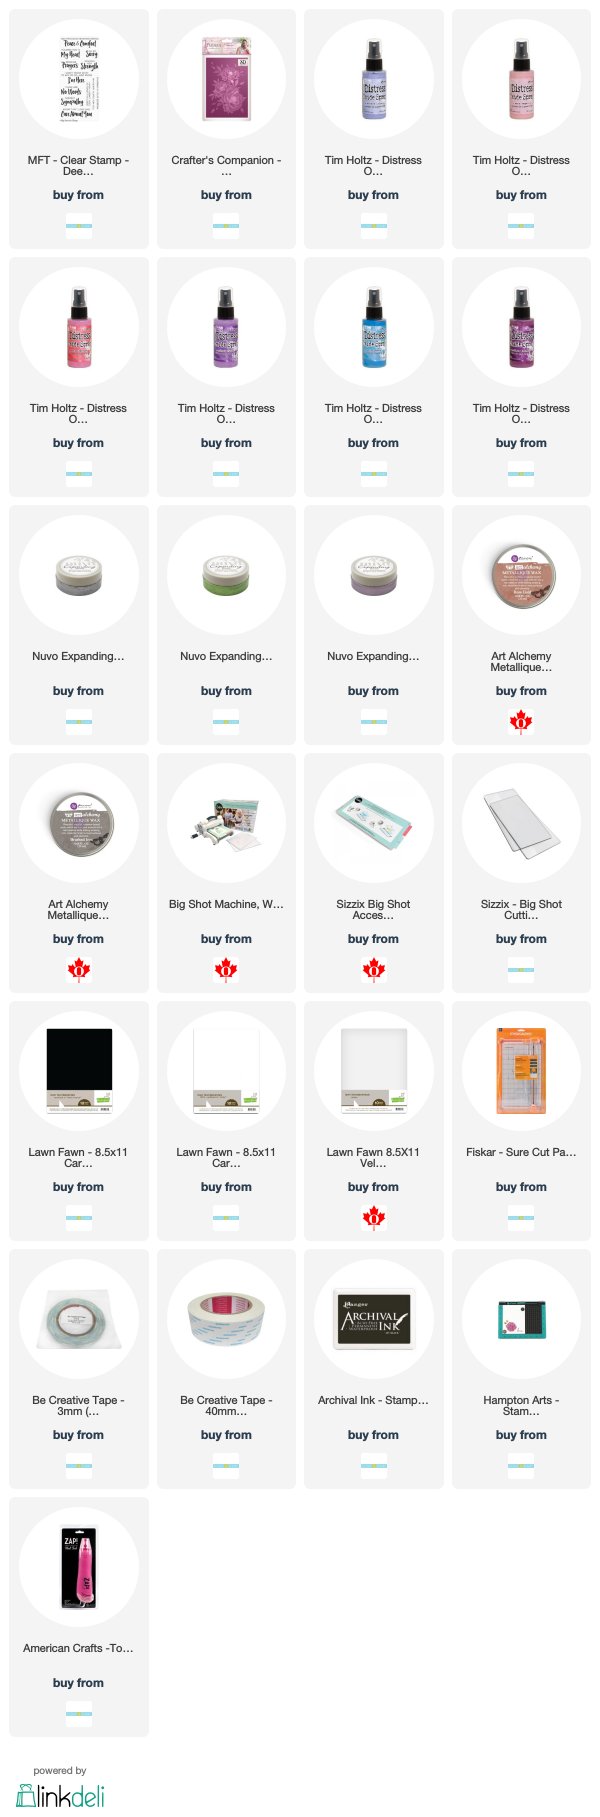
Remember, if you are interested in the products used in the video, I will link them below…
Ready to see what happened and my thoughts? Here’s the video!
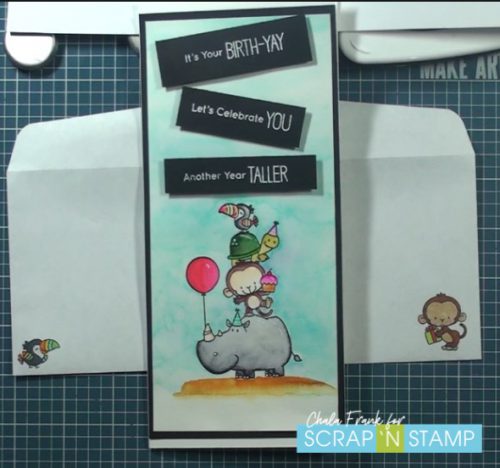
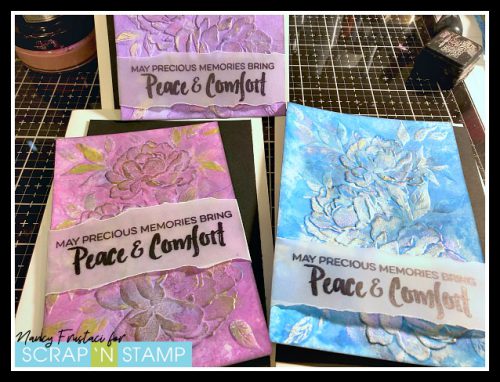
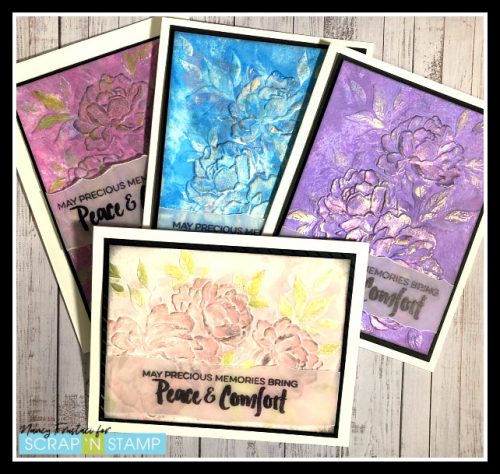
The Cards
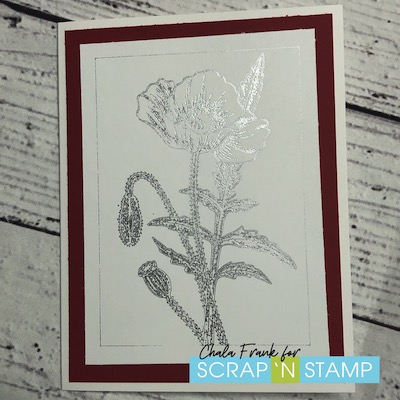
Poppy 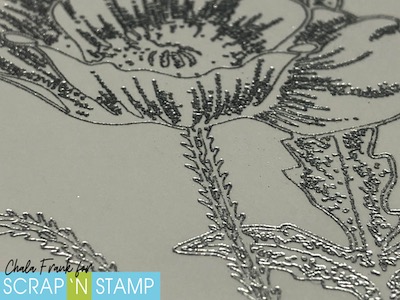
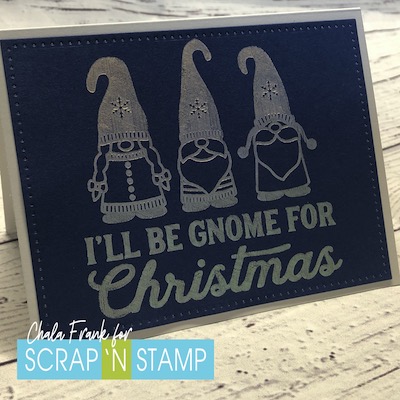
Poppy I’l Be Gnome for Christmas 
I’ll Be Gnome for Christmas 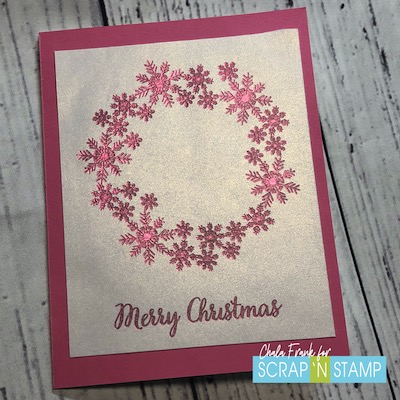
Wreath 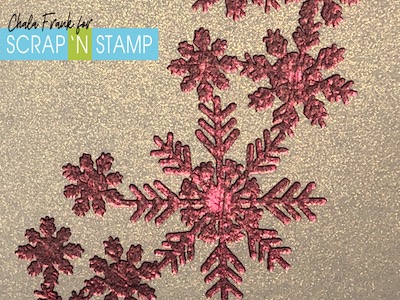
Wreath 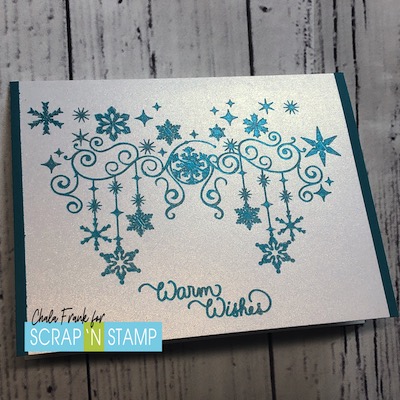
Snowflake 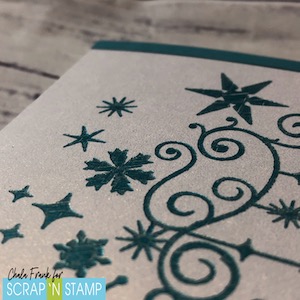
Snowflake
THE SECRET……
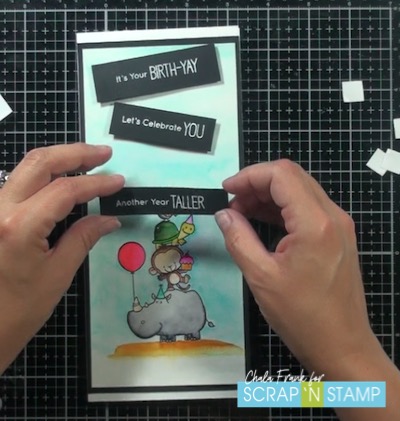
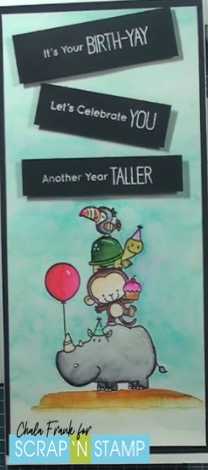
Well…if you watched the video (witch I apologize for how long it was….) you will know that I am IN LOVE with the Foil Quill! It exceeded my expectations and now I want to foil ALL THE THINGS! In fact…I had so much fun I didn’t even stamp! Although…you totally can and I think the Foil Quill will up your card making game!
My BIG secret is….Starting Black Friday Scrap’N Stamp is offer the Foil Quill at 50% OFF (while supplies last)! WHAT?!! I know! Make sure you click on the links below to head over to get yours and to check out all the other great Black Friday Deals!
Materials:
- We R memory keepers Foil Quill Kit
- Gemini FoilPress Multi-Surface Foil Roll: Aurora, Berry, Holly, Turquoise
- We R memory keepers foil Packs: Flamingo, Peacock and Silver Swan
- Neenah Classic Crest Solar White 90lb cardstock
- Cutter Be Scissors
- Lawn Fawn Spark Pixie Dust
- Lawn Fawn Vellum
Beginner Foil Quill…and a Secret! Read More »